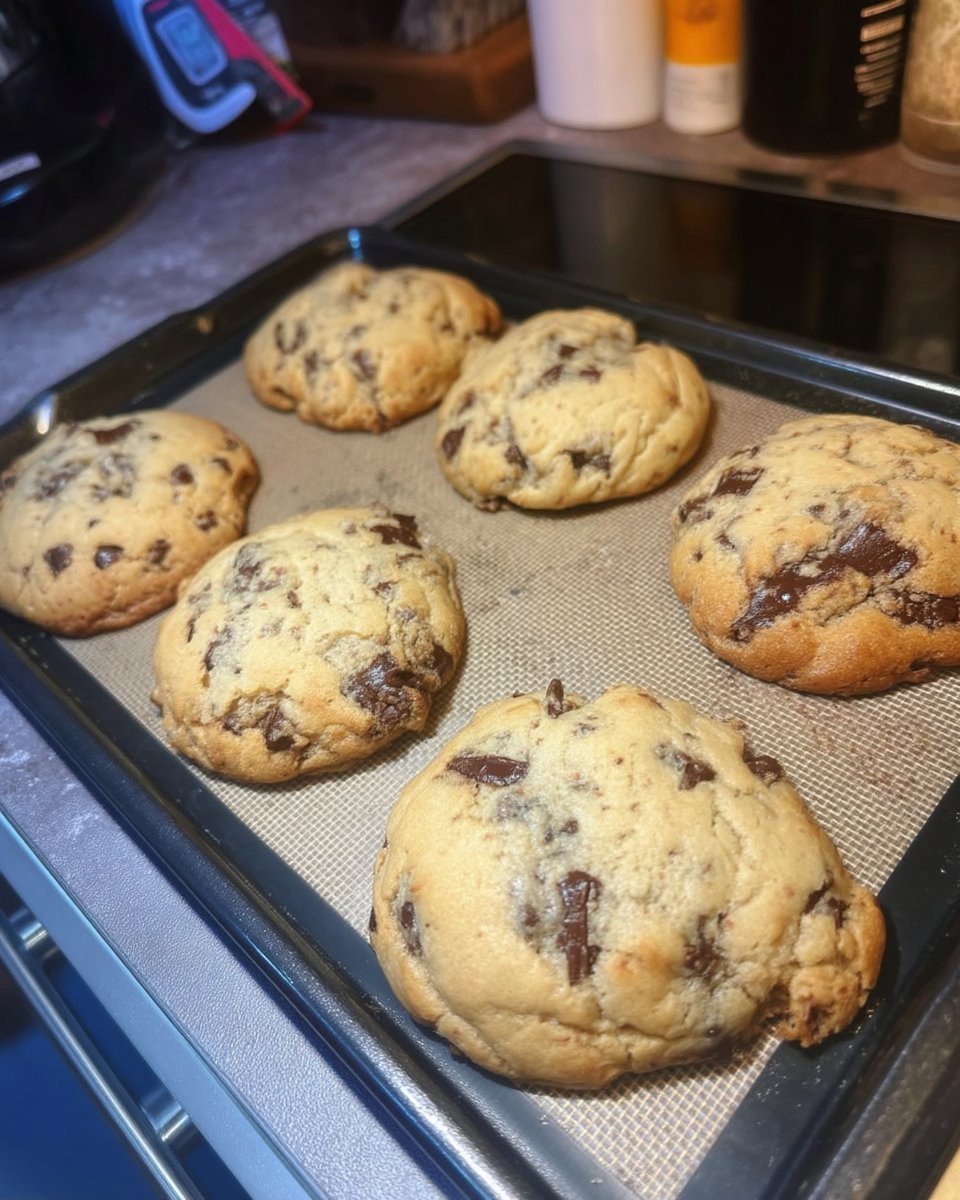
The distinct texture of these cookies originates from the specific molecular interaction between lipid molecules and wheat proteins, where high fat concentrations physically obstruct the formation of a gluten network. When we study the aromatic profile of a classic sand cookie, we see how the vanillin compounds in the sugar phase become soluble in the butterfat, creating a lingering flavor that persists long after the first bite. This scientific approach to baking transforms a simple shortbread into a precise study of texture and taste perception.

Traditional Dutch Zandkoekjes, often referred to as Sandkuchen cookies, rely on a specific ratio of three parts flour to two parts fat to one part sugar. This formula creates a dough with incredibly low hydration, resulting in the signature sandy crumb that dissolves upon contact with the palate’s enzymes. By carefully controlling the temperature of our ingredients, we can manipulate the sugar’s crystalline structure to achieve a delicate, brittle finish that is remarkably satisfying.
The Analytical Chemistry of the Perfect Crumble
You will appreciate the way these cookies manage the delicate balance of fat and starch to create a texture that is both sturdy and fragile. The secret lies in the fat-to-flour ratio, which is designed to coat every starch granule in a thin layer of hydrophobic lipids. This coating prevents the proteins—glutenin and gliadin—from bonding when they come into contact with the moisture from the egg yolk, resulting in a “short” texture that is the hallmark of professional pastry science.
Furthermore, the inclusion of vanilla sugar introduces a complex aromatic profile that is chemically stabilized by the butter. Unlike liquid extracts which can lose potency during high-heat evaporation, the vanillin in the sugar is protected within the lipid matrix of the dough. This means the flavor remains bright and clear, providing a sensory experience that is far more intense than your average tea cookie. The addition of a single egg yolk adds just enough lecithin to emulsify the fat and sugar without introducing the tough protein structure found in egg whites.
Finally, the aesthetic simplicity of these cookies belies the complex Maillard reactions occurring on the surface. As the cookies bake, the amino acids in the flour and the reducing sugars interact to create a spectrum of roasted, nutty flavor compounds called pyrazines. These compounds provide the golden edges and the savory-sweet depth that makes the Sandkuchen a staple in flavor pairing theory. Every bite offers a fascinating look at how basic pantry staples can be transformed through precise thermal application.
Print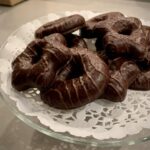
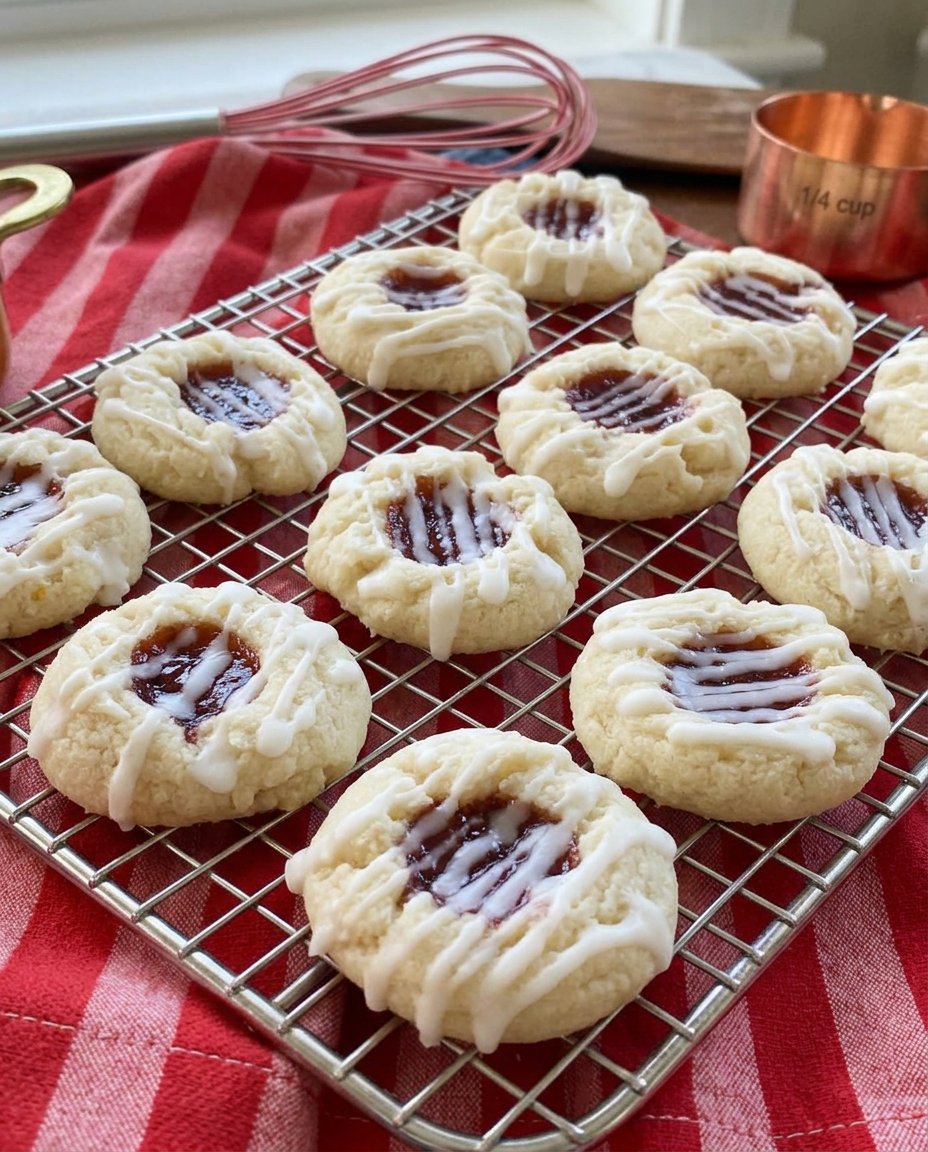
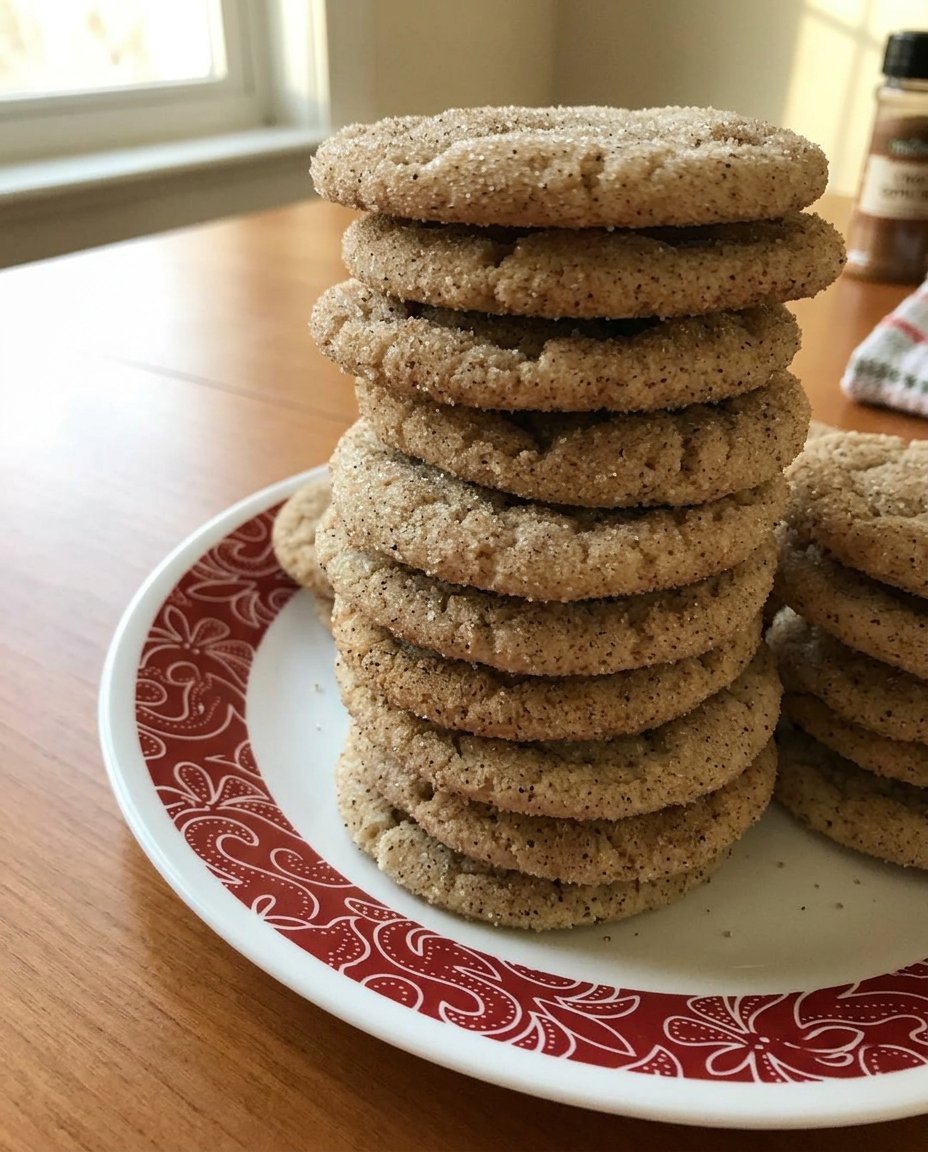
Sandkuchen Cookies
- Total Time: 1 hour 31 mins
- Yield: 27 cookies
- Diet: Vegetarian
Description
Discover the analytical chemistry of the perfect crumble with these Sandkuchen cookies, where a precise ratio of butter to flour creates a signature dissolving texture. These Dutch-inspired treats are subtly sweetened with vanilla sugar and baked to golden perfection for a scientifically superior snack.
Ingredients
- 225g Unsalted Butter, softened to 18°C
- 150g Soft White Sugar
- 8g Vanilla Sugar
- 1 Large Egg Yolk
- 280g All-Purpose Flour
- Pinch of Sea Salt
Instructions
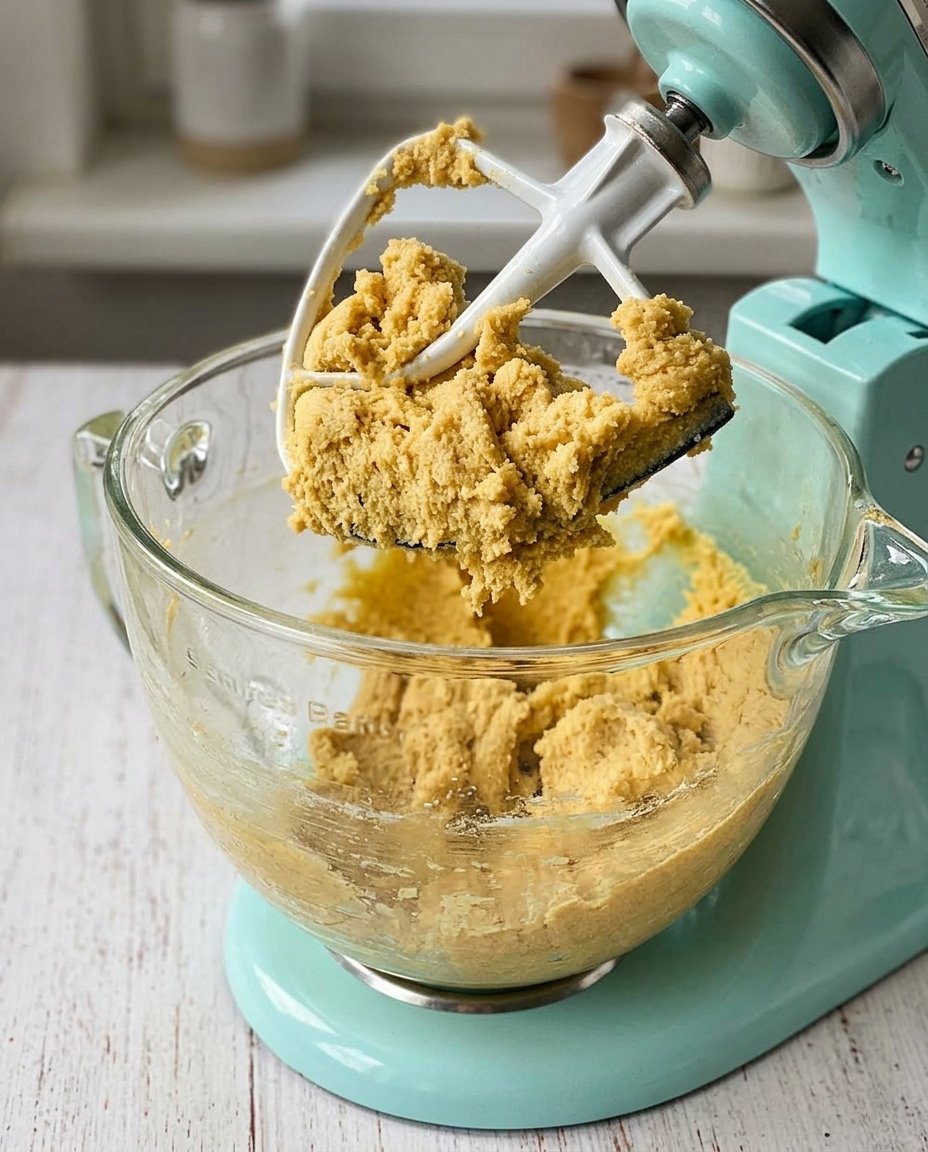
- In a stand mixer, cream together the softened butter, white sugar, and vanilla sugar until the mixture is visibly lighter and fluffy to create a matrix of air bubbles.
- Add the egg yolk to the mixture and beat until the emulsion is smooth and glossy.
- Sift the flour and salt together, then fold them into the wet ingredients on the lowest setting until just combined into a firm, tacky dough.
- Wrap the dough tightly in cling film and refrigerate for at least one hour to allow for starch hydration and lipid solidification.
- Preheat the oven to 180°C (350°F) and line a baking tray with parchment paper.
- Roll the chilled dough into spheres of approximately 25-30 grams each and place them on the tray.
- Use a fork to flatten each ball slightly, increasing the surface area for Maillard browning.
- Bake for approximately 16 minutes until the edges are a light amber; allow to rest on the tray for five minutes before moving to a wire rack.
Notes
To ensure the shortest possible texture, avoid overworking the dough once the flour is added, as this prevents unwanted gluten development. Using high-quality European-style butter with a higher fat content will further enhance the sandy melt-in-the-mouth quality of these traditional cookies.
- Prep Time: 1 hour 15 mins
- Cook Time: 16 mins
- Category: Dessert
- Method: Baking
- Cuisine: Dutch
The Molecular Building Blocks of Flavor
To achieve the ideal crumbly texture, we must select ingredients that offer the correct chemical properties for our emulsion. Each component in this recipe serves a specific functional purpose beyond mere taste, contributing to the overall structural integrity and aromatic depth of the final product.
- Unsalted Butter (225g): This is our primary lipid source. We use unsalted butter to maintain total control over the sodium concentration, which functions as a flavor modifier. The butter should be at a temperature where it is plastic—malleable enough to trap air but firm enough to hold its crystalline structure.
- Soft White Sugar (150g): The fine crystals of white sugar are essential for creating tiny air pockets during the creaming process. These pockets expand in the oven, contributing to the lightness of the cookie while the sugar itself provides the necessary structure through crystallization.
- Vanilla Sugar (8g): This provides a stable source of vanillin. By using sugar infused with vanilla rather than a liquid, we minimize the water content of the dough, which helps keep the texture “short.”
- Egg Yolk (1): The yolk is a powerful natural emulsifier thanks to its lecithin content. It helps bind the fat and sugar into a cohesive dough without adding the water and albumin found in the egg white, which would promote unwanted gluten development.
- All-Purpose Flour (280g): This provides the starch granules and protein necessary for the cookie’s frame. The low protein content of standard flour is ideal here as it limits the elasticity of the dough.
- Sea Salt (Pinch): Salt is a critical taste modulator. It functions by suppressing bitter notes and amplifying our perception of sweetness, making the vanilla and butter flavors appear more vibrant and intense.
The Precision Layering Method
Step 1: Initiating the Lipid-Sugar Emulsion
Begin by combining the plastic butter, white sugar, and vanilla sugar in a stand mixer. You are looking to perform the creaming method, which involves using the mechanical energy of the paddle to drive sugar crystals into the fat. This process creates a matrix of microscopic air bubbles. Continue until the mixture is visibly lighter in color and fluffy in texture, indicating that you have successfully incorporated the air necessary for a light crumb.
Step 2: Incorporating the Emulsifier
Add the single egg yolk to the butter mixture. The lecithin in the yolk will act as a bridge between the fats and any residual moisture in the sugars. Mix until the yolk is fully integrated and the emulsion looks smooth and glossy. Do not overmix at this stage; you want to maintain the air structure you developed during the creaming step.
Step 3: Integrating the Starch Matrix
Sift the flour and salt together before adding them to the wet ingredients. Sifting aerates the flour and removes any clumps, allowing for a more even distribution of the lipid coating. Fold the flour in gently or use the lowest setting on your mixer. You want to reach the point of “just combined” where the flour is fully hydrated by the fat but no gluten network has had the chance to form. The dough should feel firm and slightly tacky.
Step 4: The Thermal Setting Period
Wrap the dough tightly in cling film and place it in the refrigerator for at least one hour. This is a crucial scientific step. Chilling allows the butter to solidify, which prevents the cookies from spreading too thin in the oven. It also allows the starch granules in the flour to fully hydrate, leading to a more consistent bake and a more developed flavor profile as the enzymes begin to break down complex starches into simpler sugars.
Step 5: Shaping and Mechanical Texturing
Preheat your oven to 180°C (350°F). Roll the chilled dough into small spheres of approximately 25-30 grams. Place them on a tray lined with parchment paper, which provides a non-stick surface and helps insulate the bottom of the cookies from direct heat. Use a fork to flatten each ball slightly; the tines of the fork create more surface area, which will result in more Maillard browning and a more interesting textural contrast.
Step 6: Thermal Transformation
Bake the cookies for approximately 16 minutes. You are looking for the “golden hour” of baking—the moment when the edges turn a light amber color. This indicates that the sugars have caramelized and the pyrazines have formed. The centers should still look slightly pale. Remove from the oven and allow them to rest on the tray for five minutes; the residual heat will finish the setting process before you move them to a wire rack.
Scientific Secrets for the Perfect Crumb
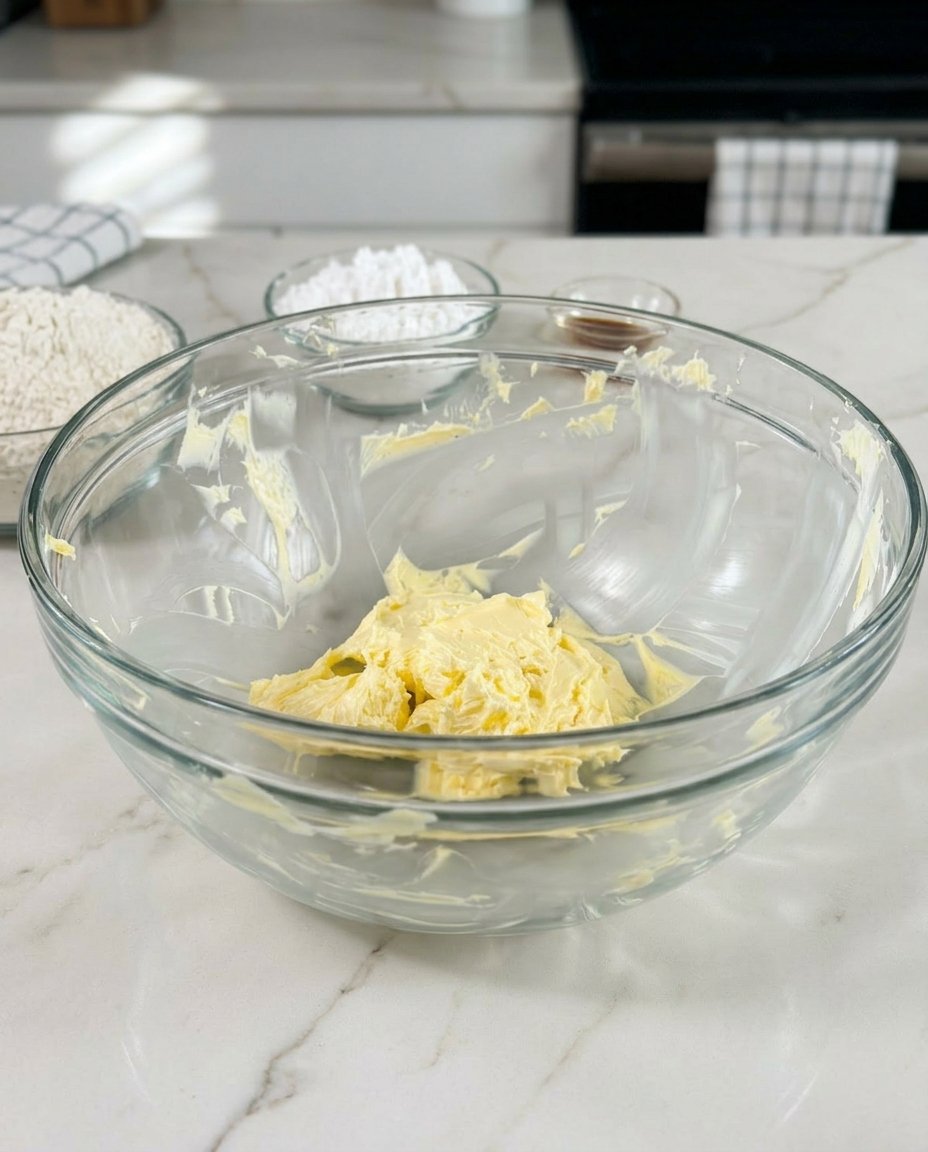
To achieve the most delicate texture, pay close attention to the temperature of your butter. If the butter is too warm, it will not hold the air bubbles created during creaming, resulting in a dense, greasy cookie. Ideally, your butter should be around 18°C (65°F). At this temperature, the fats are in a semi-crystalline state that is perfect for building structure. For more foundational techniques on managing dough temperature, you should study our guide on Efficient Cookie Methods to see how thermal control changes the outcome of your bakes.
Another trick for maximizing flavor is to toast your flour slightly before mixing. Heating the dry flour at 150°C for 10 minutes creates a deeper, nuttier flavor profile by initiating the Maillard reaction even before the dough hits the oven. This adds a layer of complexity that pairs beautifully with the simple vanilla notes. Finally, always use a scale. In a recipe this reliant on fat-to-starch ratios, a few extra grams of flour can be the difference between a sandy delight and a dry, chalky biscuit.
Analytical Flavor Variations
If you wish to experiment with the aromatic profile of these cookies, you can look into the world of terpene pairing. Adding the zest of an orange introduces limonene, a compound that shares chemical similarities with the vanillin in our dough, creating a bright, citrus-forward variation. Alternatively, adding a half-teaspoon of cardamom introduces eucalyptol, which provides a cooling contrast to the richness of the butter. Many bakers often compare these to the Dutch sand cookies which sometimes incorporate a dusting of cinnamon sugar for added crystalline texture.
For those interested in the science of spice, substituting a portion of the white sugar with dark brown sugar will introduce molasses and humectants, resulting in a chewier, more moisture-dense cookie. If you are preparing these for a themed event, you might find inspiration in our research on Holiday Cookie Science, where we analyze how different inclusions affect the spread and rise of short-dough formulas.
The Science of Flavor Pairing
The high fat content of Sandkuchen cookies makes them an ideal candidate for pairing with acidic or tannic beverages. A high-quality black tea or a light-roast coffee contains tannins and acids that help cleanse the palate of the rich butter lipids, making each subsequent bite of the cookie taste as fresh as the first. You can read more about how we analyze these beverage interactions in our Viral Cookie Analysis section.
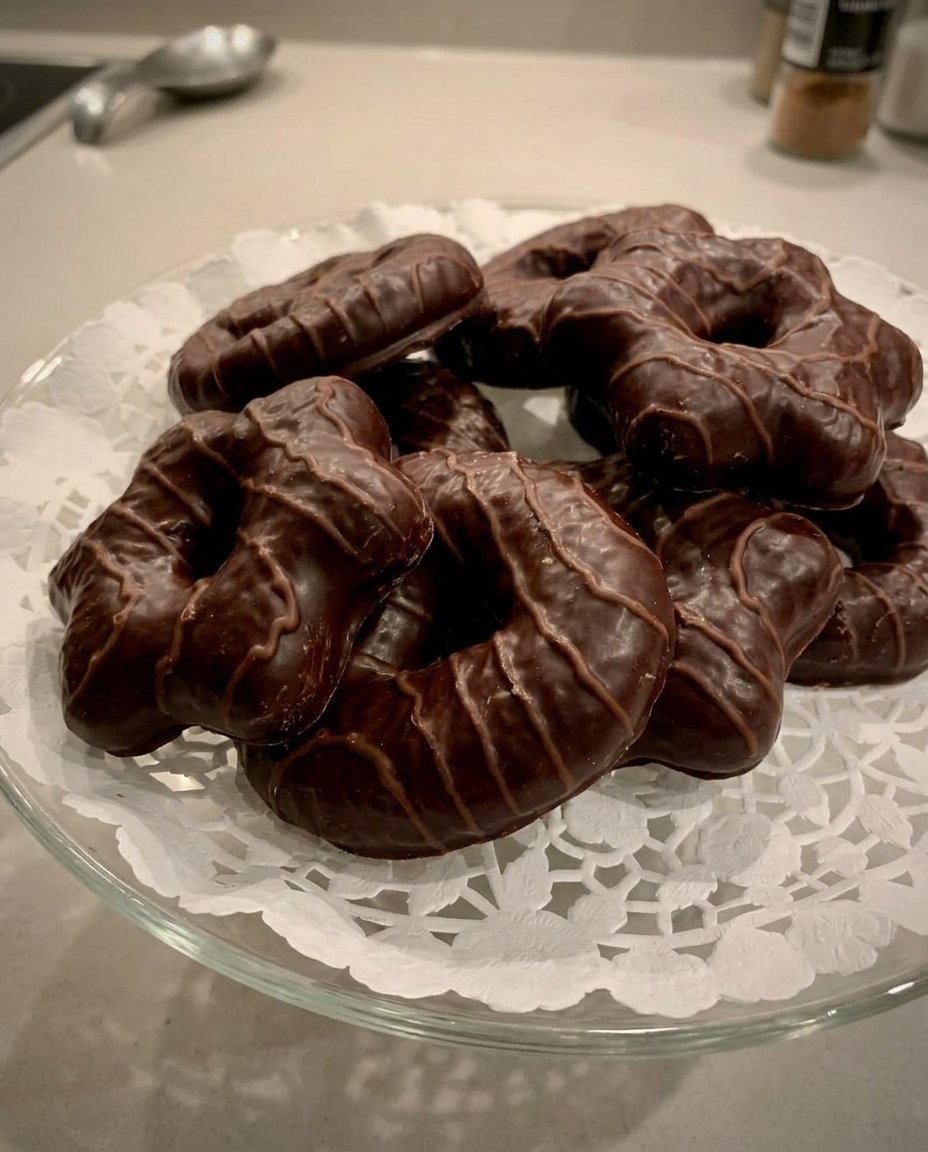
For a more decadent presentation, consider dipping half of the cooled cookie into tempered dark chocolate. The polyphenols in the chocolate provide a sophisticated bitterness that balances the simple sweetness of the vanilla. If you serve these at a gathering, try pairing them with a sharp fruit preserve like raspberry or blackcurrant; the acidity of the fruit provides a sharp contrast to the creamy mouthfeel of the cookie.
The Final Flavor Analysis
Baking these Sandkuchen cookies is more than just a kitchen task; it is an exercise in managing the physics of fat and the chemistry of aroma. By respecting the chilling times and the creaming process, you create a treat that is scientifically balanced and sensory-rich. If you are interested in further exploring the foundations of pastry chemistry, I recommend checking out our collection of Foundation Cookie Recipes. Please share your results with our community of flavor enthusiasts on Pinterest, Instagram, or Facebook. Happy baking, and keep questioning the science behind every bite!

