The history of the snickerdoodle is a fascinating journey through nineteenth-century migration, likely originating from the German ‘Schneckennudeln’ before evolving into the American pantry staple we recognize today. Victorian bakers understood that the specific chemical interaction between potassium bitartrate and sodium bicarbonate provided a unique tang and structural lift that modern leaveners often lack. This recipe honors that tradition while applying modern gluten-free science to achieve the correct textural integrity.

Achieving the perfect balance of a crisp exterior and a soft, pillowy center without wheat gluten requires a precise understanding of starch gelatinization. By using melted butter and a specific resting period, we can control the spread and ensure the cinnamon-sugar crust develops its signature crinkled appearance. This methodical approach produces a cookie that is indistinguishable from its historical predecessors, proving that classic techniques remain valid in the modern gluten-free kitchen.
The Tradition of Texture and Tang
There is a specific reason why the snickerdoodle has remained a beloved fixture in baking rotations for over a century. Unlike standard sugar cookies, these treats rely on the acidic profile of cream of tartar to prevent sugar crystallization, which results in a remarkably soft and chewy crumb. This traditional method, coupled with the warmth of high-grade cinnamon, creates a flavor profile that is both nostalgic and technically superior.
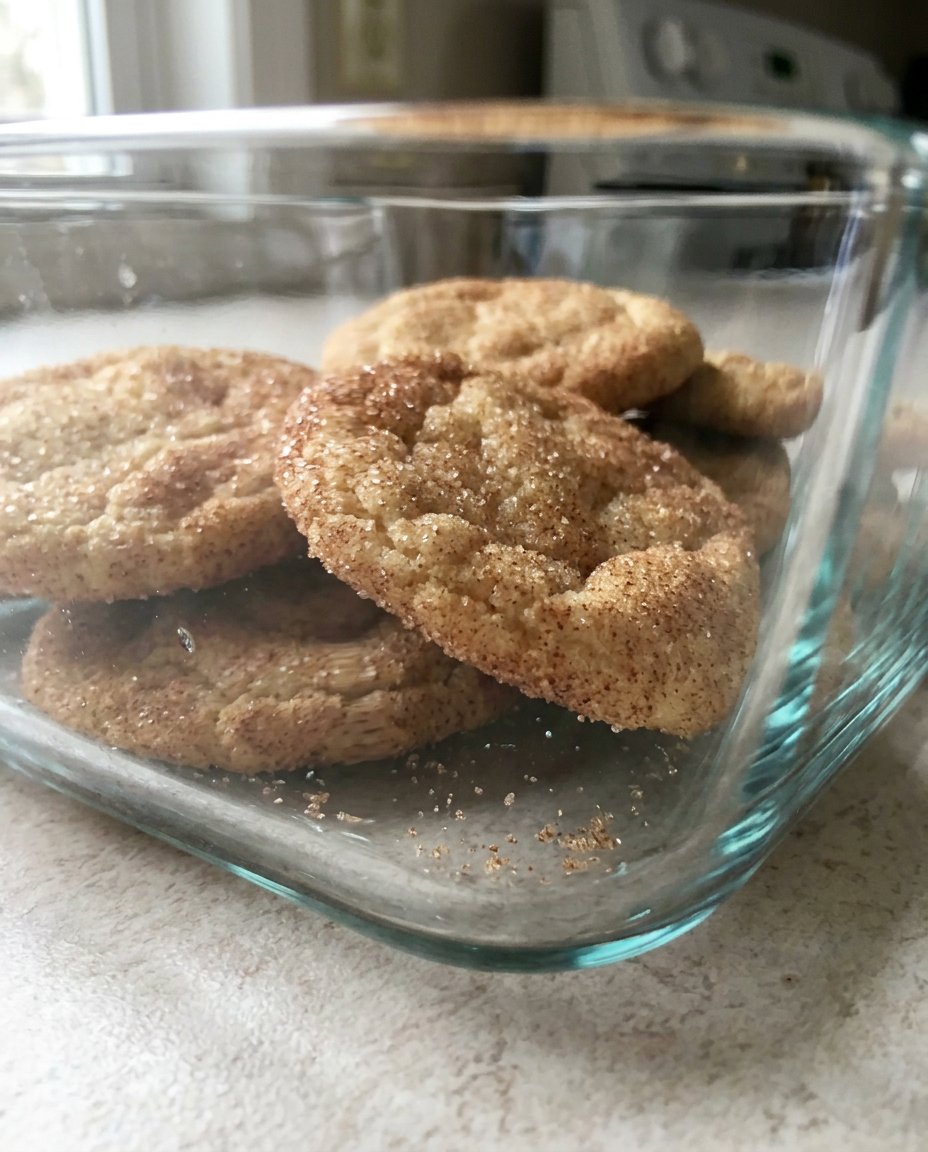
Bakers who appreciate precision will find satisfaction in how the dough responds to the rolling process. The interaction between the sugar-cinnamon coating and the internal moisture of the dough creates a controlled surface tension. As the cookies expand in the high-heat environment of the oven, this tension breaks in predictable patterns, leading to the beautiful fissures that characterize a professional-grade bake. It is a triumph of simple ingredients working in perfect harmony.
Print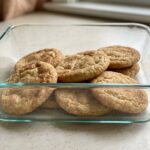
Gluten Free Snickerdoodles
- Total Time: 1 hour 25 mins
- Yield: 24 cookies
- Diet: Gluten-Free
Description
These gluten-free snickerdoodles capture the nostalgic tangy flavor and pillowy texture of the classic nineteenth-century cookie. By using melted butter and cream of tartar, this recipe ensures a perfectly crinkled, cinnamon-sugar crust with a soft, chewy center.
Ingredients
- 325 grams (2.5 cups) gluten-free flour blend
- 3/4 tsp xanthan gum (if not included in flour blend)
- 1 tsp cream of tartar
- 1/2 tsp baking soda
- 1/4 tsp salt
- 113 grams (1/2 cup) unsalted butter, melted
- 1.5 cups granulated sugar
- 2 large eggs
- 1 tsp pure vanilla extract
- 2 tbsp granulated sugar (for coating)
- 1.5 tsp ground cinnamon (for coating)
Instructions
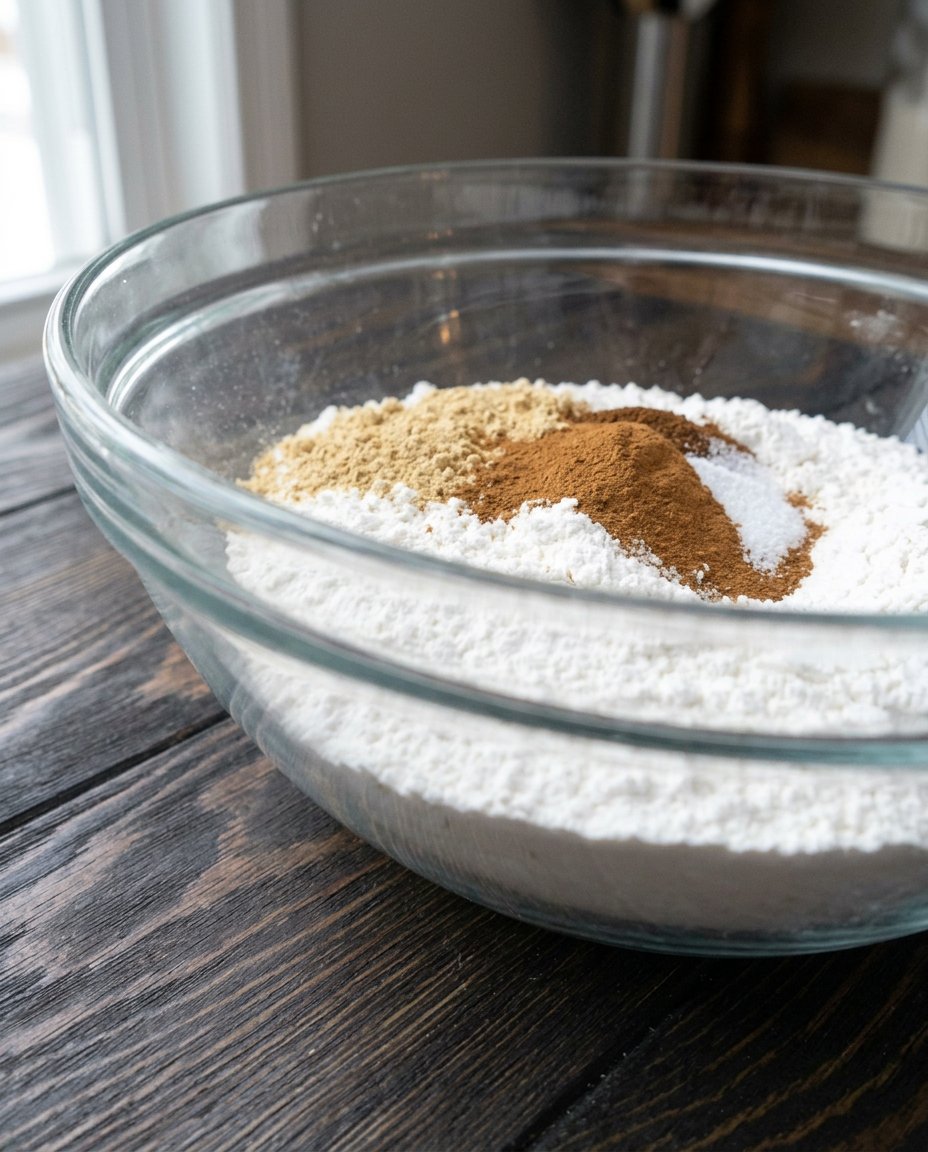
- Whisk together the gluten-free flour, xanthan gum, cream of tartar, baking soda, and salt in a bowl to ensure even distribution of leavening agents.
- Using a standing mixer fitted with a paddle attachment, combine the granulated sugar and melted butter for about 20 to 30 seconds until emulsified.
- Add the eggs and vanilla extract to the mixture and beat on medium speed for another 20 to 30 seconds.
- Incorporate the dry ingredients into the wet mixture on a low setting, mixing only until the flour streaks disappear.
- If the dough feels tacky, cover and refrigerate for one hour to allow the gluten-free starches to fully hydrate.
- Preheat your oven to 400°F (204°C) and line a baking sheet with parchment paper.
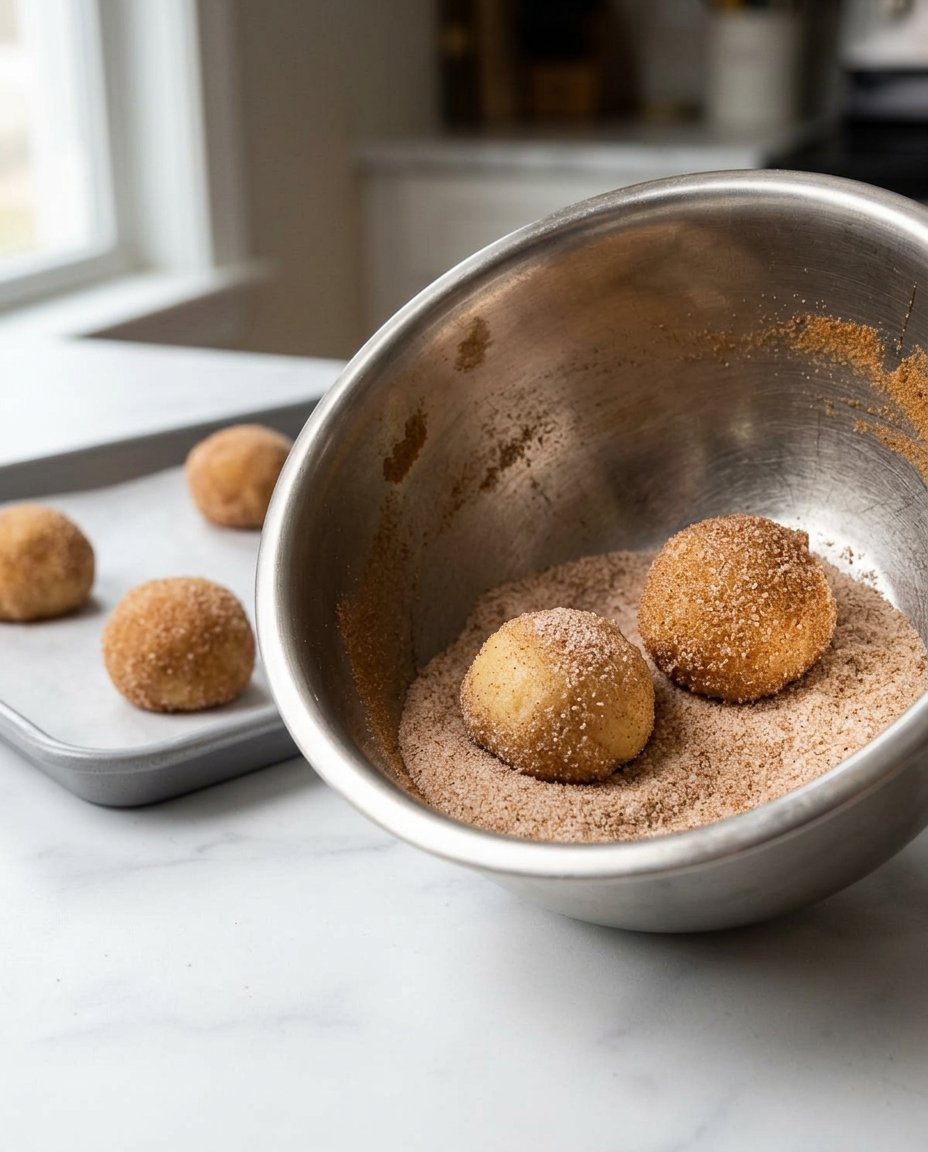
- Scoop the dough into balls (19g for small or 34g for medium), roll thoroughly in the cinnamon-sugar mixture, and place on the sheet.
- Gently depress the tops of the balls and bake for 7 to 10 minutes depending on size; remove when centers are slightly underdone for a chewier texture.
Notes
For the most consistent results, always use a digital kitchen scale to measure your flour and portion out your dough balls. Ensuring your eggs are at room temperature before mixing will prevent the melted butter from seizing, resulting in a much smoother cookie dough emulsion.
- Prep Time: 15 mins
- Cook Time: 10 mins
- Category: Dessert
- Method: Baking
- Cuisine: American
Historical Ingredients and Modern Ratios
To recreate the authentic snickerdoodle experience without gluten, we must be methodical about our ratios and ingredient quality. The structural foundation relies on a high-quality gluten-free flour blend, ideally one that balances rice flour with starches like potato or tapioca to mimic the protein structure of wheat.
- Gluten-Free Flour (325 grams): Precision in weight is vital; 2.5 cups should equal 325 grams to ensure the hydration levels are correct. If your blend lacks xanthan gum, adding 3/4 tsp is necessary to provide the elasticity typically found in gluten.
- Cream of Tartar (1 tsp): This is the soul of the snickerdoodle. It provides the signature tartness and contributes to the chemical reaction that ensures a soft, rather than crunchy, interior.
- Melted Butter (113 grams): Using melted butter instead of room-temperature creamed butter changes the emulsion. It results in a denser, chewier cookie that holds its shape better in a gluten-free format.
- Granulated Sugar (1.5 cups): Sugar acts as a liquefier during the baking process. In this recipe, the ratio is calculated to allow for a slight spread while maintaining enough body to support the crackled top.
- Cinnamon-Sugar Mixture: The ratio of 2 tablespoons sugar to 1.5 teaspoons cinnamon is the traditional standard, providing a bold aromatic profile without overpowering the delicate butter notes.
The Proper Method
Step 1: Prepare the Dry Foundation
In a stainless steel or glass bowl, whisk together the gluten-free flour, xanthan gum (if not in your blend), cream of tartar, baking soda, and salt. This step is critical for aeration and ensuring the leavening agents are evenly distributed to prevent uneven rising.
Step 2: Establish the Fat and Sugar Emulsion
Using a standing mixer fitted with the paddle attachment, combine the granulated sugar and melted butter. Beat for approximately 20 to 30 seconds. Because the butter is melted, we are not looking for the aeration of a traditional creaming method, but rather a stable emulsion of fat and sugar.
Step 3: Integrate the Proteins and Aromatics
Add the eggs and pure vanilla extract to the mixture. Beat for another 20 to 30 seconds on medium speed. This introduces the necessary moisture and proteins that will set the structure of the cookie once it hits the heat of the oven.
Step 4: Combine with Precision
Incorporate the dry ingredients into the wet mixture on a low setting. It is important to mix only until the flour streaks disappear. While gluten development isn’t a concern here, over-mixing can still introduce too much air, which might lead to a puffy cookie rather than the traditional dense chew.
Step 5: The Hydration Rest
If the dough feels overly tacky, cover and refrigerate for one hour. This allows the gluten-free starches to fully hydrate, a process that is essential for a smooth mouthfeel and better structural integrity during the bake.
Step 6: Shape and Coat
Preheat your oven to 400°F (204°C). Scoop the dough into consistent balls—19 grams for small or 34 grams for medium. Roll each ball in the cinnamon-sugar mixture until fully encapsulated. Place them two inches apart on a parchment-lined sheet and gently depress the tops to encourage the signature spread.
Step 7: The High-Heat Bake
Bake small cookies for 7 to 8 minutes and medium for 9 to 10 minutes. For a chewier result, remove the tray when the centers still appear slightly underdone; the residual heat will finish the cooking process on the tray.
Jordan’s Technique Notes
When working with gluten-free chemistry, the temperature of your eggs can drastically change the final texture. Using room-temperature eggs ensures they emulsify properly with the melted butter, preventing the batter from ‘breaking.’ For those interested in the foundational science of these doughs, you might find our guide on Foundation Cookie Recipes particularly enlightening. Furthermore, always use a kitchen scale for your flour; volume measurements can vary by as much as 20% depending on how the flour is packed, which is the primary cause of cookies that are either too dry or too flat.
Regional Differences and Adaptations
While the classic cinnamon coating is traditional, some heritage variations from the Mid-Atlantic regions occasionally used a touch of nutmeg or even mace to add a deeper, more savory spice profile. If you are baking for a specific season, our research into Holiday Cookie Science shows that swapping white sugar in the dough for a light brown sugar can result in a deeper molasses undertone, though this will slightly alter the ‘crackle’ pattern. For a dairy-free version, a high-quality vegan butter stick with a low water content is the best substitute to maintain the fat-to-starch ratio.
Traditional Service and Enjoyment
In the British tradition, these cookies serve as an excellent accompaniment to a robust Earl Grey tea. The citrus notes of the bergamot complement the cinnamon and the slight acidity of the cream of tartar beautifully. For more advice on high-yield baking for gatherings, consult our Efficient Cookie Methods. Historically, snickerdoodles were often served at room temperature on a porcelain platter to showcase their intricate surface patterns during afternoon social calls.
The Technical Truth
Mastering the gluten-free snickerdoodle is a rewarding endeavor that bridges the gap between historical tradition and modern dietary needs. By respecting the chemical necessity of cream of tartar and the physics of dough hydration, you can produce a cookie that honors the legacy of generations of bakers. For further deep dives into the molecular behavior of starch in baking, refer to our Viral Cookie Analysis. We invite you to share your results with our community of methodical bakers on Facebook, Instagram, and Pinterest.
