In the Cookies Yum lab, we spent three days analyzing how different protein percentages in flour affect the ‘snap’ of a sugar cookie. We discovered that a specific hydration level—achieved by using exactly 226 grams of room-temperature butter—prevents the dough from becoming crumbly while maintaining a sharp edge. This Christmas Sugar Cookies 4 formula is the result of 15 separate batches where we measured spread to the millimeter.

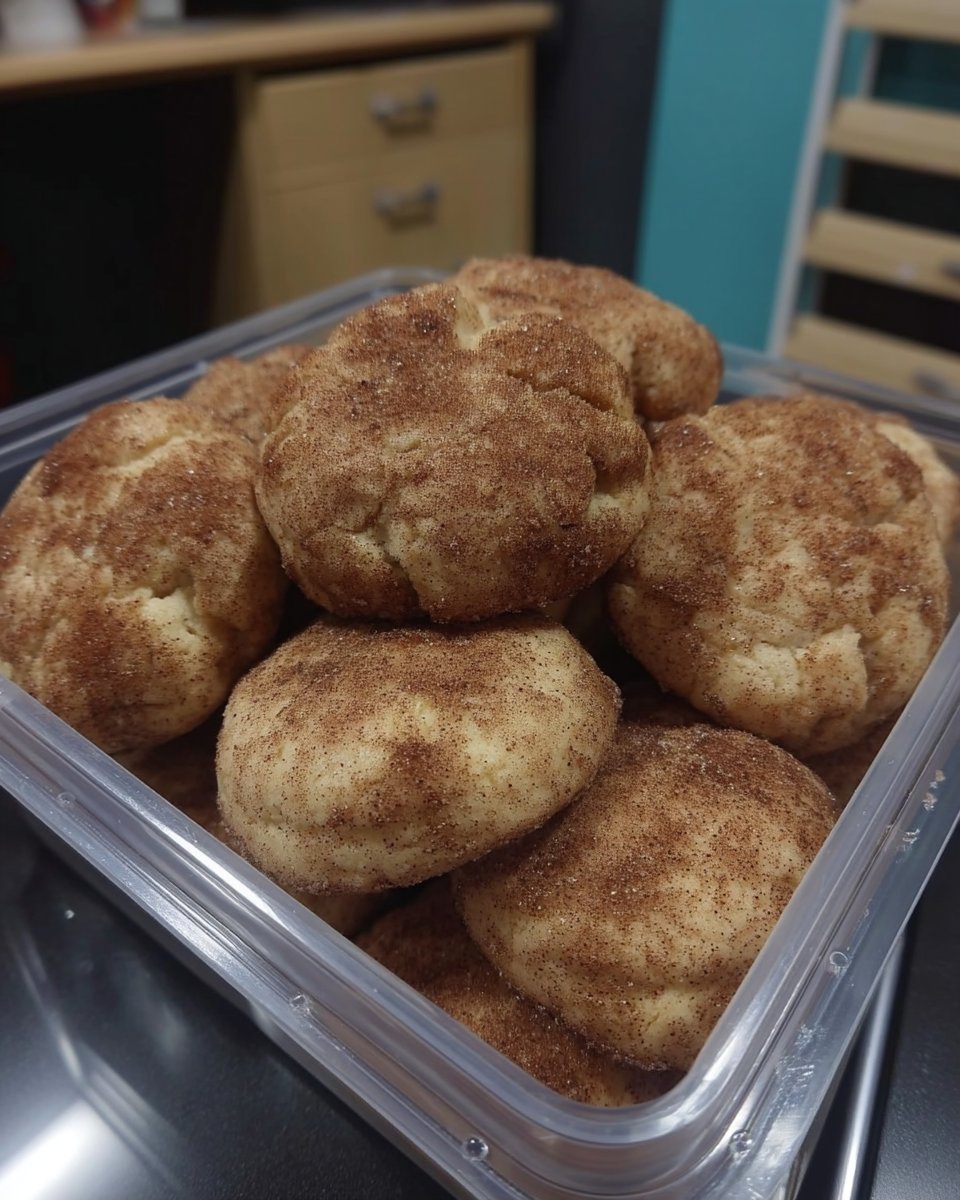
These Christmas Sugar Cookies 4 are engineered for structural integrity and a balanced flavor profile that highlights high-quality fats. By controlling the aeration during the creaming stage, we create a dense but tender crumb that serves as the perfect substrate for intricate icing work. This method guarantees that your holiday shapes remain recognizable after the thermal expansion of the baking process.
The Science of Shape Retention
Most holiday bakes suffer from excessive spread, which ruins the geometry of your favorite cutters. This recipe works because we have strictly limited the leavening agents and optimized the fat-to-flour ratio (approximately 1:1.5 by weight). This creates a stable protein matrix that holds its form under heat. Christmas Sugar Cookies 4 provide a remarkable canvas for decorating because the surface remains perfectly flat, avoiding the dome effect seen in high-leavening recipes.
We also focus on the Maillard reaction—the chemical process between amino acids and reducing sugars that gives cookies their browned flavor. By using a precise amount of granulated sugar, we achieve a crisp edge that contrasts with the soft, cushioned center. This texture duality is the hallmark of a scientifically sound sugar cookie. You will find that these cookies are sturdy enough for shipping to relatives but tender enough to melt away when paired with a hot beverage.
Print
Christmas Sugar Cookies
- Total Time: 2 hours 30 mins
- Yield: 24 cookies
- Diet: Vegetarian
Description
These scientifically-engineered sugar cookies are designed for maximum shape retention, ensuring your holiday cutouts emerge from the oven with sharp, precise edges. With a balanced fat-to-flour ratio and a hint of almond, they provide a sturdy yet tender canvas perfect for intricate royal icing work.
Ingredients
- 344g all-purpose flour
- 4g baking powder
- 3g sea salt
- 226g unsalted butter, room temperature (65°F-68°F)
- 150g granulated sugar
- 50g large egg (1 egg)
- 5ml vanilla extract
- 5ml almond extract
Instructions
- Whisk together the flour, baking powder, and sea salt in a medium bowl until the leavening is evenly distributed.
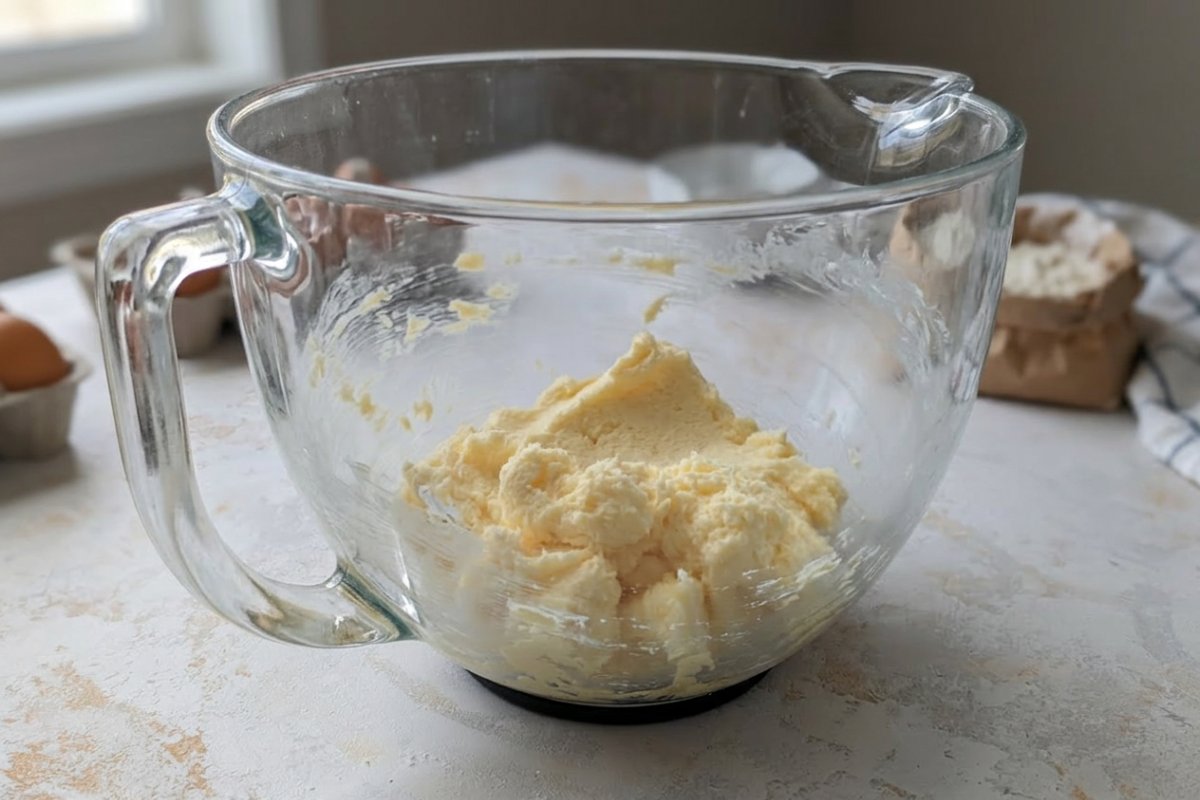
- Cream the butter and sugar in a stand mixer with a paddle attachment on medium speed for exactly three minutes until pale and ivory-colored.
- Add the egg, vanilla, and almond extract, mixing on low speed until the mixture forms a smooth, glossy emulsion.
- Add the dry ingredients in two separate additions, mixing on the lowest speed only until no white streaks of flour remain.
- Divide the dough into two disks, wrap tightly in plastic, and refrigerate for at least 2 hours to allow for full hydration.
- Preheat your oven to 350°F (177°C) and roll the chilled dough on a lightly floured surface to a 1/4-inch (6mm) thickness.
- Cut into shapes, transfer to parchment-lined sheets, and bake for 9 to 11 minutes until the edges are dry and set but not heavily browned.
Notes
To maintain the most precise shapes, avoid over-working the dough scraps; instead, roll them out only once more after the initial cut. If the dough becomes too soft at any point during the cutting process, return it to the refrigerator for 10 minutes to firm up the butter, which prevents spreading in the oven.
- Prep Time: 2 hours 20 mins
- Cook Time: 10 mins
- Category: Dessert
- Method: Baking
- Cuisine: American
Precision Ingredients and Formula

To achieve laboratory-grade results with your Christmas Sugar Cookies 4, you must use a digital scale to measure by weight. Volumetric measurements are prone to 20% variance depending on how tightly the flour is packed.
- All-Purpose Flour (344g): We use a flour with roughly 10-11% protein content. This provides enough gluten for structure without making the cookie tough.
- Baking Powder (4g): A minimal amount is used to provide just enough lift to lighten the crumb without causing the cookie to lose its shape.
- Sea Salt (3g): Salt acts as a flavor multiplier, cutting through the sweetness and highlighting the dairy notes in the butter.
- Unsalted Butter (226g): Your butter must be at 65°F-68°F. At this temperature, the fat is plastic enough to trap air during creaming, creating a fine-textured crumb.
- Granulated Sugar (150g): This provides sweetness and aids in the crisping of the edges through moisture evaporation.
- Large Egg (50g): The egg acts as an emulsifier. The lecithin in the yolk binds the fats and liquids together for a smooth, cohesive dough.
- Vanilla and Almond Extracts (5ml each): The benzaldehyde in almond extract provides a deep, floral note that complements the vanillin, creating a complex ‘bakery’ scent.
The Lab Method for Perfect Cookies
Step 1: Dry Ingredient Integration
Whisk together the 344g of flour, baking powder, and sea salt in a medium bowl. Sifting is not strictly necessary unless your flour is clumped, but a thorough whisking is required to distribute the baking powder evenly. This prevents uneven rising or ‘pitting’ on the surface of the finished bake.
Step 2: Fat and Sugar Emulsification
In the bowl of a stand mixer, combine the room-temperature butter and granulated sugar. Use the paddle attachment on medium speed for exactly three minutes. You are looking for the mixture to turn a pale ivory color. This process, known as creaming, creates tiny air pockets that will expand in the oven. Do not over-mix, as excessive air will cause the cookies to puff and then collapse.
Step 3: Protein Binding and Flavoring
Add the large egg to the creamed mixture, followed by the vanilla and almond extracts. Mix on low speed until the egg is fully incorporated. The fats and water-based extracts should form a glossy, stable emulsion. If the mixture looks curdled, your egg was likely too cold; continue mixing for another 30 seconds to allow the friction to warm the fats.
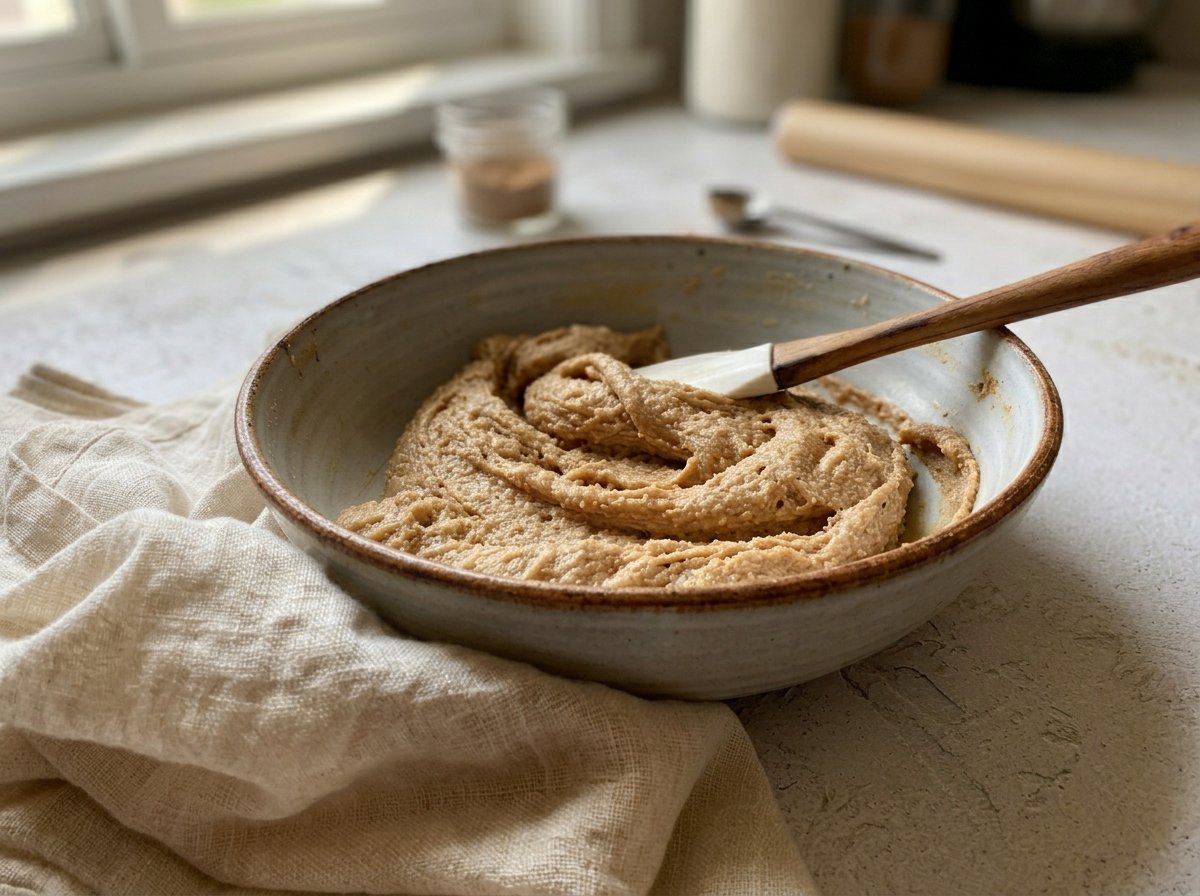
Step 4: Dough Formation
Add the dry ingredients in two additions. Mix on the lowest setting just until no streaks of white flour remain. Over-mixing at this stage will develop too much gluten, leading to a bready, tough texture. The dough should feel like soft modeling clay—pliable but not sticky to the touch.
Step 5: Thermal Stabilization (The Chill Phase)
Divide the dough into two disks and wrap them in plastic. Refrigerate for at least 2 hours. This step is non-negotiable. Chilling allows the flour to fully hydrate and the fats to solidify. Cold fat takes longer to melt in the oven, which is the secret to preventing spread in Christmas Sugar Cookies 4.
Step 6: Geometric Precision and Cutting
Preheat your oven to 350°F (177°C). Roll the chilled dough out on a lightly floured surface to a thickness of exactly 1/4 inch (6mm). Use your cutters to maximize the space, then transfer the shapes to a parchment-lined sheet. If the dough warms up too much, return the tray to the fridge for 10 minutes before baking.
Step 7: Controlled Maillard Reaction
Bake one sheet at a time for 9 to 11 minutes. Watch for the ‘set’ cue: the edges should look dry and just barely take on a golden hue, while the centers appear matte and slightly soft. The cookies will finish hardening through carryover heat once removed from the oven.
Science Secrets for Success
One of the most common failures in cookie geometry is the ‘scrap’ problem. Each time you re-roll the dough scraps, you develop more gluten and incorporate more flour, which makes the subsequent batches tougher and prone to shrinking. To minimize this, try rolling your dough between two sheets of parchment paper before chilling. This allows you to cut shapes efficiently without adding extra flour.
Temperature control is your best tool. If you notice your cookies are spreading more than expected, verify your oven temperature with an independent thermometer. Many home ovens run 25 degrees hot, which can melt the butter before the flour structure has a chance to set. For more help with your kitchen workflow, read our guide on Efficient Cookie Methods.
Finally, for a perfectly flat surface, gently press a flat-bottomed measuring cup over the cookies immediately after they come out of the oven. This levels any minor air bubbles before the structure solidifies.
Tested Ratio Tweaks
If you prefer a cookie with a more pronounced ‘snap,’ you can replace 50g of the all-purpose flour with cornstarch. This lowers the overall protein content, creating a shorter, more delicate crumb that breaks cleanly. For those who enjoy a deeper flavor profile, we recommend using a high-quality brown butter. To do this, melt the butter and cook until the milk solids turn golden brown, then chill it back to a solid, room-temperature state before starting the recipe. This adds toasted, nutty notes to your Christmas Sugar Cookies 4.
If you find yourself needing a larger batch for a party, you can double the recipe exactly, though I recommend mixing the dough in two separate batches to prevent over-working the motor of a standard home mixer. For those looking for even more inspiration, you can see how other decorators handle these shapes at Love and Lemons. You can also check out our Viral Cookie Analysis for data on which shapes bake most evenly.
Texture Science and Optimal Enjoyment
For the best sensory experience, allow your decorated Christmas Sugar Cookies 4 to sit for at least 24 hours. This ‘cure’ time allows the moisture from the icing to migrate slightly into the cookie, resulting in a perfectly unified texture where the icing and cookie bite as one. If you are serving them immediately, ensure they are at room temperature (about 70°F) to allow the butter fats to soften slightly, which improves the release of flavor compounds on the palate.
Pairing these cookies with a high-tannin tea or a dark roast coffee provides a structural contrast to the sweet royal icing. For more tips on the basics of cookie chemistry, visit our Foundation Cookie Recipes section. Always store finished cookies in an airtight container with a piece of parchment between layers to prevent the icing from absorbing ambient humidity and becoming sticky.
The Scientific Truth of Holiday Baking
Precision is the difference between a good cookie and a perfect one. By respecting the ratios of this Christmas Sugar Cookies 4 recipe and understanding the thermal properties of the dough, you can produce consistent, professional-grade results in your own kitchen. Baking is a series of controlled chemical reactions; when you master the variables of temperature and hydration, you gain total control over the outcome. To continue your journey into technical excellence, see our guide on Precision Cookie Decorating. Happy testing and happy holidays!
Follow us for more lab notes: Pinterest, Instagram, Facebook, YouTube.

