Victorian bakers often utilized moisture-intensive squash in their cakes to maintain freshness before modern preservation methods existed. This historical necessity taught us that the structural integrity of a biscuit depends entirely on managing the water content of the fruit or vegetable. Today, we apply this scientific understanding to create a cookie that is remarkably tender without becoming unpleasantly cakey.

These Pumpkin Chocolate Chip Cookies represent a precise marriage of 19th-century technique and modern chemical testing. By employing a rigorous moisture-reduction method for the pumpkin and a controlled brown butter emulsion, we achieve a depth of flavor that is truly unparalleled. The result is a sophisticated treat that honors tradition through technical excellence.
The Scientific Triumph of Texture
One of the most fascinating challenges in the test kitchen is managing the hydration levels in pumpkin-based bakes. Traditional recipes often produce a bread-like texture, which, while pleasant, lacks the classic ‘snap’ and ‘chew’ of a proper biscuit. By removing excess water from the pumpkin puree, we concentrate the natural sugars and starches, allowing for a much richer interaction with the fats and proteins in the dough.
Historical bakers understood that ingredients like pumpkin contain upwards of 90% water. This excess moisture often interferes with gluten development and the Maillard reaction. Our method bypasses this by physically extracting the liquid, resulting in a concentrated flavor profile that stands up to the robustness of brown butter. You will find that the structural integrity of these cookies is far superior to standard autumnal recipes.
Furthermore, the use of dark brown sugar introduces a specific level of acidity that reacts beautifully with the baking soda. This creates a fine, even crumb and a caramel-like undertone that complements the earthy notes of the pumpkin. It is a triumph of culinary chemistry that yields a sophisticated, melty, and deeply satisfying result every single time.
Print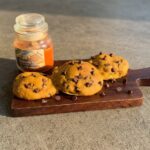
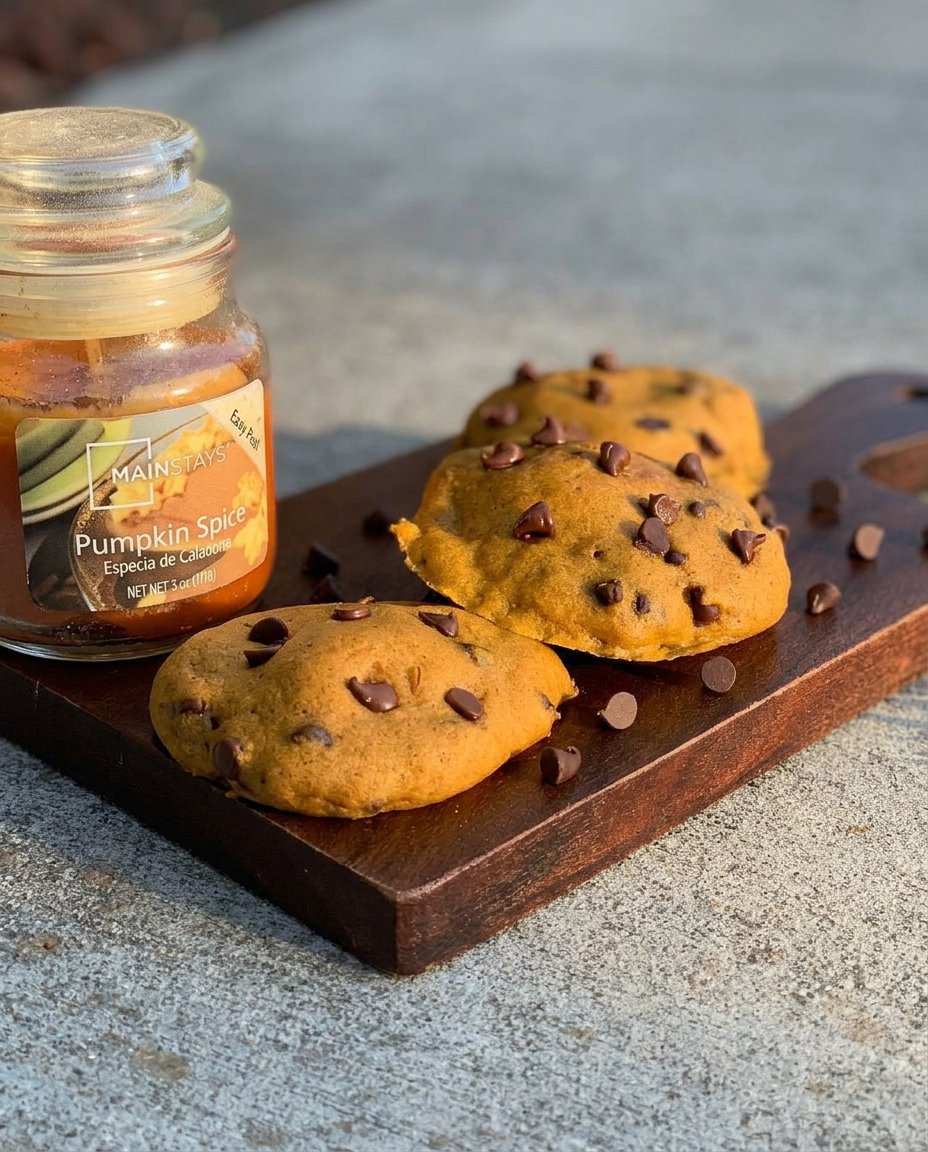
Pumpkin Chocolate Chip Cookies
- Total Time: 42 mins
- Yield: 16 cookies
- Diet: Vegetarian
Description
Experience the perfect balance of 19th-century baking techniques and modern culinary science with these exceptionally tender cookies. By reducing pumpkin moisture and using rich brown butter, you achieve a sophisticated treat that avoids the typical cakey texture of autumnal bakes.
Ingredients
- 2/3 cup high-quality pumpkin puree (reduced to 1/3 cup)
- 1 cup unsalted butter
- 1 cup dark brown sugar
- 1/2 cup granulated sugar
- 2 large egg yolks
- 1 tablespoon vanilla extract
- 2 1/4 cups all-purpose flour
- 1 teaspoon baking soda
- 1 teaspoon kosher salt
- 2 teaspoons pumpkin pie spice
- 1 1/2 cups semisweet chocolate chips (60% cacao recommended)
Instructions
- Place pumpkin puree in a paper-towel-lined fine-mesh strainer over a bowl for 15 minutes to draw out surface moisture.
- Melt butter in a saucepan over medium heat, stirring until it reaches a light amber color and nutty fragrance, then transfer to a glass bowl to cool.
- Wring out the pumpkin puree using fresh paper towels three times until it forms a thick, concentrated paste.
- Whisk the cooled brown butter with the dark brown and granulated sugars, then add egg yolks, vanilla, and 1/3 cup of the reduced pumpkin paste until glossy.
- In a separate bowl, whisk the flour, baking soda, salt, and spices together before gently folding them into the wet ingredients.
- Fold in the chocolate chips just until combined, then scoop 2 oz portions onto a parchment-lined baking sheet.
- Bake at 350°F (175°C) for 10-12 minutes until the edges are set but the centers remain soft; allow to cool on the tray.
Notes
To ensure the most consistent texture, let your brown butter cool until it is no longer steaming before mixing with the sugars; using hot fat can lead to a greasy dough. If you prefer a more ripples in your cookies, try the ‘pan-banging’ method by firmly tapping the tray on the oven rack halfway through the baking process.
- Prep Time: 30 mins
- Cook Time: 12 mins
- Category: Dessert
- Method: Baking
- Cuisine: American
Proper Components for Historical Precision
To achieve the perfect balance in these Pumpkin Chocolate Chip Cookies, each ingredient must be selected and prepared with intentionality. We are not merely mixing items; we are building a stable emulsion that will withstand the heat of the oven while maintaining a tender center.
- Concentrated Pumpkin Puree: We use 2/3 cup of high-quality puree, which is then reduced through a series of wringing steps to roughly 1/3 cup. This removal of water is critical for preventing a ‘spongy’ texture.
- Beurre Noisette (Brown Butter): One cup of unsalted butter is cooked until the milk solids caramelize. This adds a toasted, nutty aroma and reduces the water content of the butter itself, leading to a more concentrated fat profile.
- Dark Brown Sugar: The high molasses content in dark brown sugar provides the necessary hygroscopic properties to keep the cookies moist without the need for excess water. It also facilitates a deeper browning through the Maillard reaction.
- Egg Yolks: By omitting the whites, we reduce the total water and protein that can lead to toughness. The yolks provide rich lecithin, which acts as a powerful emulsifier for a silky dough.
- Specific Spice Ratios: A blend of pumpkin pie spice and kosher salt provides a balanced flavor profile. The salt is essential for cutting through the richness of the fats and highlighting the chocolate.
- Semisweet Chocolate: I recommend a 60% cacao content to provide a sophisticated bitterness that offsets the sweetness of the pumpkin and sugars.
The Proper Method
Step 1: Moisture Extraction and Concentration
Place a fine-mesh strainer over a bowl and line it with a paper towel. Scoop the pumpkin puree into the center. This is a technique rooted in early jelly-making, where gravity and surface tension assist in separating liquids from solids. Allow it to sit for approximately 15 minutes, during which time the paper towel will draw out the initial layer of surface moisture. This step is non-negotiable for those seeking a professional texture.
Step 2: Achieving Beurre Noisette
In a heavy-bottomed saucepan over medium heat, melt the unsalted butter. As it bubbles, the water is evaporating. Once the bubbling subsides and the foam appears, stir continuously. You are looking for a light amber color and a distinct nutty fragrance. This process, known as the Maillard reaction of milk solids, creates the flavor foundation of our cookie. Immediately transfer to a glass vessel to halt the cooking process and preserve the delicate volatile compounds.
Step 3: Mechanical Moisture Reduction
Return to your pumpkin. Transfer the mass to a fresh paper towel and wring it out over the sink. Repeat this process three times using clean towels until you have a thick, paste-like consistency. This physical reduction of water allows us to pack the pumpkin into a 1/3 cup measure. Historically, this method was used to create dense fruit pastes, and it works perfectly here to ensure our cookies don’t spread into puddles.
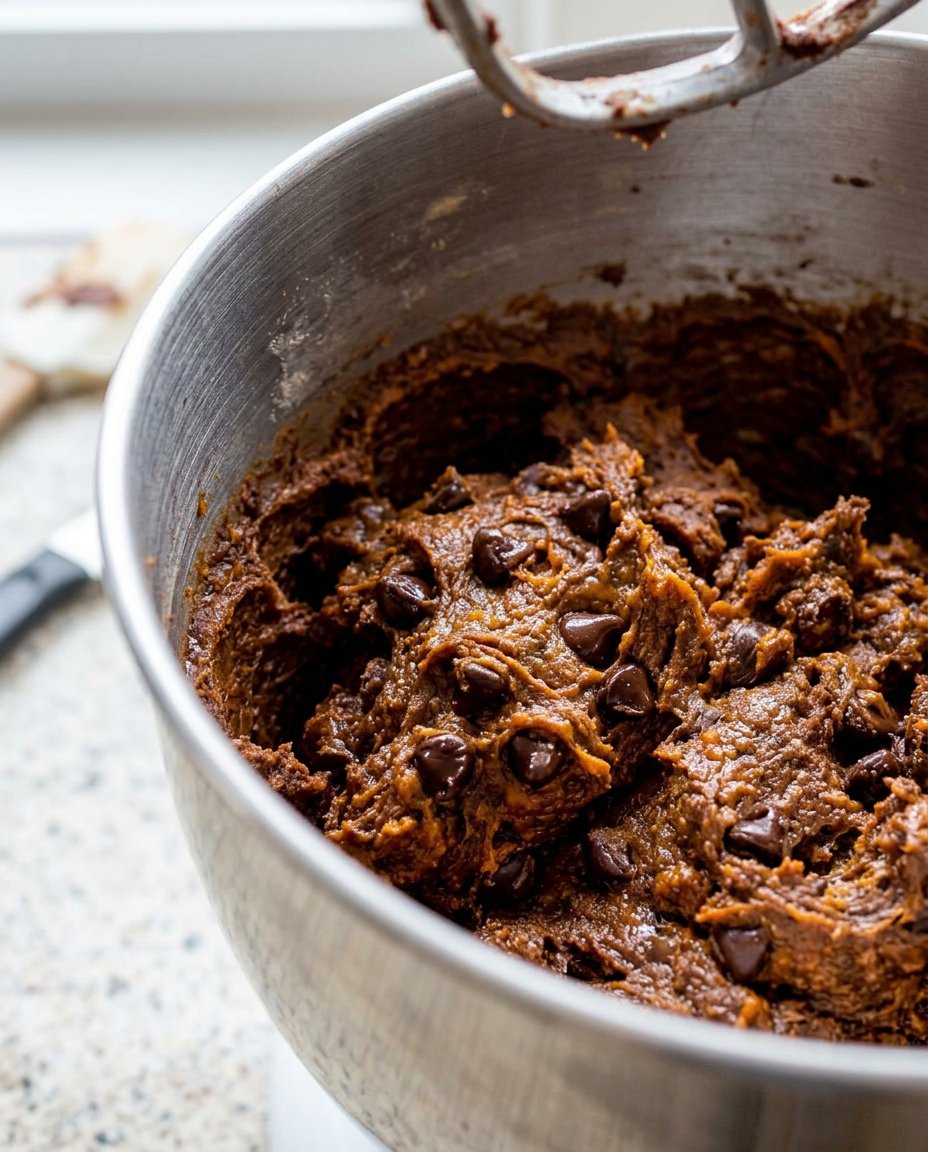
Step 4: The Emulsification Process
In a large bowl, combine the cooled brown butter with both sugars. Whisk vigorously. The goal here is to partially dissolve the sugar crystals into the fat. Add the egg yolks, vanilla, and the reduced pumpkin paste. Whisk until the mixture is glossy and homogeneous. You are creating a stable emulsion that will hold the dry ingredients in suspension, preventing the fats from leaking out during the bake.
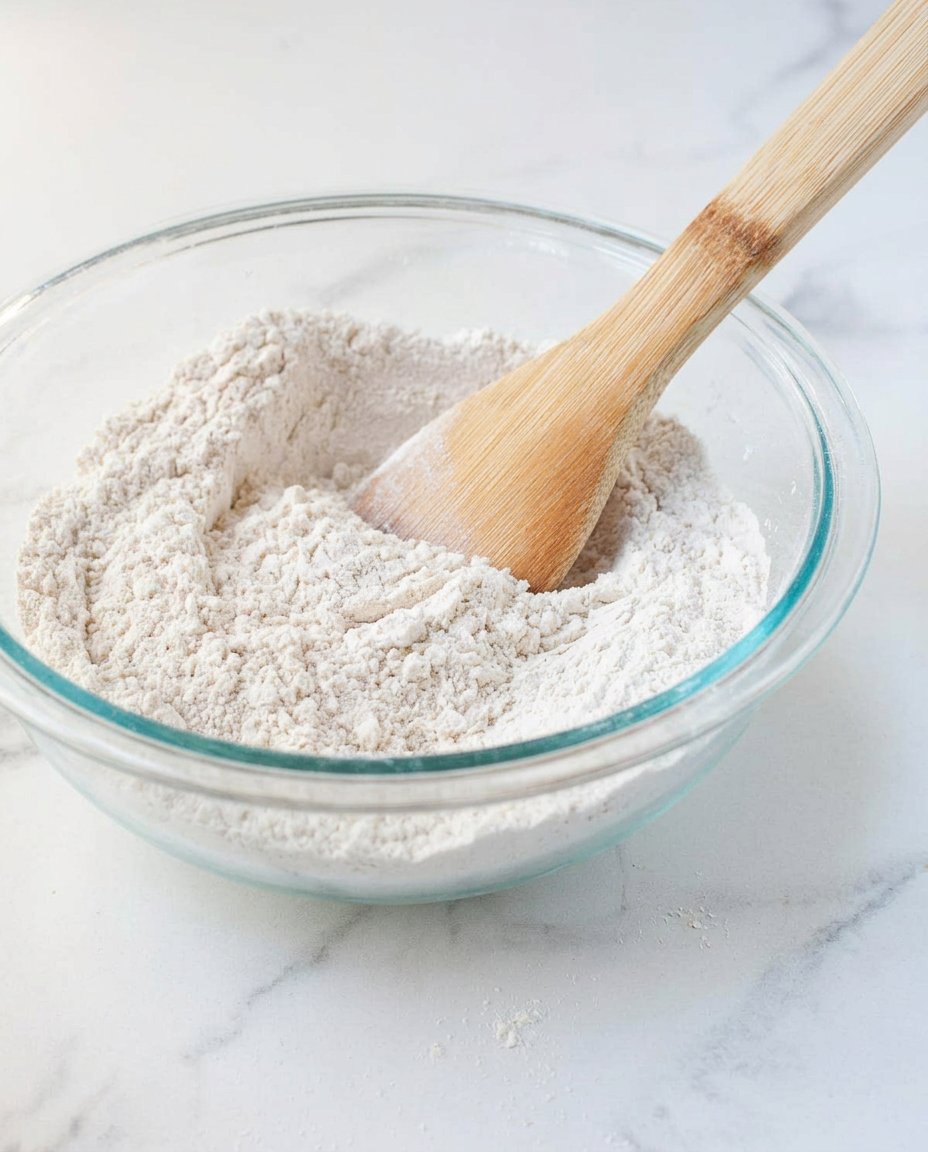
Step 5: Incorporating the Dry Matrix
In a separate vessel, whisk together the flour, baking soda, salt, and spices. Sifting is encouraged to avoid clumps of soda. Gently fold the dry ingredients into the wet mixture using a rubber spatula. Use a folding motion rather than stirring to avoid overworking the gluten. Just as the last streaks of flour disappear, fold in the semisweet chocolate chips. This preserves the structural air pockets created during the mixing phase.
Step 6: The Controlled Bake
Preheat your oven to 350°F (175°C). Use a 2 oz scoop to place four dough balls onto a parchment-lined sheet. This spacing is vital for proper heat distribution. Bake for 10-12 minutes. The cookies are ready when the edges are set and slightly darkened, but the centers still appear somewhat soft. This carry-over cooking on the hot tray will finish the centers perfectly while maintaining a gooey interior.
Precision Technique Notes
One of the most critical aspects of this bake is the temperature of your brown butter. It should be liquid but not boiling when combined with the sugars. If the fat is too hot, it will melt the sugar prematurely, leading to a greasy finish. For a deeper understanding of these interactions, I recommend reviewing our Foundation Cookie Recipes which cover the physics of fat-sugar bonds. Furthermore, the quality of your pumpkin is paramount. Always use 100% pure pumpkin rather than pumpkin pie filling, which contains additives that disrupt the chemical balance of the dough.
Testing has shown that ‘pan-banging’—the act of dropping the baking sheet on the counter halfway through the bake—can create beautiful ripples and a denser edge. This technique, popularized in modern kitchens, mimics the uneven heat distribution of older wood-fired ovens. For those following the Butternut Bakery approach, you will find that a light sprinkle of sea salt immediately after baking enhances the chocolate’s profile significantly.
Classic Adaptations and Regional Differences
While the base recipe is technically sound, one can explore regional variations that honor different baking heritages. In some British traditions, one might substitute the semisweet chips for chopped dark chocolate with a higher cocoa butter content. This creates ‘pools’ of chocolate rather than distinct chips. You can find more on this in our guide to Holiday Cookie Science.
Another historical variation involves the inclusion of finely chopped pecans or walnuts. The tannins in the nuts provide a structured bitterness that works in harmony with the pumpkin. If you prefer a more spiced profile, consider the ‘Shrewsbury’ method of adding a touch of freshly grated nutmeg and mace, which was common in 18th-century English biscuits. This adds a sophisticated, aromatic layer that differentiates your bake from more commercial versions.
Traditional Service and Enjoyment
In the spirit of British afternoon tea, these cookies are best served at room temperature, accompanied by a robust Assam or a delicate Earl Grey. The tannins in the tea provide a refreshing contrast to the richness of the brown butter. For a more formal presentation, you might consider our tips on Precision Cookie Decorating to add a light drizzle of tempered chocolate.
Historically, pumpkin bakes were often served alongside a small glass of fortified wine, such as a dry sherry. The acidity and oxidized notes of the wine highlight the caramelization of the sugars in the biscuit. If serving at a gathering, arrange them on a pre-warmed ceramic platter to maintain the softness of the chocolate chips for as long as possible.
The Technical Truth of Tradition
Mastering the Pumpkin Chocolate Chip Cookie is less about following a list of ingredients and more about respecting the physical properties of those components. By understanding how to manipulate moisture and fat, we bridge the gap between historical wisdom and modern culinary science. I encourage you to master the moisture-reduction technique, as it is a foundational skill for any baker interested in Technical Bakes.
I would be delighted to see your results and hear your thoughts on this methodical approach. Please share your creations and join our community of precision bakers on Pinterest, Instagram, and Facebook. Happy baking, and remember that precision is the highest form of respect for your ingredients.
