The origins of the chocolate sandwich biscuit trace back to 1912, when the National Biscuit Company introduced a treat to rival the earlier Hydrox biscuit. While many assume these dark wafers were a modern invention, they actually utilized a cocoa alkalization process discovered by Coenraad van Houten in 1828. This technique, known as ‘Dutching,’ removed the natural acidity of cocoa, resulting in the deep color and mellow flavor we recognize today.

Recreating this iconic biscuit requires a methodical approach to moisture control and temperature management. These Oreo Copycat Cookies achieve that distinct, satisfying snap by balancing a high cocoa-to-flour ratio with a precise chilling stage. By following these tested methods, you will produce a wafer that maintains its structural integrity when paired with a smooth, vanilla-bean fondant filling.
A Masterclass in Chocolate Structural Integrity
This recipe offers more than just a nostalgic snack; it provides a fascinating look into the science of fat-based emulsions and cocoa alkalization. You will appreciate the remarkable contrast between the bitter, brittle chocolate wafer and the sweet, pliable cream filling. Victorian bakers understood that the quality of cocoa directly impacted the final crumb, and this method proves that heritage techniques still yield the most authentic results.
Technique-focused bakers will value the precision required in the ‘rubbing-in’ phase, which prevents over-development of gluten. This ensures the cookie remains crisp rather than tough. The result is a biscuit that honors the tradition of the early 20th-century sandwich cookie while benefitting from modern temperature control standards. Achieving the perfect snap is a triumph of home baking that store-bought versions cannot match.
Print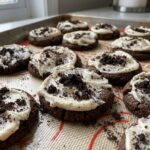
Oreo Copycat Cookies
- Total Time: 40 mins
- Yield: 24 cookies
- Diet: Vegetarian
Description
Experience the perfect balance of a brittle, deep chocolate wafer and a smooth vanilla-infused cream filling. These homemade sandwich cookies use black cocoa and a methodical sanding technique to achieve an authentic snap and classic dark color.
Ingredients
- 1 1/4 cups all-purpose flour
- 1/2 cup black cocoa powder
- 1/4 teaspoon baking soda
- 1/4 teaspoon baking powder
- 1/4 teaspoon fine sea salt
- 1 cup granulated sugar
- 1/2 cup unsalted butter, cool and cubed
- 1 large egg
- 1/2 cup unsalted butter, softened
- 2 cups powdered sugar, sifted
- 1 teaspoon vanilla bean paste or extract
- 1 pinch fine sea salt
Instructions
- Combine flour, cocoa powder, baking soda, baking powder, salt, and granulated sugar in a food processor and pulse until evenly distributed.
- Add cubed butter and pulse until the mixture resembles fine breadcrumbs, then add the egg and process until the dough begins to clump.
- Scoop dough into small portions, roll into balls, and flatten on parchment-lined trays to 1/8-inch thickness.
- Refrigerate the trays for at least 10 minutes to stabilize the fat and allow the flour to hydrate properly.
- Bake at 375°F (190°C) for 9 to 10 minutes, rotating trays halfway through, until fragrant and firm.
- Beat the filling butter and vanilla until voluminous, then gradually incorporate sifted powdered sugar and salt until smooth.
- Apply a teaspoon of filling to the center of a cooled wafer, top with another wafer, and press gently to the edges.
Notes
Using black cocoa is the critical factor for achieving the signature dark color and alkalized flavor profile of a professional sandwich biscuit. If the dough becomes too warm during the shaping process, chill it briefly to ensure the cookies maintain their sharp edges and do not spread excessively during the bake.
- Prep Time: 20 mins
- Cook Time: 10 mins
- Category: Dessert
- Method: Baking
- Cuisine: American
Selecting Your Components for Technical Precision
To achieve the authentic appearance and texture of these Oreo Copycat Cookies, the selection of your cocoa is paramount. The following ingredients have been tested for their chemical interactions and historical accuracy.
- Black Cocoa Powder: This is the secret to the signature dark color. It is a highly alkalized cocoa that provides an intense flavor without the acidity of natural cocoa.
- Dutch-process Cocoa: If black cocoa is unavailable, this offers a milder alternative, though the biscuits will appear lighter in color.
- Unsalted Butter: Use butter at a cool room temperature (approximately 65°F). This maintains the emulsion and prevents the dough from becoming overly greasy during the mixing process.
- Baking Soda and Powder: These leavening agents work in tandem to create micro-pockets of air, providing a light yet crisp texture rather than a dense, hard bite.
- Fine Sea Salt: Salt is essential to balance the sugar and intensify the perceived chocolate notes.
- Sifted Powdered Sugar: For the filling, sifting is non-negotiable to guarantee a velvet-like consistency without graininess.
By using high-quality fats and properly processed cocoa, you respect the ingredients’ chemical roles in the final structure of the biscuit.
The Methodical Process of Crafting the Wafer
Step 1: Dry Ingredient Integration
Begin by combining the flour, cocoa powder, baking soda, baking powder, salt, and granulated sugar in a food processor. Pulse the mixture several times to distribute the dry components evenly. This mimics the historical method of sifting multiple times to ensure the cocoa is perfectly incorporated into the starch.
Step 2: Incorporating the Fat
Add the cool, cubed butter to the processor. Pulse until the mixture resembles fine breadcrumbs. This technique, often called the ‘sanding’ method, coats the flour particles in fat, which inhibits gluten formation and guarantees a tender, crisp wafer. Add the egg and continue to process just until the dough begins to clump together in a singular mass.
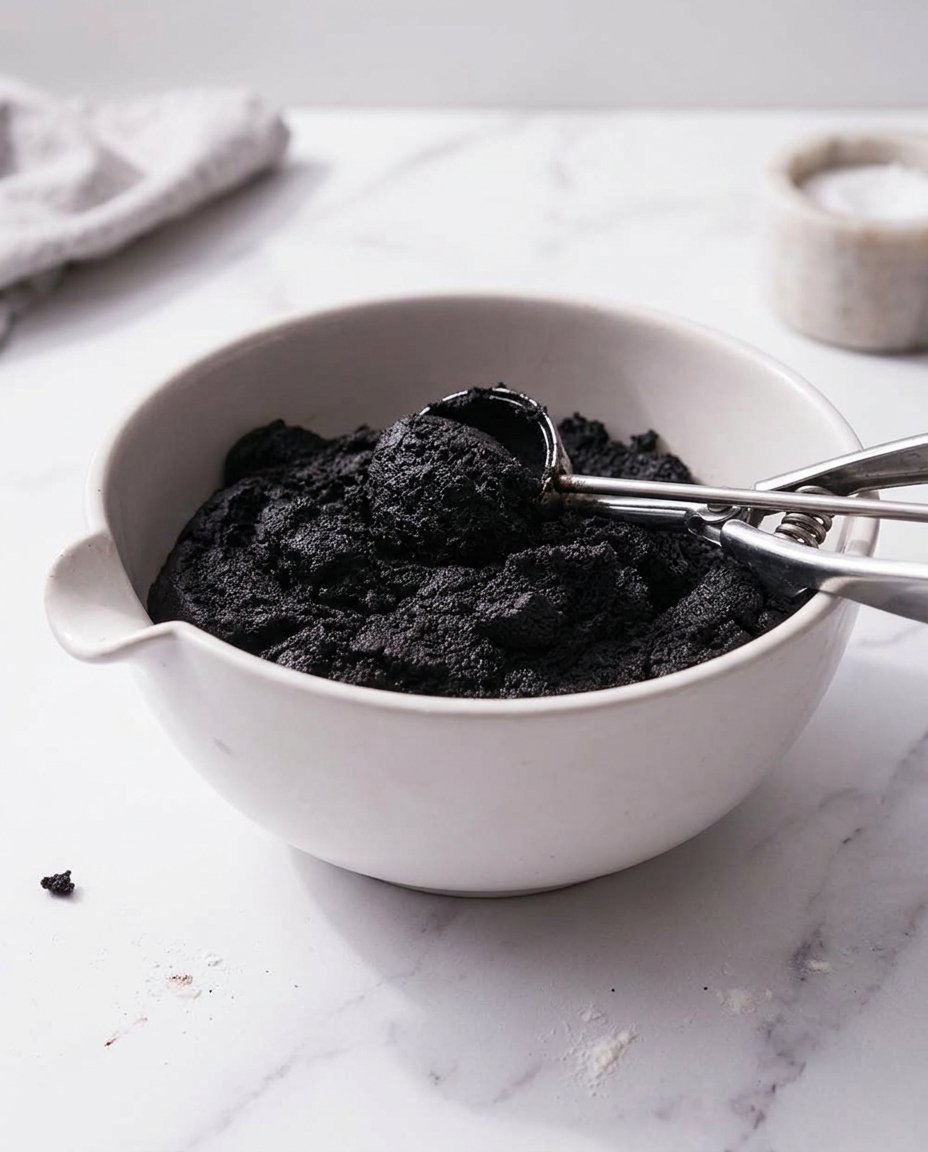
Step 3: Shaping and Compression
Divide the dough into small, uniform portions using a tablespoon scoop. Roll them into balls and place them on a parchment-lined tray. Using the palm of your hand, dampened slightly to prevent sticking, flatten each ball until it is approximately 1/8-inch thick. Precision in thickness is vital for an even bake across the entire batch.
Step 4: Chilling for Stability
Place the trays in the refrigerator for at least 10 minutes. This step is a heritage secret; it allows the butter to re-solidify and the flour to hydrate. Cold dough enters the oven with higher structural integrity, preventing the cookies from spreading and maintaining their sharp edges.
Step 5: The High-Heat Bake
Bake at 375°F (190°C) for 9 to 10 minutes. The higher temperature sets the structure quickly, capturing the air bubbles before they can collapse. Rotate the trays halfway through to compensate for oven hot spots. The cookies are finished when they are fragrant and firm to the touch.
Step 6: Preparing the Fondant Filling
While the wafers cool completely, beat the butter and vanilla until pale and voluminous. Gradually incorporate the sifted powdered sugar and salt. Increase the speed and beat for several minutes to create a light, stable cream that will hold its shape when compressed between the wafers.
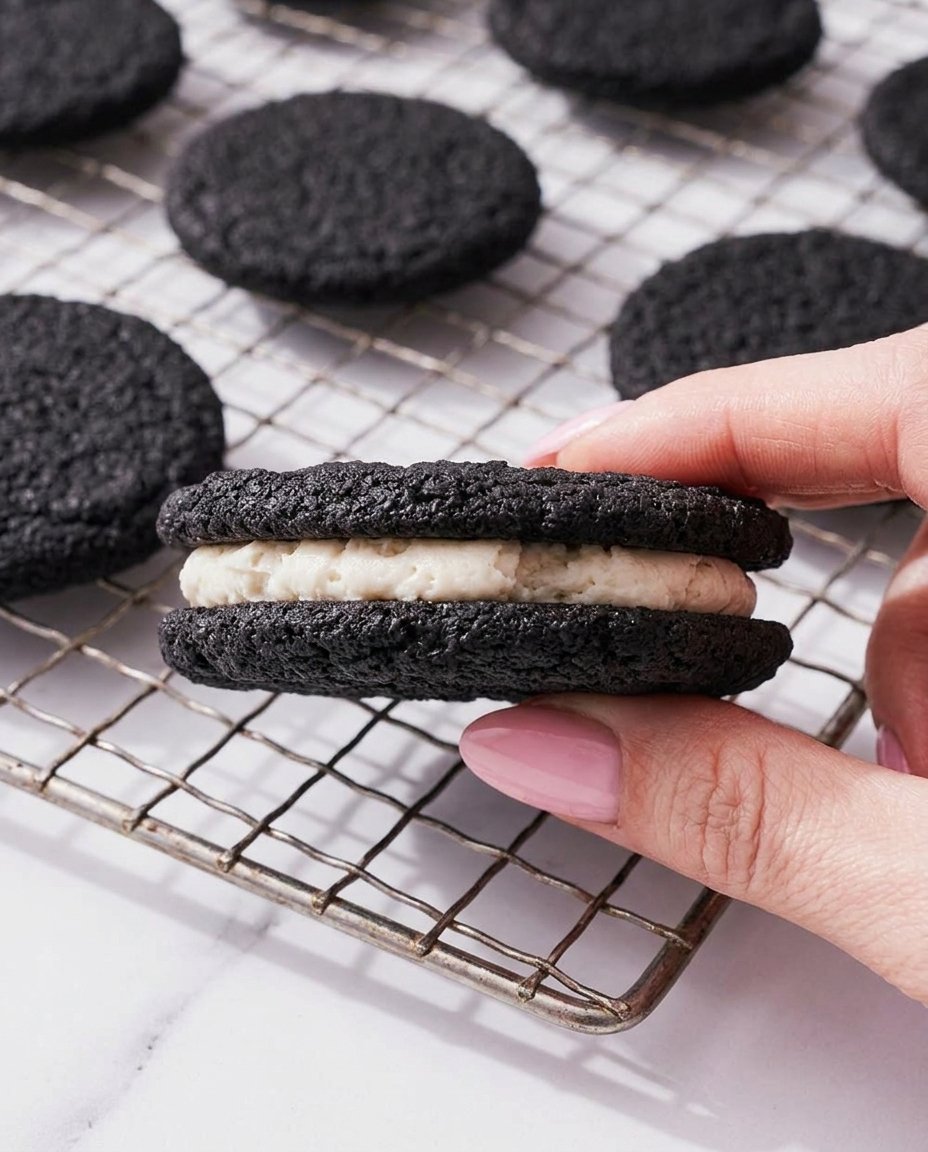
Step 7: Final Assembly
Apply a teaspoon of filling to the center of a cooled wafer. Place a second wafer on top and apply gentle, even pressure to push the filling toward the edges. This creates the classic sandwich appearance and ensures every bite has the perfect ratio of chocolate to cream.
Precision Techniques for the Perfect Snap
Maintaining a cool kitchen environment is essential when working with high-fat doughs. If your kitchen is warm, the butter may melt before the cookies reach the oven, resulting in a greasy texture. I recommend using chilled equipment if possible. For more on managing your kitchen workflow, refer to our guide on Efficient Cookie Methods.
When flattening the dough, use a flat-bottomed glass wrapped in plastic wrap for a perfectly smooth surface. This technical detail ensures the cookies look professional and stack neatly. If you find the cookies are softening after storage, a brief stint in a low oven (200°F) for five minutes can restore their original crispness. Always allow them to cool completely before re-stacking to prevent moisture buildup.
Historical Adaptations and Regional Flavors
While the classic vanilla filling is traditional, historical variations often included peppermint or coffee-infused creams. In the United Kingdom, similar biscuits like the Bourbon or the Custard Cream follow a related logic but use different starch ratios. You can experiment with these by replacing 10% of the flour with cornstarch for an even shorter, more brittle crumb.
For those interested in how seasonal changes affect dough chemistry, explore our research on Holiday Cookie Science. For a more modern take, you might consider a double-stuffed variety by doubling the filling recipe and using a piping bag for precise application. This adaptation is popular in American markets but requires a firmer filling to prevent the cream from sliding out during consumption. You can also review the methods at Handle the Heat for further inspiration on texture adjustments.
Traditional Presentation and Service
Historically, chocolate sandwich biscuits were served as part of a formal afternoon tea or as a light dessert following a midday meal. To honor this tradition, serve these Oreo Copycat Cookies on a ceramic platter alongside a pot of Earl Grey or a cold glass of whole milk. The tannins in the tea provide a sophisticated counterpoint to the sweetness of the filling.
For a more decorative presentation, you can use embossed rolling pins to create patterns on the wafers before baking. This adds a level of artisanal detail found in Victorian-era biscuit molds. For guidance on more complex visual techniques, see our article on Precision Cookie Decorating. Always ensure the cookies are at room temperature when serving to allow the vanilla flavor in the cream to fully express itself.
A Testament to Baking Tradition
Mastering the Oreo Copycat Cookies is a rewarding journey through the history of biscuit manufacturing and the science of alkalization. By respecting the tradition of the ‘sanding’ method and the importance of temperature control, you have created a biscuit that stands as a testament to the fact that homemade quality can indeed surpass industrial production. For more fundamental techniques, I invite you to study our Foundation Cookie Recipes. Please share your technical triumphs with our community on Facebook, Instagram, Pinterest, or X. We look forward to seeing your precision bakes and hearing about your experience with these classic wafers.


