In the quiet of my kitchen laboratory, I recently questioned the necessity of the standard multi-bowl mixing protocol. By analyzing the interaction between sucrose and lipid molecules in a single vessel, I discovered that minimizing agitation actually preserves the delicate fat-in-water emulsion. This One Bowl Cookies recipe relies on the precise timing of ingredient integration to achieve a sophisticated flavor profile without the chaos of extra cleanup.

This small-batch approach allows us to focus on the specific chemical reactions occurring within a tight 85-gram flour matrix. We are aiming for a specific balance of the Maillard reaction and sugar caramelization that only happens when the ratios are this focused. By keeping everything in one bowl, we control the temperature of the dough more effectively, leading to a superior texture that larger batches often lose.
The Flavor Science of One-Bowl Simplicity
When we talk about the flavor chemistry of this recipe, we are really discussing the interaction between moisture levels and sugar types. The inclusion of both brown and white sugar creates a dual-phased sweetness profile. The brown sugar provides glucose and fructose wrapped in molasses, which brings a humectant quality to the dough, keeping the center soft through hygroscopic action. Meanwhile, the white sugar allows for crisp edges by facilitating efficient moisture evaporation at the perimeter.
By using a single bowl, we limit the mechanical energy transferred to the dough. Over-working dough often leads to excessive gluten development—a network of proteins that can turn a tender cookie into a tough, bread-like structure. This method prioritizes the integrity of the fats, allowing the butter to coat the flour particles and interfere with gluten formation. The result is a cookie that feels substantial yet melts on the tongue, a textural harmony that highlights the vanillin and chocolate compounds.
Furthermore, the use of a single egg yolk rather than a whole egg is a strategic choice in lipid management. The yolk contains lecithin, a natural emulsifier that binds the water-based ingredients with the fats. This creates a smoother, richer mouthfeel and prevents the cookies from becoming too “cakey” from the excess water found in an egg white. This is precision baking at its most efficient, proving that scientific rigor doesn’t require complex equipment.
Print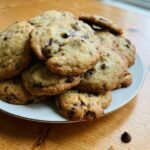
One Bowl Cookies
- Total Time: 22 mins
- Yield: 8-10 cookies
- Diet: Vegetarian
Description
Experience the perfect balance of science and simplicity with these chewy, small-batch chocolate chip cookies. By using a single-bowl method and precise ingredient ratios, you can achieve professional bakery results with minimal cleanup.
Ingredients
- 1/4 cup unsalted butter, softened
- 1/4 cup brown sugar
- 1/4 cup white sugar
- 85 grams all-purpose flour
- 1 large egg yolk
- 1 tsp vanilla extract
- 1/4 tsp baking soda
- 1/4 tsp salt
- 2/3 cup chocolate chips
Instructions
- Preheat your oven to 350°F (175°C) and line a baking sheet with parchment paper.
- In a medium bowl, cream together the softened butter, brown sugar, and white sugar using a mixer for 2 to 3 minutes until light and fluffy.
- Beat in the egg yolk and vanilla extract until the mixture is well-combined and slightly lightened in color.
- Push the wet mixture to one side of the bowl, then add the flour, baking soda, and salt to the empty side; briefly stir the dry ingredients together before folding them into the wet mixture.
- Gently fold in the chocolate chips until just distributed, being careful not to overwork the dough.
- Scoop the dough into 8 to 10 spheres and place them on the prepared baking sheet.
- Bake for 9 to 11 minutes until the edges are golden but the centers remain soft; let cool on the pan to finish the carry-over cooking.
Notes
For the best texture, ensure your butter is softened to room temperature rather than melted, as this maintains the necessary air pockets during the creaming process. If you prefer a more intense flavor, try chilling the dough for 30 minutes before baking to allow the flour to fully hydrate.
- Prep Time: 12 mins
- Cook Time: 10 mins
- Category: Dessert
- Method: Baking
- Cuisine: American
Molecular Components and Taste Building Blocks
Understanding your ingredients is the first step toward mastering flavor layering. Every component in this bowl serves a functional purpose beyond just adding bulk.
- Unsalted Butter (1/4 Cup): The primary source of lipids, providing the fatty acid structure that carries fat-soluble flavor compounds from the vanilla and chocolate.
- Brown and White Sugar (1/4 Cup Each): This 1:1 ratio is calculated to balance pH levels. The acidity in the brown sugar reacts with the baking soda to produce carbon dioxide for lift.
- All-Purpose Flour (85 Grams): Measured by weight for precision. This provides the starch and protein required for the cookie’s physical architecture.
- Large Egg Yolk: The yolk provides fat and lecithin without the protein-heavy structure of the white, ensuring a dense, chewy texture.
- Vanilla Extract (1 tsp): A source of vanillin, which acts as a flavor bridge, amplifying the perception of sweetness and depth in the chocolate.
- Baking Soda (1/4 tsp): A leavening agent that also increases the pH of the dough, which speeds up the Maillard reaction for better browning.
- Salt (1/4 tsp): Essential for suppressing bitterness and stimulating the SGLT1 receptor, which actually increases our perception of sweetness.
- Chocolate Chips (2/3 Cup): These provide the bitter-sweet contrast and varied textures. High-quality chips contain cocoa butter that melts at body temperature, creating a luxurious sensory experience.
When these components meet in a single bowl, the order of operations matters. We start with the fats and sugars to create a stable base before introducing the dry components that begin the structural bonding.
The Layering Process: A Scientific Methodology
Step 1: Creaming the Lipid Matrix
Preheat your oven to 350°F (175°C) to establish the correct thermal environment for initial expansion. In your medium bowl, apply mechanical force to the softened butter and both sugars using a mixer for 2 to 3 minutes. This process, known as creaming, is not just about mixing; it is about aerating the butter and surrounding tiny air pockets with sugar crystals. These air pockets will later expand with gases from the baking soda, creating the cookie’s final crumb.
Step 2: Emulsification and Flavor Infusion
Add the egg yolk and vanilla extract to the creamed mixture. Beat again until the color lightens slightly. This step is critical for emulsification. The lecithin in the yolk acts as a bridge between the fats and any moisture, creating a stable, homogenous mixture. The vanillin molecules in the vanilla extract become suspended in the fat, ensuring every bite carries a consistent aromatic profile.
Step 3: Gentle Dry Integration
Shift the wet mixture to one side of the bowl and add the 85 grams of flour, salt, and baking soda to the empty side. Give the dry ingredients a quick stir amongst themselves to distribute the leavening agent. Using a spoon or low mixer speed, fold the dry ingredients into the wet. It is vital to stop as soon as no streaks of flour remain. This minimizes the development of long-chain gluten proteins, which would otherwise result in a tough, rubbery texture.
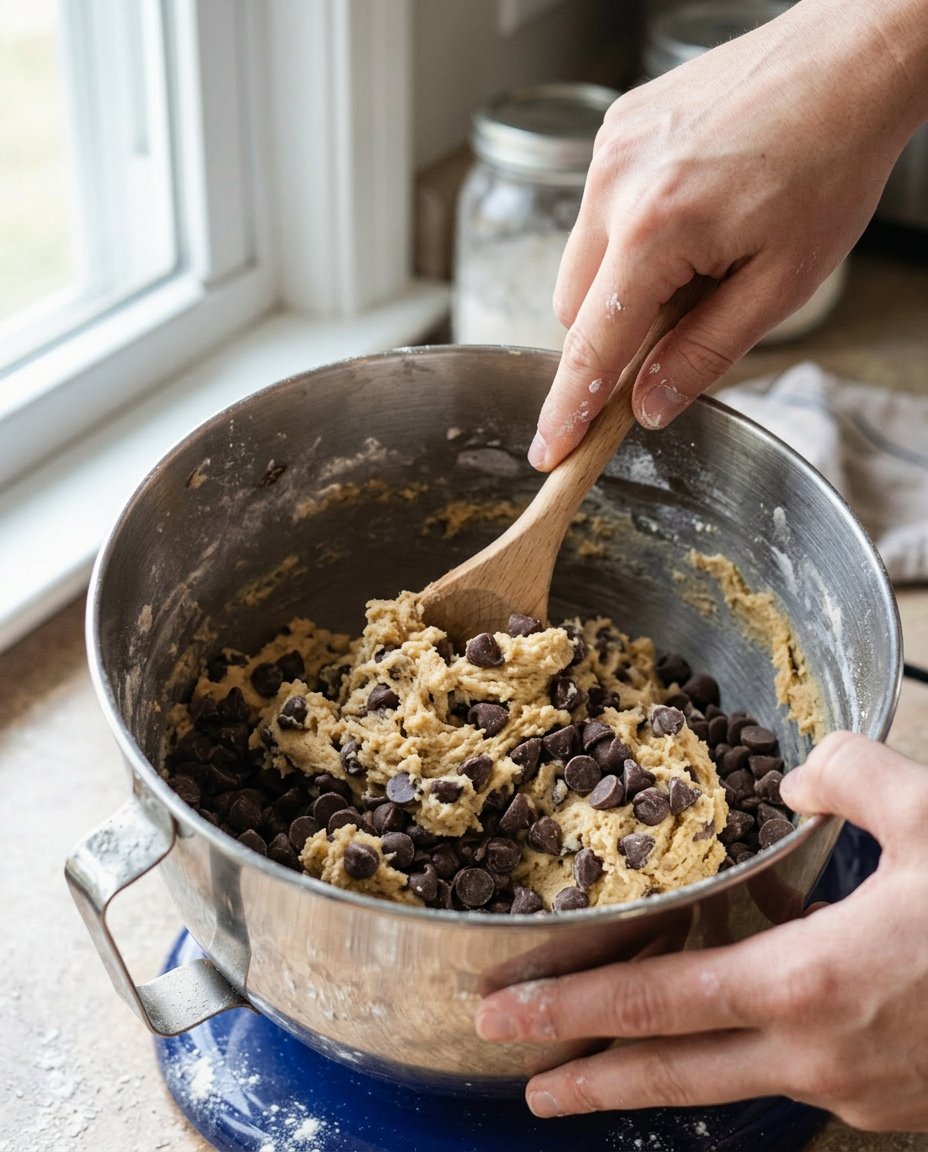
Step 4: Inclusion Distribution
Fold in the chocolate chips with a spatula. At this stage, the dough should be tacky but hold its shape. The chocolate chips should be evenly distributed to ensure every cookie has a consistent ratio of dough to inclusion. This consistency is important for even heat distribution during the baking process.
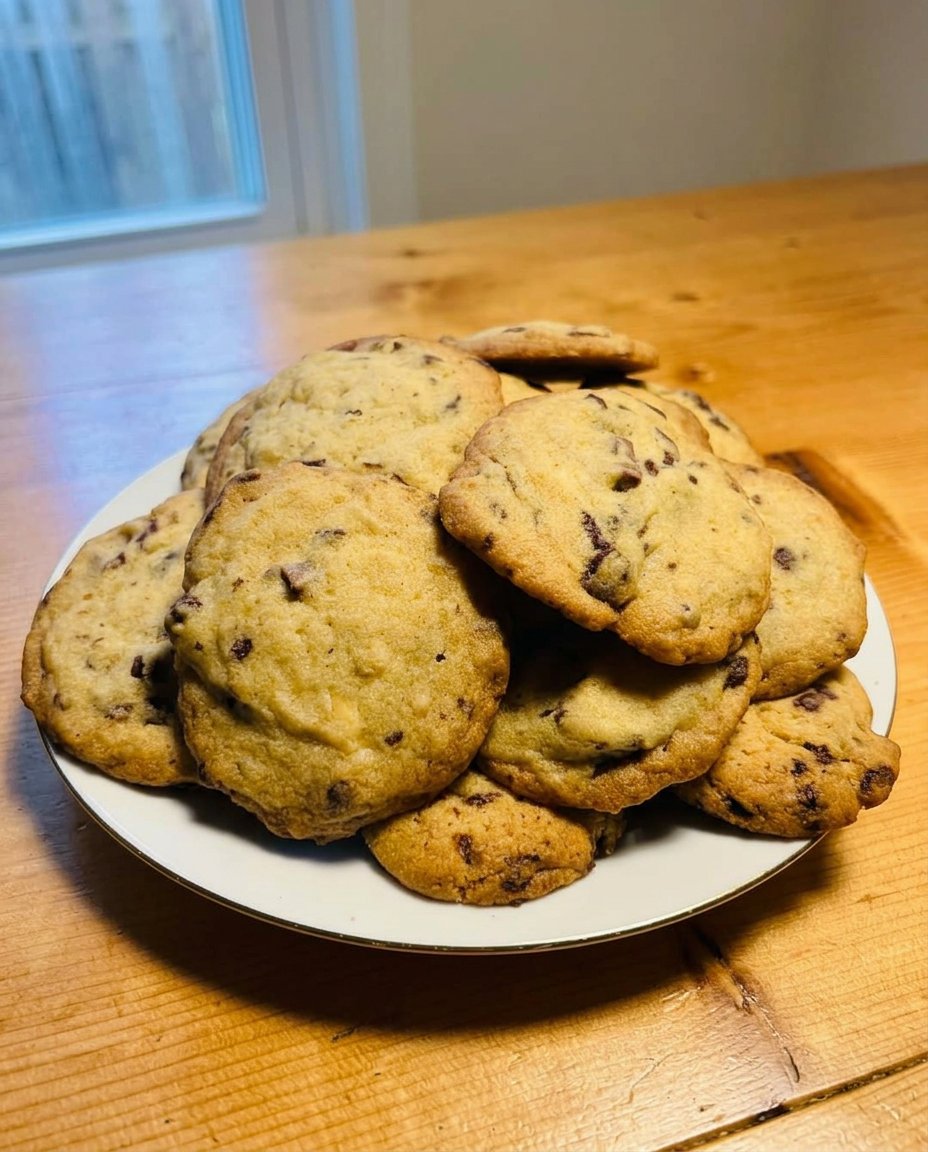
Step 5: Thermal Transformation
Using a large scoop, form 8 to 10 spheres of dough and place them on a lined baking sheet. Bake for 9 to 11 minutes. Watch for the edges to undergo the Maillard reaction, turning a light golden brown, while the center remains pale and slightly under-set. This temperature gradient ensures a crisp exterior and a soft, chewy interior. Allow them to cool on the pan to complete the carry-over cooking process, which firms up the starches without drying them out.
Jasmine’s Secret Flavor Chemistry Notes

To achieve the most complex flavor profile, I recommend letting your dough rest in the refrigerator for at least thirty minutes before baking. This hydration period allows the flour to fully absorb the moisture from the egg yolk, which concentrates the flavors and leads to a deeper caramelization during the bake. For those interested in maximizing their kitchen output, you might find our guide on Efficient Cookie Methods quite helpful for streamlining your process.
Always use room temperature butter rather than melted butter for this specific recipe. Softened butter (around 65°F) has the plastic consistency required to hold air during the creaming step. If the butter is too warm, the air pockets will collapse, and you will end up with a greasy, flat cookie. Additionally, adding a secondary sprinkle of flaked sea salt immediately after baking stimulates the tongue’s taste receptors, making the chocolate notes seem more intense and vibrant.
Scientific Swaps and Aroma Modifications
If you want to experiment with the aroma profile of these One Bowl Cookies, try adding a half-teaspoon of espresso powder. Coffee and chocolate share several pyrazine compounds, which means they naturally complement each other on a molecular level. For more foundational knowledge on how these swaps affect your bakes, look into our Foundation Cookie Recipes for a deeper look at ingredient ratios.
Another fascinating variation involves the sugars. You can replace the brown sugar with muscovado sugar for a higher concentration of molasses and minerals. This will result in a much darker, moister cookie with hints of toffee. You can also look at other small-batch techniques by checking out the one bowl small batch chocolate chip cookies approach, which uses similar principles of efficiency to achieve high-quality results in less time.
Sensory Analysis and Optimal Pairing
When serving these cookies, consider the temperature. A cookie served slightly warm (around 100°F) allows the volatile aroma compounds in the vanilla and chocolate to vaporize more easily, hitting your olfactory receptors with much more intensity. For more on how presentation affects the perception of taste, visit our Viral Cookie Analysis section.
I highly recommend pairing these cookies with a cold glass of whole milk or a medium-roast coffee. The fats in the milk help to cleanse the palate of the heavy cocoa butter, while the acidity in the coffee cuts through the sweetness of the sugars. This creates a balanced sensory experience where every bite feels as fresh as the first one.
The Final Flavor Truth
Mastering the One Bowl Cookies method is a breakthrough for any home baker who values both scientific precision and time management. By understanding how lipids, sugars, and proteins interact in a single vessel, we can create professional-grade results with minimal equipment. If you are looking for more seasonal applications of these principles, our Holiday Cookie Science guide offers plenty of inspiration. Please share your baking results with our community on Instagram, Pinterest, and Facebook. Happy baking, and keep questioning the science behind every bite!
