The tradition of the festive biscuit in Italy dates back centuries, where rural kitchens used the ‘fontana’ or well method to integrate simple ingredients into a refined pastry. This specific method of creating a dough from flour, eggs, and fat is the cornerstone of Italian baking science, rooted in the historic pasta frolla technique. Victorian-era bakers observed that keeping fats cold produced a short, tender crumb, a principle we now understand as the prevention of excessive gluten hydration.

These Italian Christmas Cookies represent a legacy of precision and restraint, delivering a biscuit that is neither too sweet nor too heavy. By employing a disciplined chilling process and specific fat-to-flour ratios, we achieve a structural integrity that makes them ideal for both simple dusting and complex fillings. It is a recipe that honors the past while satisfying the technical requirements of the modern baker.
The Heritage of the Festive Table
There is a profound logic to the construction of these biscuits that transcends mere flavor. The use of a single egg and an additional yolk is a deliberate technical choice; the yolk provides extra lecithin, which acts as a natural emulsifier to create a smoother, more resilient dough. This allows for a biscuit that maintains its shape with remarkable precision, a quality highly prized in traditional Italian pastry shops where aesthetic uniformity is a sign of a master baker.
Bakers value this recipe because it provides a reliable canvas for regional variation while adhering to strict structural standards. The dough is robust enough to withstand rolling and cutting into intricate shapes, yet it retains a delicate melt-in-the-mouth quality once baked. Unlike modern American cookies that often rely on excessive leavening and sugar, this biscuit focuses on the purity of the grain and the quality of the emulsion. It is a testament to the idea that when the technique is correct, the simplest ingredients yield the most sophisticated results.
Print
Italian Christmas Cookies
- Total Time: 57 mins
- Yield: 24 cookies
- Diet: Vegetarian
Description
These traditional Italian biscuits utilize the classic pasta frolla method to create a tender, structured crumb perfect for festive shapes. By emphasizing temperature control and a dual-chilling process, this recipe delivers a sophisticated, lightly sweet treat rooted in historical baking science.
Ingredients
- 1 ¾ cups All-Purpose Flour
- ½ cup Granulated Sugar
- 1 teaspoon Baking Powder
- 1 Large Egg
- 1 Egg Yolk
- ½ cup + 1 tablespoon Cold Salted Butter, cubed
Instructions
- Sift the flour, sugar, and baking powder into a large bowl to aerate and distribute the leavening.
- Create a well in the center of the dry ingredients and add the lightly beaten egg, egg yolk, and cold cubed butter.
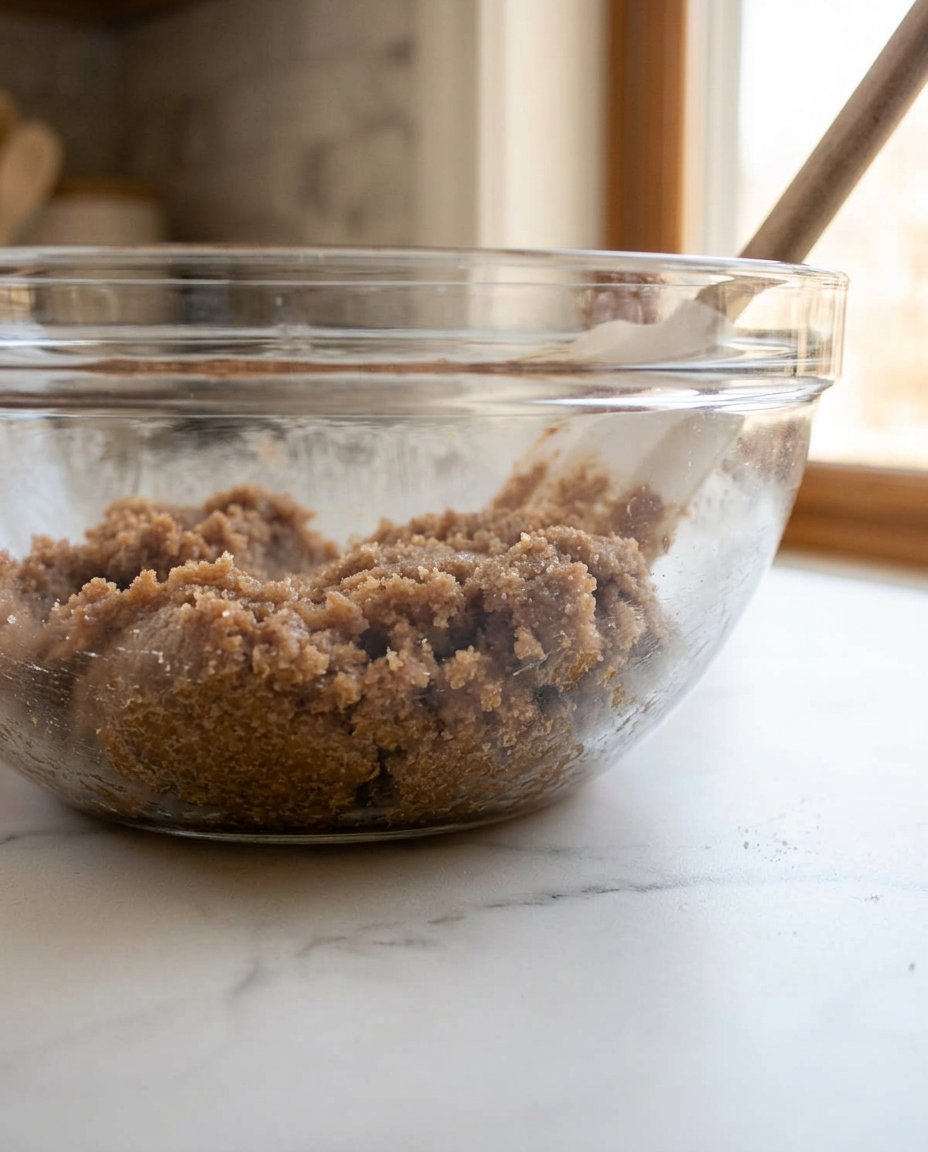
- Incorporate the fats into the flour using a mixer paddle on low speed or by rubbing with fingertips until the mixture resembles coarse sand.
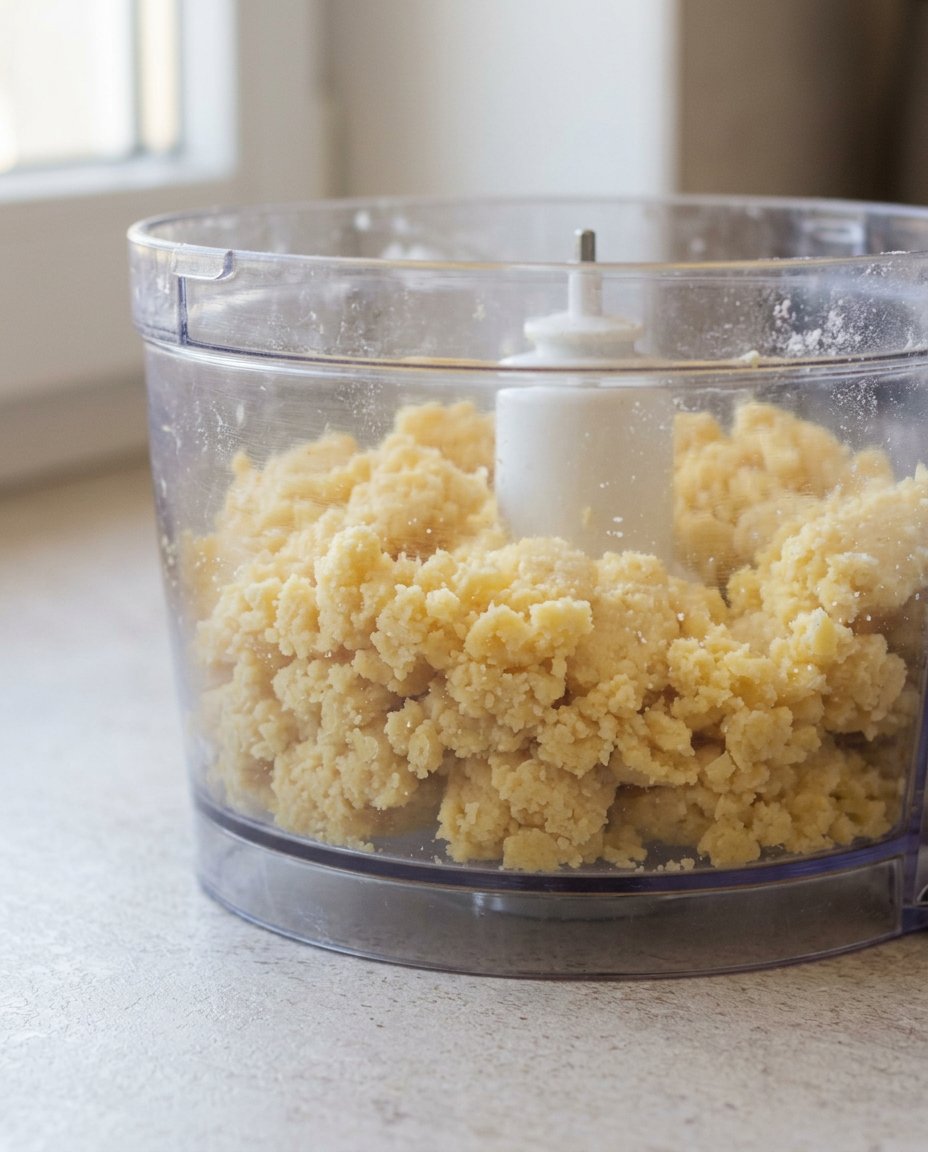
- Move to a floured surface and knead gently just until a soft dough ball forms.
- Wrap the dough in plastic and refrigerate for 30 minutes to hydrate the flour and firm the fats.
- Roll the dough to 1/4 inch thickness and cut into desired shapes, working quickly to keep the dough cool.
- Place cut shapes on parchment and chill again while preheating the oven to 350°F (180°C), then bake for 10-12 minutes until edges are barely golden.
Notes
For the most consistent results, ensure your butter remains cold throughout the mixing process to prevent a greasy texture. If your kitchen is particularly warm, consider chilling your rolling pin and work surface to maintain the dough’s structural integrity before baking.
- Prep Time: 15 mins
- Cook Time: 12 mins
- Category: Dessert
- Method: Baking
- Cuisine: Italian
The Geometry of Italian Pantry Staples
The success of this biscuit depends on the quality of the components and the temperature at which they are introduced to the bowl. In historical Italian kitchens, flours were often milled more finely than modern all-purpose varieties, so choosing a high-quality, lower-protein flour can help replicate that traditional tenderness.
- All-Purpose Flour (1¾ cups): This provides the structural framework. The goal is to develop just enough gluten to hold the shape without making the biscuit tough.
- Granulated Sugar (½ cup): Sugar here is not just for sweetness; it interferes with gluten development by competing for water, which contributes to the ‘short’ texture of the crumb.
- Baking Powder (1 teaspoon): A modern addition that provides a gentle lift, mimicking the historical use of ammonium bicarbonate in old-world bakeries.
- Large Egg and Egg Yolk: The whole egg provides moisture and protein for structure, while the extra yolk adds fat and color, producing a rich, gold-hued dough.
- Cold Salted Butter (½ cup + 1 tablespoon): Using cold butter is vital. By keeping the fat in a solid state during the initial mix, we create small pockets of fat that result in a flakier, more tender biscuit rather than a greasy one.
The Proper Method
Step 1: Dry Ingredient Integration
Begin by sifting the flour, sugar, and baking powder into a large bowl. This process is not merely about removing lumps; it aerates the flour and guarantees that the leavening agent is distributed with mathematical evenness. Historically, this was done with fine mesh sieves to ensure the biscuit crumb was as uniform as possible.
Step 2: The Fontana Technique
Create a wide well in the center of your dry ingredients—a technique known as the ‘fontana’ in Italy. Into this well, add your lightly beaten egg and yolk along with the cold, cubed butter. By keeping the liquids in the center, you control the hydration of the flour, slowly incorporating the dry walls into the wet center to prevent overworking the dough.
Step 3: Mechanical or Manual Emulsion
If using a mixer, use the paddle attachment on a low speed to incorporate the fats into the flour. If working by hand, use your fingertips to rub the butter into the flour until it resembles coarse sand before bringing the dough together. The goal is to coat the flour particles in fat, which creates a barrier against water and limits gluten formation.
Step 4: The Gentle Knead
Move the mixture to a lightly floured surface. Knead with a very light touch—only until a soft dough ball forms. Over-kneading at this stage will warm the butter and develop too much gluten, leading to a biscuit that shrinks in the oven. The dough should feel supple and slightly cool to the touch.
Step 5: The Primary Chill
Wrap the dough tightly in plastic and refrigerate for exactly 30 minutes. This is a critical scientific step; it allows the starch granules in the flour to fully hydrate and the fats to firm up again. A chilled dough is significantly easier to roll and will hold sharp edges during the cutting process.
Step 6: Rolling and Precision Cutting
Divide the dough in half, keeping the unused portion chilled. Roll to a thickness of 1/4 inch. This specific thickness guarantees a balance between a crisp exterior and a slightly soft interior. Use your chosen cutters to create shapes, working quickly to keep the dough temperature low.
Step 7: The Secondary Chill and Bake
Place your cut shapes on a parchment-lined sheet and return them to the fridge while the oven preheats to 350F (180C). This secondary chill is a professional secret that prevents the cookies from spreading. Bake for 10-12 minutes until the edges are just barely golden. The center should remain pale to preserve the delicate flavor profile.
Historical Wisdom for Modern Success
To achieve the most consistent results, I recommend weighing your ingredients in grams. While American volume measures are traditional, British and European bakers have long preferred the accuracy of the scale to account for the varying density of flour. If you find your dough is sticking, avoid adding excessive flour to your workspace; instead, roll the dough between two sheets of parchment paper. This maintains the precise fat-to-flour ratio established in the recipe. For more on managing your time in the kitchen while maintaining high standards, see our guide on Efficient Cookie Methods.
Temperature control is your most effective tool. If the kitchen is warm, your butter will soften too quickly, leading to a ‘greasy’ dough. Professional pastry chefs often chill their rolling pins and even their marble work surfaces to keep the dough at the optimal temperature of approximately 60F (15C). This dedication to thermal management is what separates a standard home bake from a professional-grade Italian biscuit.
Regional Adaptations of the Italian Classic
In the southern regions of Italy, it is common to see these biscuits infused with the zest of fresh lemons or oranges, adding a bright acidity that cuts through the richness of the butter. In some historical variations, a portion of the flour is replaced with finely ground almond flour, which increases the tenderness and provides a subtle nutty undertone reminiscent of Sicilian sweets. For a deeper look at how ingredient swaps affect the chemistry of your bake, refer to our research on Holiday Cookie Science.
Another traditional variation involves the ‘Pizzicati’ method, where small rounds of dough are pinched together over a center of apricot or raspberry jam. If you choose this path, make certain the jam is a high-solids variety to prevent it from running during the bake. You may also experiment with hazelnut cream as a filling, which aligns with the chocolate-hazelnut traditions of the Piedmont region.
Traditional Service and Festive Presentation

In Italy, these biscuits are rarely eaten in isolation; they are a component of the ‘vassoio di dolci’ or dessert tray. Serve them alongside a small glass of Vin Santo or a strong espresso. The firm structure of the biscuit makes it an excellent candidate for dipping, a practice that dates back to the Roman tradition of softening hard breads in wine. If you wish to master the art of the holiday display, our tips on Precision Cookie Decorating provide the technical framework for professional presentation.
For a truly traditional aesthetic, a simple dusting of powdered sugar is all that is required. The sugar should be applied while the cookies are still slightly warm to allow a fine layer to adhere, though a final dusting just before service provides that clean, snowy appearance essential for Christmas celebrations. Arrange them in concentric circles on a silver platter to honor the formal service style of the early 20th century.
The Technical Truth of Tradition
Mastering the Italian Christmas cookie is a journey into the heart of pastry physics. By respecting the cold-fat method and the necessity of the resting period, you produce a biscuit that is a direct link to the artisanal kitchens of the past. It is a rewarding process that proves how scientific discipline can preserve cultural heritage. For more foundational techniques that will improve your holiday baking, explore our Foundation Cookie Recipes. You can also find further inspiration and variations on this classic at An Italian In My Kitchen.
I invite you to share your results and technical observations with our community. Connect with us on Facebook, Instagram, and Pinterest to join the conversation on the intersection of history and baking science.
