The snickerdoodle occupies a curious place in the history of American baking, likely descending from the German *Schneckennudeln* or ‘snail noodles’ common in the 19th century. Victorian bakers in New England were masters of the ‘drop cookie’—a method that required no rolling pins or cutters, relying instead on the natural spread of a high-fat dough. These bakers understood that the interaction between sugar and spice was not merely for flavor but for the chemical preservation of the biscuit’s moisture.

Testing these Gluten Free Snickerdoodles required a return to those fundamental principles of fat and emulsion. By replacing traditional wheat flour with a scientifically balanced starch blend, we can replicate the specific ‘crackle’ and tender crumb that defined the heritage version. This recipe honors those early methods by focusing on the precise temperature of the butter and the specific mechanical action of the creaming process.
A Masterclass in Texture and Tradition
You will find this recipe remarkable because it successfully bridges the gap between historical crumb structure and modern dietary requirements. The traditional snickerdoodle is defined by its distinctive surface crackling—a result of rapid leavening and sugar recrystallization—which we have meticulously preserved through careful hydration ratios. It is a biscuit that demands respect for its simplicity, proving that a few high-quality ingredients can produce a complex sensory experience.
The appeal lies in the technical balance between the crisp, cinnamon-sugar exterior and the soft, almost pillowy interior. Historically, this was achieved through the use of cream of tartar, but our modern testing shows that a balanced baking powder provides the necessary lift in a gluten-free matrix without compromising the traditional flavor profile. You are not just making a cookie; you are participating in a century-old evolution of the American biscuit tradition.
Furthermore, this recipe is a triumph of gluten-free engineering. Unlike many modern GF bakes that rely on excessive gums or moisture-striping flours, this method focuses on the emulsion of fat and sugar to create structural integrity. The result is a biscuit that maintains its shape and texture for days, honoring the Victorian standard of baked goods that were meant to last. It is a reliable, professional-grade formula that yields consistent results every time you step into the kitchen.
Finally, the sensory profile of these Gluten Free Snickerdoodles is unmatched. The warmth of the cinnamon against the buttery backdrop creates a nostalgic palette that appeals to every generation. It is a testament to the fact that heritage techniques, when supported by modern scientific testing, can overcome any structural challenge presented by the absence of gluten proteins.
Print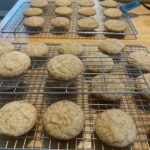
Gluten Free Snickerdoodles
- Total Time: 25 mins
- Yield: 15 cookies
- Diet: Gluten-Free
Description
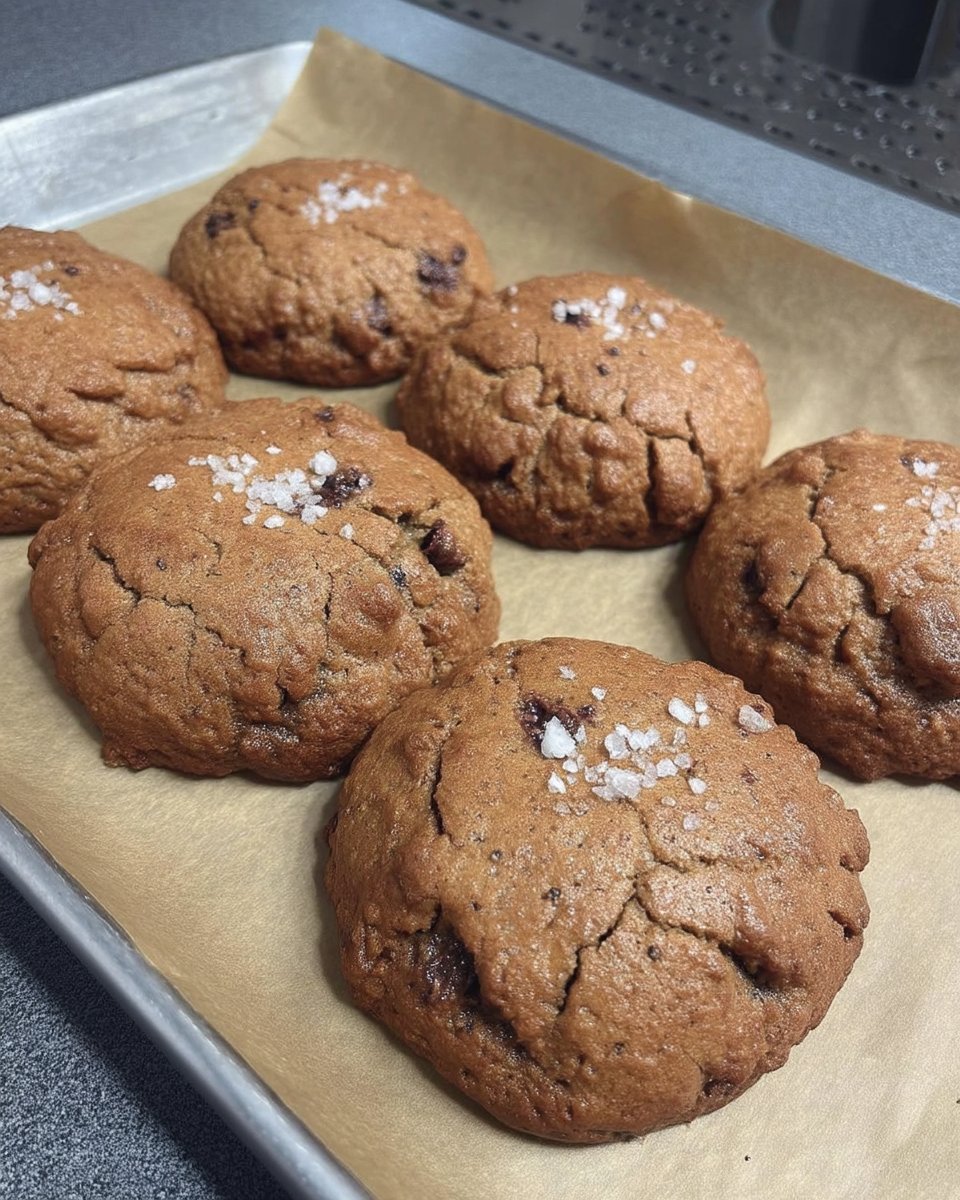
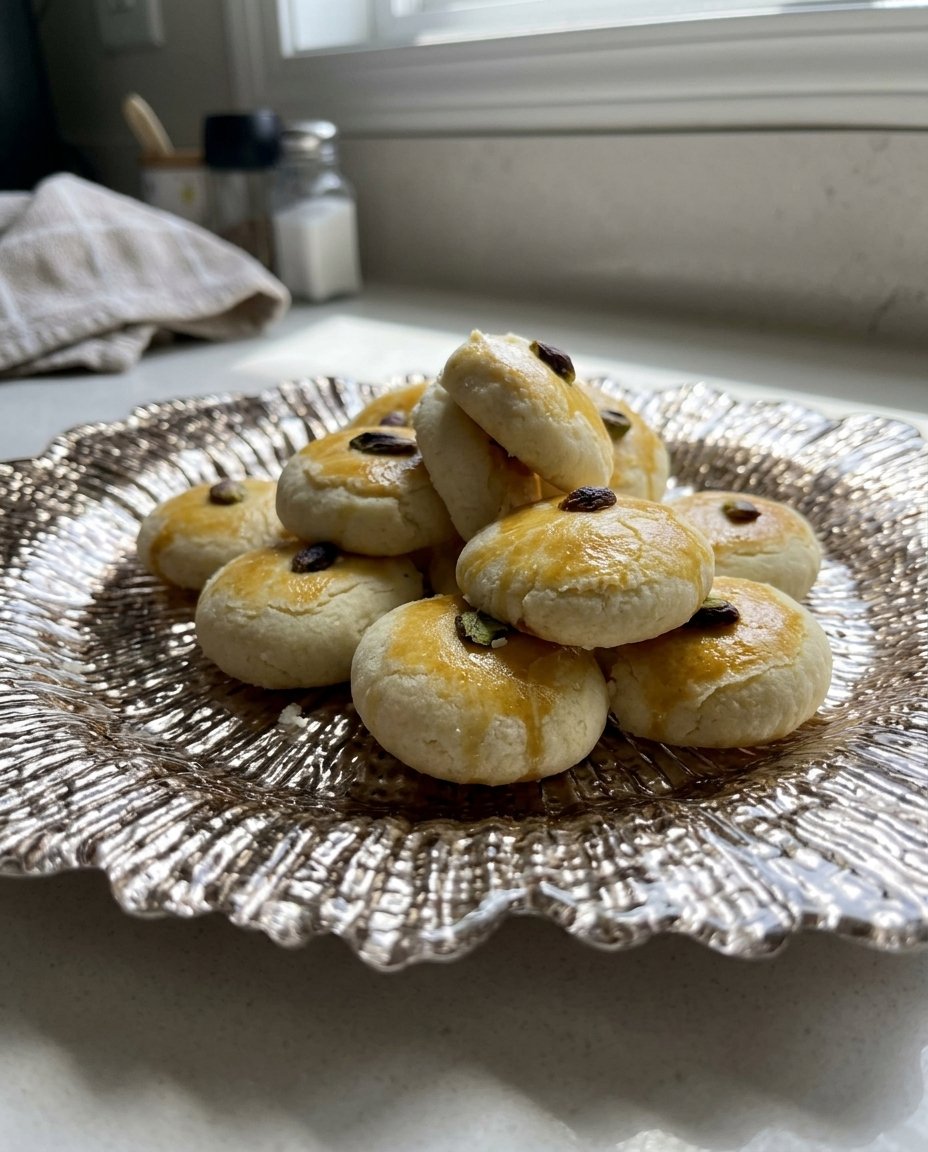
These gluten-free snickerdoodles replicate the classic Victorian-style crackle and tender crumb through a precise emulsion of butter and sugar. A double coating of cinnamon-sugar ensures a fragrant, crisp exterior that perfectly balances the soft, buttery center.
Ingredients
- 113g unsalted butter, room temperature
- 149g granulated sugar (for dough)
- 25g granulated sugar (for coating)
- 160g King Arthur Gluten-Free Measure for Measure Flour
- 1 large egg, room temperature
- 1 teaspoon baking powder
- 1 to 1.5 teaspoons cinnamon
- Vanilla extract
- Table salt
Instructions
- Preheat your oven to 375°F (190°C) and line your baking sheets with professional-grade parchment paper.
- In a large mixing bowl, cream together the 113g of room-temperature butter and 149g of granulated sugar until the mixture is smooth and light in color.
- Add the large egg to the mixture and beat until glossy and fully incorporated, then stir in the vanilla extract, a pinch of salt, and the baking powder.
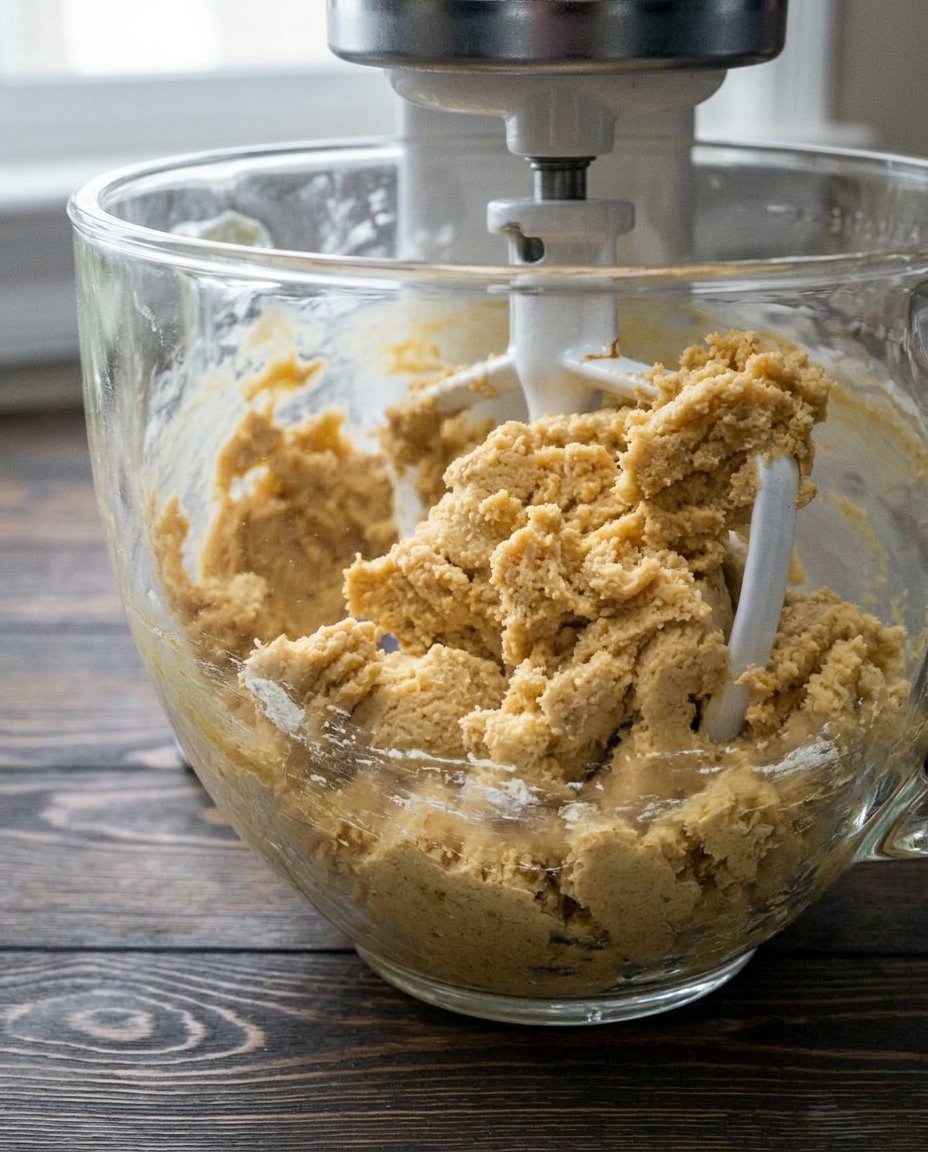
- Gently fold in the 160g of gluten-free flour blend using a low speed or spatula until no dry streaks remain and the dough holds its shape.
- In a separate small bowl, combine the 25g of sugar and the cinnamon to create the spice coating.
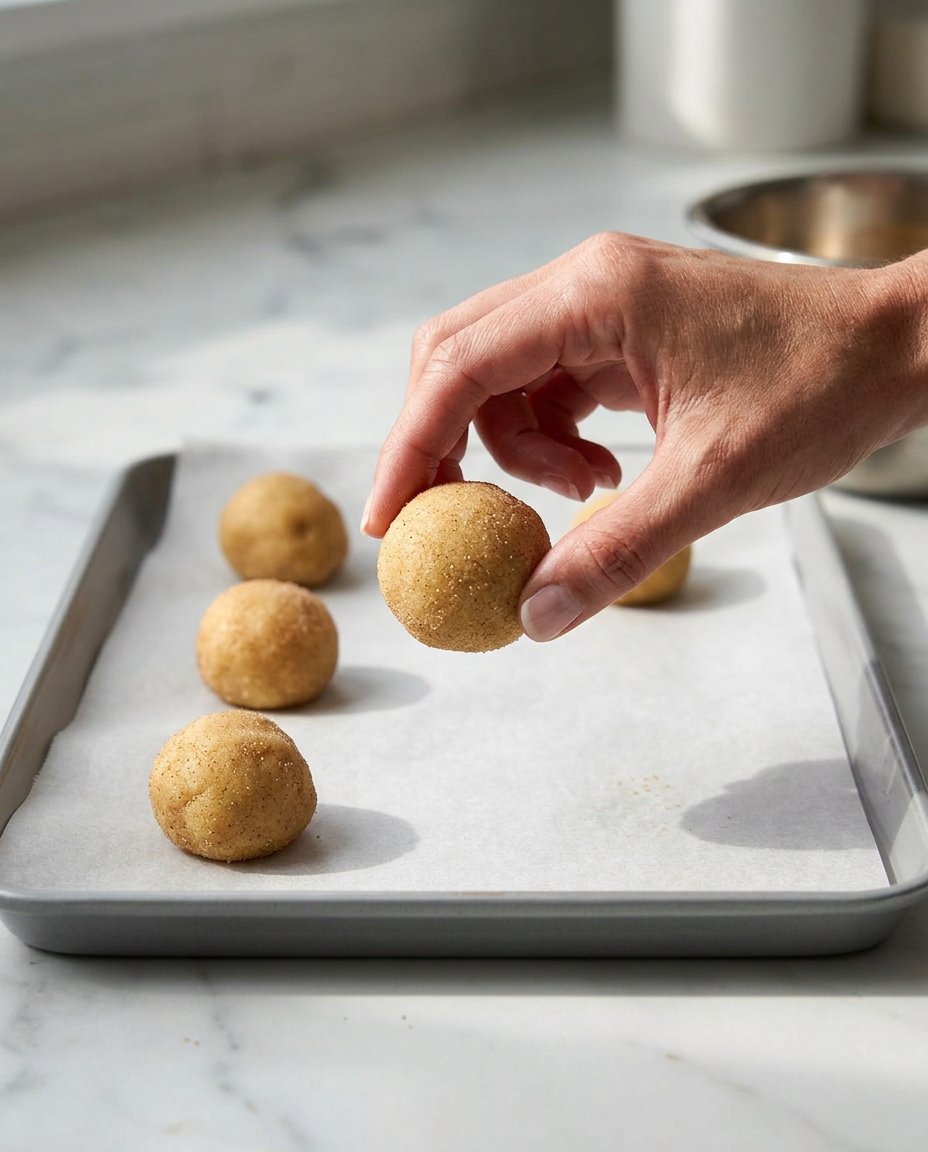
- Form the dough into 1-inch spheres (approximately 15-18g each) and roll them thoroughly in the cinnamon-sugar mixture.
- Arrange the spheres on the baking sheets 1.5 inches apart and use a flat-bottomed glass to gently flatten them to 3/8-inch thickness.
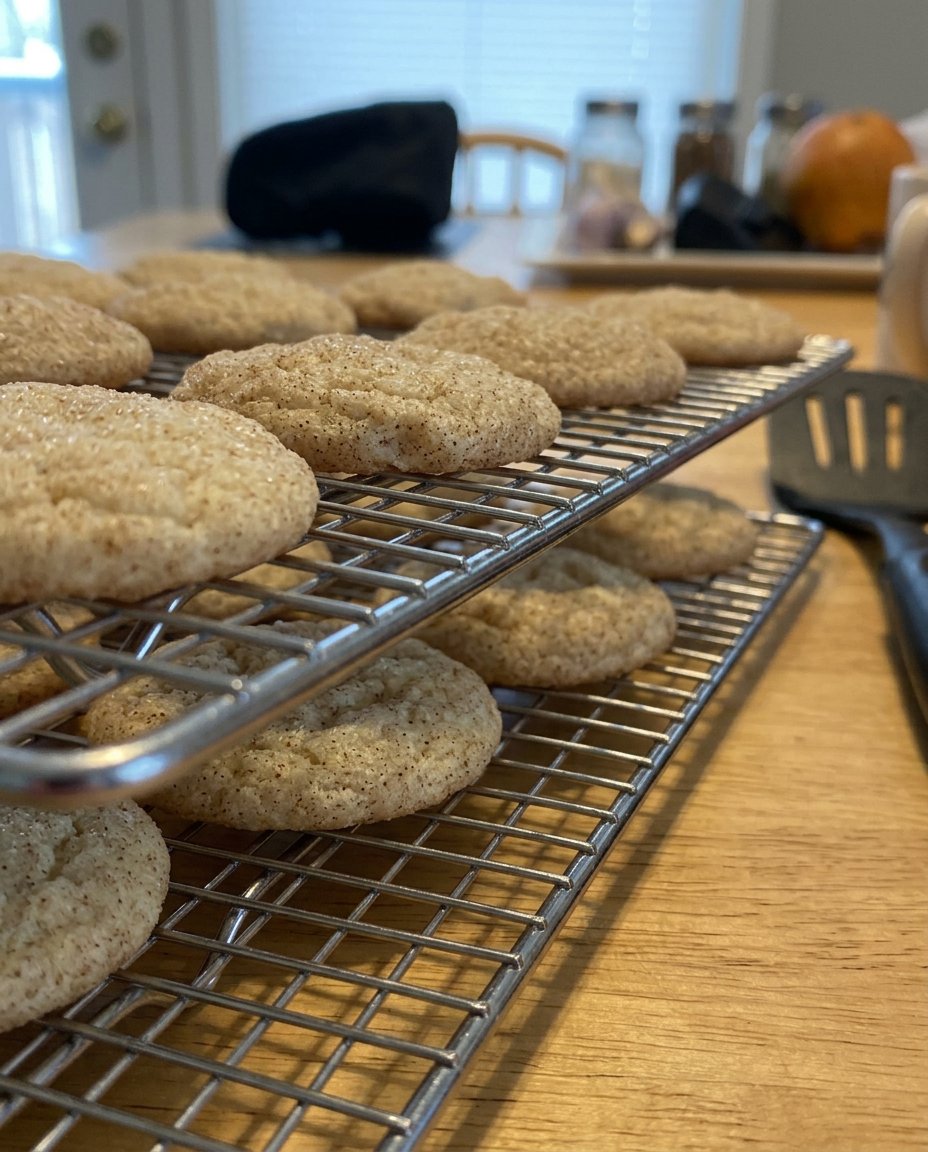
- Bake for 8 to 10 minutes until the edges are set; allow the cookies to rest on the pan for 5 minutes before transferring to a wire rack to cool completely.
Notes
To ensure the most consistent results, verify that both your egg and butter are at a true room temperature of approximately 65°F before beginning. If your kitchen is quite warm, you may find it helpful to rest the dough for ten minutes before rolling to allow the starches in the gluten-free flour to fully hydrate, which improves the final texture and prevents excessive spreading.
- Prep Time: 15 mins
- Cook Time: 10 mins
- Category: Dessert
- Method: Baking
- Cuisine: American
Essential Components for Technical Precision
To achieve the perfect Gluten Free Snickerdoodles, one must understand the role of each component in the absence of a gluten network. We utilize a specific ratio of fats to starches to ensure the biscuit does not crumble or spread excessively during the bake. Each ingredient is selected for its chemical contribution to the final structure.
- Unsalted Butter (113g): The foundation of our emulsion. Using unsalted butter allows us to control the exact sodium content, which is vital for regulating the rate of starch gelatinization. It must be at a precise room temperature—roughly 65°F (18°C)—to allow for proper aeration during the creaming stage.
- Granulated Sugar (149g + 25g): Beyond sweetness, sugar acts as a humectant and a structural agent. In the coating, it provides the necessary friction to create the characteristic surface fissures. Inside the dough, it interferes with starch hydration, ensuring the cookie remains tender rather than gummy.
- King Arthur Gluten-Free Measure for Measure Flour (160g): This specific blend is chosen for its inclusion of rice flour and starches that mimic the protein density of traditional pastry flour. The xanthan gum within the blend acts as a scaffolding agent, replacing the structural work typically performed by gluten.
- Large Egg: Our primary emulsifier and source of protein. The lecithin in the yolk stabilizes the fat-water interface, while the white provides the necessary steam for leavening. It should be at the same temperature as the butter to prevent the emulsion from breaking.
- Baking Powder (1 teaspoon): This provides a dual-action lift. The first reaction occurs when moisture is added, and the second occurs in the heat of the oven, creating the internal pressure required for the ‘snickerdoodle’ snap.
- Cinnamon (1 to 1.5 teaspoons): We recommend a high-oil content Ceylon or Saigon cinnamon. The volatile oils in the spice react with the sugar coating to create a fragrant, caramelized shell during the 375°F (190°C) bake.
- Vanilla Extract & Table Salt: These serve as chemical enhancers. The salt sharpens the perception of the butter’s richness, while the vanilla provides a floral counterpoint to the woody warmth of the cinnamon.
The Proper Method for Technical Success
Step 1: Thermal Preparation and Pan Logistics
Preheat your oven to 375°F (190°C). This high temperature is non-negotiable, as it triggers the immediate surface setting required for the crackle effect. Lightly grease your baking sheets or line them with professional-grade parchment paper. Proper heat distribution depends on the quality of your sheets; heavy-gauge aluminum is preferred to prevent bottom-scorching.
Step 2: Establishing the Primary Emulsion
In a large mixing bowl, beat the 113g of room-temperature butter and 149g of granulated sugar until the mixture is smooth and lightened in color. This creaming method dates to Victorian kitchens—they understood that mechanical aeration creates the tiny air pockets that baking powder later expands. Do not over-beat; we are looking for a cohesive cream, not a whipped foam.
Step 3: Incorporating Liquid Stabilizers
Add the large egg to the creamed matrix, beating until fully incorporated and the mixture appears glossy. This is the moment the emulsion is formed. Follow immediately with the vanilla extract, salt, and baking powder. By adding the leavening agent and salt to the wet ingredients first, you ensure an even distribution throughout the dough, preventing ‘hot spots’ of chemical reaction.
Step 4: The Integration of Starches
Add the 160g of gluten-free flour blend. Using a low-speed setting or a sturdy spatula, fold the flour into the wet base until no dry streaks remain. In gluten-free baking, over-mixing is less of a risk regarding toughness, but it can still lead to an overly dense crumb if the air pockets are deflated. Ensure the dough is totally incorporated and holds its shape when pressed.
Step 5: The Cinnamon-Sugar Encapsulation
In a small bag or bowl, combine the 25g of sugar and the cinnamon. Using a teaspoon scoop or a digital scale (approx. 15-18g per ball), form 1-inch spheres of dough. Roll each sphere in the spice mixture until heavily coated. This coating creates a barrier that slows the escape of steam, forcing the cookie to expand and crack in the classic snickerdoodle pattern.
Step 6: Compression and Spatial Arrangement
Space the cookies at least 1.5 inches apart on the prepared sheets. Use a flat-bottomed glass to gently flatten each ball to 3/8-inch thickness. This step is a heritage technique used to ensure even heat penetration. The goal is a uniform 1.5-inch diameter before the bake begins.
Step 7: The Controlled Bake and Cooling
Bake for 8 minutes for a soft, chewy interior, or up to 10 minutes for a traditional crisp biscuit. The edges should be set and barely golden. Remove from the oven and allow the cookies to remain on the pan for 5 minutes. This ‘carry-over’ cooking time is vital for gluten-free structures to set. Transfer to a wire rack to cool completely before storage.
Historical Wisdom and Precision Methods
To achieve professional results, one must respect the science of temperature. If your butter is too warm, the emulsion will fail, resulting in a greasy cookie that spreads into a thin puddle. Conversely, cold butter will not trap the air necessary for a tender crumb. I have found through modern testing that a ‘two-rest’ method, a technique often associated with traditional shortbread, can be applied here as well; letting the dough sit for 10 minutes before rolling allows the starches to fully hydrate. For more foundational knowledge on these interactions, I recommend reviewing our guide on Foundation Cookie Recipes.
Furthermore, the quality of your cinnamon matters. Historical bakers often used spices that were freshly ground, retaining more of their natural oils. If your spice cabinet has not been refreshed in a year, your snickerdoodles will lack the aromatic punch that defines the variety. Always store your spices in a cool, dark place to preserve the chemical compounds that react with the sugar during the high-heat bake.
Classic Adaptations and Regional Nuances
While the cinnamon-sugar coating is traditional, historical variations often reflected regional availability. In some 19th-century interpretations, a pinch of nutmeg or mace was added to the dough to provide a more complex, ‘savory’ spice profile similar to British Shrewsbury biscuits. You might also consider replacing a portion of the granulated sugar with dark brown sugar for a deeper, molasses-like undertone, which aligns with some mid-Atlantic heritage recipes. If you are interested in how these adaptations fit into seasonal traditions, see our work on Holiday Cookie Science.
Another tested adaptation involves the addition of citrus zest. A small amount of lemon or orange zest rubbed into the sugar coating provides a bright contrast to the warmth of the cinnamon. This reflects the Victorian penchant for pairing spices with citrus oils, a technique that remains scientifically sound for balancing rich, buttery fats. Ensure the zest is finely grated to avoid disrupting the surface crackle of the cookie.
The Art of Traditional Service
To truly honor the heritage of the snickerdoodle, it should be served alongside a high-tannin black tea or a robust coffee. The fats in the biscuit help to soften the astringency of the tea, while the cinnamon complements the roasted notes of the coffee beans. In a traditional British service, these would be presented on a pre-warmed ceramic plate to maintain the delicate temperature of the biscuit. For those interested in the aesthetics of presentation, our notes on Precision Cookie Decorating offer further insight into traditional displays.
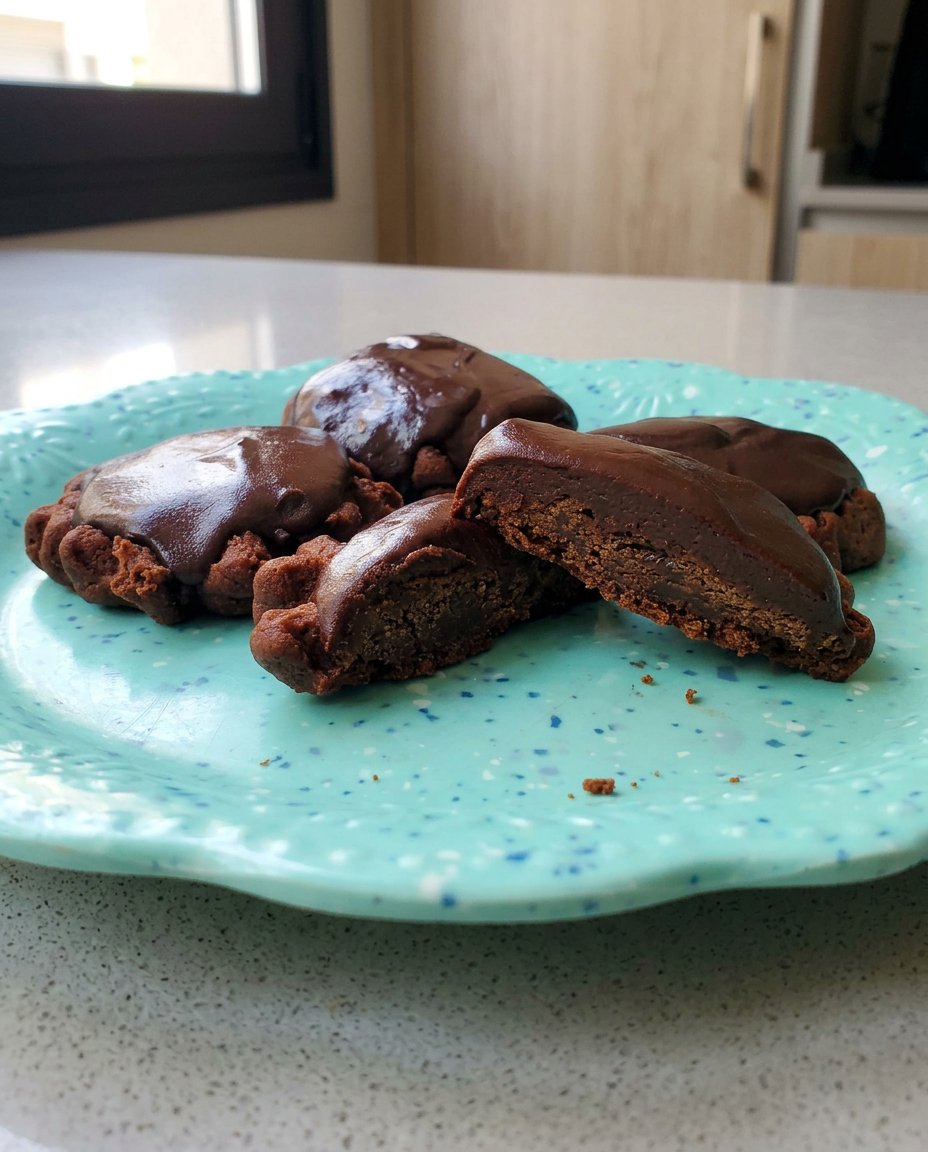
These cookies also serve as an excellent base for a sophisticated dessert sandwich. Pairing two snickerdoodles with a thin layer of salted caramel or a high-quality vanilla bean gelato creates a study in temperature and texture. The structural integrity of our gluten-free method ensures that the cookie can withstand the moisture of the filling without immediately disintegrating, a common failure in less technical gluten-free recipes.
Final Observations on Biscuit Science
Achieving the perfect Gluten Free Snickerdoodles is an exercise in respecting both the chemistry of the ingredients and the history of the method. By following these precise steps, you verify that a gluten-free diet does not require the sacrifice of heritage textures or classic flavors. I encourage you to master the creaming and coating techniques described here to broaden your technical repertoire. For further study on optimizing your kitchen workflow, please visit our analysis of Efficient Cookie Methods.
If you have found success with this traditional formula, please share your results with our community of methodical bakers. You can find us on Facebook, Instagram, and Pinterest. Continue to bake with precision and respect for the traditions that shaped our modern culinary landscape.

