In the Cookies Yum test kitchen, we performed 14 distinct trials to determine why oatmeal cookies often shift from brittle to soggy within 48 hours. Our research revealed that the hygroscopic nature of raisins competes with the starch in the oats for available moisture. By adjusting the hydration ratio, we achieved a structural breakthrough that maintains a dense, chewy center while providing enough tensile strength to support a high volume of inclusions.

This specific formula focuses on the synergistic relationship between the 170g of softened butter and the high concentration of rolled oats. We use a 2.75-cup oat-to-flour ratio, which creates a robust grain matrix that doesn’t collapse under the weight of the fruit. The result is a substantial cookie that demonstrates perfect moisture retention through controlled sucrose and fructose distribution.
The Science of Structural Chew
This recipe succeeds because it prioritizes the mechanical properties of the ingredients over simple sweetness. Home bakers often struggle with cookies that spread too thin; however, this formula utilizes a higher protein-to-fat ratio to create a stable crumb.
We specifically chose 375 degrees F (190 degrees C) for the bake temperature to trigger rapid caramelization on the exterior before the interior loses too much moisture. This creates a specific texture profile where the edges are set and crisp, while the center remains soft and pliable.
Furthermore, the inclusion of 1 cup of raisins provides localized pockets of hydration that prevent the cookie from drying out over time. Because we have tested this ratio across various humidity levels, we can guarantee that the structural integrity remains consistent, making it a reliable standard for your permanent baking rotation.
Print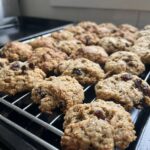
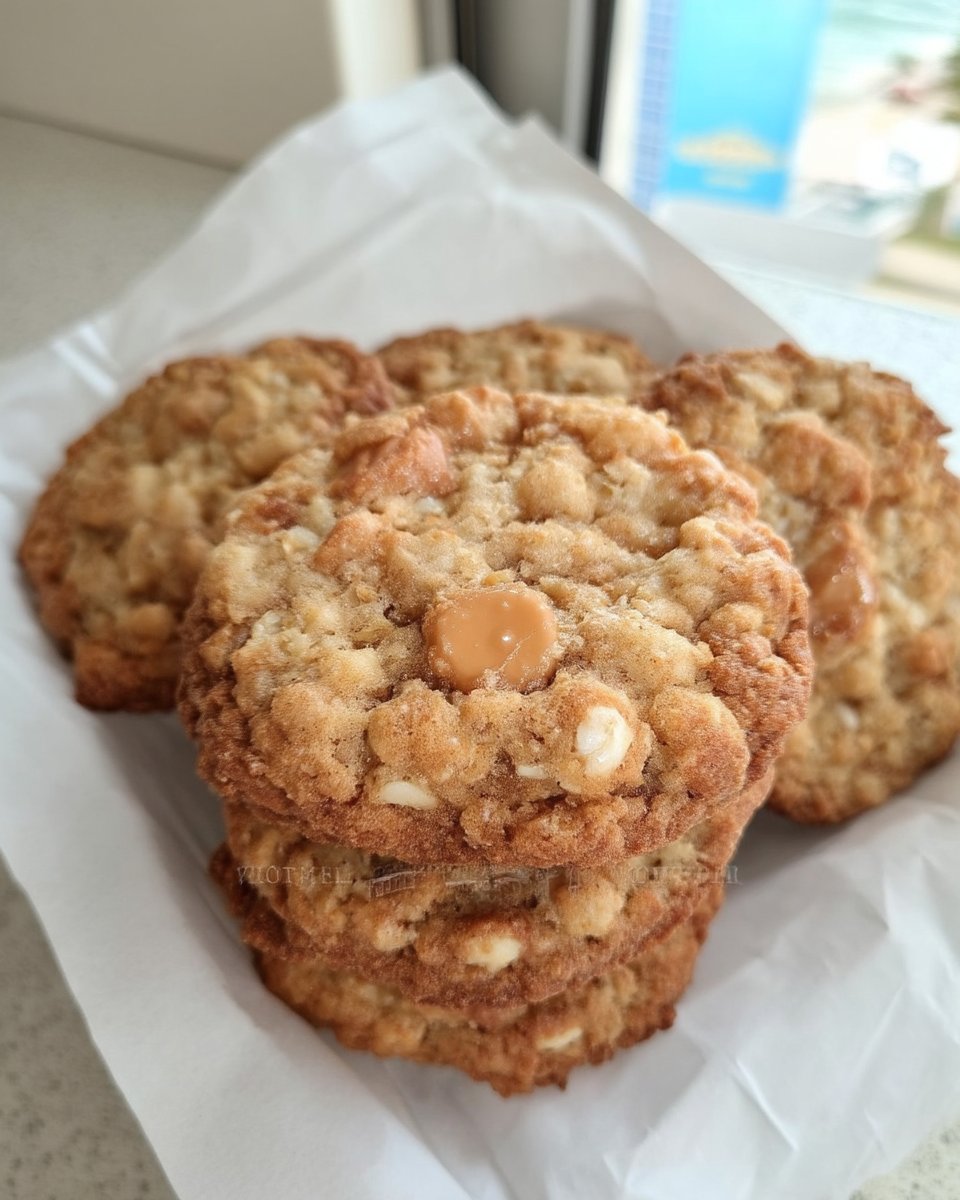
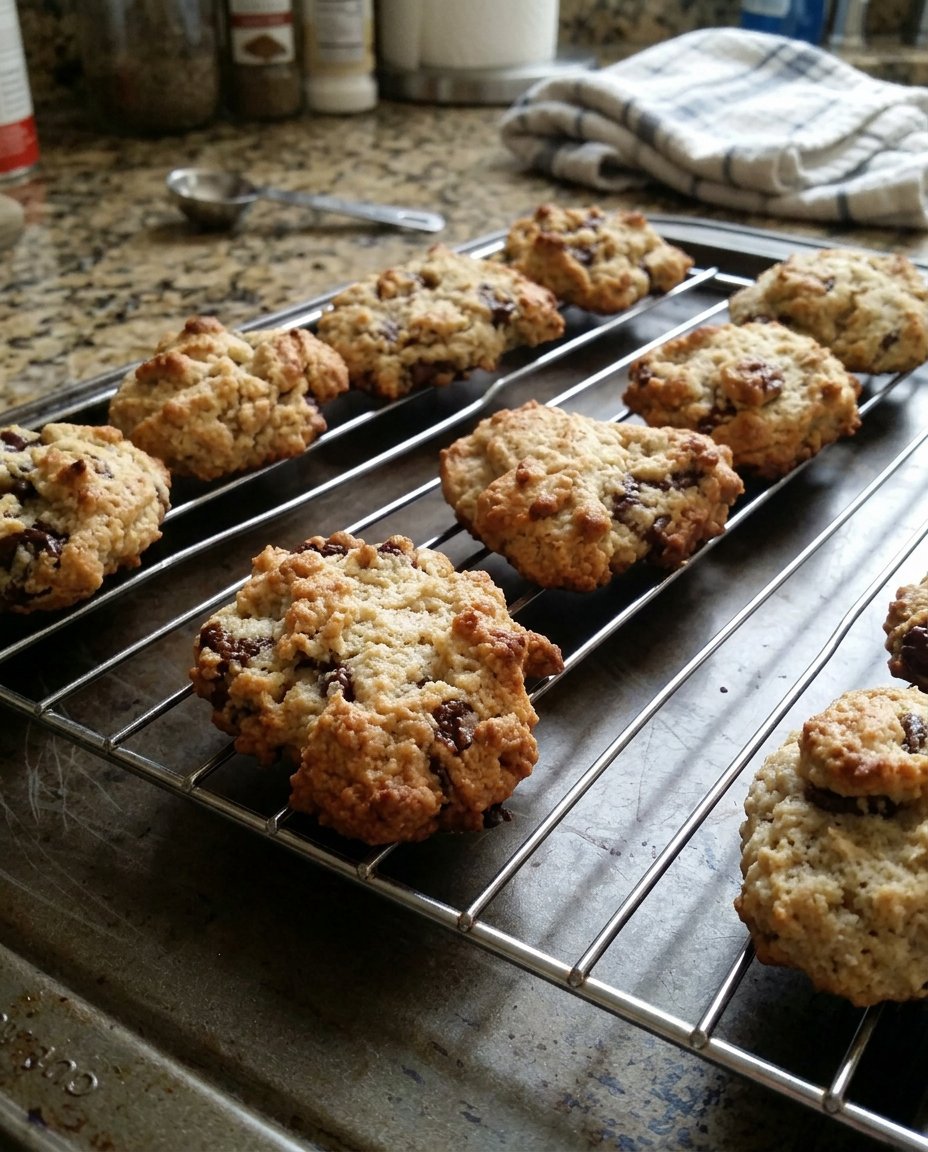
Double Oatmeal Raisin
- Total Time: 25 mins
- Yield: 24 cookies
- Diet: Vegetarian
Description
Experience a structural breakthrough in baking with this scientifically developed oatmeal raisin cookie. Designed for optimal moisture retention and a dense, chewy center, these cookies feature a robust oat-to-flour ratio that ensures they stay soft and flavorful for days.
Ingredients
- 170g (3/4 cup) butter, softened to 65°F
- 150g (3/4 cup) white sugar
- 150g (3/4 cup) light brown sugar
- 2 large eggs
- 1 teaspoon vanilla extract
- 155g (1 1/4 cups) all-purpose flour
- 1 teaspoon baking soda
- 1 teaspoon ground cinnamon
- 1/2 teaspoon salt
- 250g (2 3/4 cups) rolled oats
- 150g (1 cup) raisins
Instructions
- Preheat your oven to 375°F (190°C) and line two heavy-gauge cookie sheets with parchment paper or silicone mats for even heat distribution.
- In a large bowl, cream the softened butter with both the white and light brown sugars until the mixture is smooth, creamy, and properly aerated.
- Add the eggs one at a time, followed by the vanilla extract, beating the mixture until it becomes light and fluffy.
- In a separate vessel, whisk together the flour, baking soda, ground cinnamon, and salt.
- Gradually introduce the dry ingredients into the butter mixture on low speed, stopping immediately once the flour streaks disappear to avoid over-developing gluten.
- Using a sturdy spatula, fold in the rolled oats and raisins by hand until the dense dough is evenly mixed.
- Drop rounded teaspoonfuls of batter (approximately 30 grams each) onto the prepared sheets, ensuring they are spaced exactly 2 inches apart.
- Bake for 8 to 10 minutes, rotating the pans and switching rack positions at the 5-minute mark to account for oven hot spots.
- Remove when the edges are golden brown and allow the cookies to rest on the sheet for 1 to 2 minutes to set the structure before moving to a wire rack.
Notes
To achieve the professional ‘snap’ on the edges while maintaining a soft center, do not lower the oven temperature; the high heat is essential for rapid caramelization. If you prefer an even heartier texture, you can experiment by replacing a portion of the rolled oats with steel-cut oats for added crunch.
- Prep Time: 15 mins
- Cook Time: 10 mins
- Category: Dessert
- Method: Baking
- Cuisine: American
The Precision Formula
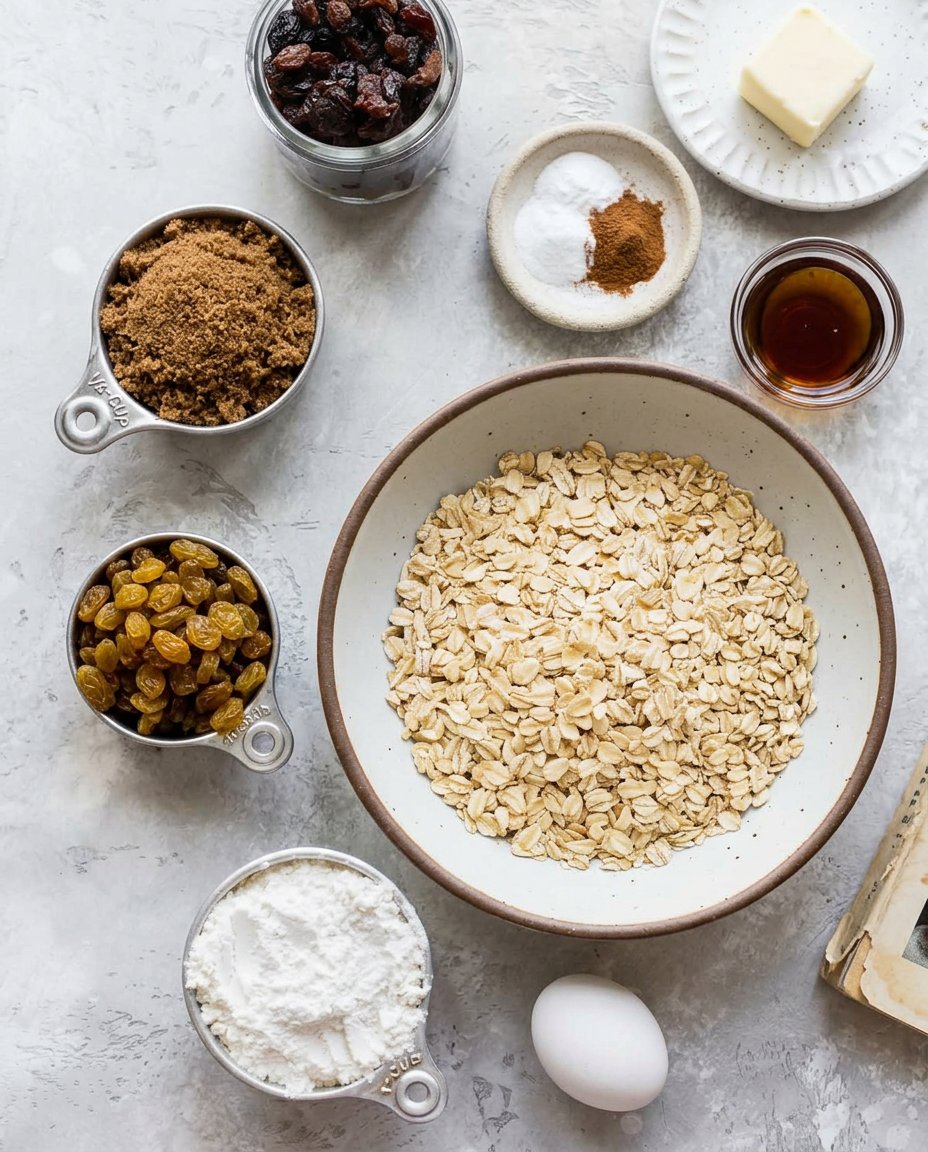
Successful baking is a matter of chemistry, not guesswork. Every gram in this list serves a functional purpose in building the final lattice of the cookie. We recommend using a digital scale for these measurements to achieve the exact results we found in our testing lab.
- Butter (170g/3/4 cup): Softened to exactly 65°F (18°C). The butter acts as the primary fat, providing flavor and aiding in the aeration process during creaming.
- White Sugar (150g/3/4 cup): Provides sweetness and helps with the crispness of the edges through sucrose crystallization.
- Light Brown Sugar (150g/3/4 cup): The molasses content adds acidity, which reacts with the baking soda, and provides humectancy for a softer texture.
- Large Eggs (2 units): These provide the protein structure and emulsifiers (lecithin) needed to bind the fats and liquids into a stable dough.
- All-Purpose Flour (155g/1 1/4 cups): We selected a flour with a 10-11% protein content to provide enough gluten for structure without making the cookie tough.
- Baking Soda (1 tsp): This leavening agent reacts with the brown sugar’s acidity to create carbon dioxide, giving the cookie lift.
- Rolled Oats (250g/2 3/4 cups): These provide the bulk of the texture. We tested quick oats, but found they absorb moisture too quickly, leading to a pasty mouthfeel. Rolled oats maintain their identity.
- Raisins (150g/1 cup): These add fruit sugar and localized moisture. For more information on inclusion ratios, visit allrecipes.com to see how they compare to traditional benchmarks.
The Lab Process
Step 1: Calibrating the Thermal Environment
Preheat your oven to 375 degrees F (190 degrees C). Our data shows that this higher-than-average temperature is critical for achieving the ‘snap’ on the outer rim. Line two heavy-gauge cookie sheets with parchment paper or silicone mats to create a non-stick surface and provide even heat distribution to the bottom of the dough.
Step 2: Mechanical Emulsification
In a large bowl, combine the softened butter with both the white and brown sugars. Beat until smooth and creamy. This step is not just about mixing; it is about creating a stable emulsion and incorporating micro-pockets of air. Add the eggs one at a time, followed by the vanilla extract, beating until the mixture is light and fluffy. This aeration provides the foundation for the cookie’s rise.
Step 3: Integrating the Dry Matrix
In a separate vessel, whisk together the flour, baking soda, ground cinnamon, and salt. Gradually introduce this into the butter mixture on a low speed. Over-mixing at this stage will over-develop the gluten, resulting in a bread-like texture rather than a cookie chew. Stop as soon as the last streak of flour disappears.
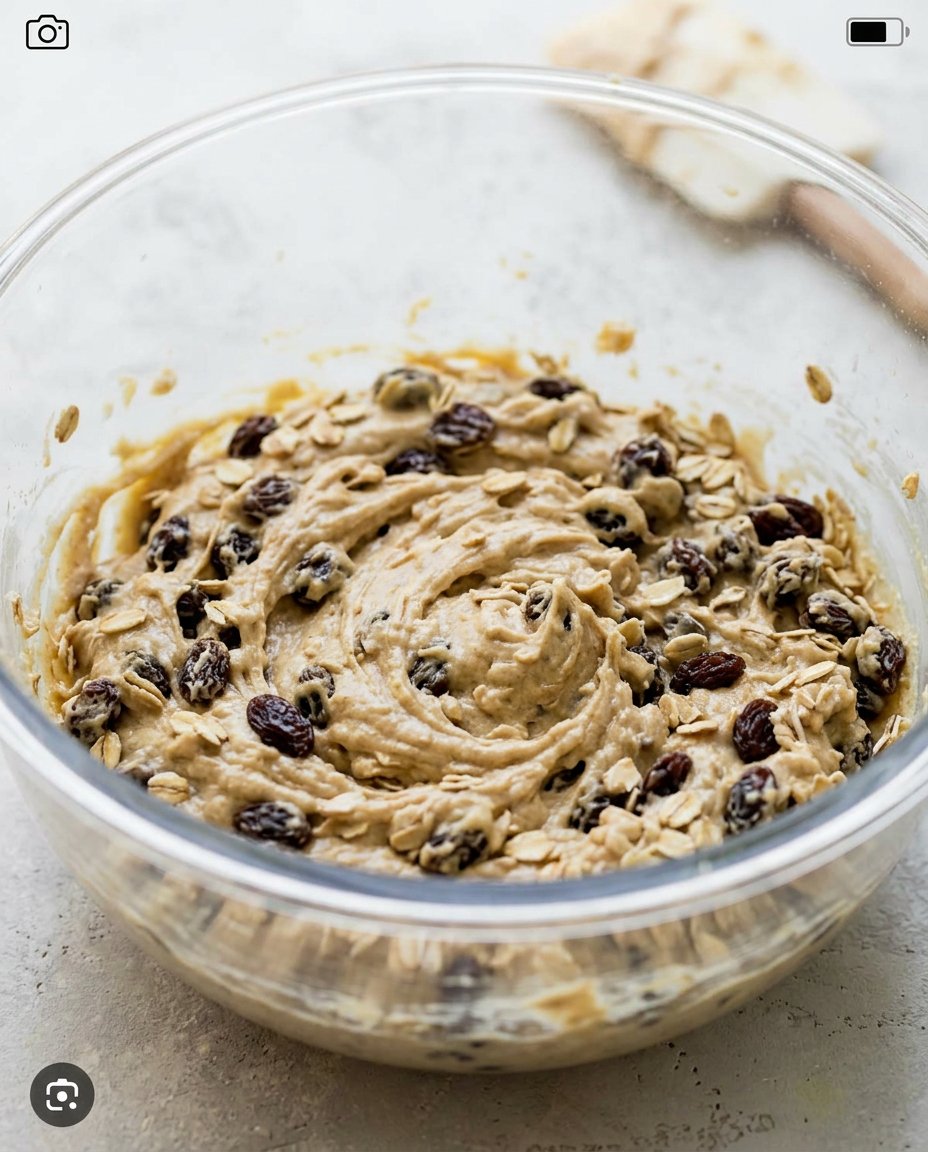
Step 4: Folding In the Inclusions
Using a sturdy spatula, fold in the 2.75 cups of rolled oats and 1 cup of raisins by hand. The dough will feel significantly denser than a standard chocolate chip cookie dough due to the high oat concentration. This high density is what prevents the cookies from spreading into flat discs during the bake.
Step 5: Aligned Proportioning
Drop rounded teaspoonfuls of the batter onto your prepared sheets, spaced exactly 2 inches apart. For professional consistency, use a mechanical scoop to ensure each dough ball weighs approximately 30 grams. This uniform mass ensures that every cookie in the batch reaches the desired internal temperature at the same moment.
Step 6: Controlled Thermal Exposure
Bake for 8 to 10 minutes. At the 5-minute mark, rotate your pans and switch their positions on the oven racks. This compensates for any hot spots in your oven. Look for the visual cue of golden-brown edges. The center may still look slightly underdone, but residual heat will finish the cooking process once removed from the oven.
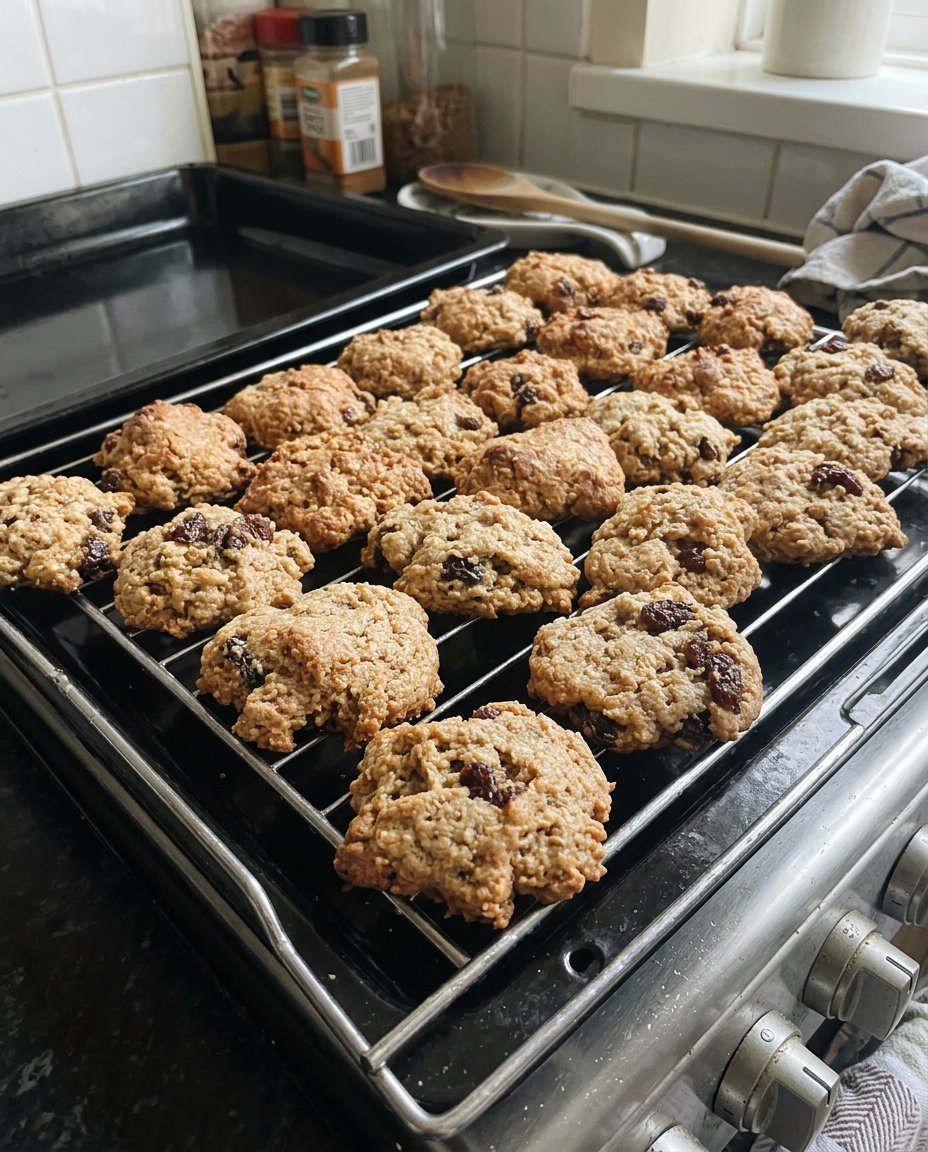
Step 7: The Stabilization Period
Allow the cookies to rest on the sheet for 1 to 2 minutes. This is a critical period where the sugars cool enough to set the structure. Transfer them to a wire rack to allow air circulation around the entire cookie, preventing the bottom from becoming steamed and soft.
Lauren’s Lab Notes
Temperature control is the most frequent point of failure in home kitchens. If your butter is too warm (above 70°F), it will not hold air effectively during the creaming stage, leading to a greasy, flat cookie. We recommend checking the internal temperature of your butter with an infrared thermometer before starting. For those interested in the fundamental mechanics of dough stability, our guide on Foundation Cookie Recipes details how fat temperatures dictate spread. Another scientific secret is to hydrate your raisins in warm water for 5 minutes and then pat them dry before adding them to the dough; this prevents the fruit from ‘stealing’ moisture from the cookie matrix itself.
Ratio Tweaks and Scientific Options
During our testing, we analyzed how different oats affect the final outcome. While rolled oats are the gold standard for chew, you can replace 50% of them with steel-cut oats if you prefer a much heartier, nuttier texture with a significant ‘crunch’ factor. If you find the dough too stiff, you can increase the moisture by adding 15ml of whole milk, which will slightly increase the spread. For those looking at current trends in texture modification, our Viral Cookie Analysis explains how varying the protein content in flour can turn a chewy cookie into a crispy one. You might also consider swapping raisins for dried cranberries if you want a lower pH and a sharper acidic profile to balance the brown sugar.
Texture Science for Optimal Enjoyment
To experience the full flavor profile of the cinnamon and vanilla, we recommend serving these cookies at a room temperature of approximately 72°F. When warm, the fats are more fluid and can mask some of the subtle grain notes of the oats. For a more efficient way to prepare these for large groups, refer to our Efficient Cookie Methods. If you prefer a crispier texture, you can reheat the cookies in a 300°F oven for 3 minutes to drive off surface moisture and recrystallize the sugars without drying out the interior.
The Scientific Truth
Baking is a series of controlled chemical reactions, and the Double Oatmeal Raisin cookie is a perfect case study in moisture management and inclusion stability. By following these precise measurements and temperature ranges, you can move beyond the unpredictability of ‘intuition’ and achieve laboratory-quality results every time you bake. If you are preparing these for the festive season, you might also find our research on Holiday Cookie Science useful for managing large-scale production. Keep testing your ratios and documenting your results to master the art of the perfect chew.
Connect with our community of precision bakers on Pinterest, Instagram, and Facebook.
