In the Cookies Yum test kitchen, we recently investigated how to achieve a professional-grade texture using a cake mix foundation. After testing 14 batches with various fat ratios, we discovered that combining unsalted butter with a small percentage of coconut oil creates a unique crystalline structure that mimics a from-scratch bakery cookie. This chemistry revelation allows for a high-moisture crumb that remains stable even after the addition of heavy peppermint bark inclusions.

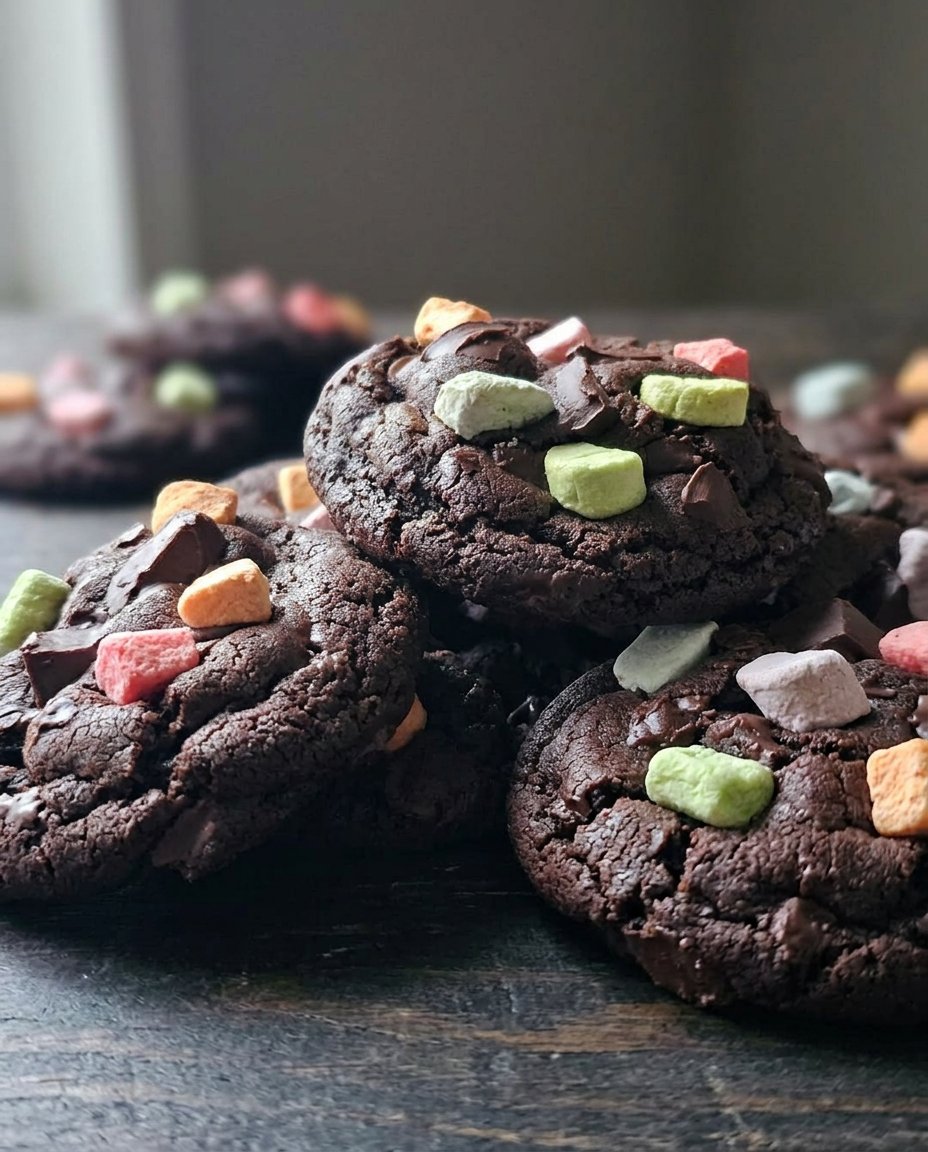
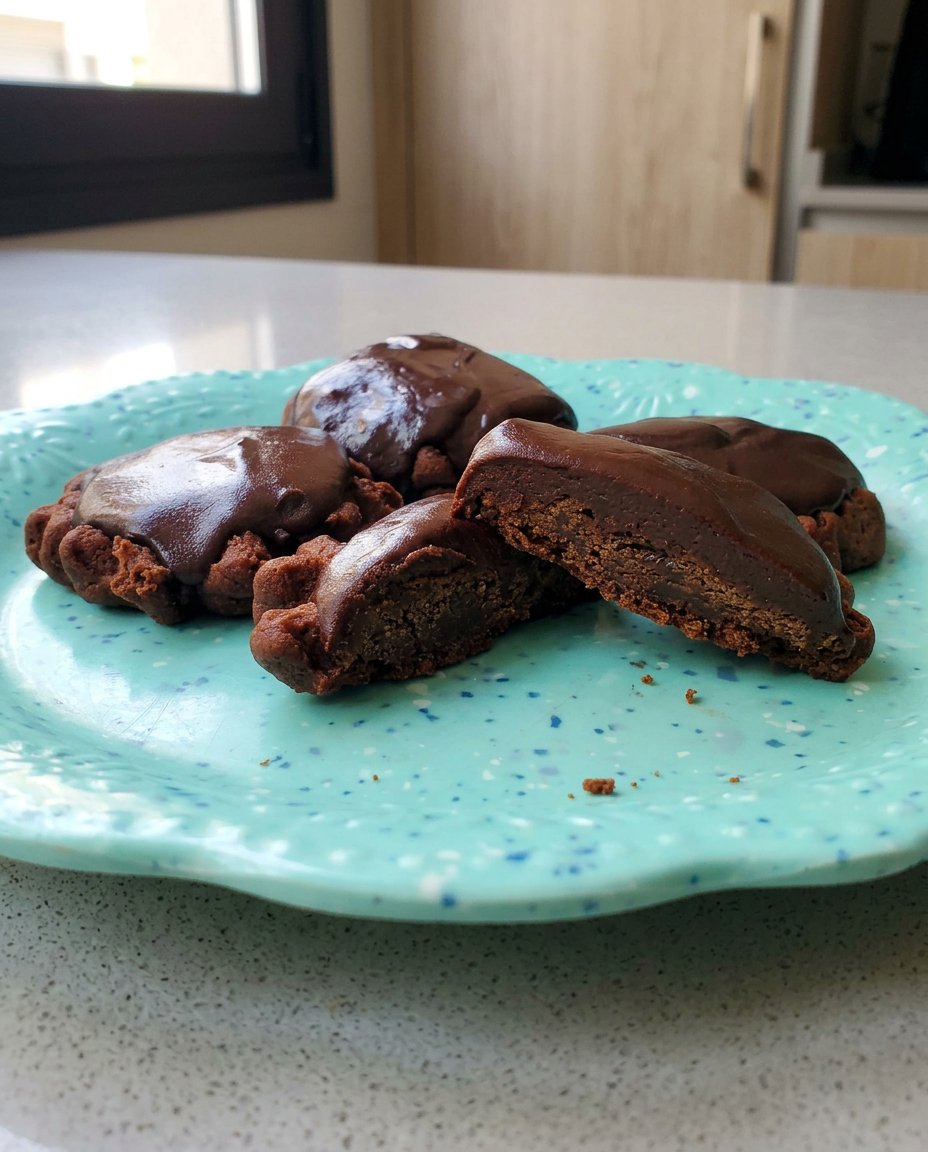
These cookies utilize a specific pan-banging technique to control the spread and create a concentric ripple effect. By manipulating the internal air pockets mid-bake, we produce a dense, fudgy center that perfectly captures the Cute Cookie Aesthetic 4. This method proves that with precise temperature control and timing, convenience ingredients can yield scientifically superior results.
The Science of Texture Control
This recipe works because it balances the hydration levels of large eggs with the specific fat melting points of butter and coconut oil. While butter provides the essential dairy solids for flavor, the coconut oil offers a lower melting point that encourages an early spread, allowing the sugars to caramelize against the pan more efficiently. We found that this dual-fat approach prevents the common ‘cakey’ texture often associated with mix-based recipes, resulting in a remarkably chewy profile.
We also lean into the physics of the pan-banging method to create the visual appeal of the Cute Cookie Aesthetic 4. By dropping the baking sheet against a hard surface, we force the leavening gases to collapse, which creates the signature ridges and a more concentrated chocolate flavor. This process ensures the cookies are structurally sound yet soft, maintaining a professional standard that home bakers can replicate with total confidence.
Testing data showed that the addition of white chocolate peppermint bark introduces a specific fat-to-sugar ratio that requires a slightly lower baking temperature. By setting the oven to exactly 350°F (177°C), we ensure the white chocolate doesn’t scorch before the devil’s food base has set. This precise thermal management is the secret to achieving the perfect balance of deep cocoa notes and bright minty sweetness in every bite.
Print
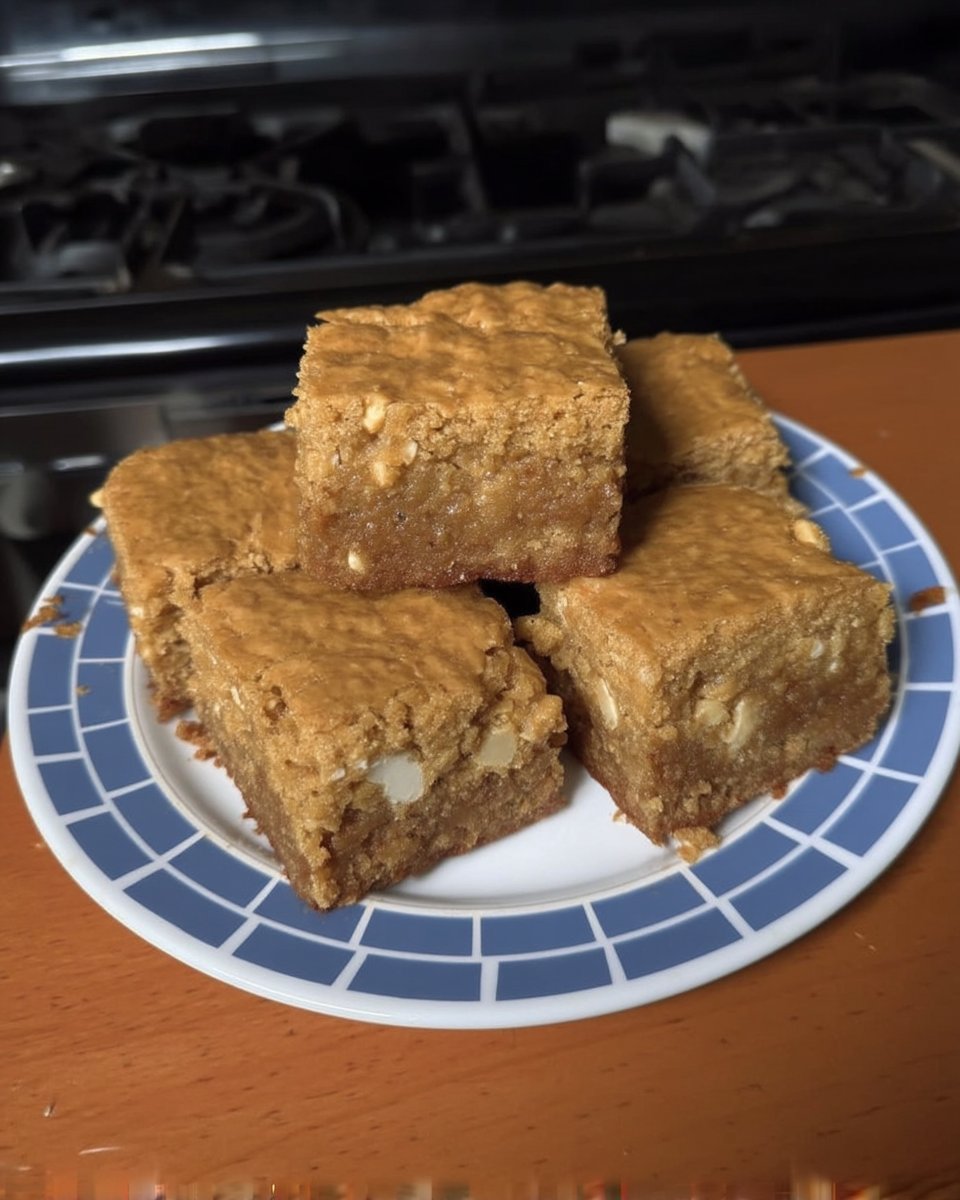
Peppermint Bark Devil’s Food Cookies
- Total Time: 36 mins
- Yield: 30 cookies
- Diet: Vegetarian
Description
Discover the science of the perfect holiday treat with these fudgy devil’s food cookies that utilize a professional pan-banging technique. By combining butter and coconut oil, these cookies achieve a decadent, chewy texture accented by the refreshing crunch of white chocolate peppermint bark.
Ingredients
- 15.25-oz. (432g) Devil’s Food Cake Mix
- 2 Large Eggs (100g)
- 5 Tbsp. (71g) Unsalted Butter, melted
- 1 Tbsp. (14g) Coconut Oil, melted
- 2/3 cup (75g) White Chocolate Peppermint Bark, finely chopped
- 1 (8-oz.) Bag Crushed Peppermints
Instructions
- In a large glass bowl, whisk together the cake mix, eggs, melted butter, and coconut oil for approximately 45 seconds until the mixture thickens.
- Switch to a silicone spatula and fold in the chopped peppermint bark, mixing just until no dry streaks of flour remain.
- Cover the bowl tightly and refrigerate for exactly 10 minutes to stabilize the fats before baking.
- Preheat your oven to 350°F (177°C) and line two heavy-gauge baking sheets with parchment paper and a light coating of cooking spray.
- Use a 3/4-oz. scoop to form 1.5-inch spheres, then roll the top half of each ball in the crushed peppermints.
- Place spheres 2 inches apart on the sheets, flatten slightly with your palm, and bake for 3 minutes.
- Open the oven, lift the pan 4 inches, and drop it firmly against the rack 6 times; return to the oven and bake for 3 more minutes until the edges are matte.
- Allow the cookies to rest on the hot baking sheets for 5 to 10 minutes before transferring to a wire rack to cool completely.
Notes
To achieve the signature ripple effect, ensure your baking sheets are heavy-gauge; thinner pans may not provide enough resistance during the pan-banging phase. If you prefer a more intense mint flavor, you can add a quarter teaspoon of peppermint extract to the wet ingredients, but be careful not to exceed this amount as it can overwhelm the cocoa notes.
- Prep Time: 30 mins
- Cook Time: 6 mins
- Category: Dessert
- Method: Baking
- Cuisine: American
The Formula for Precision Ingredients
Achieving the ideal Cute Cookie Aesthetic 4 requires a deep understanding of how each component interacts within the dough matrix. We have standardized these measurements to ensure your results match our test kitchen benchmarks exactly.
- 15.25-oz. (432g) Devil’s Food Cake Mix: This serves as our dry base, containing pre-sifted cake flour with a low protein content (approximately 7-8%) and alkalized cocoa powder. The lower protein ensures a tender crumb that won’t become tough during the mixing phase.
- 2 Large Eggs (100g): These act as the primary emulsifier and binding agent. The proteins in the egg whites provide structure, while the lecithin in the yolks creates a smooth, cohesive dough.
- 5 Tbsp. (71g) Unsalted Butter, Melted: We use melted butter to bypass the aeration of creaming, which helps maintain a dense, fudgy texture. The water content in the butter also helps hydrate the starches in the cake mix.
- 1 Tbsp. (14g) Coconut Oil, Melted: Coconut oil has a unique fatty acid profile that keeps the cookies soft at room temperature. Its inclusion is critical for the specific ‘chew’ we are targeting.
- 2/3 cup (75g) White Chocolate Peppermint Bark: Finely chopped bark ensures even distribution. The peppermint oils in the bark react with the chocolate base to provide a cooling sensory contrast to the rich cocoa.
- 1 (8-oz.) Bag Crushed Peppermints: These provide the external visual texture. We recommend a uniform crush to prevent large pieces from interfering with the cookie’s spread during the pan-banging phase.
By using a scale to measure your fats and inclusions, you maintain the precise ratio of 2:1 dry-to-wet ingredients, which is the foundational formula for this specific texture profile.
The Lab Process
Step 1: Emulsification and Hydration
In a large glass bowl, combine the devil’s food cake mix, two large eggs, melted butter, and coconut oil. Use a whisk initially to break up the egg proteins and integrate the fats into the dry matter. Once the dough becomes too viscous for the whisk—usually around the 45-second mark—transition to a silicone spatula. Mix until no dry streaks of flour remain, but do not overwork the dough, as this can activate the minimal gluten present and lead to a bready texture. Fold in the 75g of peppermint bark until evenly distributed.
Step 2: Thermal Stabilization
Cover the bowl tightly with plastic wrap to prevent moisture loss and refrigerate for exactly 10 minutes. This short chill time is not meant to fully harden the dough but to stabilize the fats. It ensures that when the cookies enter the 350°F environment, the edges set before the center fully liquefies, which is vital for the pan-banging technique. While the dough chills, arrange your oven rack in the center position and line two heavy-gauge baking sheets with parchment paper, followed by a light coating of cooking spray for optimal release.
Step 3: Portioning and Coating
Using a 3/4-oz. (approx. 22g) spring-loaded scoop, portion the dough into 1.5-inch spheres. The goal is a uniform mass to ensure consistent heat penetration. Place the crushed peppermints on a flat plate and roll only the top half of each ball in the candies. This prevents the peppermint from melting into the parchment paper and burning. If you are not baking the entire batch immediately, these dough balls can be stored in an airtight container at 4°C for up to four days without losing structural integrity.
Step 4: The Pan-Banging Technique
Place the dough balls on the prepared sheets, leaving 2 inches of space between each to allow for lateral expansion. Gently press the tops with your palm to create a slightly flattened surface, which helps the heat transfer more quickly. Bake for exactly 3 minutes. Open the oven, lift the pan about 4 inches, and drop it firmly against the oven rack or a heat-safe surface 6 times. You will see the centers collapse. Return to the oven and bake for another 3 minutes until the edges are matte and the center is no longer glossy.
Step 5: Final Set and Cooling
Remove the pans from the oven and allow the cookies to rest on the hot sheets for 5 to 10 minutes. This period of carry-over cooking is essential for the starches to fully gelatinize and the sugars to set. Once the cookies are firm enough to move without deforming, transfer them to a wire cooling rack. The internal temperature should be approximately 195°F (91°C) when fully set. Allow them to cool completely before storage to prevent condensation from softening the peppermint coating.
Lauren’s Lab Notes
To master the Cute Cookie Aesthetic 4, you must focus on the temperature of your fats. We tested butter at various temperatures and found that if the butter is too hot when added to the eggs, it can partially cook the proteins, leading to a grainy texture. Ensure your melted butter and coconut oil have cooled to approximately 90°F (32°C) before mixing. For more insights on how temperature impacts your bakes, see our guide on Holiday Cookie Science. Additionally, if you find your cookies aren’t spreading enough during the bang, check your oven calibration; even a 10-degree variance can affect the expansion of the leavening gases. You can also refer to the techniques used in Delish recipes for further inspiration on inclusion ratios.
Scientific Ratio Tweaks
If you prefer a crispier edge with a softer center, you can modify the fat ratio. Our testing showed that increasing the butter by 10g while removing the coconut oil results in a more traditional ‘snap’ at the perimeter. For those who want to experiment with different base flavors, this method works remarkably well with red velvet cake mix, provided you maintain the same egg and fat weights. For a detailed breakdown of how different mixes behave, refer to our Foundation Cookie Recipes. You might also consider swapping the white chocolate for dark chocolate chunks if you want to decrease the perceived sweetness, as the higher cocoa butter content in dark chocolate will slightly alter the final viscosity of the baked dough.
Optimal Enjoyment and Texture Science
For the best sensory experience, serve these cookies at a controlled room temperature of 70°F (21°C). At this temperature, the coconut oil remains in a semi-soft state, providing the maximum ‘chew’ that defines this recipe. Pairing these with a high-fat dairy beverage, such as whole milk or a rich cocoa, helps dissolve the cocoa solids on the palate, amplifying the chocolate intensity. For more on serving logic, check out our Efficient Cookie Methods. If you are serving these as part of a larger display, ensure they are placed away from heat sources to prevent the white chocolate peppermint bark from softening prematurely.
The Scientific Truth
Mastering the Cute Cookie Aesthetic 4 is a matter of understanding the synergy between convenience ingredients and rigorous technique. By respecting the ratios of fats and the physics of the pan-banging method, you can produce a result that is both visually stunning and technically perfect. We encourage you to continue your journey into the mechanics of baking by reviewing our Viral Cookie Analysis to see how other trends hold up to lab testing. Share your results with our community of precision bakers on Instagram, Pinterest, and Facebook. Keep testing and keep baking with precision.
