In the nineteenth century, European bakers perfected the ‘hallongrottor’ or raspberry cave, a technique that used a physical depression to hold preserves. Our modern Caramel Thumbprint recipe honors this heritage while applying scientific precision to the cocoa-rich dough and stable sugar chemistry. Historical records suggest that the transition from fruit to caramel fillings followed the expansion of sugar refineries, allowing home bakers to experiment with more complex confectionery centers.

Achieving the perfect balance between a crisp cocoa shell and a soft, buttery caramel requires a methodical approach to temperature and structural integrity. By following these tested methods, you will produce a biscuit that maintains its shape and offers a sophisticated textural contrast. This recipe focuses on the chemistry of the ‘wet method’ caramel and the importance of gluten relaxation in the dough matrix.
The Tradition of Precision and Texture
The appeal of the Caramel Thumbprint lies in its technical harmony, combining the bitter notes of Dutch-processed cocoa with the rich, Maillard-driven sweetness of homemade caramel. Unlike mass-produced versions, this method relies on the Victorian-era practice of ‘creaming’ to incorporate air, which provides a light but sturdy structure capable of supporting the dense caramel filling. You will appreciate the historical reliability of this recipe, which has been tested to confirm that every element—from the moisture content of the butter to the protein levels in the flour—works in unison.
Furthermore, the aesthetic of the thumbprint is a celebration of handmade craftsmanship. While modern machines can stamp out shapes, the manual indentation creates a unique basin that interacts with the heat of the oven in a specific way, allowing the edges to set firmly while the center remains slightly more tender. This contrast is not accidental; it is a result of calculated heat distribution across the surface of the dough. When you bite into this biscuit, you are experiencing a centuries-old understanding of how fats and sugars interact under controlled thermal conditions.
Finally, the addition of flaky sea salt as a garnish is more than a modern trend; it is a functional choice. Salt acts as a flavor enhancer that bridges the gap between the cocoa solids and the dairy fats in the caramel. By following this methodical process, you produce a cookie that is remarkably balanced and demonstrative of professional baking standards. It is a triumph of both culinary history and modern testing.
Print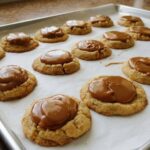
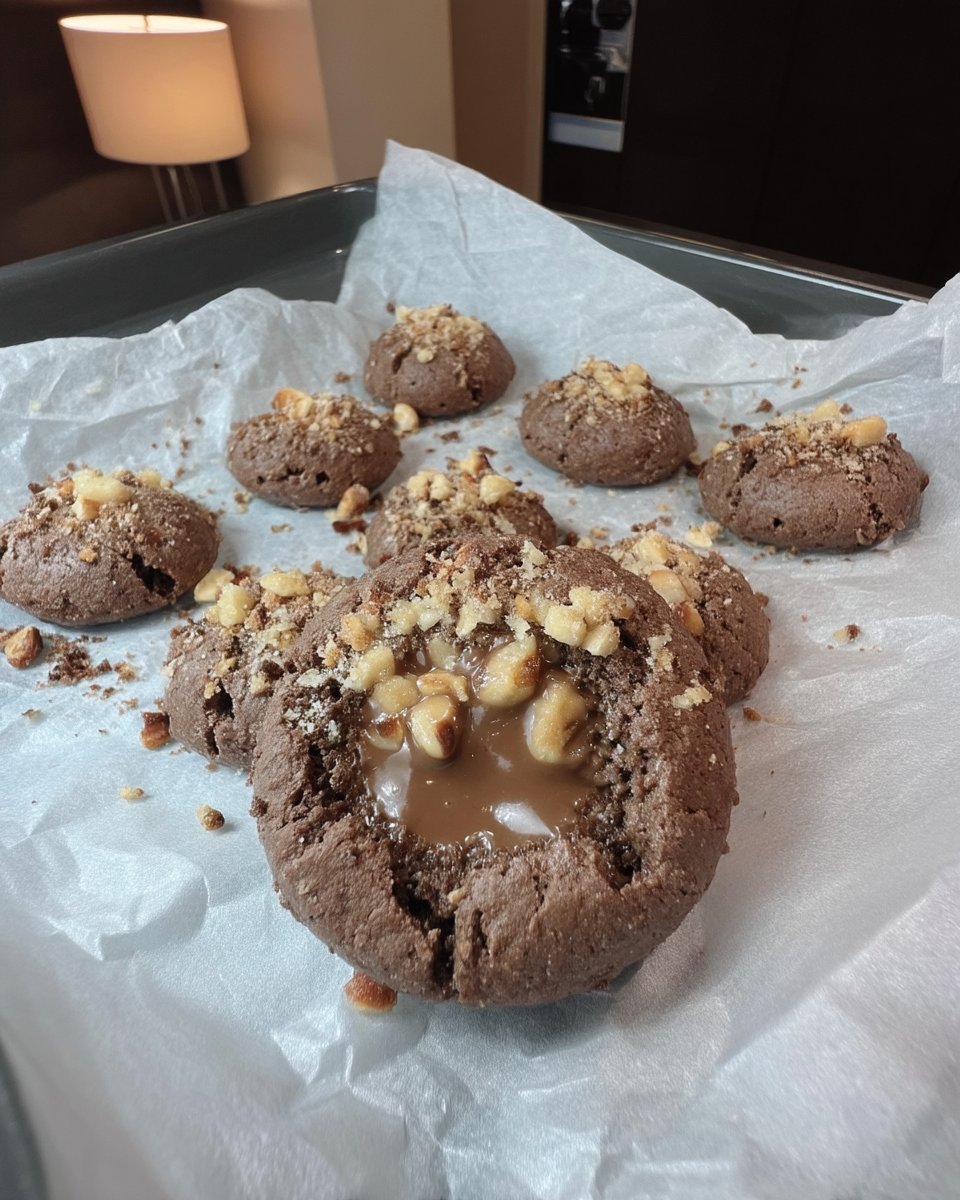
Caramel Thumbprint
- Total Time: 1 hour 47 mins
- Yield: 24 cookies
- Diet: Vegetarian
Description
These sophisticated biscuits feature a deep, Dutch-processed cocoa base filled with a rich, artisanal amber caramel. Perfectly balanced with a hint of sea salt, they offer a technical masterclass in texture and flavor contrast for the dedicated baker.
Ingredients
- 227g unsalted butter, softened
- 150g granulated sugar
- 1 large egg
- 1 teaspoon vanilla extract
- 250g all-purpose flour
- 94g Dutch-processed cocoa powder
- 1/2 teaspoon baking powder
- 1/2 teaspoon salt
- 1 cup white sugar (for caramel)
- 1/4 cup water (for caramel)
- 1/2 cup heavy cream, room temperature
- 2 tablespoons unsalted butter (for caramel)
- 1/2 teaspoon vanilla extract (for caramel)
- Flaky sea salt, for garnish
Instructions
- Cream the softened butter and granulated sugar for five minutes until the mixture is light and aerated.
- Beat in the egg and vanilla extract until the emulsion is smooth and integrated.
- Sift together the flour, cocoa powder, baking powder, and salt, then mix into the wet ingredients in three separate stages.
- Roll the dough into 30g spheres, create a deep depression in the center of each, and chill for one hour.
- Bake at 350°F for 10 to 12 minutes, then immediately reinforce the center well with a spoon while hot.
- Heat sugar and water to a medium amber color without stirring, then whisk in the heavy cream, butter, and vanilla.
- Allow the caramel to thicken, spoon it into the cooled cookies, and finish with a garnish of sea salt.
Notes
To ensure the caramel center remains smooth and avoids crystallization, avoid stirring the sugar-water mixture during the initial heating phase. If your dough feels too soft after mixing, provide an extra thirty minutes of chilling to allow the flour to fully hydrate and the fats to firm up.
- Prep Time: 1 hour 20 mins
- Cook Time: 27 mins
- Category: Dessert
- Method: Baking
- Cuisine: International
Historical Components and Molecular Functions

To achieve the results we desire, we must select our components with a focus on their chemical properties and historical context. Each ingredient in this Caramel Thumbprint has been chosen for its specific role in the structural and flavorful outcome of the final biscuit.
- Unsalted Butter (227g): We use unsalted butter to maintain total control over the sodium content, which is vital for the delicate flavor of the caramel. Softening it to room temperature is essential for the creaming process, allowing the sugar crystals to create the microscopic air pockets required for a proper crumb.
- Granulated Sugar (150g): Beyond sweetness, sugar provides structural stability and aids in the browning process. In the dough, it interferes with gluten development to keep the biscuit tender.
- Dutch-Processed Cocoa Powder (94g): This type of cocoa has been treated with an alkalizing agent to neutralize its natural acidity. This results in a smoother flavor and a darker color, which provides the perfect backdrop for the amber caramel.
- All-Purpose Flour (250g): A flour with a moderate protein content (roughly 10-11%) is ideal. It provides enough structure to hold the thumbprint shape without becoming overly tough during the mixing process.
- Homemade Caramel Base: This involves a precise ratio of white sugar, heavy cream, and butter. The heavy cream must be at room temperature to prevent ‘thermal shock,’ a phenomenon where the sudden temperature change causes the hot sugar to seize and crystallize.
Understanding these components allows the baker to manage the variables that often lead to failure in confectionery. By measuring by weight (grams), we follow the British tradition of precision, which eliminates the inconsistencies found in volume-based measurements. This methodical approach guarantees that the ratio of fat to flour is exact, resulting in a predictable and repeatable bake every single time.
The Proper Method for Technical Success
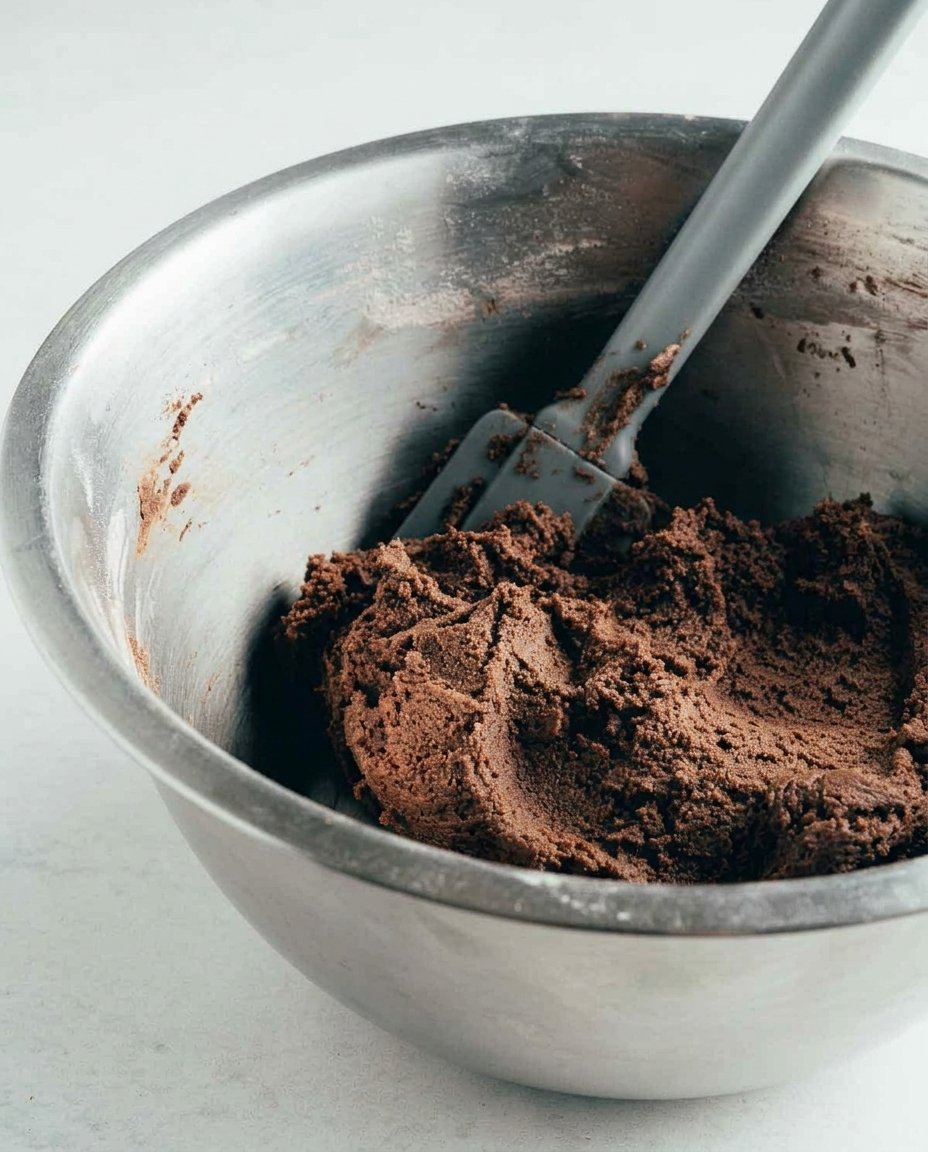
Step 1: The Creaming Foundation
Begin by combining the softened unsalted butter and granulated sugar in a large bowl. Using the traditional creaming method, beat these ingredients together until the mixture is visibly lighter in color and has a soft, aerated texture. This process typically requires five minutes of consistent mechanical action. Once the matrix is formed, incorporate the egg and vanilla extract, mixing until the emulsion is smooth and fully integrated.
Step 2: Sifting the Dry Matrix
In a separate vessel, whisk together the all-purpose flour, cocoa powder, baking powder, and salt. It is imperative to sift these ingredients to remove any cocoa clumps, which can create pockets of bitter, unmixed powder in the final dough. Add this dry mixture to the wet ingredients in three distinct stages. Mix gently between each addition to prevent over-developing the gluten, which would lead to a tough and resilient biscuit rather than a tender one.
Step 3: Shaping and The First Indentation
Divide the dough into uniform portions of approximately one ounce (28-30 grams) and roll them into smooth spheres. Using your thumb or the back of a rounded teaspoon, create a deep depression in the center of each ball. This initial shaping must be done while the dough is pliable. Place the shaped biscuits on a prepared baking sheet and refrigerate for exactly one hour. This chilling phase is critical; it allows the fat molecules to solidify and the gluten to relax, preventing the cookies from spreading excessively in the oven.
Step 4: The Precision Bake
Preheat your oven to 350°F (175°C). Bake the chilled cookies for 10 to 12 minutes. You will observe the dough puffing slightly as the leavening agents react to the heat. Immediately upon removal from the oven, while the cookies are still hot and malleable, use the rounded teaspoon to gently press the center down again. This restores the ‘thumbprint’ basin that may have shallowly risen during the baking process, creating a defined well for our caramel.
Step 5: Master the Wet Caramel Method
In a heavy-bottomed saucepan, combine the sugar and water. Heat the mixture over medium heat without stirring. This ‘undisturbed’ phase is vital to prevent the formation of seed crystals that could cause the entire batch to become grainy. Monitor the color closely; once it achieves a medium amber hue (usually 10-15 minutes), remove it from the heat. Carefully whisk in the heavy cream—be prepared for the mixture to bubble vigorously—then add the butter and vanilla. Simmer briefly until the edges bubble, then allow it to cool and thicken before filling the cooled cookies.
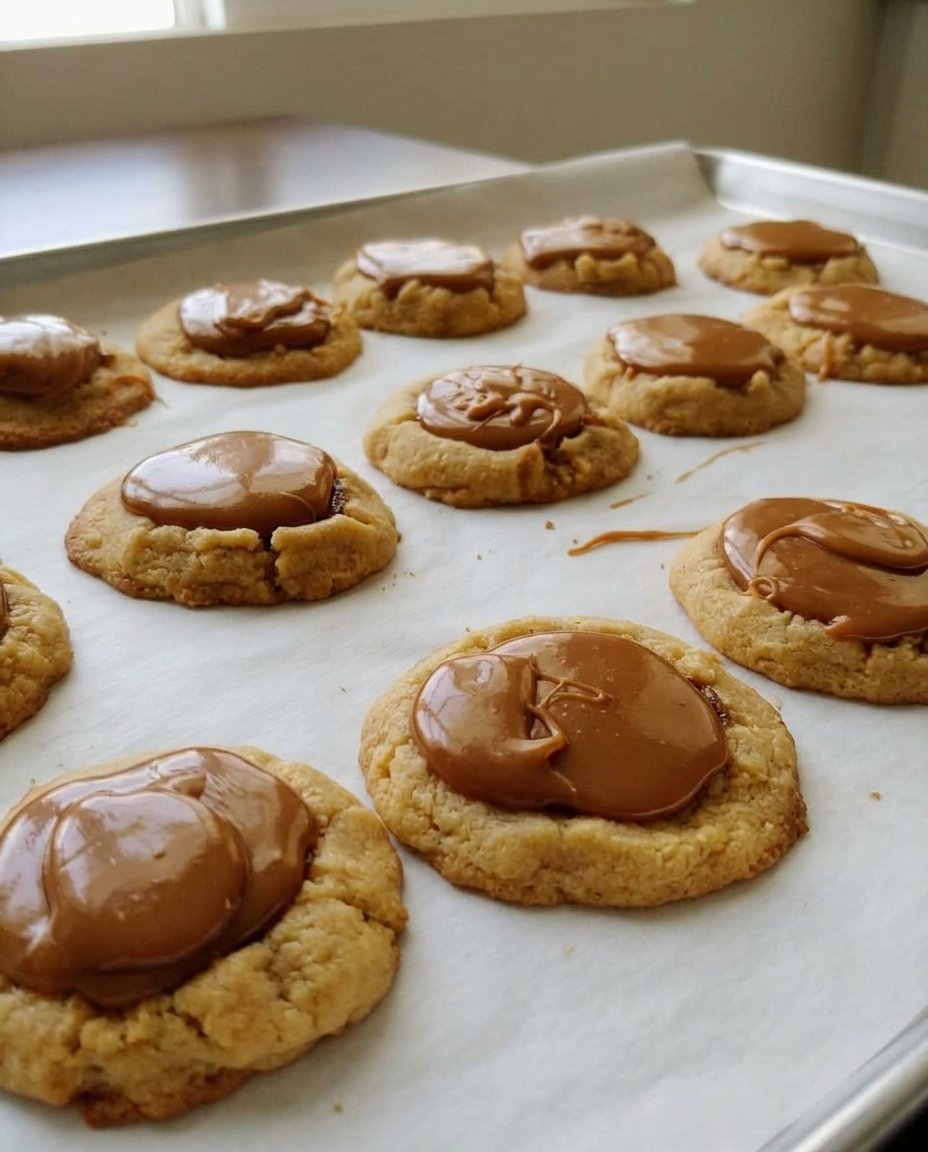
Step 6: Final Assembly and Garnish
Once both the cookies and the caramel have reached room temperature, spoon approximately one teaspoon of caramel into each indentation. The caramel should be viscous enough to hold its shape but fluid enough to level out smoothly. Finish with a small pinch of flaky sea salt. Allow the cookies to sit for at least thirty minutes so the caramel can set completely before serving.
Historical Wisdom and Technical Precision
One of the most important technical aspects of this recipe is managing the temperature of the caramel. If your caramel remains too thin after cooling, it likely did not reach a high enough temperature during the initial sugar melt. Conversely, if it is too hard, it was cooked too long. To better understand how various fats and sugars behave at high temperatures, I recommend studying our guide on Holiday Cookie Science, which details the molecular changes that occur during the boiling process.
Another critical tip involves the cocoa dough. If you find the dough is too sticky to roll smoothly, increase the chilling time by an additional thirty minutes. This allows the flour to fully hydrate, a technique used by Victorian bakers to produce a more manageable paste. For those interested in alternative base recipes that use similar shaping techniques, you might look at these chocolate thumbprint cookies for a comparison of how different cocoa ratios affect the final structural outcome. Always verify that your oven is calibrated with a thermometer; even a five-degree variance can affect the setting of the ‘well’ in the center of the biscuit.
Regional Adaptations and Tested Variations
While the chocolate and caramel combination is a classic, historical variations exist across different regions. In some British traditions, a ‘Salted Toffee’ variation is preferred, where the caramel is cooked to a slightly higher temperature to achieve a harder, more candy-like texture. For those who enjoy a more complex flavor profile, adding half a teaspoon of espresso powder to the dry ingredients can deepen the cocoa notes without making the cookie taste of coffee. This technique is often discussed in our Viral Cookie Analysis when examining how small additions can significantly alter the perceived quality of a bake.
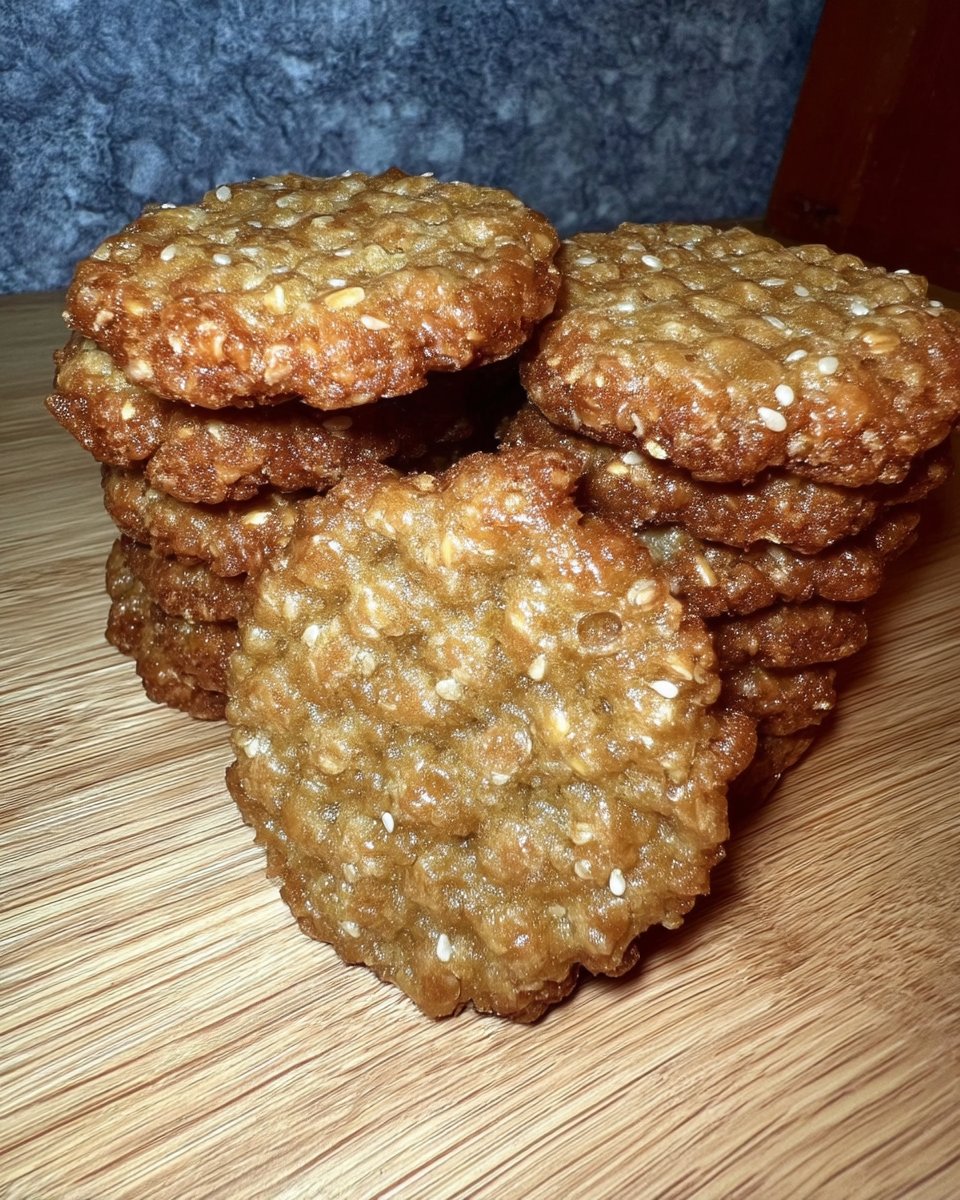
Another successful adaptation is the ‘Welsh Nut Thumbprint,’ where the exterior of the dough ball is rolled in crushed walnuts or pecans before the initial indentation. This adds a structural crunch that complements the soft caramel center. If you prefer a lighter base, you can omit the cocoa powder and replace it with an equal weight of all-purpose flour, creating a traditional vanilla-shortbread style thumbprint. Regardless of the variation you choose, maintaining the proper fat-to-sugar ratio is the key to ensuring the biscuit does not lose its shape during the bake.
Traditional Service and Classic Enjoyment
For the most authentic experience, these Caramel Thumbprint cookies should be served alongside a robust black tea, such as an Assam or a traditional Earl Grey. The tannins in the tea provide a necessary counterpoint to the richness of the buttery caramel and the deep cocoa base. When arranging the cookies for service, it is best to use a flat porcelain plate to prevent the caramel centers from coming into contact with one another. If you are preparing these for a formal gathering, following the guidelines in our Precision Cookie Decorating article will help you achieve a professional presentation.
In a historical context, these biscuits were often a centerpiece of the afternoon tea tray, served at room temperature to allow the caramel to maintain its ideal ‘chewy’ texture. If the cookies have been stored in a cool environment, I recommend allowing them to sit at room temperature for at least twenty minutes before serving. This allows the fats in the caramel to soften slightly, which significantly improves the mouthfeel and flavor release. For an extra touch of sophistication, serve them with a small dish of extra flaky sea salt on the side for guests who may wish to further customize the salt-to-sweet ratio.
The Technical Truth and Classic Precision
Mastering the Caramel Thumbprint is a rewarding endeavor that demonstrates the importance of combining historical technique with modern scientific understanding. By controlling the aeration during the creaming stage and managing the thermal properties of the sugar during caramelization, you have created a biscuit that is both a technical triumph and a culinary delight. For those who wish to continue their journey into the more complex aspects of baking, our section on Technical Bakes offers further explorations into the physics of pastry. We invite you to share your results and join our community of dedicated home bakers who value the intersection of history and science. Please follow us for more methodical recipes on Facebook, Instagram, and Pinterest.
