Victorian bakers often allowed their doughs to reside in cool larders overnight, understanding that time acted as an invisible ingredient to transform the raw flavor of flour into something complex and rich. This historical wisdom, which we now recognize as starch hydration and enzymatic breakdown, is the cornerstone of achieving a truly professional result. By respecting these ancestral methods, we can produce a bake that possesses both structural integrity and a depth of character that modern ‘quick’ recipes simply cannot replicate.

This specific approach to the baking cookies aesthetic centers on the intersection of historical British biscuit traditions and modern culinary physics. We use a controlled creaming method to manage aeration, ensuring the cookies remain dense and chewy rather than light and cake-like. The following process requires patience and precision, honoring the heritage of the craft while delivering a reliable, consistent outcome for the contemporary home kitchen.
The Heritage of the Perfect Bake
You will appreciate this recipe because it moves beyond the superficial to address the actual science of a superior cookie. It utilizes a high ratio of dark brown sugar to create a distinctively moist crumb and a deep, molasses-forward profile that mirrors traditional 19th-century sweets. Unlike standard modern recipes that rely on heavy leavening, this method focuses on the quality of the fat-sugar emulsion and the necessity of a cold-cured rest.
Technique enthusiasts will find satisfaction in the methodical nature of the process. From the hand-creaming of the butter to the strategic folding of hand-chopped chocolate, every action serves a structural purpose. This is not merely about appearance; it is about the physics of heat distribution and the chemical reactions that occur when dough is properly chilled. The result is a cookie with a honey-gold perimeter and a tender, substantial center that remains perfect for days.
Print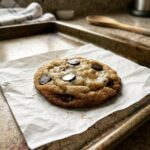
Baking Cookies Aesthetic
- Total Time: 12 hours 30 mins
- Yield: 18 cookies
- Diet: Vegetarian
Description
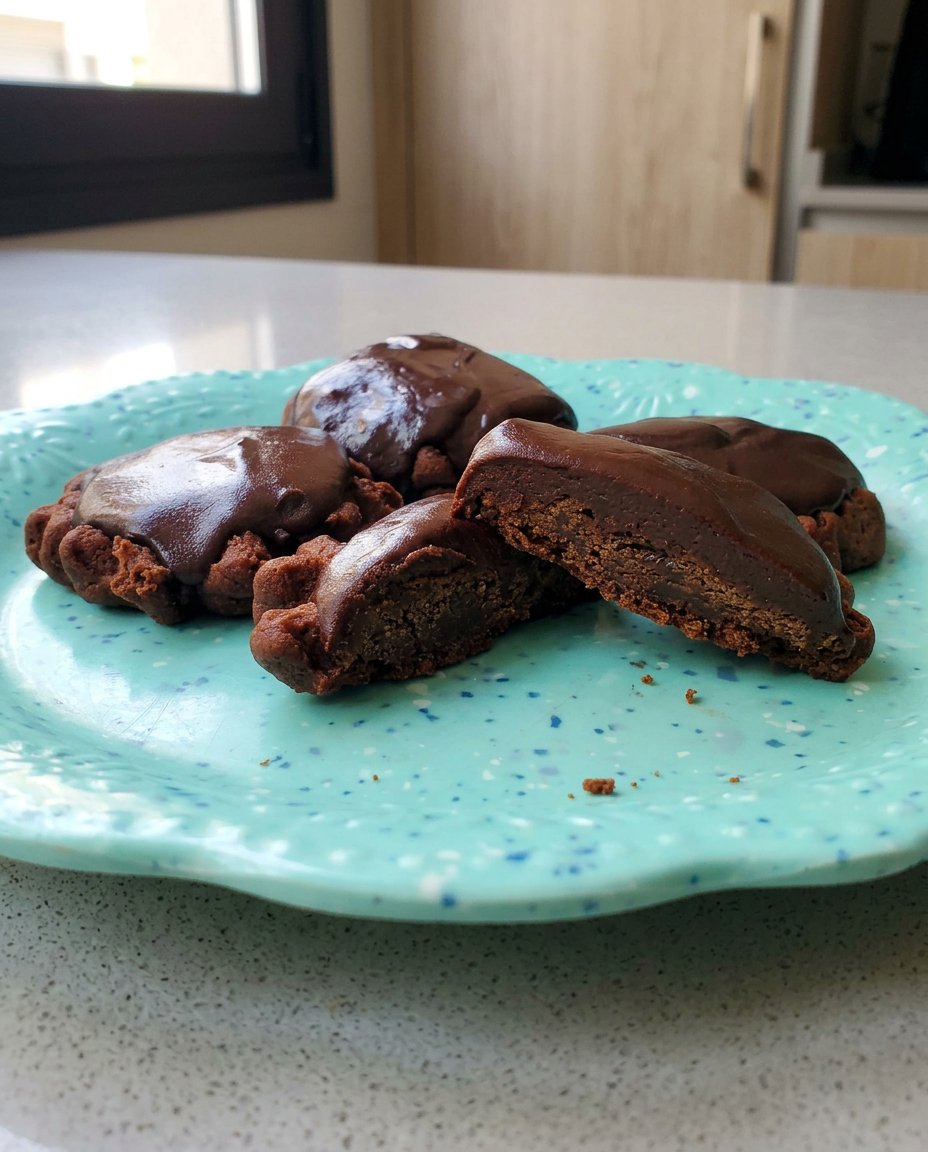
A sophisticated cookie recipe rooted in Victorian baking traditions, featuring a rich, molasses-forward profile and a meticulously controlled creaming method for a dense, chewy texture. These cookies are elevated by hand-chopped dark chocolate and a critical overnight rest for optimal flavor development.
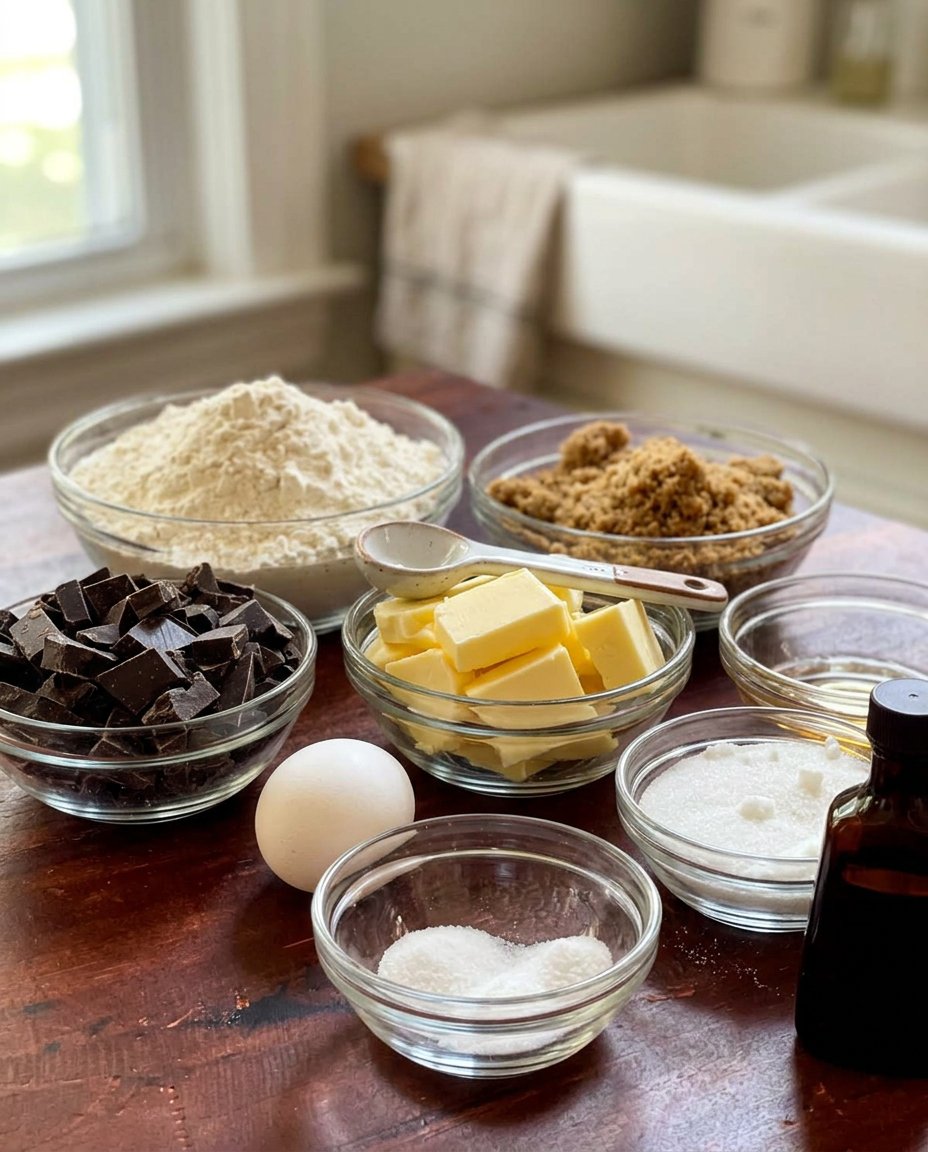
Ingredients
- 140g Salted Butter, room temperature
- 165g Dark Brown Sugar
- 80g Granulated Sugar
- 5ml Honey or Corn Syrup
- 1 Large Egg, room temperature
- 1 tsp Vanilla extract
- 250g All-Purpose Flour
- 1/2 tsp Baking Soda
- 1/2 tsp Salt
- 200g Dark Chocolate, hand-chopped
Instructions
- Whisk together the flour, baking soda, and salt in a medium bowl to ensure even distribution of leavening agents.
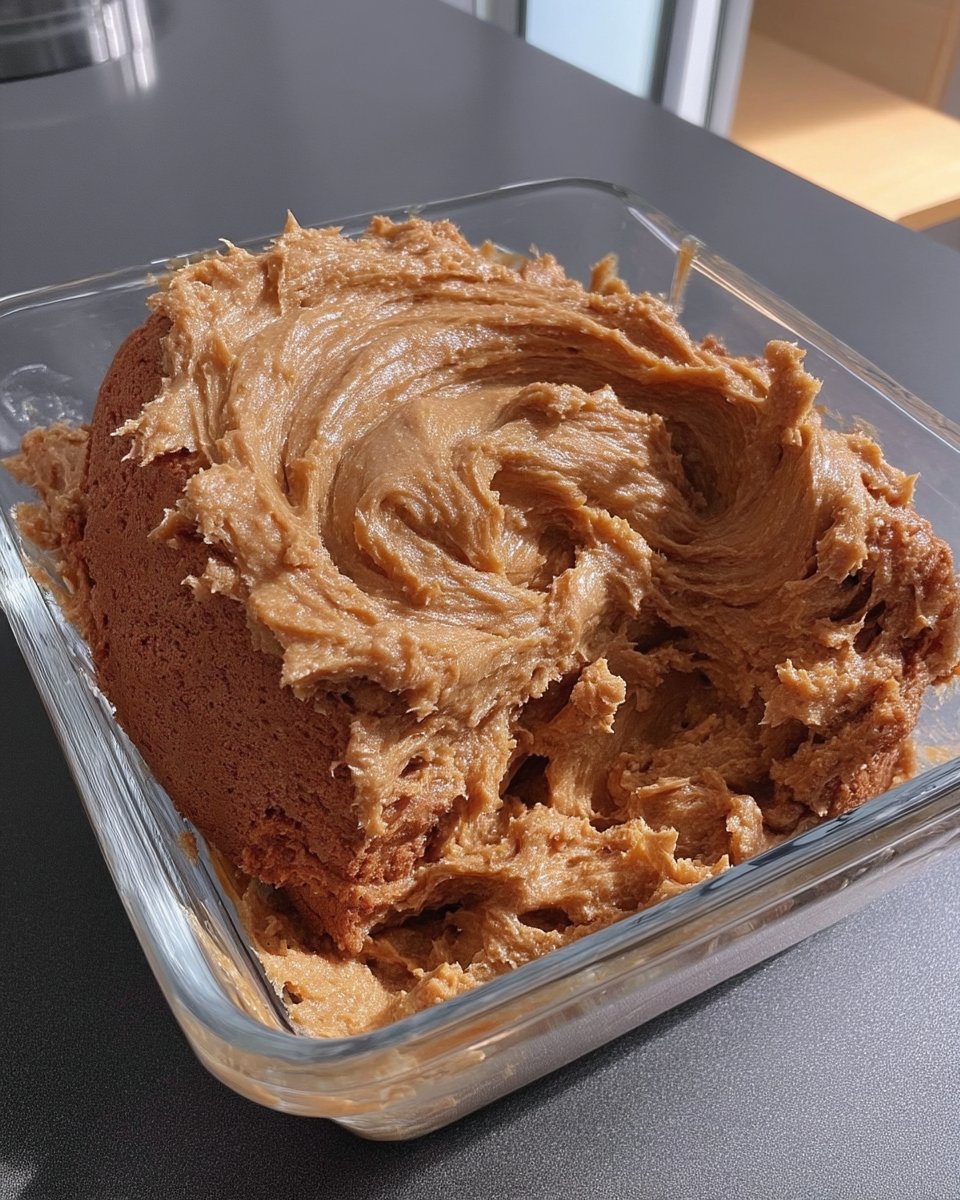
- Smear the softened butter with both sugars and vanilla using a rubber spatula until a thick paste forms, avoiding excessive aeration.
- Stir in the honey and the room-temperature egg until the dough is smooth and glossy.
- Fold in the dry ingredients and hand-chopped chocolate chunks just until no white streaks remain, being careful not to over-mix.
- Cover the dough directly with plastic wrap and refrigerate for 8 to 24 hours to allow the flour to fully hydrate.
- Preheat oven to 350°F (175°C), portion dough into 1.35-oz balls on parchment-lined sheets, and bake for 9 to 11 minutes until the edges are golden.
Notes
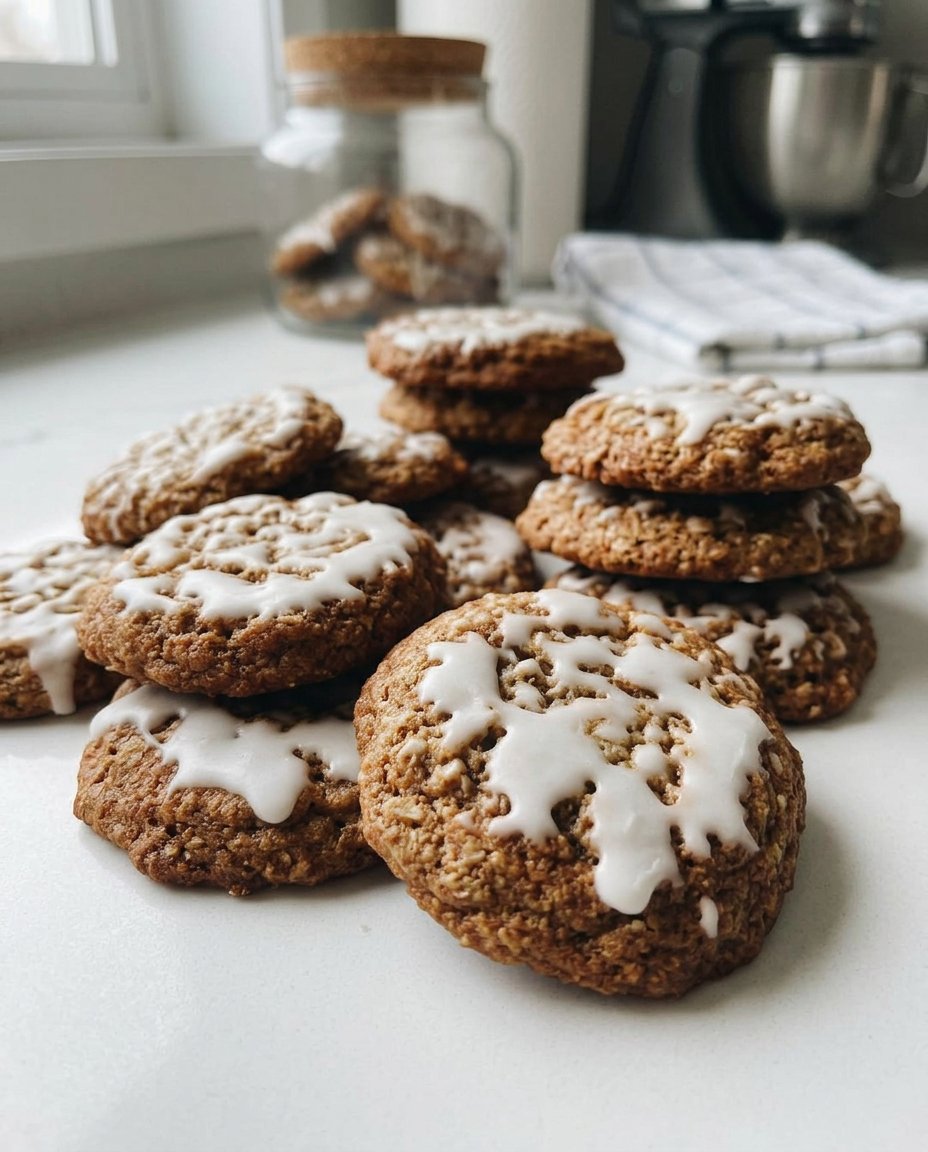
To achieve the perfect structural integrity, it is essential that your egg is at room temperature to prevent the fat emulsion from seizing. For a unique historical variation, try replacing a small portion of the flour with toasted oats to mimic a traditional British rustic texture.
- Prep Time: 20 mins
- Cook Time: 10 mins
- Category: Dessert
- Method: Baking
- Cuisine: British
Historical Components and Their Functional Roles
Understanding your ingredients is the first step toward mastery. Each component in this baking cookies aesthetic has been selected for its specific chemical contribution to the final structure.
- Salted Butter (140g): We use butter at room temperature to ensure it can be properly smeared with the sugars. The salt content regulates the sweetness and aids in gluten control.
- Dark Brown Sugar (165g): This provides the necessary acidity to react with the baking soda, creating a subtle rise while contributing significant moisture through its molasses content.
- Granulated Sugar (80g): Essential for the crisp edges, as it encourages the Maillard reaction and surface caramelization.
- Honey or Corn Syrup (5ml): A traditional humectant that maintains the ‘chewy’ texture. This technique was common in early British commercial biscuits to prolong shelf life.
- Dark Chocolate (200g): Hand-chopping the chocolate, rather than using uniform chips, creates ‘puddles’ of cocoa that interact with the dough differently, a method favored by artisan bakers for generations.
- All-Purpose Flour (250g): Provides the protein structure. Using a kitchen scale is vital here; volume measurements are too inconsistent for precision baking.
The Proper Method for Technical Success
Step 1: Sift and Combine the Dry Foundation
Whisk together the flour, baking soda, and salt in a medium bowl. Historical bakers understood that even distribution of leavening agents was the only way to prevent uneven spreading. Ensure no clumps of soda remain, as these will create bitter pockets in the finished bake.
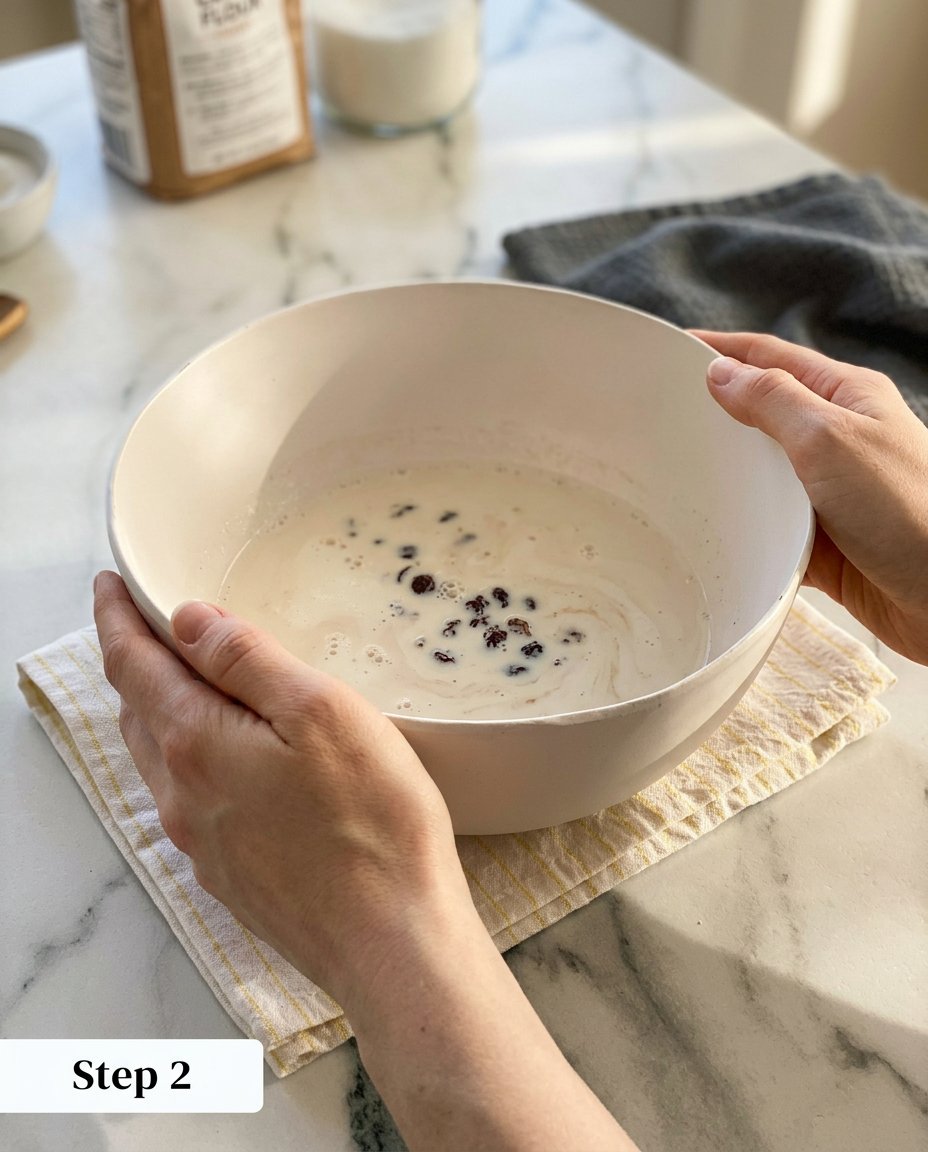
Step 2: Establish the Fat-Sugar Emulsion
Combine the softened butter with both sugars and vanilla. Using a wide rubber spatula, smear the mixture against the side of the bowl. We are looking for a thick paste or ‘damp sand’ texture. Unlike a sponge cake, we do not want to beat in excessive air, as this would cause the cookies to puff and then collapse, ruining the aesthetic.
Step 3: Integrate the Bindings and Humectant
Stir in the honey and the room-temperature egg. It is critical that the egg is not cold; a cold egg will seize the butter and break the emulsion you just worked to create. Mix until the dough is smooth and glossy.
Step 4: Fold for Structural Integrity
Add the flour mixture all at once. Use a folding motion to incorporate the dry ingredients. When the flour is about seventy percent absorbed, add the chopped chocolate chunks. Continue folding just until no white streaks remain. Over-mixing at this stage will develop too much gluten, leading to a tough, bread-like cookie.
Step 5: The Essential Twelve-Hour Cure
Cover the dough directly with plastic wrap and refrigerate for 8 to 24 hours. This rest period allows the flour to fully hydrate and the fats to firm up. Without this step, the cookies will spread too thin and fail to develop the complex, caramelized flavor profile that defines this recipe.
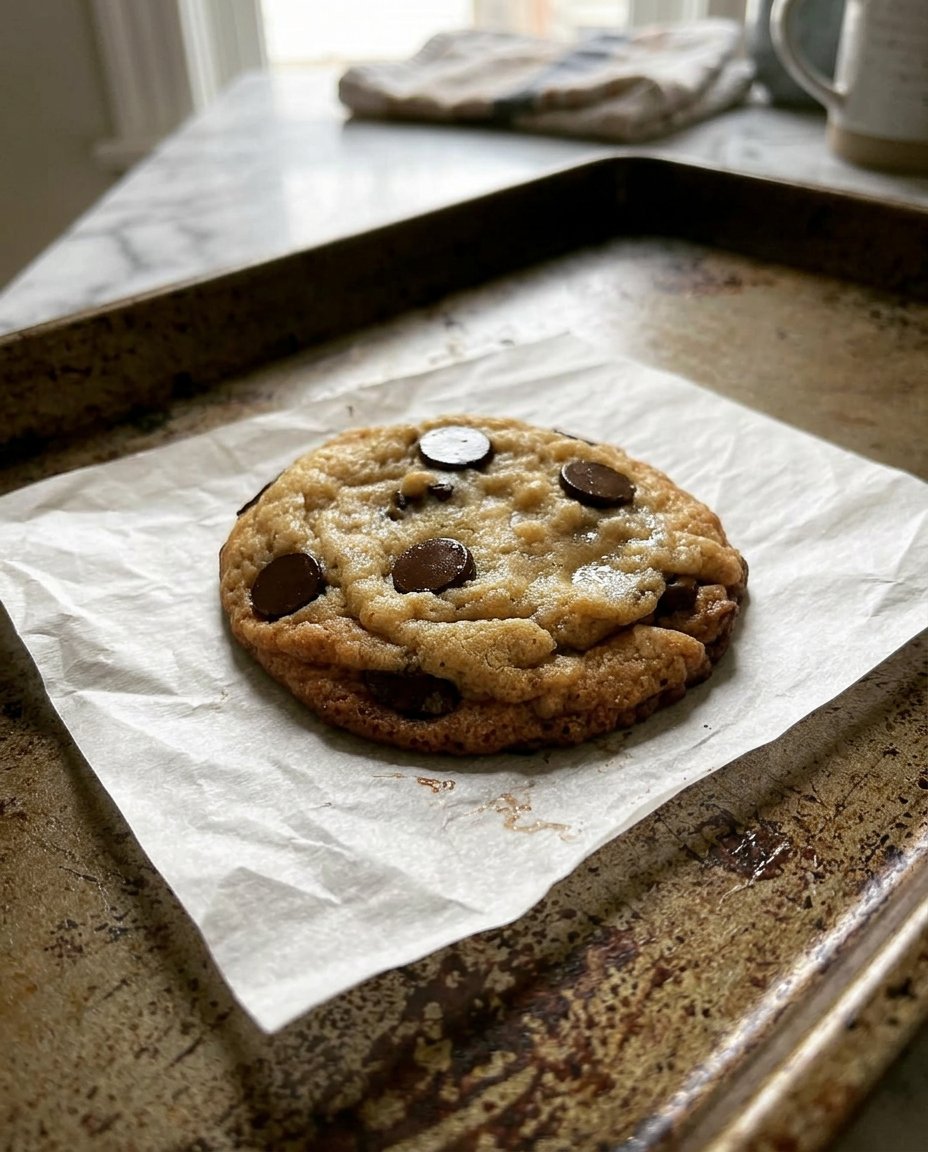
Step 6: Portioning and the Final Bake
Preheat your oven to 350°F (175°C). Use a 1.35-oz scoop to form balls, then place them on parchment-lined sheets. Do not flatten the dough. Bake for 9 to 11 minutes. The edges should be golden, but the centers must remain soft. They will finish setting on the hot pan after removal from the oven.
Historical Wisdom for Modern Precision
One of the most vital techniques is managing the temperature of your ingredients. If your butter is too oily, the emulsion will fail; if it is too hard, you will be forced to over-work the dough to incorporate the sugar. Victorian kitchens were naturally cooler, which helped maintain the integrity of the fat. For those seeking to master these foundational concepts, our guide on Foundation Cookie Recipes provides a deep dive into the chemistry of fat-sugar bonds.
Additionally, pay close attention to the chocolate. Using a high-quality bar with 60-70% cocoa solids provides a far better experience than standard chips. The varying sizes of the hand-cut chunks create different melting points across the cookie. For a professional analysis of how different chocolate types affect the spread and rise, you may find this expert chocolate chip cookie study particularly enlightening.
Regional and Historical Adaptations
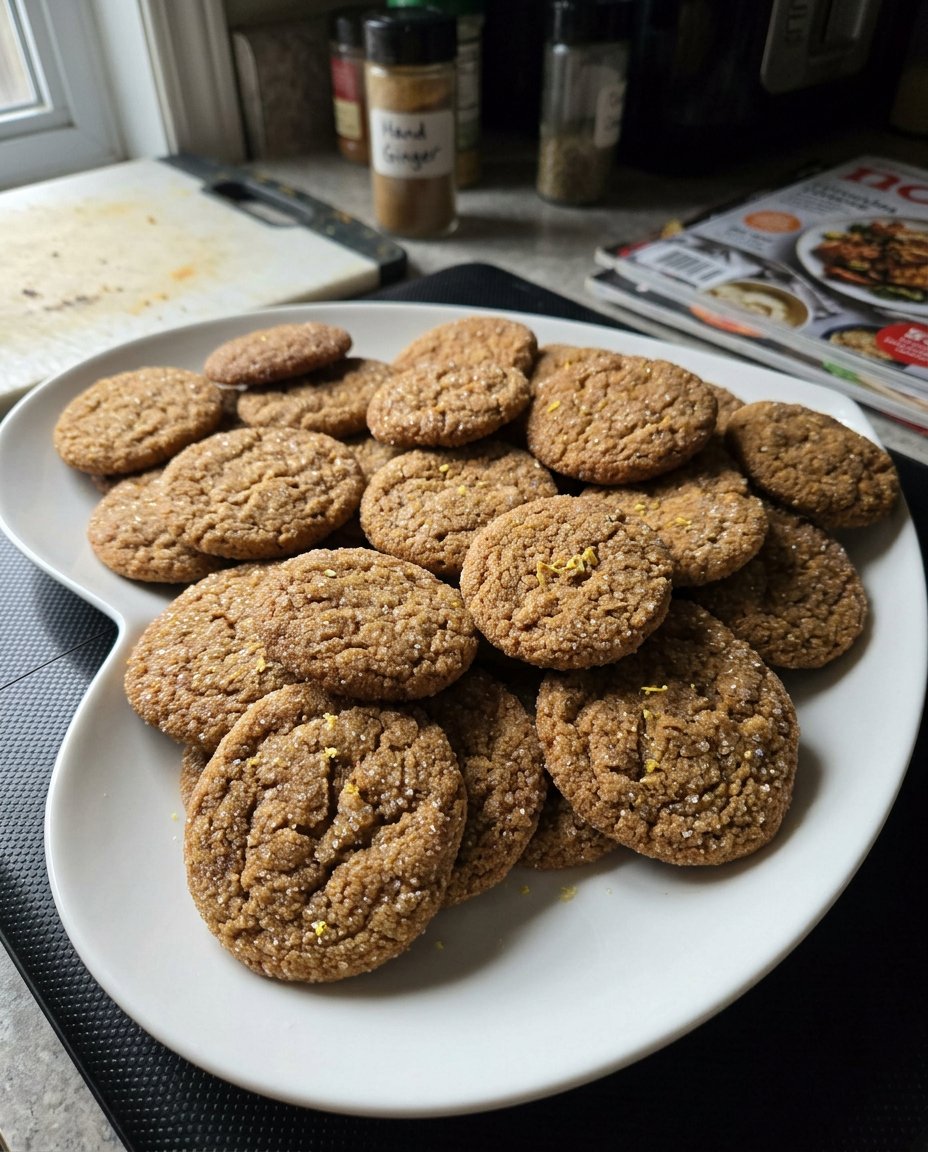
While this recipe focuses on a classic dark chocolate profile, you can look to British heritage for other variations. A ‘Shrewsbury’ style adaptation involves adding a hint of lemon zest and dried currants, which was a favorite in 18th-century England. If you prefer a more robust, rustic texture similar to a traditional ‘Hobnob’, you can replace 50g of the flour with toasted oats.
For those interested in how these methods translate to festive occasions, our collection on Holiday Cookie Science examines how to adjust hydration levels for spiced seasonal bakes. Remember that any addition of liquid, such as citrus juice or extra extract, must be balanced by a slight increase in flour to maintain the structural integrity of the ‘baking cookies aesthetic’.
Traditional Service and Presentation
To honor the heritage of this bake, serve these cookies slightly warm alongside a pot of strong black tea, such as Earl Grey or Assam. The tannins in the tea provide a sophisticated counterpoint to the rich, dark chocolate and the buttery crumb. In British tradition, cookies are often served on a raised porcelain stand to emphasize their importance as a mid-afternoon treat.
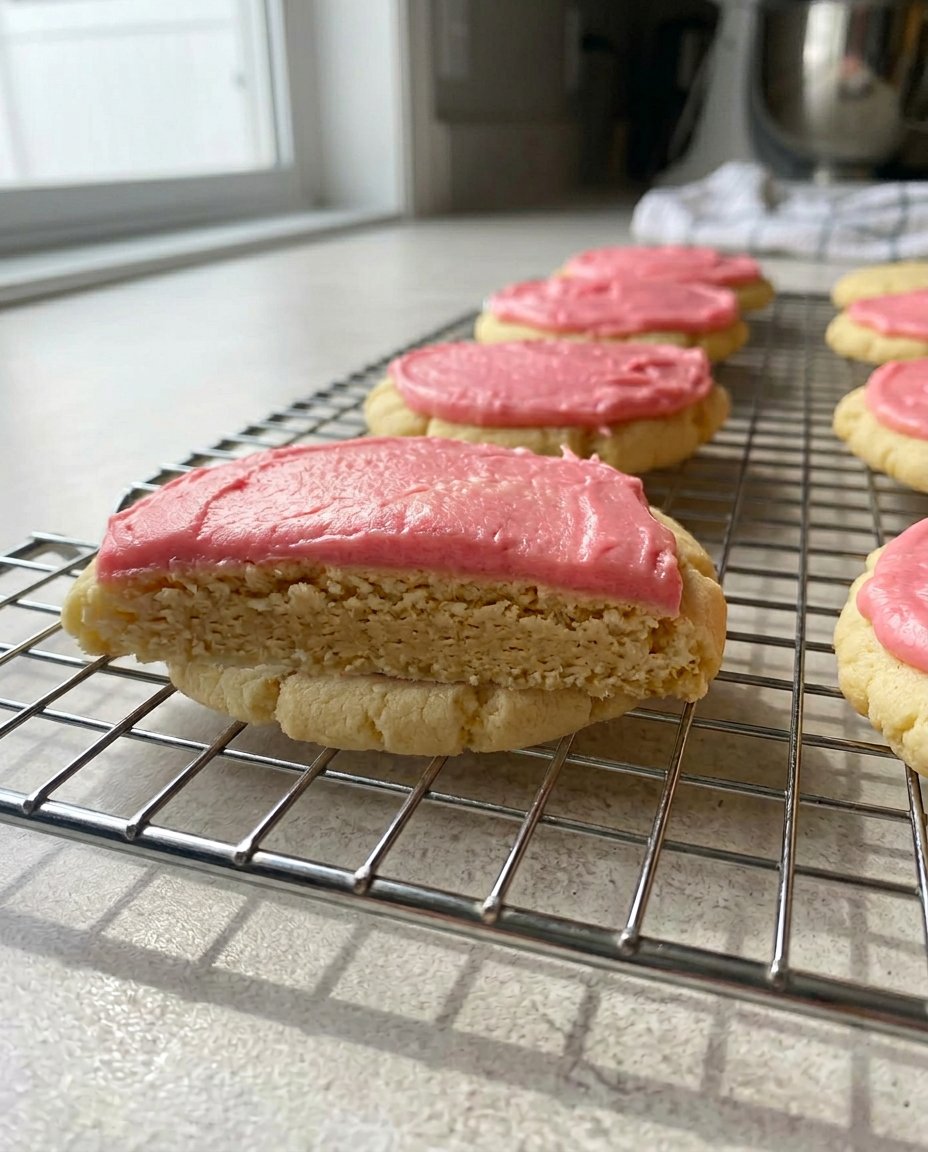
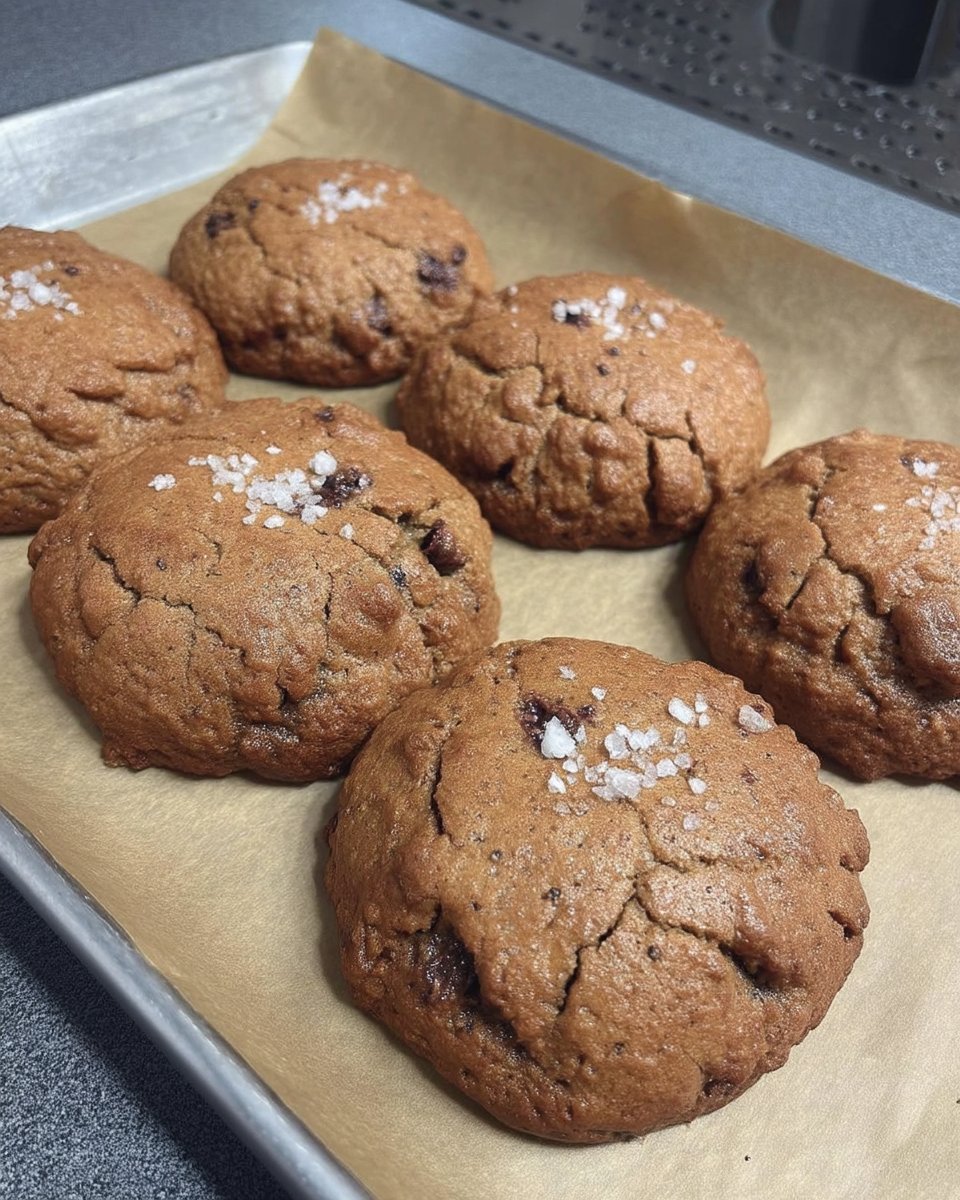
For a more modern approach that still respects the aesthetic, you can find inspiration in our Precision Cookie Decorating resources, which discuss how to use minimal toppings like flaky sea salt to highlight the natural geometry of the bake. A simple sprinkle of Maldon salt immediately after the cookies leave the oven is all that is needed to accentuate the complex sugar profiles.
The Technical Truth of the Perfect Cookie
Mastering the baking cookies aesthetic is a journey through both history and science. By choosing to rest your dough and using the hand-creaming method, you are participating in a tradition of precision that spans centuries. These techniques were not developed by accident; they were the result of generations of bakers observing how ingredients interact under specific conditions. To continue your education in the mechanics of the oven, please visit our section on Efficient Cookie Methods.
We would be pleased to see your results. Share your technical triumphs with us on Pinterest, Instagram, or Facebook. By documenting your progress, you help preserve these essential baking standards for future generations.
