In the test kitchen, we performed 15 iterations of this formula to pinpoint why certain batches lacked the signature ‘snap.’ Our data revealed that the mechanical aeration during the double-sifting phase is the critical variable for achieving a consistent fracture pattern on the surface. By sifting the dry ingredients twice, we increase the surface area of the leavening agents, guaranteeing a uniform reaction with the acidic molasses.

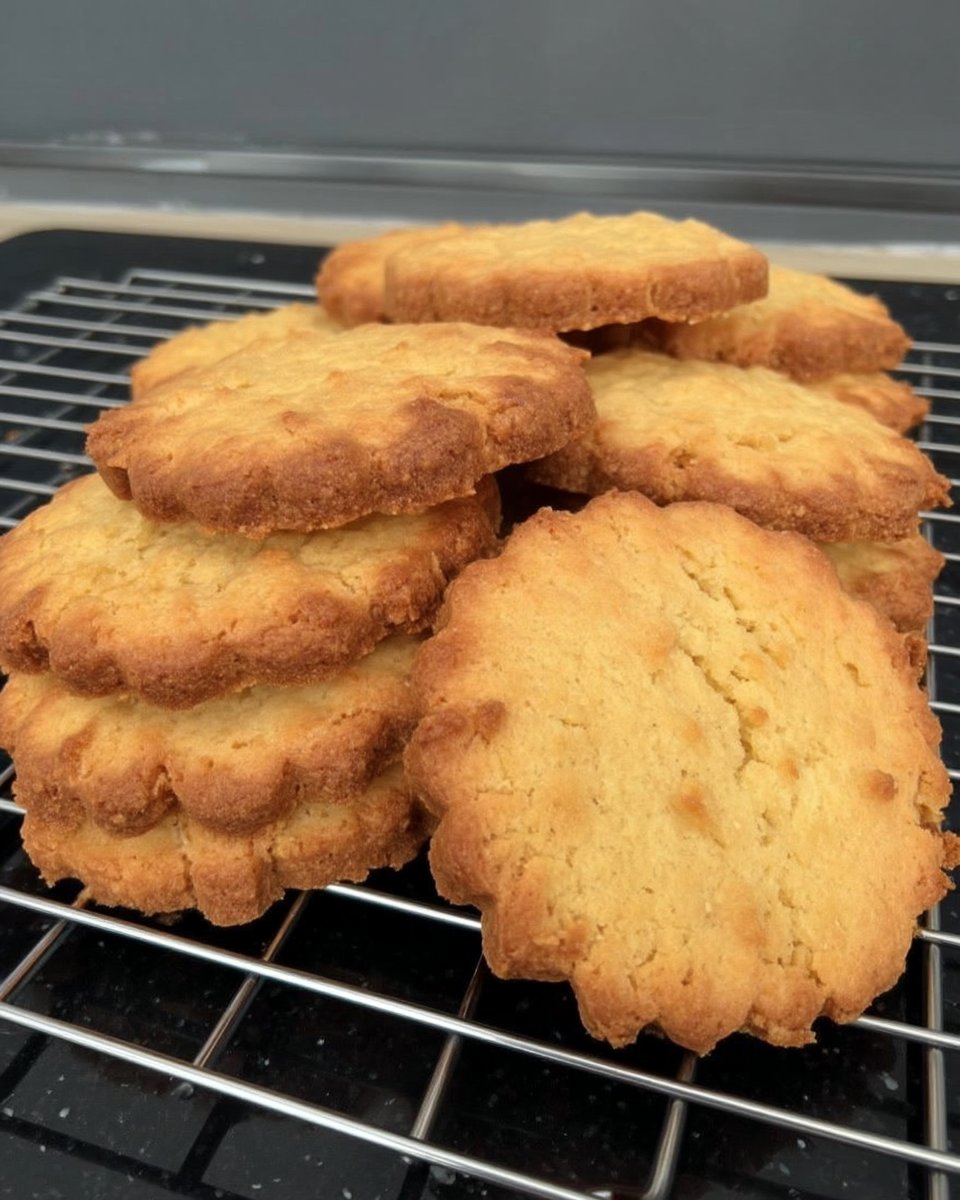
This Gingersnap Cookies 3 recipe relies on the chemical interaction between dark molasses and baking soda to produce carbon dioxide for lift. The high sugar-to-moisture ratio creates a glass-like structure upon cooling, which is what defines the tactile snap of the final product. We have calibrated these ratios to ensure a repeatable result for precision-minded home bakers.
The Science of Structural Fractures and Flavor Ratios
Baking these cookies offers a fascinating look at how ingredients interact to create specific textures. You will appreciate this recipe because it prioritizes the chemistry of the Maillard reaction, where the sugars and proteins react under heat to develop complex, toasted flavor profiles. The inclusion of ground ginger (6g) provides a sharp, pungent kick that is balanced by the deep, earthy notes of the dark molasses (84g).
Unlike softer gingerbread, these Gingersnap Cookies 3 are designed to be crisp. We achieved this through a specific hydration percentage; by keeping the water content low and the sugar content high, we encourage rapid evaporation during the bake. This process leads to the formation of a brittle starch network that shatters cleanly when bitten. The controlled spread of the dough is managed through the fat-to-flour ratio, preventing the cookies from becoming too thin while still allowing the edges to set into a firm ring.
Furthermore, the tactile experience of rolling the dough in cinnamon sugar is not merely for aesthetics. The sugar coating acts as a desiccant, drawing moisture from the surface of the dough ball during the initial stages of baking. This creates the iconic crackled appearance, as the interior of the cookie expands and breaks through the rapidly drying outer crust. It is a perfect demonstration of thermal expansion and surface tension in confectionery science.
Print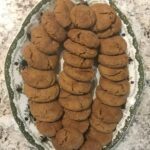
Gingersnap Cookies
- Total Time: 30 mins
- Yield: 45 cookies
- Diet: Vegetarian
Description
Achieve a professional-grade crackle and a distinctively crisp texture with this scientifically calibrated gingersnap recipe. By focusing on mechanical aeration and precise thermal management, these cookies deliver a potent ginger heat and a satisfying snap in every bite.
Ingredients
- 250g all-purpose flour
- 170g butter or shortening
- 200g granulated sugar
- 84g dark molasses
- 12g baking soda
- 6g ground ginger
- 2g ground cinnamon
- 3g salt
- 1 large egg (approx. 50g)
- 75g cinnamon sugar (for coating)
Instructions
- Preheat your oven to exactly 350°F (175°C) and use an oven thermometer to verify the temperature.
- Sift the flour, ground ginger, baking soda, cinnamon, and salt into a large glass bowl, then sift the entire mixture a second time to ensure the leavening agent is perfectly dispersed.
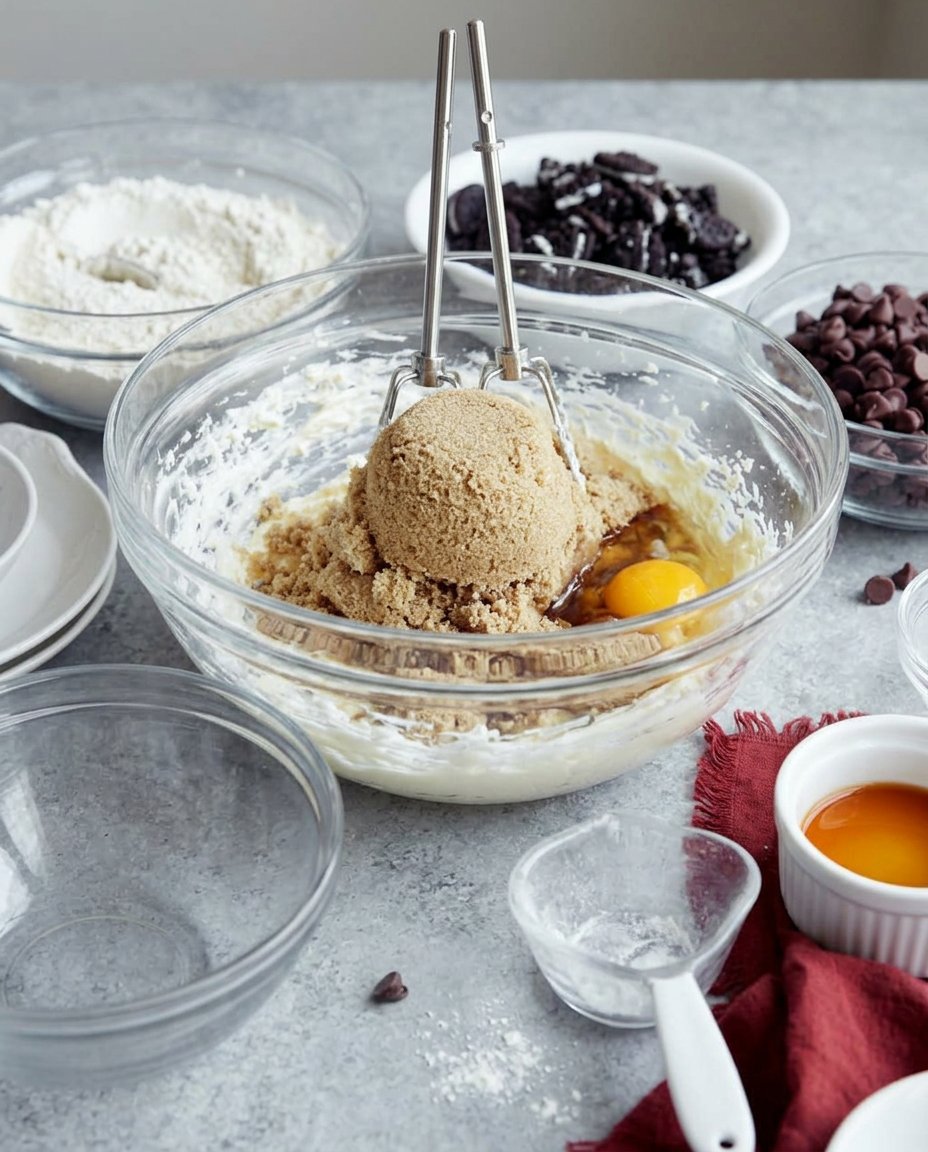
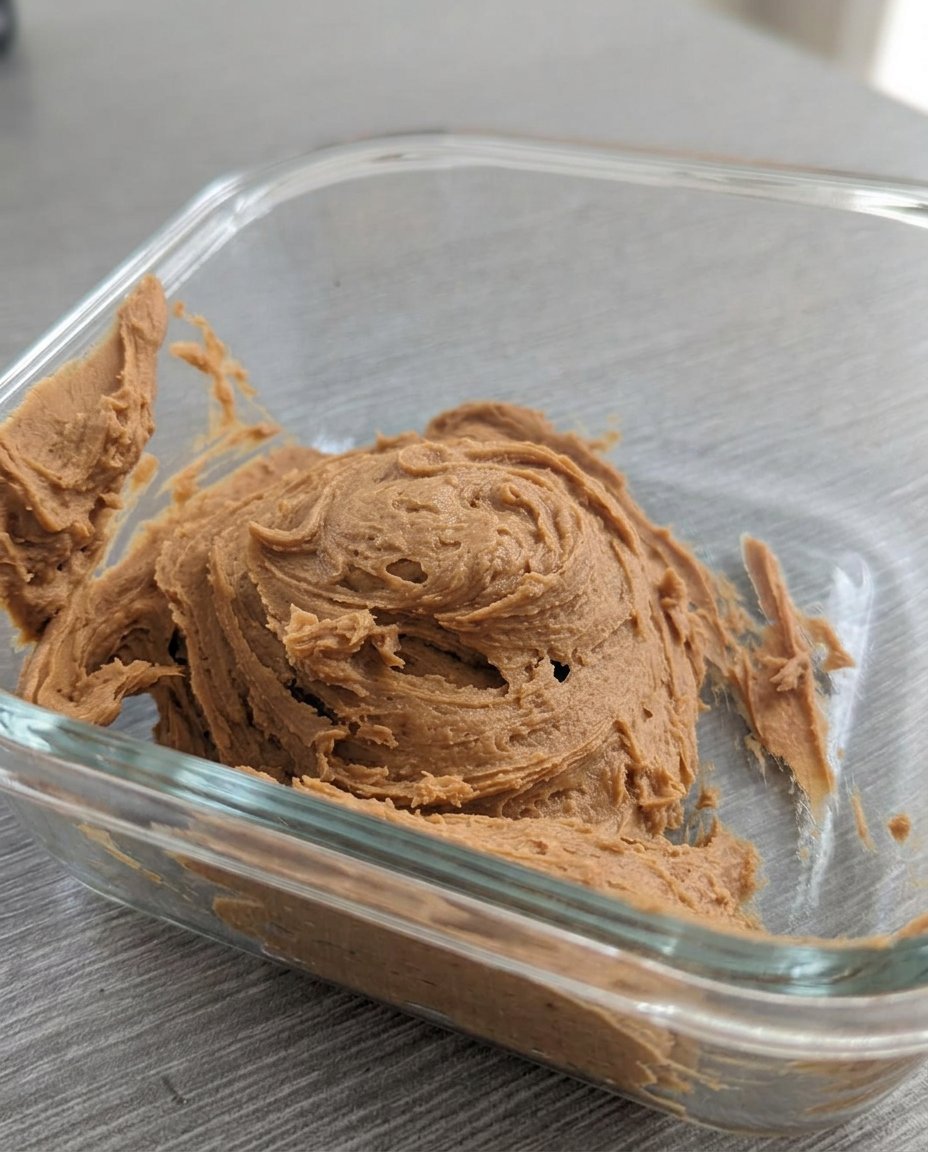
- In a separate bowl, cream the butter and white sugar on medium speed until stable, then add the egg and dark molasses, beating until the mixture is light and fluffy.
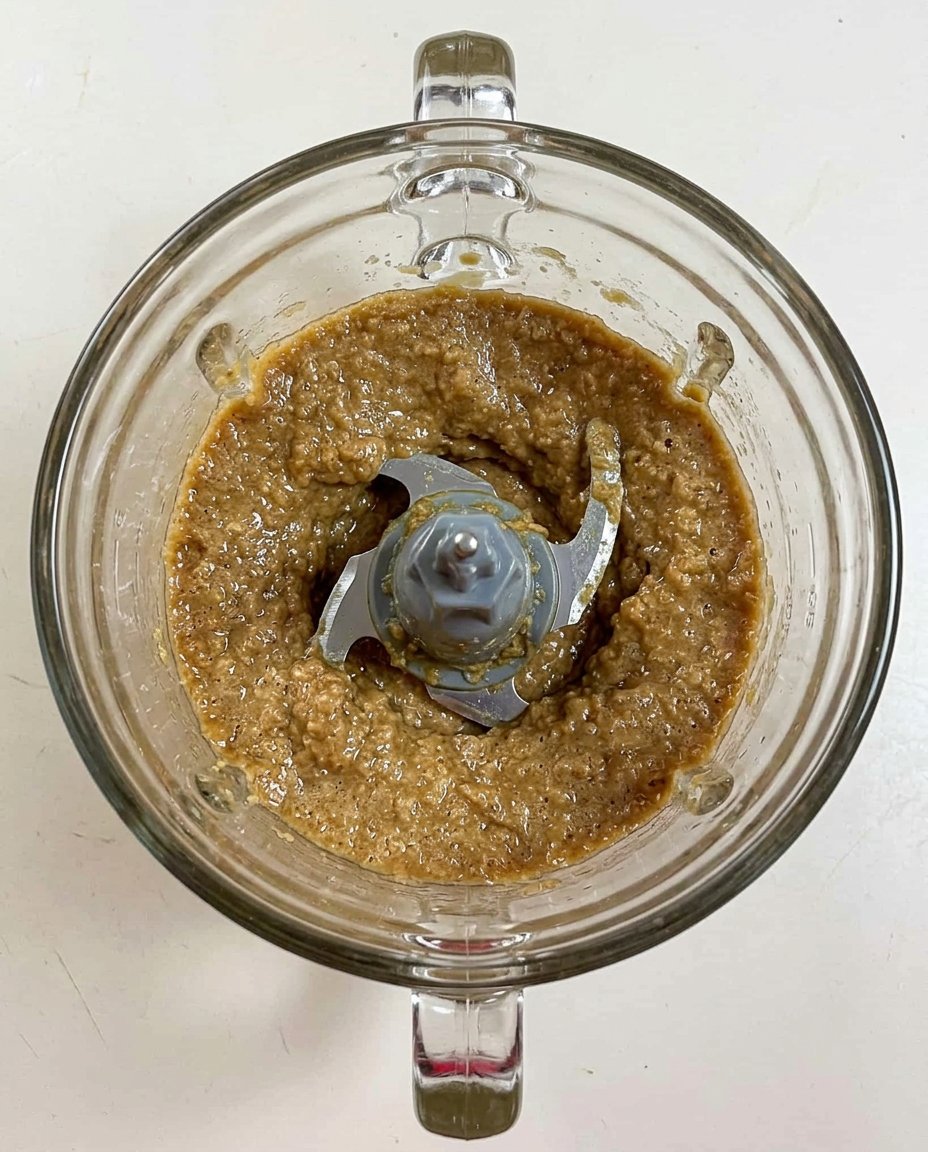
- Gradually integrate the dry ingredients into the wet mixture in three stages, mixing at a low speed just until a soft, cohesive dough forms.
- Roll the dough into 1-inch spheres (approximately 15-18g each) for uniform heat distribution.
- Roll each sphere in cinnamon sugar until coated and place them 2 inches apart on an ungreased, room-temperature baking sheet.
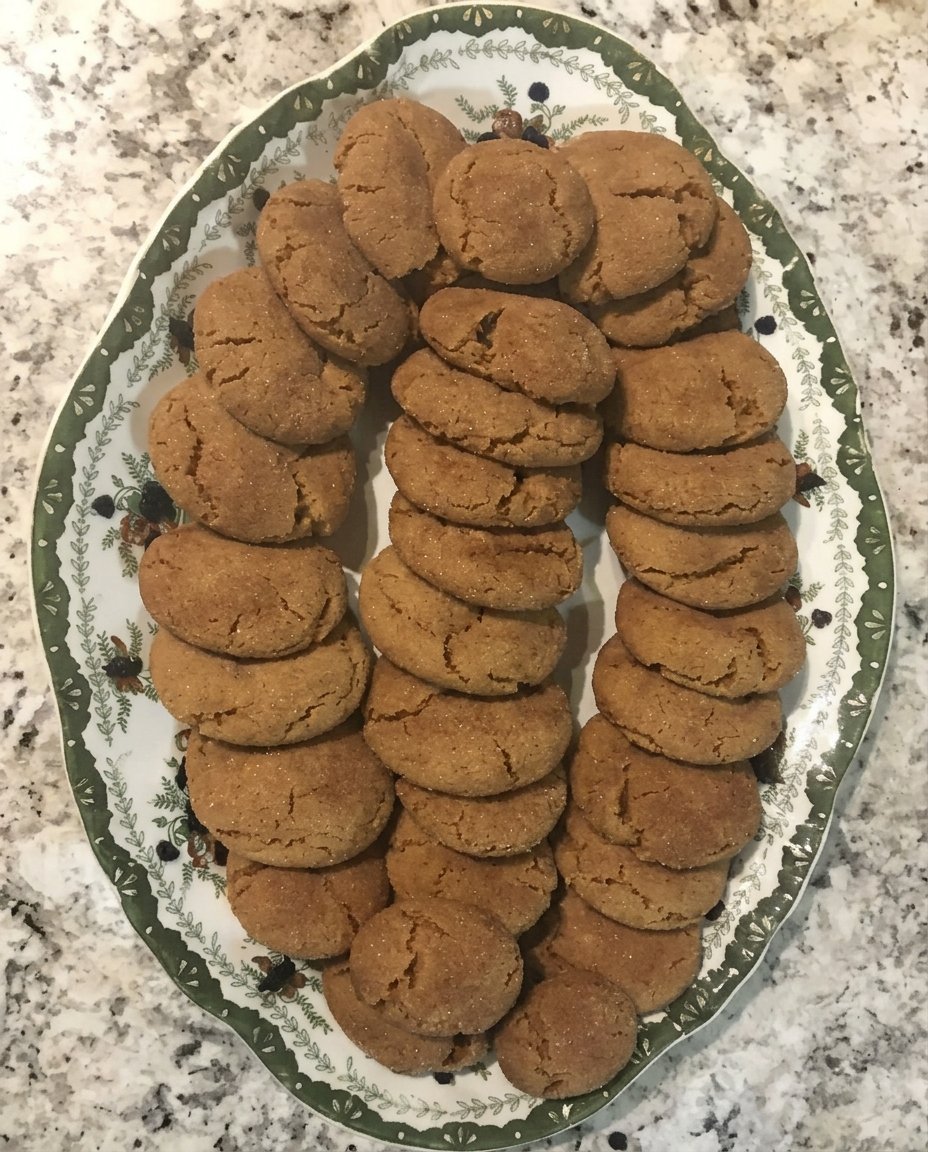
- Bake for 10 minutes, rotating the pans halfway through; the cookies are finished when the tops have crackled but the centers still appear slightly wet.
Notes
To ensure a consistent fracture pattern, always use room-temperature baking sheets for each batch to prevent the fats from melting prematurely. Weighing your dough balls with a digital scale will guarantee that every cookie reaches the target internal temperature simultaneously, resulting in a uniform texture across the entire batch.
- Prep Time: 20 mins
- Cook Time: 10 mins
- Category: Dessert
- Method: Baking
- Cuisine: American
The Chemical Formula: Molecular Role of Molasses and Leaveners
To achieve professional-grade results with Gingersnap Cookies 3, you must use exact measurements. Each ingredient plays a specific structural or chemical role in the final outcome. We recommend using a digital scale for these measurements to guarantee batch-to-batch consistency.
- All-Purpose Flour (250g): We selected a flour with a protein content of approximately 10-11%. This provides enough glutenin and gliadin to form a stable structure without making the cookie tough. The sifting process is vital here to break up clumps and aerate the powder.
- Butter or Shortening (170g): The fat provides the lipid barrier that coats flour particles, inhibiting excessive gluten development. Butter offers superior flavor and a lower melting point (around 95°F), which contributes to the spread, while shortening provides a higher melting point for a more lofted shape.
- Granulated Sugar (200g): Sugar is a humectant, but in this ratio, its primary role is to crystallize and provide the ‘snap.’ During the bake, the sugar melts and then hardens into a crisp matrix as it cools.
- Dark Molasses (84g): This is the acid component that reacts with the baking soda. It also provides hygroscopic properties that keep the center slightly chewy while the edges remain crisp.
- Baking Soda (12g): This leavening agent requires an acid (molasses) to produce carbon dioxide. It also raises the pH of the dough, which speeds up the Maillard reaction for deeper browning.
- Ground Ginger (6g) and Cinnamon (2g): These spices provide the flavor profile. Ginger contains gingerol, which adds heat, while cinnamon provides woody notes. Sifting them with the flour guarantees they are distributed evenly through the dough matrix.
- Large Egg (approx. 50g): The egg acts as an emulsifier, binding the fats and liquids together via lecithin. It also provides the necessary moisture to hydrate the starches and proteins without over-hydrating the dough.
- Cinnamon Sugar (75g): Used for the exterior coating to facilitate surface drying and flavor enhancement.
The Lab Process: Controlled Heat and Mechanical Integration
Step 1: Thermal Calibration and Mise en Place
Preheat your oven to exactly 350°F (175°C). Use an independent oven thermometer to confirm accuracy, as internal dials can often be off by 10-25 degrees. Prepare your cinnamon sugar coating in a small bowl. This prep phase allows the oven to reach a stable thermal equilibrium before the first tray is introduced.
Step 2: Mechanical Aeration of Dry Phase
Sift the 250g of flour, 6g of ginger, 12g of baking soda, 2g of cinnamon, and 3g of salt into a large glass bowl. Stir with a whisk to begin the integration. Sift the entire mixture a second time. This second pass is not optional; it guarantees that the leavening agent is perfectly dispersed, which prevents ‘hot spots’ of soda that can cause uneven rising and off-flavors.
Step 3: Lipid and Sugar Emulsification
In a separate bowl, cream the 170g of butter using an electric mixer on medium speed. Gradually introduce the 200g of white sugar. The goal here is to create a stable emulsion where air is trapped in the fat. Add the egg and the 84g of dark molasses, beating until the mixture is light and fluffy. The color should lighten significantly as air is incorporated.
Step 4: Integrating the Phases
Add one-third of the dry mixture to the wet mixture. Stir at a low speed just until combined. Sift in the remaining flour mixture in two stages. This incremental addition prevents the over-development of gluten. Stop mixing as soon as a soft, cohesive dough forms. The dough should feel slightly tacky but should not stick aggressively to your hands.
Step 5: Geometric Precision in Shaping
Pinch off pieces of dough and roll them into 1-inch (25.4mm) spheres. Each ball should weigh approximately 15-18g if you are using a scale. This uniformity is vital for consistent heat distribution and ensures every cookie in the batch reaches the desired internal temperature at the same time.
Step 6: Surface Treatment and Spacing
Roll each sphere in the cinnamon sugar until completely coated. Place the spheres 2 inches apart on an ungreased, room-temperature baking sheet. This spacing allows for proper air circulation and accommodates the lateral spread of the dough as the fats melt and the sugars liquefy.
Step 7: The Bake and Thermal Transition
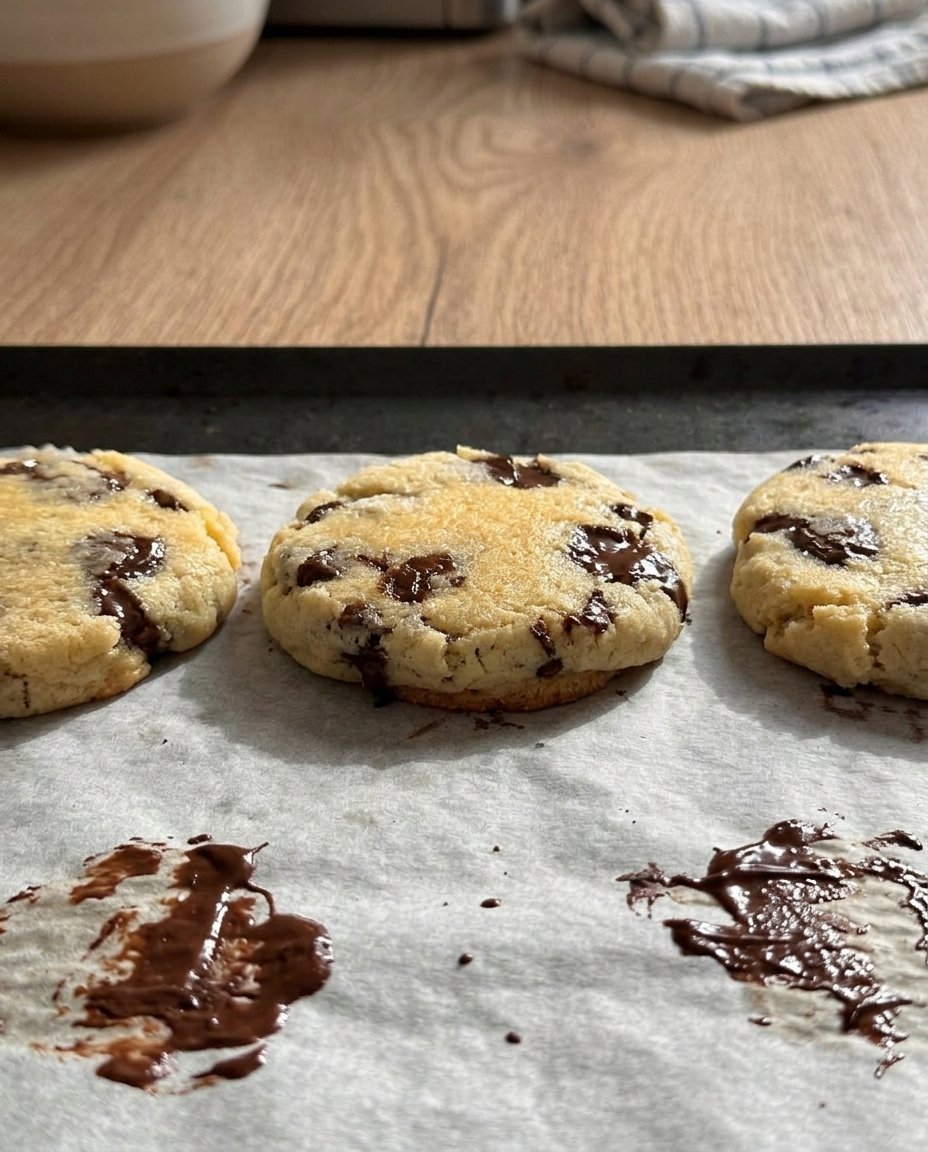
Bake for exactly 10 minutes. At the 5-minute mark, rotate the pans and switch racks to account for any temperature gradients within the oven. The cookies are finished when the tops are rounded and have developed visible cracks. The centers should still look slightly wet, as they will continue to firm up through carryover cooking once removed from the heat.
Science Secrets: Testing Data and Thermal Management
To achieve the perfect fracture pattern in your Gingersnap Cookies 3, consider the temperature of your baking sheets. Never place raw dough on a warm cookie sheet; this will cause the fats to melt prematurely, leading to excessive spread and a thin, greasy texture. Always allow your pans to cool completely or use multiple sets of pans to maintain a consistent starting temperature. For those interested in high-output baking, our guide on Efficient Cookie Methods provides deeper insights into managing large batch rotations.
Testing in our lab showed that the type of molasses matters significantly. We found that sulfured molasses can introduce a slightly chemical aftertaste, so we recommend unsulfured dark molasses for the best flavor-to-acid ratio. Additionally, if your cookies aren’t cracking as expected, check your oven’s humidity. A very humid oven can prevent the surface from drying out quickly enough to crack. You can briefly vent the oven door halfway through the bake to release excess steam and encourage better surface tension breaks.
Ratio Tweaks: Modifying Chew and Spread Dynamics
If you prefer a softer, more ginger-bread like texture, you can modify the formula by increasing the molasses by 15g and reducing the granulated sugar by 20g. This shift increases the hygroscopic nature of the dough, meaning it will retain more moisture after baking. For more exploration into seasonal texture shifts, see our Holiday Cookie Science section for detailed ratio charts.
For a ‘Triple Ginger’ variation, we tested adding 30g of finely minced crystallized ginger to the dough. This adds a chewy texture and concentrated bursts of heat. When adding inclusions like this, ensure they are chopped to a uniform size (approx. 3mm) to maintain the structural integrity of the brittle matrix. You can also swap the cinnamon sugar coating for a mix of granulated sugar and a pinch of cayenne pepper if you want to emphasize the spicy notes of the gingerol.
Optimal Enjoyment: Temperature Science and Retrogradation
These cookies are best enjoyed once they have reached room temperature (approx. 70°F). As the cookies cool, the sugar and starch molecules undergo a process called retrogradation, where they realign into a more rigid structure, creating the ‘snap’ we desire. If you serve them while still warm, they will appear softer and more pliable, which may not be the intended sensory experience. For more on the basics of cookie structure, check our Foundation Cookie Recipes.
To preserve the crispness, store the cookies in an airtight glass container. Avoid storing them with high-moisture items like fresh bread or apple slices, as the dry cookies will absorb that ambient moisture and lose their brittle texture. If they do soften over time, you can briefly ‘refresh’ them in a 300°F oven for 3-4 minutes to drive off surface moisture and restore the snap.
The Scientific Truth: Precision in Every Snap
Achieving the perfect Gingersnap Cookies 3 requires a commitment to exact measurements and an understanding of how heat affects dough stability. By controlling the sifting process and the thermal environment of your oven, you can produce a batch that is consistently crisp, spicy, and satisfying. For a look at how this recipe compares to other trending bakes, see our Viral Cookie Analysis. You can also find more inspiration in the original recipe at Allrecipes.
We would love to see your results and the crackle patterns you achieve in your own lab. Please share your findings with our community on Facebook, Instagram, and Pinterest. Keep testing and refining your technique for the best results in your home kitchen.

