In the mid-19th century, British bakers mastered the art of the ‘wafer’ biscuit, a delicate creation that relied on high sugar ratios and precise heat application. These Victorian artisans understood that a thin profile allowed for more rapid moisture evaporation, resulting in a superior snap. Modern culinary science confirms that this historical method maximizes the surface area for the Maillard reaction, yielding the deep toffee notes we prize today.

Achieving the perfect thin chocolate chip cookies requires a departure from standard creaming methods in favor of a melted butter technique. This approach dissolves the sugars immediately, creating a syrup-like structure that encourages a controlled, even spread during the bake. By balancing historical wisdom with molecular precision, we can produce a biscuit that is both brittle at the edges and remarkably chewy at the center.
The Science of the Perfect Snap
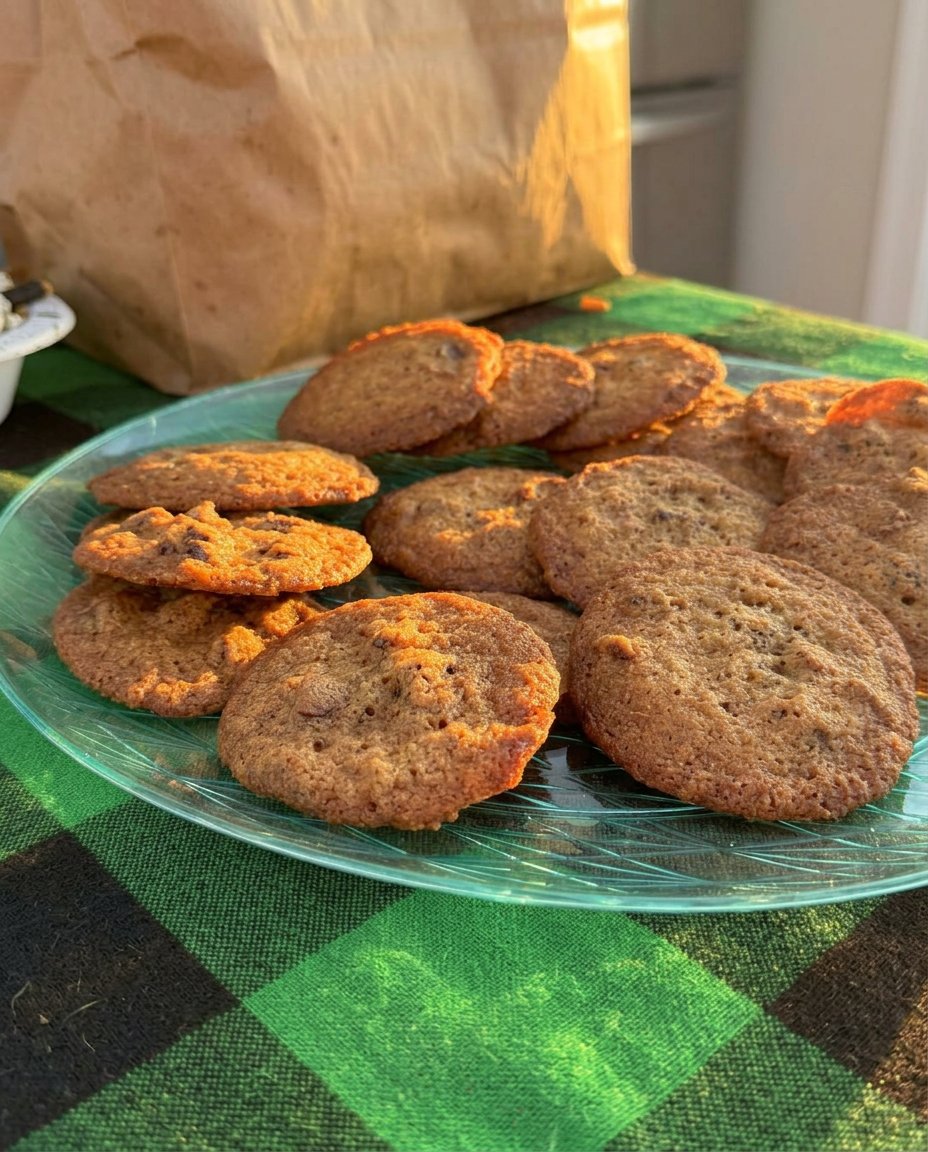
This recipe honors the tradition of the thin, lace-edged cookie by employing a high sugar-to-flour ratio that promotes structural collapse during the bake. Unlike cake-like cookies that rely on aeration, this method prioritizes a dense, chewy texture that spreads across the pan to create maximum surface browning.
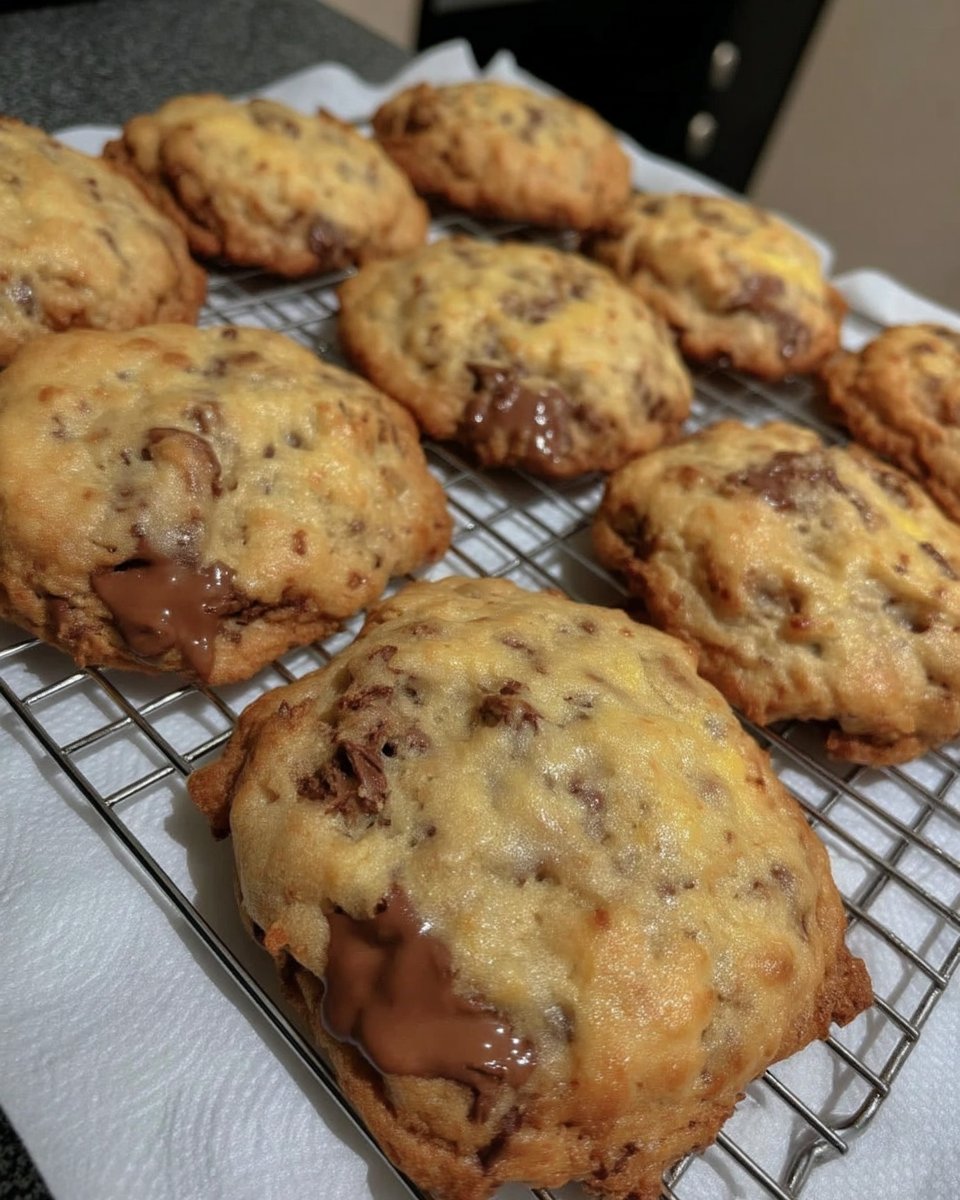
You will appreciate the way the melted butter interacts with the brown sugar to develop a complex, caramel-like flavor profile that mimics aged dough. The addition of both milk and semi-sweet chocolate chunks provides a varied melting point, ensuring that every bite contains a different textural experience.
This is a methodical bake for those who value precision and the satisfying click of a perfectly set cookie edge. It proves that a cookie does not need height to have depth, as the concentrated flavors become more pronounced in a thinner format.
Print
Thin Chocolate Chip Cookies
- Total Time: 1 hour
- Yield: 24 cookies
- Diet: Vegetarian
Description
Explore the culinary science of the thin and chewy chocolate chip cookie with this methodical recipe. By utilizing melted butter and precise sugar ratios, you will create a professional biscuit with crisp, lacy edges and a rich, toffee-like center.
Ingredients
- 1/2 cup unsalted butter, melted
- 3/4 cup brown sugar, packed
- 1/2 cup granulated sugar
- 1 large egg, room temperature
- 1 teaspoon vanilla extract
- 1 1/4 cups all-purpose flour
- 1/2 teaspoon baking soda
- 1/2 teaspoon salt
- 8 ounces chocolate chunks, hand-cut
Instructions
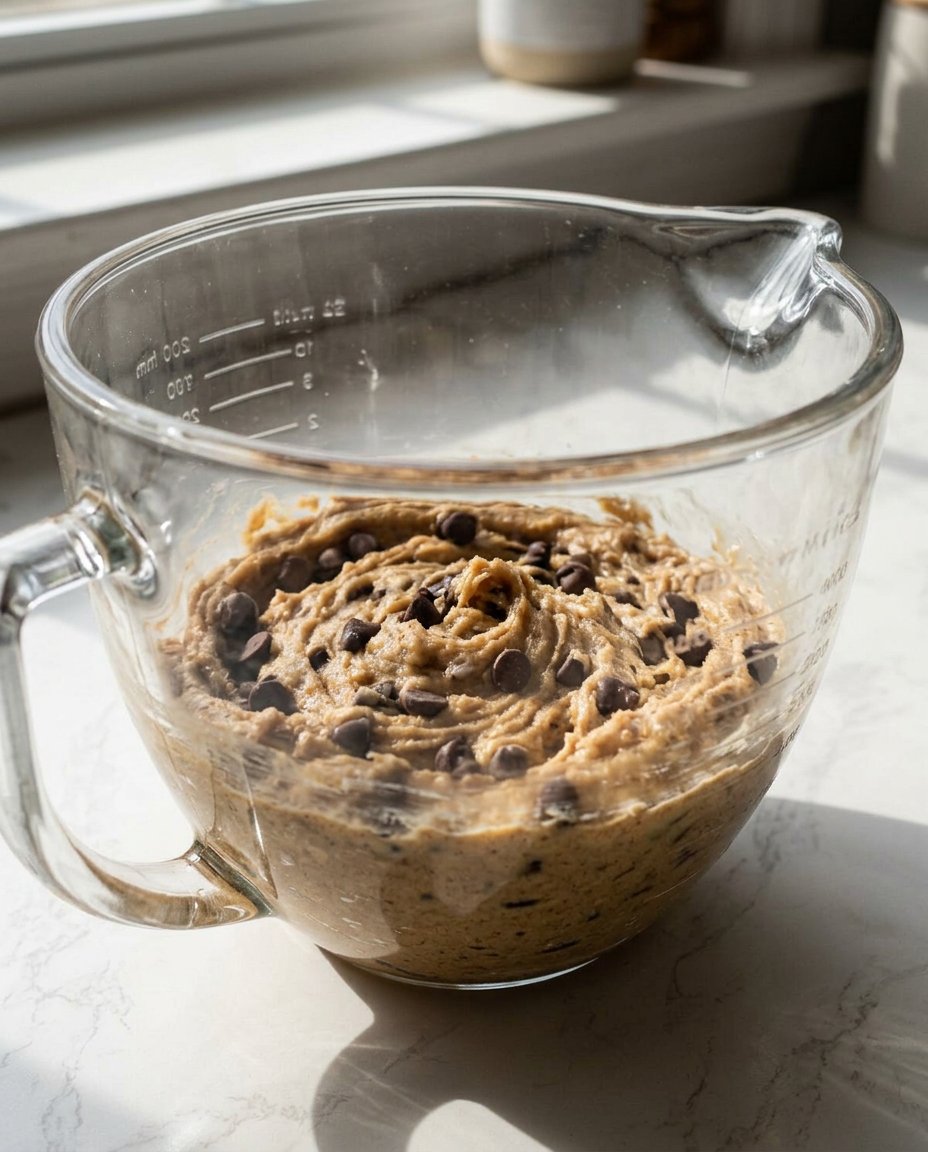
- Melt the butter in a heat-proof vessel and whisk in the brown and white sugars for a full two minutes until a smooth syrup forms.
- Add the room-temperature egg and vanilla extract to the syrup and stir vigorously for sixty seconds to create a stable emulsion.
- Sift the flour, baking soda, and salt into the wet ingredients and fold gently until just combined; allow the dough to rest for ten minutes.
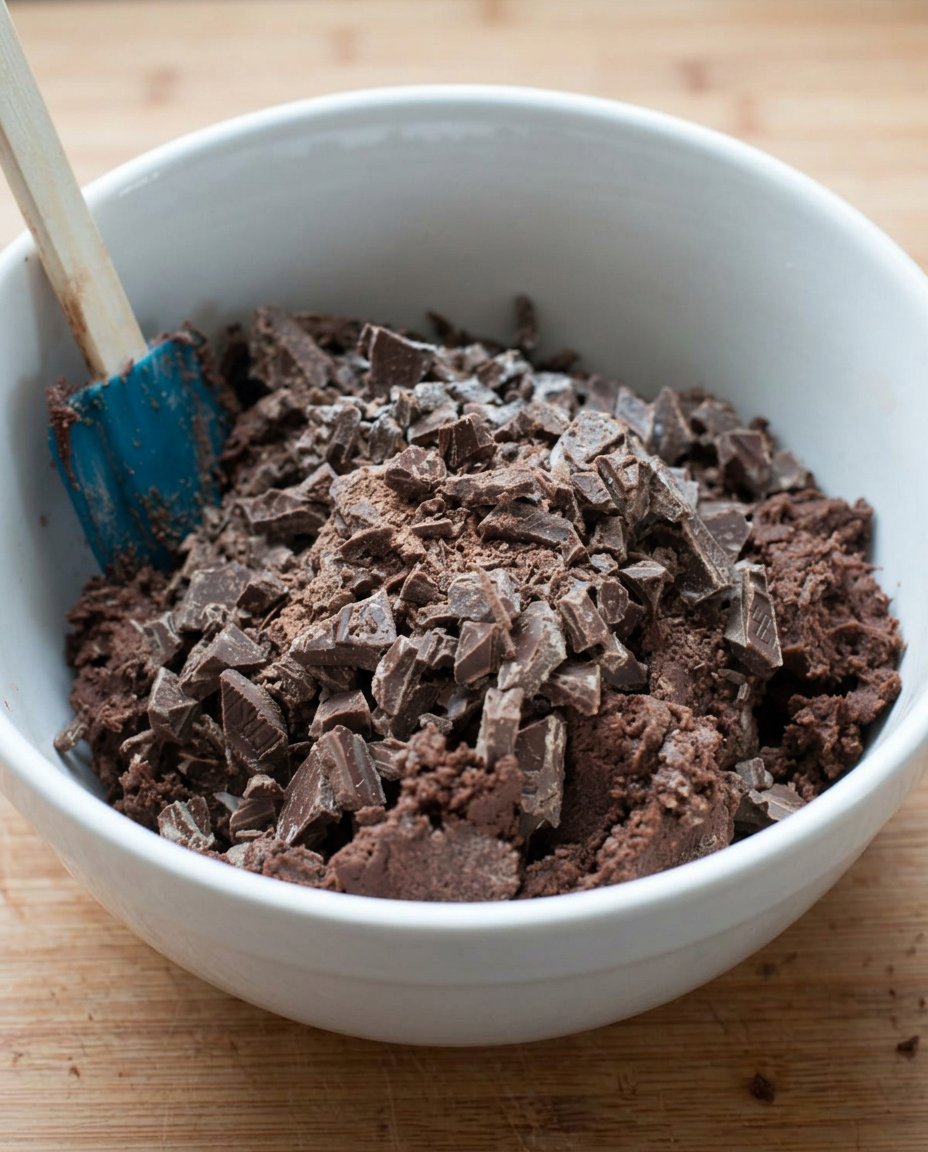
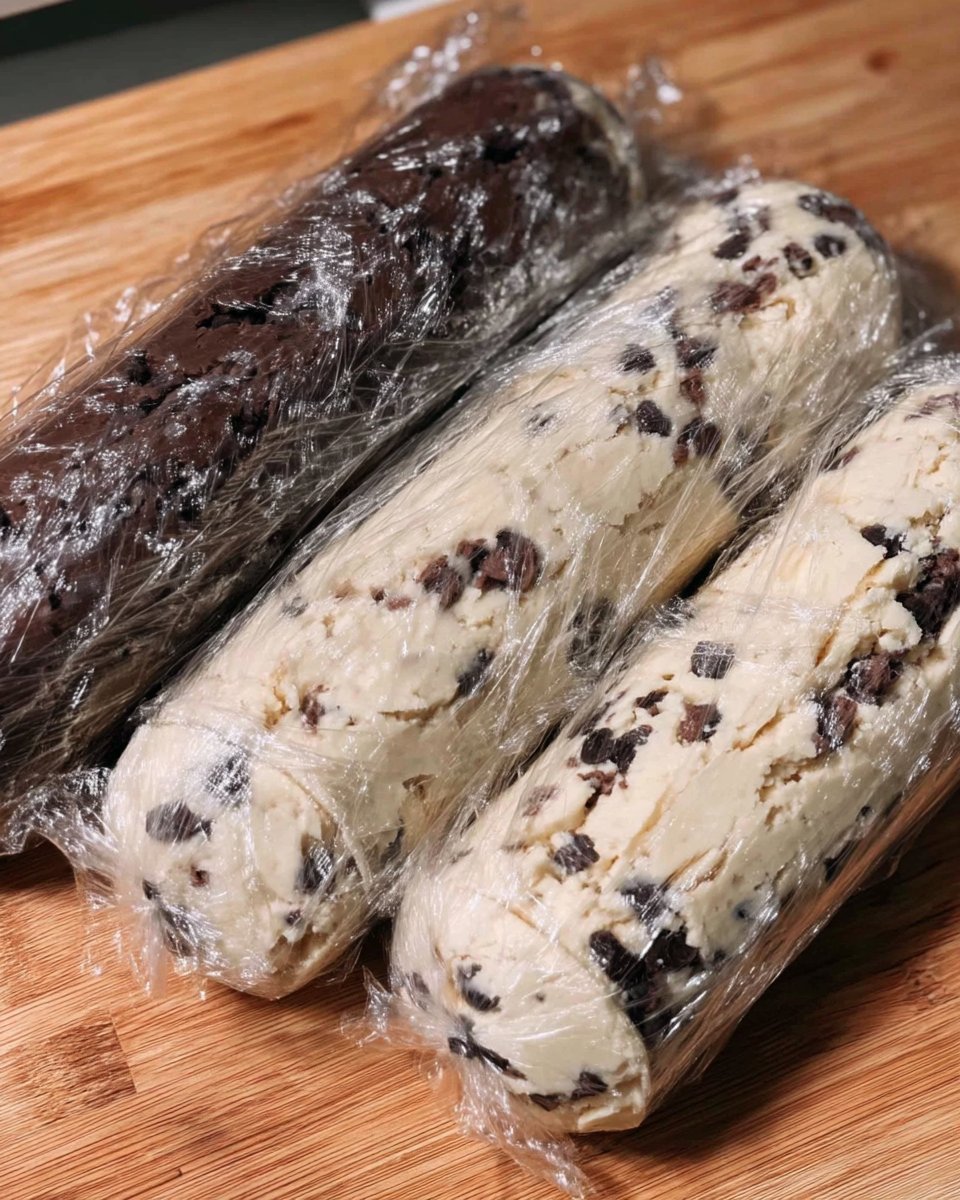
- Fold in the chocolate chunks using a wide spatula, ensuring the dough has cooled sufficiently so the chocolate retains its integrity.
- Cover and refrigerate the dough for at least thirty minutes, or up to twenty-four hours to allow the flavors to concentrate and develop toffee-like notes.
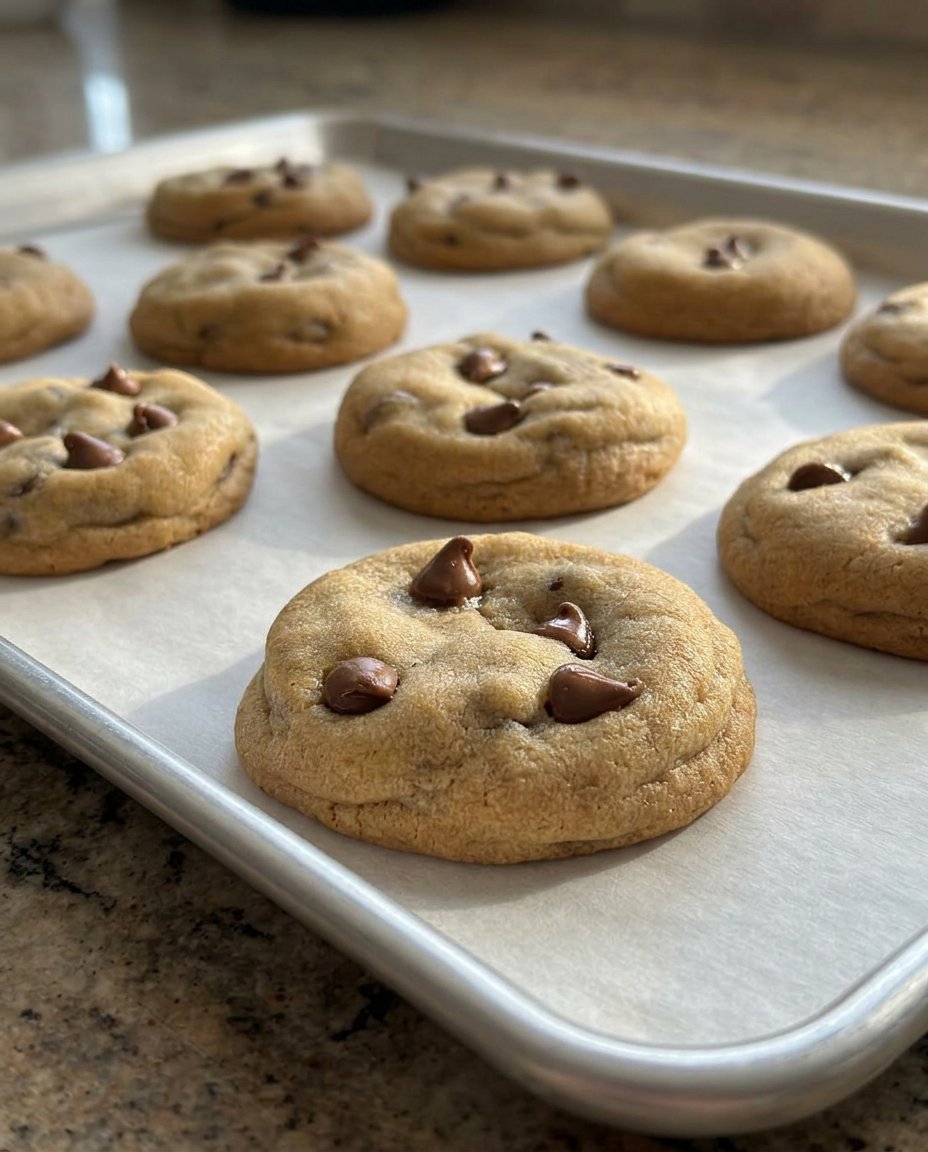
- Preheat your oven to 350°F (175°C) and bake rounded tablespoons of dough on parchment-lined sheets for 11 to 15 minutes until the edges are golden.
Notes
For the most consistent results, always use light-colored aluminum baking sheets as dark pans can cause the high sugar content to burn before the cookies fully spread. If your cookies appear too thick halfway through baking, firmly drop the pan against the oven rack to collapse air pockets and encourage those iconic ripples.
- Prep Time: 45 mins
- Cook Time: 15 mins
- Category: Dessert
- Method: Baking
- Cuisine: American
Technical Components and Molecular Ratios
To achieve the specific architecture of thin chocolate chip cookies, each ingredient must be selected for its chemical properties and historical reliability. We move away from high-protein flours and cold fats to encourage a specific type of spread.
- Unsalted Butter (1 stick, melted): Melting the butter before incorporation breaks the emulsion, allowing the water content to interact immediately with the sugar. This historical technique results in a denser, chewier crumb than creaming cold butter.
- Brown Sugar (3/4 cup, packed): The molasses in brown sugar is hygroscopic, meaning it attracts moisture. This is the primary driver for the chewy texture that distinguishes a professional thin cookie from a simple cracker.
- Granulated Sugar (1/2 cup): While brown sugar provides chew, white sugar is essential for the crisp, lattice-like edges. It aids in the spread and creates the structural snap through crystallization.
- All-Purpose Flour (1 1/4 cups): We use a moderate amount of flour to prevent the cookie from becoming ‘cakey.’ This specific ratio allows the sugars and fats to dominate the structure.
- Baking Soda (1/2 teaspoon): Beyond leavening, baking soda increases the pH of the dough, which accelerates the Maillard reaction. This is how we achieve that deep golden-brown color without overbaking.
- Chocolate Chunks (8 ounces): Using hand-cut chunks instead of chips allows for irregular ‘pools’ of chocolate. This technique, favored by traditional pastry chefs, creates a more sophisticated mouthfeel.
The Proper Method for Controlled Spread
Step 1: Melting and Dissolving
Begin by melting the butter in a heat-proof vessel. For the best results, use a low-power setting to prevent the butter from ‘popping’ and losing essential moisture. Once liquid, whisk in the brown and white sugars for a full two minutes. This duration is critical; you are not just mixing, but actively dissolving the sucrose into the butter’s water phase to create a smooth syrup.
Step 2: Emulsifying the Base
Add the room-temperature egg and the vanilla extract to your sugar-butter syrup. Vigorously stir this mixture for sixty seconds to create a stable emulsion. Historical bakers knew that a well-emulsified dough prevents the fat from leaking out during the bake, which keeps the cookie from feeling greasy.
Step 3: Dry Integration and Hydration
Sift the flour, baking soda, and salt directly into the wet ingredients. Fold the mixture gently until no white streaks remain, but do not overwork the dough. Over-mixing at this stage develops too much gluten, which would turn our thin cookies into tough, bread-like discs. Allow the dough to rest for ten minutes; this brief pause lets the flour hydrate fully before the chocolate is introduced.
Step 4: The Inclusion of Chocolate
Fold in your chocolate chunks using a wide spatula. By waiting for the dough to cool slightly, we make sure the chocolate retains its integrity and does not melt prematurely into the batter. This maintains the visual and textural contrast between the golden dough and the dark chocolate pockets.
Step 5: The Temperature-Controlled Rest
Cover the bowl and refrigerate for at least thirty minutes. While it is tempting to bake immediately, this cold rest allows the fats to solidify and the flavors to concentrate. For a truly professional result, a twenty-four-hour rest develops toffee-like notes as the enzymes in the flour break down starches into simpler sugars.
Step 6: Precision Baking
Preheat your oven to 350 degrees Fahrenheit (175 Celsius) and line a light-colored baking sheet with parchment paper. Scoop the dough into rounded tablespoons, leaving at least four inches of space between each. These cookies are designed to spread significantly, and they need room to expand without touching. Bake for eleven to fifteen minutes until the edges are golden, then allow them to set on the hot pan for five minutes to firm up.
Technique Notes from the Lab
The choice of baking sheet is a variable many home bakers overlook. For thin chocolate chip cookies, always use a light-colored aluminum pan rather than a dark, non-stick one. Dark pans absorb heat too quickly, which can cause the sugars at the bottom of the cookie to burn before the center has properly spread.
If you find your cookies aren’t spreading as much as desired, you can use the ‘pan-banging’ technique. Halfway through the bake, lift the edge of the tray and let it drop firmly onto the oven rack. This physical shock collapses the air pockets and encourages the dough to ripples outward, creating those iconic crispy ridges.
For more on managing your kitchen workflow during a long bake, see our guide on Efficient Cookie Methods. Precision in timing is just as important as precision in measurement when working with high-sugar doughs.
Regional Adaptations and Scientific Tweaks
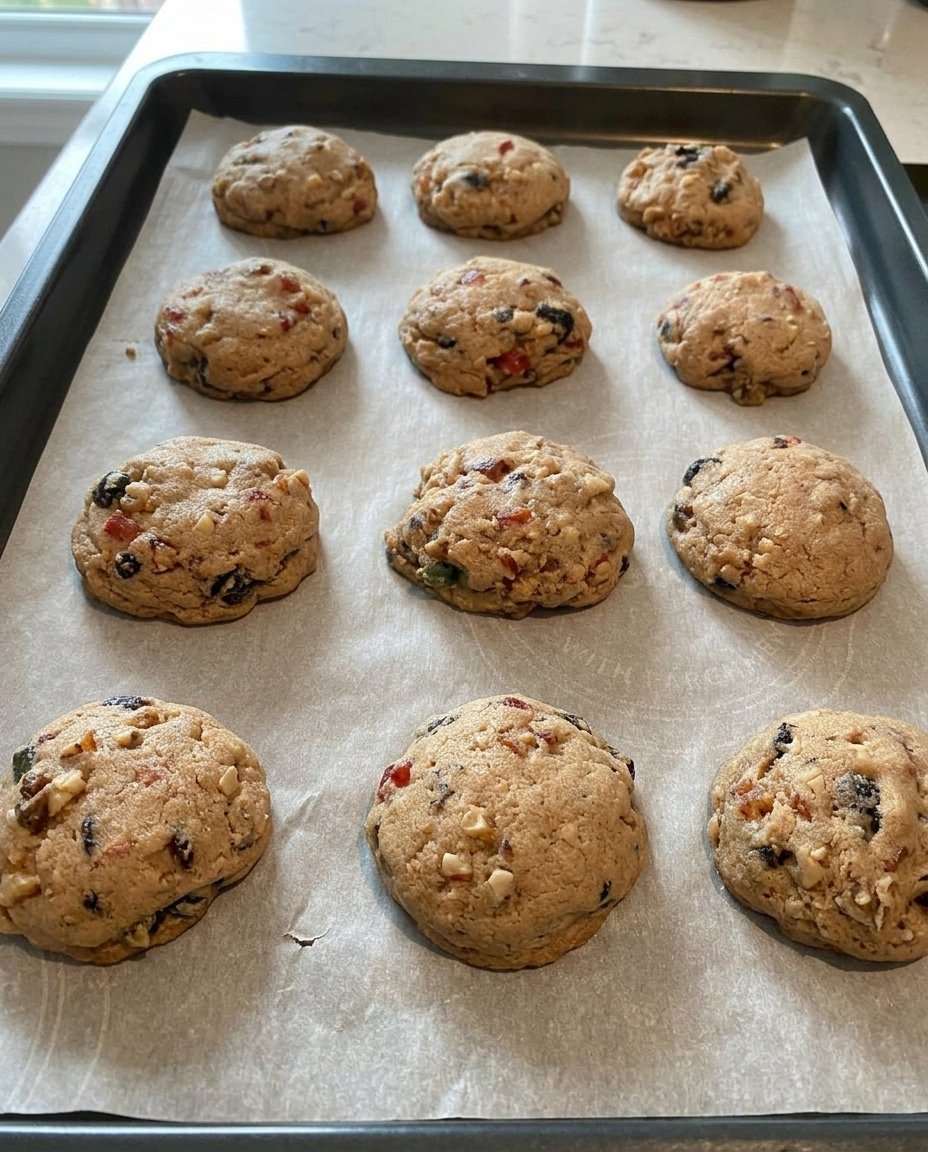
You can adapt this base formula to create different historical profiles. For a ‘Lace Cookie’ variation, decrease the flour by two tablespoons and add half a cup of finely chopped toasted pecans. This creates a more fragile, translucent structure reminiscent of 18th-century French tuiles.
Alternatively, for a deeper flavor profile, consider browning the butter before use. This removes all water content, so you must add back a teaspoon of water to maintain the hydration level. This variation is a favorite in our Holiday Cookie Science series, where we examine how Maillard reactions change with fat purity.
If you prefer a darker aesthetic, replace two tablespoons of the flour with Dutch-process cocoa powder. This won’t change the spread, but it will provide a sophisticated, slightly bitter contrast to the sweet milk chocolate chunks.
Traditional Service and Pairing
A thin, delicate cookie deserves a presentation that matches its elegance. Serve these on a chilled ceramic platter to maintain the crispness of the edges. Historically, these would be served alongside a strong Assam tea or a dark roast coffee, as the bitterness of the beverage balances the high sugar content of the biscuit.
For a more modern approach, these are the ideal candidate for an ‘ice cream sandwich’ because their thin profile makes them easy to bite through even when frozen. When stacking them for a party, place a small square of parchment paper between each layer to prevent the chewy centers from sticking together.
To learn more about presenting your bakes for special events, examine our articles on Precision Cookie Decorating. Even a simple cookie can be made to look like a gourmet treat with the right placement and service temperature.
The Technical Truth of the Thin Cookie
Mastering the thin chocolate chip cookie is a rite of passage for the methodical baker. By understanding the relationship between melted fat and sugar solubility, you move beyond following a recipe into the realm of true cookie science. This method, rooted in historical wafer techniques, provides a reliable foundation for any baker looking to achieve a professional, toffee-like finish. For more fundamental techniques, look at our Foundation Cookie Recipes. We also recommend studying the original inspiration for this specific balance at Modern Honey. If you found success with this bake, share your results with our community on Facebook, Instagram, or Pinterest. Precision in the kitchen always leads to triumph at the table.
