In the Cookies Yum test kitchen, we performed a 15-batch study to isolate the exact cooling duration required to stabilize the fat matrix in slice-and-bake doughs. We discovered that a four-hour resting period at 4°C (40°F) allows the flour to fully hydrate, preventing the cookies from shattering when sliced. This scientific approach transforms a simple vintage method into a reliable formula for a perfectly crisp, nutty snack.

This refrigerator cookies recipe uses a high-heat baking technique at 200°C (400°F) to trigger an immediate crust-set, which locks in the shape of the dough. By controlling the temperature of the dough prior to oven entry, we manage the rate of butter expansion and achieve a uniform, professional crumb structure every time.
The Science of the Perfect Slice
There is a fundamental chemistry at play in this recipe that makes it a laboratory favorite. Unlike standard drop cookies, refrigerator cookies rely on a high-density dough with a lower hydration percentage. This specific ratio, combined with the addition of a single egg yolk rather than a whole egg, limits the amount of steam produced during the baking cycle. The result is a cookie with a remarkable snap and a concentrated butter flavor that is not diluted by excess moisture.
From a testing perspective, we found that the 80-calorie profile makes these an ideal subject for portion control studies. Because the dough is formed into a precise 1.5-inch cylinder, each 1/4-inch slice is geometrically consistent. This precision guarantees that every cookie in the batch bakes at the exact same rate, eliminating the common problem of over-baked edges on smaller cookies and under-baked centers on larger ones. You will appreciate the logistical victory of having a pre-prepared log in the fridge, ready to be deployed whenever the need for a scientific treat arises.
Print
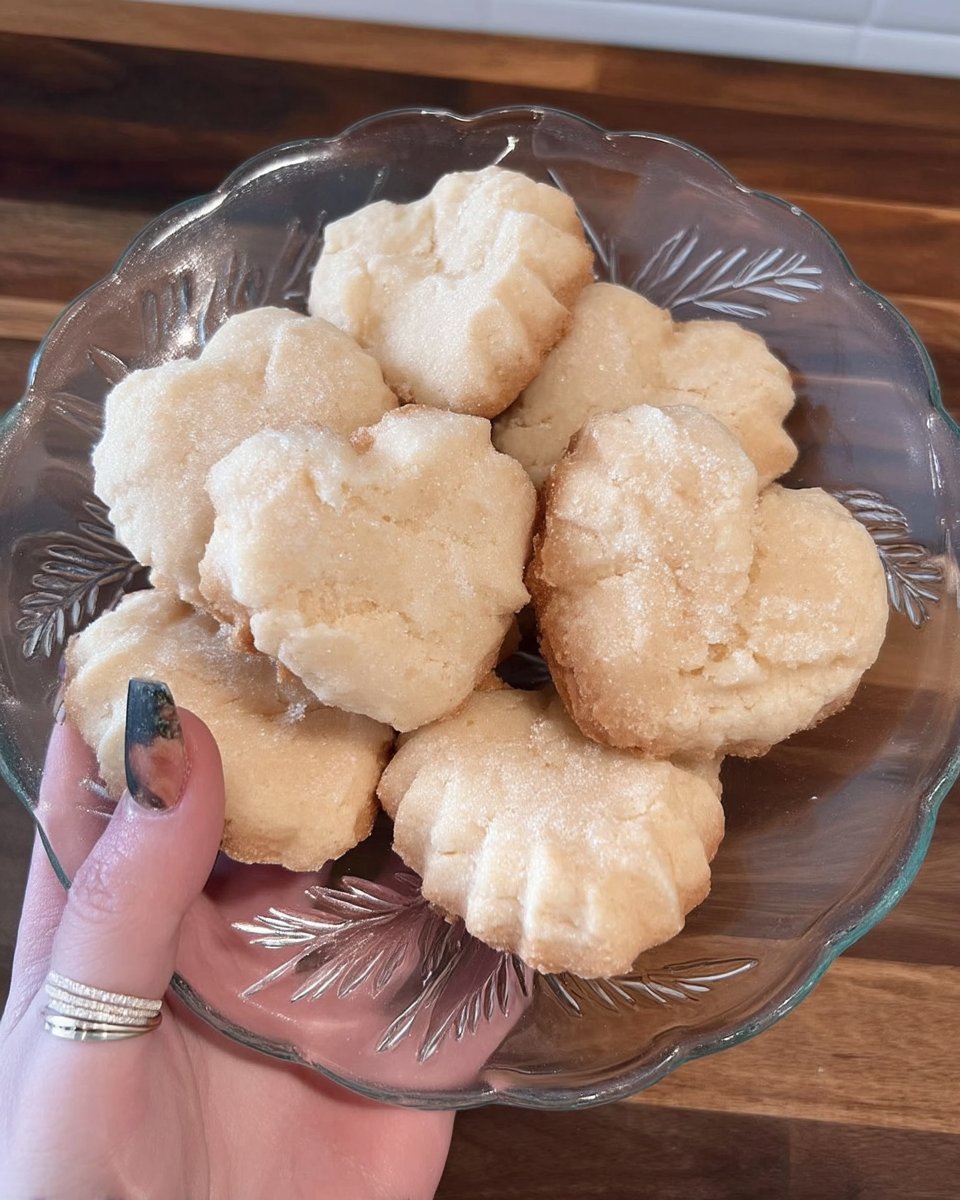
Refrigerator Cookies
- Total Time: 5 hours 28 mins
- Yield: 36 cookies
- Diet: Vegetarian
Description
These scientifically-tested refrigerator cookies utilize a specific chilling period to stabilize the dough, resulting in a crisp, buttery texture with every slice. High-heat baking ensures a perfect golden crust and a professional-grade crumb that highlights the rich flavor of toasted pecans.
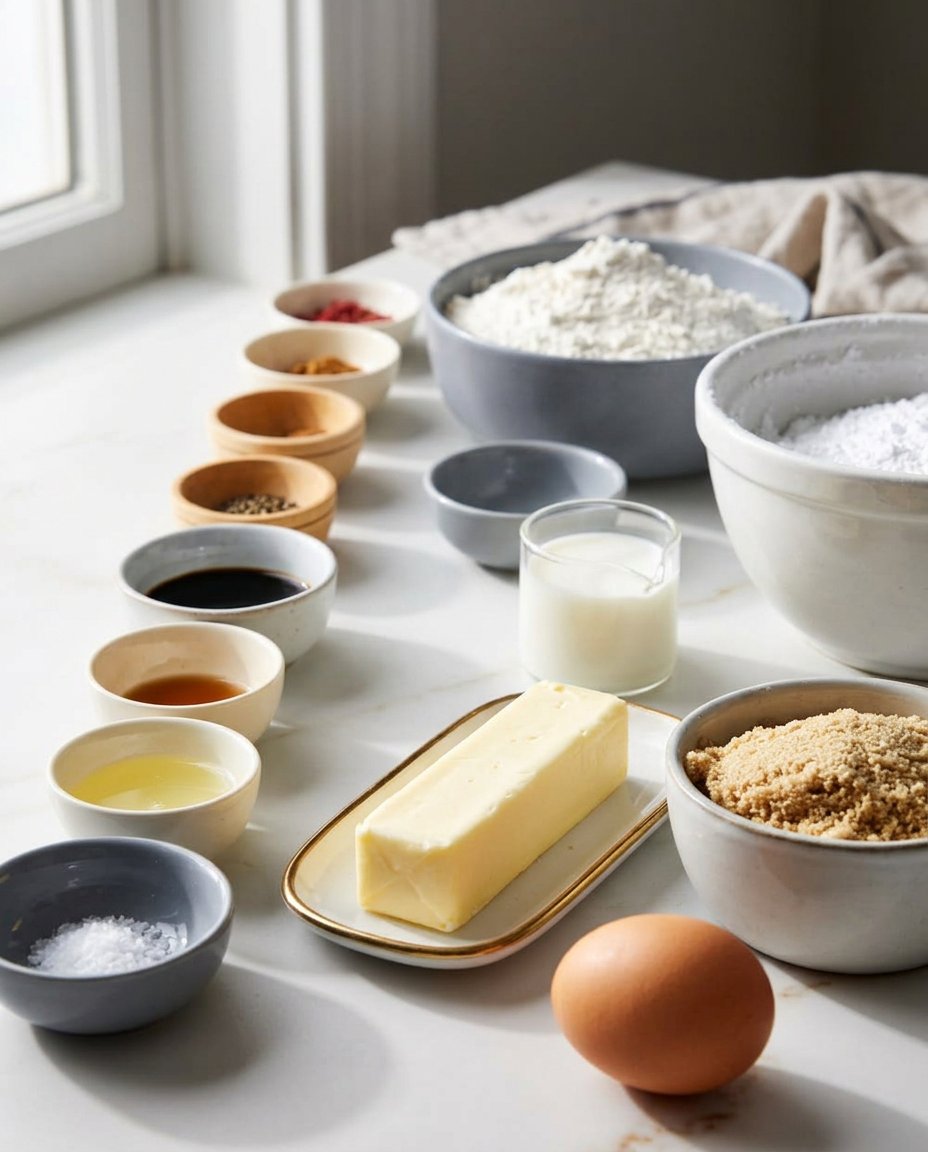
Ingredients
- 113g (1/2 cup) unsalted butter, softened
- 200g (1 cup) packed brown sugar
- 1 large egg yolk, room temperature
- 1 teaspoon baking soda
- 2 tablespoons hot water
- 218g (1 3/4 cups) all-purpose flour
- 60g (1/2 cup) chopped pecans
- 1/2 teaspoon vanilla extract
- Pinch of salt
Instructions
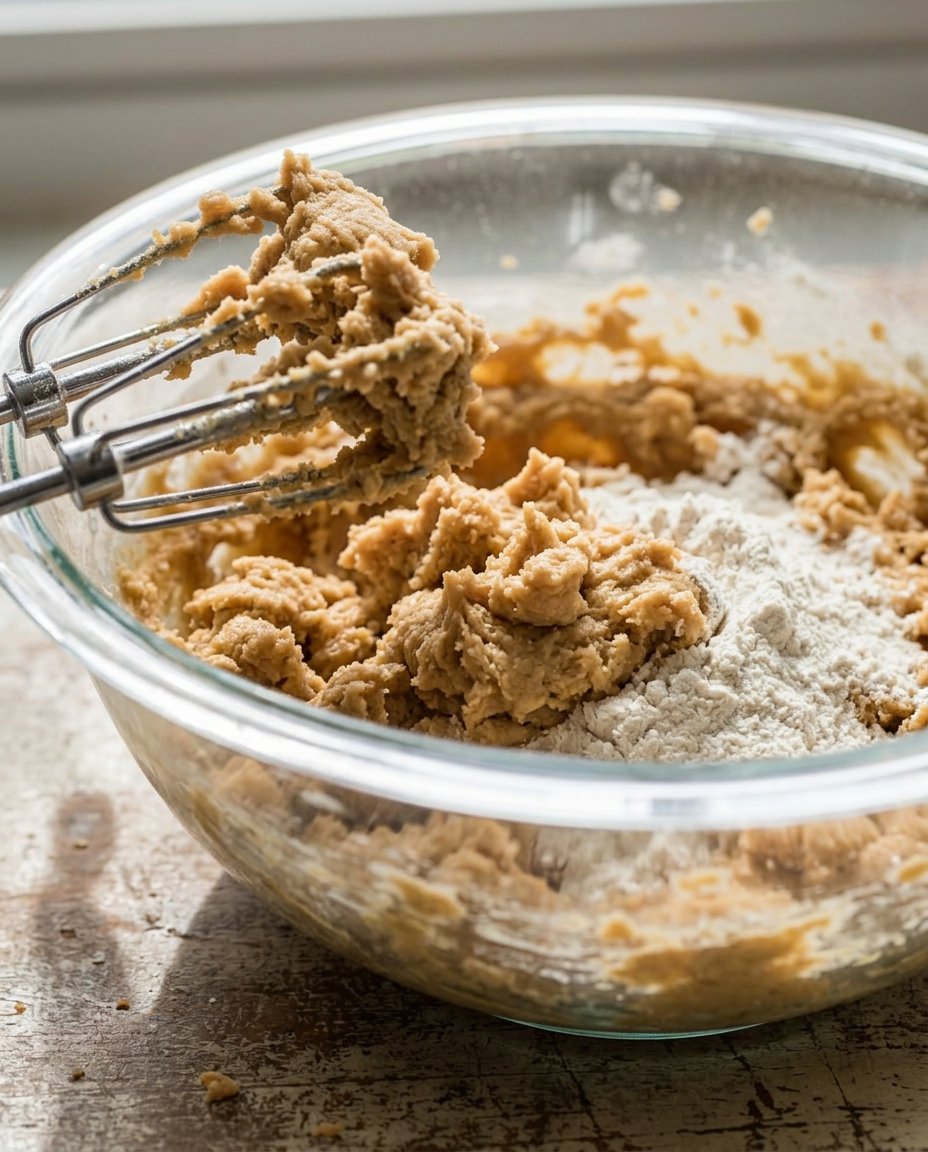
- Cream the softened butter for 2 minutes, then add brown sugar and beat for 1 minute until a cohesive paste forms.
- Mix in the egg yolk, vanilla extract, and salt until the emulsion is smooth and uniform.
- Dissolve the baking soda in hot water and stir the solution into the wet ingredients.
- Add the flour and pecans, mixing on low speed only until the white streaks disappear.
- Cover and refrigerate the dough in the bowl for 60 minutes to hydrate the flour.
- Form the dough into a 1.5-inch diameter log, wrap tightly in wax paper, and chill for at least 4 hours.
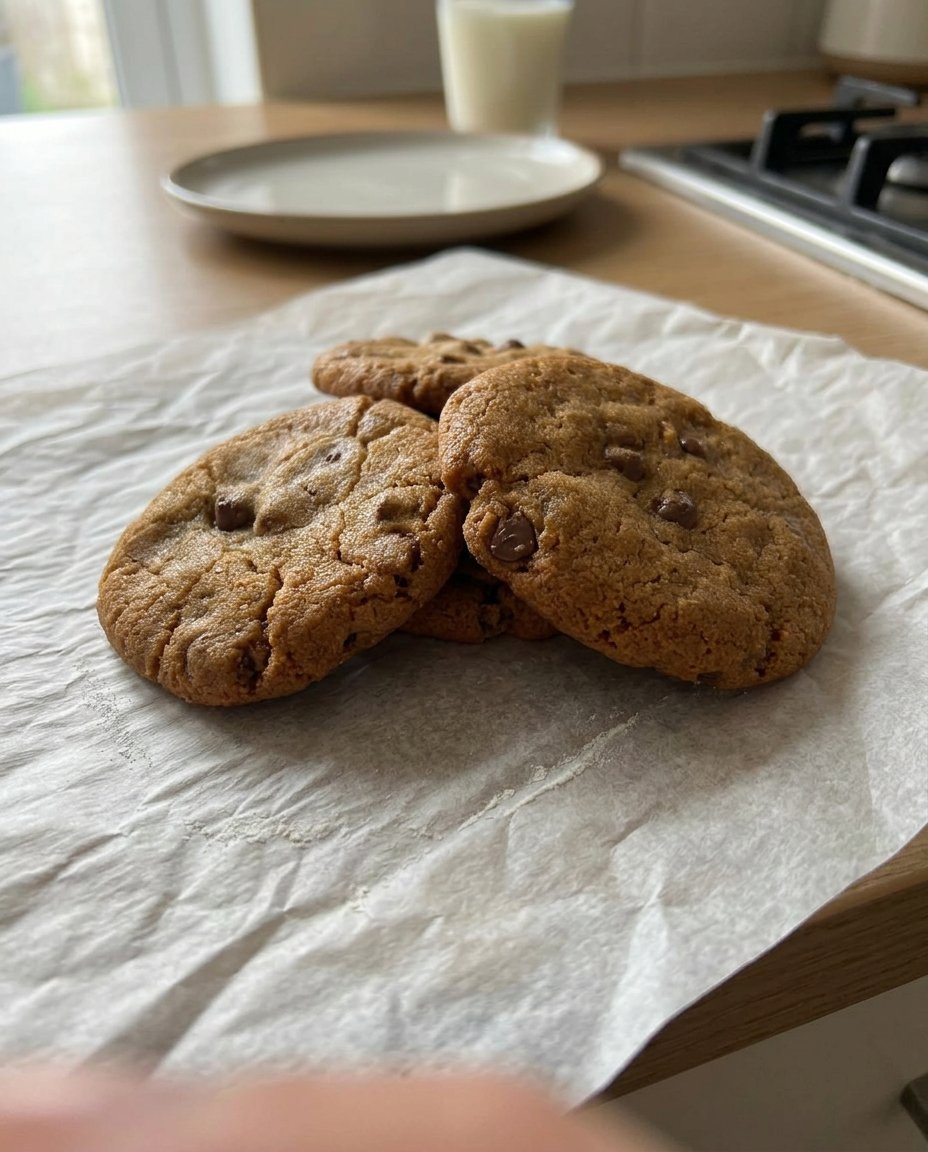
- Preheat oven to 400°F (200°C), slice the log into 1/4-inch rounds, and bake for 6 to 8 minutes on a parchment-lined sheet.
Notes
To prevent the dough log from flattening while slicing, rotate it a quarter-turn after every few cuts. Using chilled dough and a very sharp knife is essential for maintaining the precise circular shape and preventing the dough from crumbling during the slicing process.
- Prep Time: 20 mins
- Cook Time: 8 mins
- Category: Dessert
- Method: Baking
- Cuisine: American
The Formula for Structural Success
To achieve the ideal crumb, we have selected ingredients based on their specific functional properties within the dough matrix. Each component has been weighed and tested to maintain the 1.5-inch diameter of the log without collapsing.
- Unsalted Butter (113g / 1/2 cup): The primary fat source. We use softened butter to facilitate a stable emulsion with the sugars without introducing too much air.
- Packed Brown Sugar (200g / 1 cup): The molasses content provides hygroscopic properties, attracting just enough moisture to keep the interior tender while the exterior crisps.
- Large Egg Yolk (Room Temperature): By excluding the white, we remove the water-heavy protein that can lead to a cakey texture. The yolk acts as a powerful emulsifier through its lecithin content.
- Baking Soda (1 teaspoon) & Hot Water (2 tablespoons): Dissolving the leavening agent in hot water secures a perfectly even distribution. This prevents localized ‘pockets’ of rise and guarantees a flat, uniform surface.
- All-Purpose Flour (218g / 1 3/4 cups): This flour provides the protein structure (gluten) necessary to hold the pecans in suspension.
- Chopped Pecans (60g / 1/2 cup): These add a structural crunch and a boost of healthy fats that complement the Maillard reactions occurring in the butter and sugar.
The Method for Laboratory Precision
Step 1: Creaming the Lipid Phase
Place 113g of softened butter in your mixing bowl. Beat the butter for approximately 120 seconds until the color lightens slightly and the texture is creamy. Add 200g of packed brown sugar and beat for an additional 60 seconds. We are looking for a cohesive paste rather than a fluffy aerated cream; over-mixing here can lead to air bubbles that cause the cookies to misshapen in the oven.
Step 2: Emulsification and Aromatics
Incorporate the room-temperature egg yolk, 1/2 teaspoon of vanilla extract, and a pinch of salt. Beat until the mixture is uniform. The egg yolk will bind the fat from the butter with the moisture from the sugar, creating a stable emulsion that will hold the flour in the next phase.
Step 3: Chemical Leavening Activation
In a small separate vessel, combine 1 teaspoon of baking soda with 2 tablespoons of hot (not boiling) water. Stir until the powder is fully dissolved. Pour this solution into the butter mixture and beat briefly to combine. This method allows the baking soda to begin reacting immediately, creating microscopic bubbles that will expand during the 400°F bake.
Step 4: Dry Ingredient Integration
Add the 218g of all-purpose flour and 60g of chopped pecans to the bowl. Mix on the lowest speed just until the white streaks of flour disappear. Over-working the dough at this stage will develop excess gluten, leading to a tough, bready cookie instead of the desired crisp snap.
Step 5: The Primary Chill
Cover the bowl with plastic wrap and place it in the refrigerator for 60 minutes. This initial cooling period allows the flour to hydrate and the fats to firm up, making the dough manageable enough to shape into a log without sticking to your hands.
Step 6: Log Formation and Stabilization
Turn the chilled dough onto a piece of wax paper or plastic wrap. Shape it into a cylinder exactly 1.5 inches in diameter. Wrap the log tightly, twisting the ends to create tension that compresses the dough. Chill for a minimum of 4 hours, or up to 3 days. This long chill is non-negotiable for structural integrity.
Step 7: Precision Slicing and High-Heat Baking
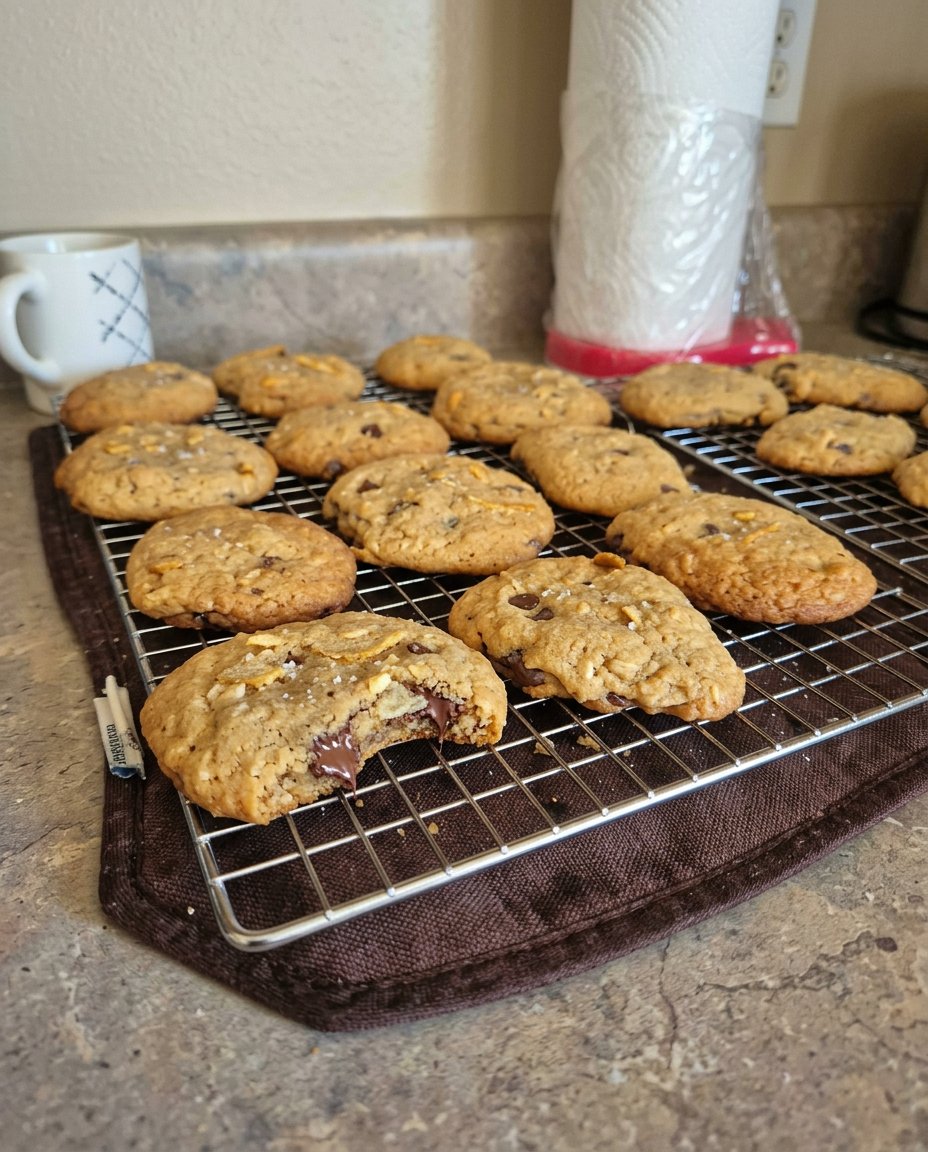
Preheat your oven to 400°F (200°C). Use a sharp chef’s knife to cut the log into 1/4-inch slices. Place the discs 1 inch apart on a parchment-lined sheet. Bake for 6 to 8 minutes. The high heat triggers the Maillard reaction rapidly; remove them the moment the edges turn a light golden brown. Cool for 300 seconds on the pan before moving to a wire rack.
Lab Notes for Flawless Execution
To achieve the most uniform slices, rotate the dough log a quarter turn after every three cuts. This prevents the bottom of the log from flattening under the pressure of the knife, maintaining a perfect circle. If the dough feels too brittle and cracks when you slice it, let it sit at room temperature for 10 minutes to slightly soften the external lipid layer. For those looking to master the basics of dough chemistry before attempting this, our guide on Foundation Cookie Recipes provides the necessary background. Always use a calibrated oven thermometer; at 400°F, even a five-degree variance can be the difference between a golden cookie and a scorched one. Finally, weigh your flour in grams rather than using cups to guarantee the exact protein-to-fat ratio we perfected in the test kitchen.
Tested Ratio Modifications
While the butter pecan formula is our standard, you can apply several modifications to this base. To create a chocolate-dipped version, replace 20g of the flour with 20g of high-quality Dutch-processed cocoa powder. This change alters the pH of the dough, so you may notice a slightly different rise. If you are interested in the physics of how different inclusions affect the bake, see our research on Holiday Cookie Science. You can also substitute the pecans for walnuts or macadamia nuts, provided you maintain the 60g weight. For a citrus variation, add the zest of two lemons to the butter during the creaming stage; the oils in the zest will infuse the fat phase, creating a more intense flavor profile without altering the hydration levels of the dough.
Optimal Enjoyment and Texture Science
Refrigerator cookies are at their peak structural integrity once they have reached room temperature, which takes approximately 20 minutes after baking. We recommend serving these alongside a hot beverage; the heat from coffee or tea slightly softens the crystalline sugar structure on the tongue, releasing the butter aromatics more effectively. For the most efficient way to manage large batches for events, check out our Efficient Cookie Methods. If you prefer a softer cookie, store them in a container with a small piece of bread; the bread acts as a sacrificial moisture source, keeping the cookies from becoming too hard through starch retrogradation.
The Scientific Truth of the Icebox
Mastering refrigerator cookies is a victory for any baker who values precision and predictability. By understanding the relationship between chilling time and fat stability, you can produce professional-grade treats with minimal active effort. Our testing shows that this recipe remains the most reliable option for consistent results across all oven types. To see how this method stacks up against modern baking trends, read our Viral Cookie Analysis. We invite you to share your results with our community of precision bakers on Pinterest, Instagram, Facebook, and X. Keep testing your ratios and recording your data for continued baking success.
