Years ago, while studying the chemistry of deep-frying, I discovered that Rosettes are a masterclass in moisture migration. The way the batter transitions from a liquid emulsion to a rigid, crystalline lattice in under thirty seconds is a fascinating display of starch gelatinization. It is a moment where thermal energy transforms simple pantry staples into a delicate, lace-like structure that shatters upon the first bite.

These Scandinavian-inspired treats rely on a precise ratio of proteins and starches to cling to the iron. By understanding the role of the egg’s lecithin and the milk’s lactose, we can create a batter that browns beautifully and maintains its structural integrity. This recipe focuses on achieving that perfect golden hue while maintaining a light, airy texture through scientific temperature control.
The Science of the Crisp
When you make Rosettes, you are essentially conducting a high-heat dehydration experiment. The batter, which is high in hydration, hits the hot oil, causing the water to turn to steam instantly. This steam pushes against the proteins in the egg and the starches in the flour, creating tiny air pockets that give the cookie its signature lightness. We use salt not just for seasoning, but as a taste modulator that suppresses the inherent bitterness of fried starches while making the sweetness of the sugar feel more intense.
You will appreciate the way the vanilla extract interacts with the heat. While some aromatics dissipate, the vanillin compounds in quality extract bond with the fats in the milk, creating a persistent floral scent that lingers. This is not just a cookie; it is a delicate balance of fat, heat, and structural chemistry that results in a snack that feels weightless yet flavorful.
Print
Rosettes
- Total Time: 45 mins
- Yield: 60 cookies
- Diet: Vegetarian
Description
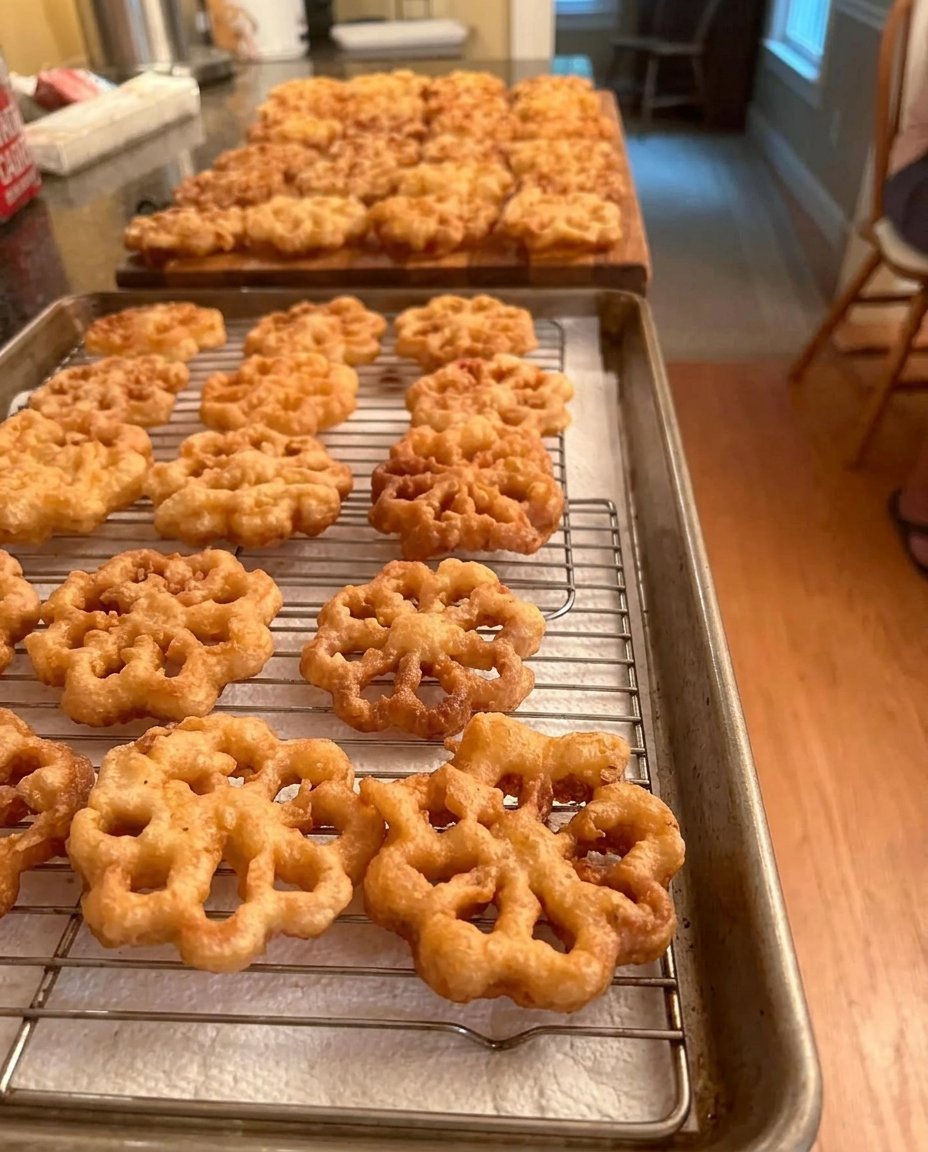
Experience the delicate science of these crisp, Scandinavian-inspired Rosettes, featuring a light batter that transforms into intricate, lace-like structures when deep-fried. Perfectly golden and dusted with sugar, they offer a satisfying snap and a sophisticated hint of vanilla in every bite.
Ingredients
- 2 large eggs
- 2 teaspoons white sugar
- 1/4 teaspoon salt
- 1 cup all-purpose flour, sifted
- 1 cup milk
- 1 teaspoon vanilla extract
- Vegetable oil (for frying)
- Confectioners’ sugar (for dusting)
Instructions
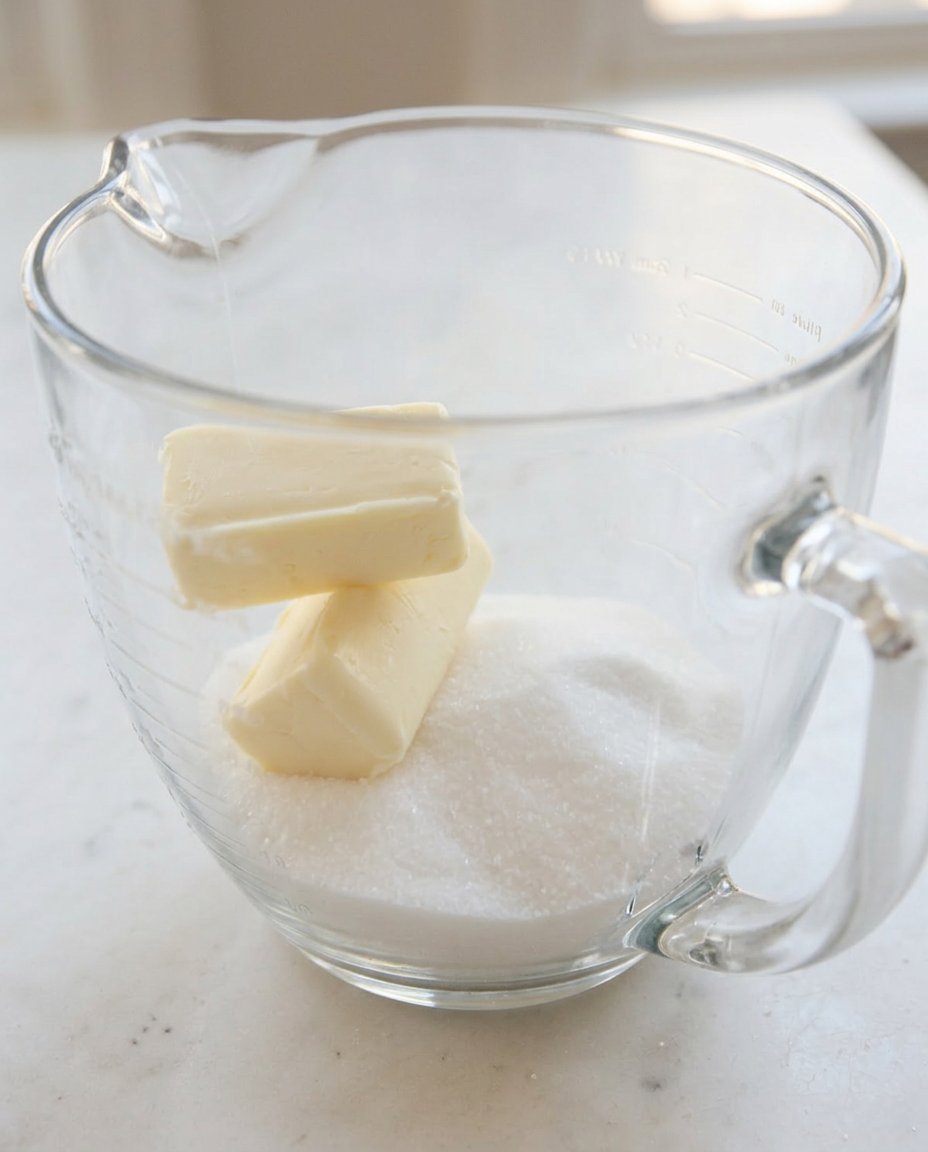
- In a large bowl, beat the eggs, sugar, and salt together until the proteins are broken down and ingredients are well combined.
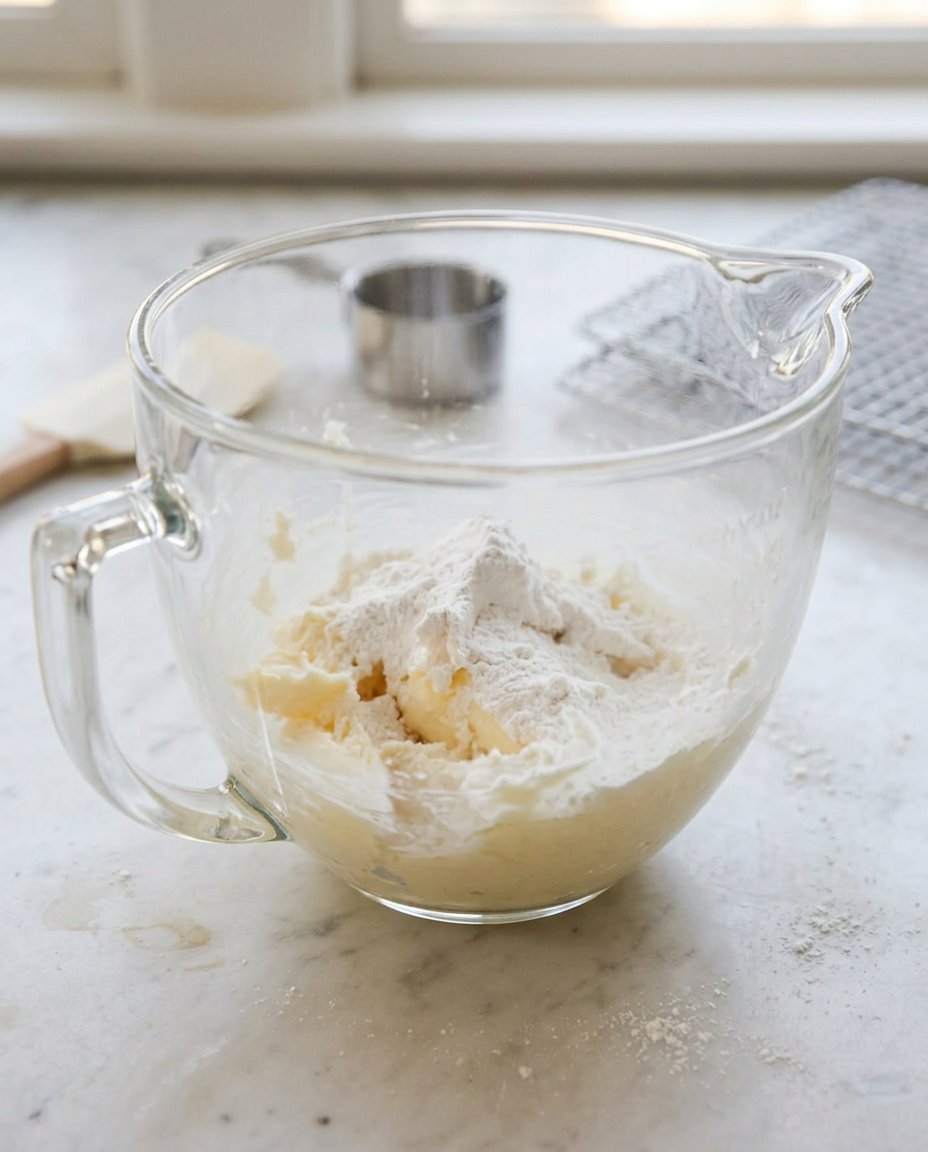
- Add the sifted flour, milk, and vanilla extract to the mixture and beat until the batter is perfectly smooth; let the batter rest for several minutes to allow air bubbles to dissipate.
- Heat approximately 2 inches of vegetable oil in a deep skillet to 375°F (190°C) and prepare a wire rack over paper towels for drainage.
- Place the rosette iron into the hot oil for at least 2 minutes to temper it, then lift and briefly drain any excess oil.
- Dip the heated iron into the batter until it is 3/4 of the way up the sides (do not cover the top), then immediately submerge the coated iron into the hot oil.
- Fry for about 30 seconds or until the cookie is crisp and lightly golden, using the slowing of bubbles as a cue for doneness.
- Lift the iron, use a fork to gently release the rosette onto the wire rack, and reheat the iron for one minute before repeating the process for the remaining batter.
- Once cooled, dust the finished rosettes generously with confectioners’ sugar before serving.
Notes
For the crispest results, ensure your oil temperature remains steady at 375°F throughout the frying process, as fluctuations can lead to oily cookies. If the batter fails to adhere to the iron, it is likely the iron hasn’t been heated long enough between dips in the batter, preventing the necessary immediate coagulation of the starch.
- Prep Time: 15 mins
- Cook Time: 30 mins
- Category: Dessert
- Method: Deep-frying
- Cuisine: Scandinavian
The Flavor Components of a Perfect Batter
To achieve the best results with your Rosettes, we must look at the molecular contribution of each ingredient. The chemistry of the batter determines whether the cookie will be greasy or perfectly crisp.
- Large Eggs: These provide the lecithin required for a stable emulsion. The proteins coagulate quickly in the oil, setting the shape of the cookie before it can slide off the iron.
- White Sugar: A small amount is used to encourage the Maillard reaction, which creates those nutty, toasted flavor compounds we love. Too much sugar would make the batter too hygroscopic, leading to a soft, limp cookie.
- Sifted All-Purpose Flour: Sifting is vital to remove clumps and ensure the starches are evenly distributed. This allows for uniform hydration and a consistent texture across all sixty cookies.
- Milk: The lactose in milk contributes to the golden color through caramelization, while the water content provides the steam necessary for expansion.
- Vanilla Extract: We add this for its aromatic complexity. The alcohol carrier evaporates, leaving behind vanillin that complements the creamy notes of the milk.
- Vegetable Oil: A neutral oil with a high smoke point is essential. It acts as the heat transfer medium without introducing its own competing flavors.
- Confectioners’ Sugar: The fine particles increase the surface area for sweetness perception, providing a final hit of glucose that balances the savory notes of the fried batter.
The Layering Process
Step 1: Create the Emulsion
Gather all your ingredients to ensure a smooth workflow. In a large bowl, beat the eggs, sugar, and salt together. We are looking to break down the egg proteins and integrate the salt crystals. The salt begins to interact with the egg proteins, preparing them for the structural work ahead.
Step 2: Hydrate the Starches
Add the sifted flour, milk, and vanilla extract to the egg mixture. Beat the mixture until it is perfectly smooth. This step is about hydrating the flour particles completely. If the batter is lumpy, the steam will expand unevenly, causing the rosettes to crack or lose their shape during frying. Let the batter rest for a few minutes to allow any air bubbles to escape, as air pockets in the raw batter can cause blowouts in the oil.
Step 3: Calibrate the Heat
Heat about 2 inches of oil in a large, deep skillet to exactly 375 degrees F (190 degrees C). This temperature is the sweet spot; it is high enough to trigger the Leidenfrost effect, where a layer of steam protects the batter from absorbing too much oil, but low enough to prevent the sugar from burning. Place a wire rack over paper towels nearby to facilitate immediate drainage and cooling.
Step 4: Temper the Iron
Place the rosette iron in the hot oil for at least 2 minutes. This is critical because the iron needs to be hot enough to partially cook the batter the moment it touches it. If the iron is cold, the batter will simply slide off into the oil. Lift the iron and let the excess oil drain for a second so the batter can adhere properly.
Step 5: Form the Rosette
Dip the heated iron into the batter, ensuring it only reaches 1/4 inch from the top. Do not submerge the iron completely, or the cookie will wrap around the top and become impossible to remove. Immediately dip the batter-coated iron into the hot oil. You will hear a vigorous hiss as the moisture evaporates and the starches gelatinize.
Step 6: The Rapid Fry
Fry the rosette in the oil until it is crisp and lightly golden, which usually takes about 30 seconds. During this time, the proteins set and the Maillard reaction produces those honey-toned hues. Use the sensory cue of the bubbling slowing down to know when the moisture has been sufficiently removed.
Step 7: Release and Cool
Lift the iron out and tip it upside down to drain any trapped oil. Use a fork to gently push the rosette off the iron and onto the prepared wire rack. Reheat the iron in the oil for one minute between each cookie to maintain its thermal mass. Once all rosettes are fried and cooled, sprinkle them generously with confectioners’ sugar for a final layer of sweetness.
Jasmine’s Flavor Notes and Science Secrets
To achieve the ultimate flavor profile, focus on the thermal mass of your iron. If you find the batter isn’t sticking, your iron is likely too cold; if the batter cooks before you can get it into the oil, it is too hot. Maintaining that 375 degree F window is the difference between a greasy mess and a crystalline treat. You can study more about maintaining consistency in our guide on Efficient Cookie Methods.
Another secret is the ‘seasoning’ of the iron. Much like a cast-iron skillet, a well-used rosette iron develops a microscopic polymer layer that helps the cookies release. If your iron is brand new, you might need to fry a few ‘sacrificial’ cookies to get the surface ready. Also, always whisk your batter occasionally while working to prevent the starches from settling at the bottom, which would alter the thickness and texture of your Rosettes.
Scientific Flavor Swaps
While the traditional vanilla is classic, you can manipulate the aroma compounds by adding citrus zest. Lemon or orange zest contains limonene, an oil that pairs naturally with the fatty profile of the fried batter. Because limonene is volatile, it creates a bright, uplifting scent that cuts through the richness. For those interested in how seasonal flavors interact with dough, look at our research on Holiday Cookie Science.
You can also experiment with the milk component. Replacing half of the milk with heavy cream increases the fat content, resulting in a more tender, melt-in-the-mouth texture due to the interference with gluten development. Alternatively, adding a pinch of cardamom introduces cineole and terpinyl acetate, compounds that provide a spicy, cooling contrast to the warm notes of the fried flour. For more inspiration, check out this rosette variation to see how others balance these ratios.
Taste Enjoyment and Pairings
When serving Rosettes, consider the beverage pairing to enhance the sensory experience. A dark roast coffee is ideal because the bitterness of the coffee beans provides a counterpoint to the sweet confectioners’ sugar. The heat of the coffee also helps to melt the residual fats on the palate, clearing the way for the next bite. If you prefer a more technical approach to presentation, our section on Foundation Cookie Recipes covers how to plate delicate bakes for maximum visual impact.
These cookies are best enjoyed within a few hours of frying to experience the peak of their ‘snap’ texture. If you are serving them at a gathering, wait until the last possible moment to dust them with sugar. The sugar is hygroscopic, meaning it will pull moisture from the air and the cookie itself, which can lead to premature softening if left to sit too long.
The Flavor Truth
Understanding the physics of the fry and the chemistry of the batter turns making Rosettes from a guessing game into a precise culinary art. These cookies are a testament to how simple ingredients can be transformed through thermal energy and intentional layering of flavors. For those who want to master the visual side of these intricate treats, our guide on Precision Cookie Decorating offers deep insights. I would love to see your results and hear about your flavor discoveries! Share your photos with the community on Instagram, Facebook, or Pinterest and let us keep the conversation about flavor science going.
