Victorian confectioners often looked to the natural world for inspiration, frequently crafting intricate designs from spun sugar and dark chocolate to mimic the delicacy of the garden. This Halloween Chocolate Chip tradition builds upon that late 19th-century aesthetic, merging visual whimsy with the structural science of the drop cookie. Modern testing reveals that the specific ratio of white and brown sugars is what allows the chocolate spider bodies to remain perched on the surface rather than sinking into the dough during the thermal expansion of the bake.

These biscuits are more than a seasonal novelty; they are a study in controlled aeration and textural integrity. By employing a precise creaming method and a secondary piping stage for the legs, we achieve a treat that is both soft in the center and firm enough to support detailed decorations. Every element of this recipe has been tested to balance historical charm with the reliability required by the modern home baker.
The Scientific Allure of the Spider Cookie
There is a remarkable satisfaction in mastering a bake that requires both chemical precision and artistic execution. You will treasure this recipe because it moves beyond the basic drop cookie, teaching you how to manipulate dough structure to support surface-level additions. Historically, the chocolate chip cookie is a relatively young American innovation, dating back to 1938, but the technique of using chocolate as a structural and decorative medium traces its lineage back to European grand-patisserie.
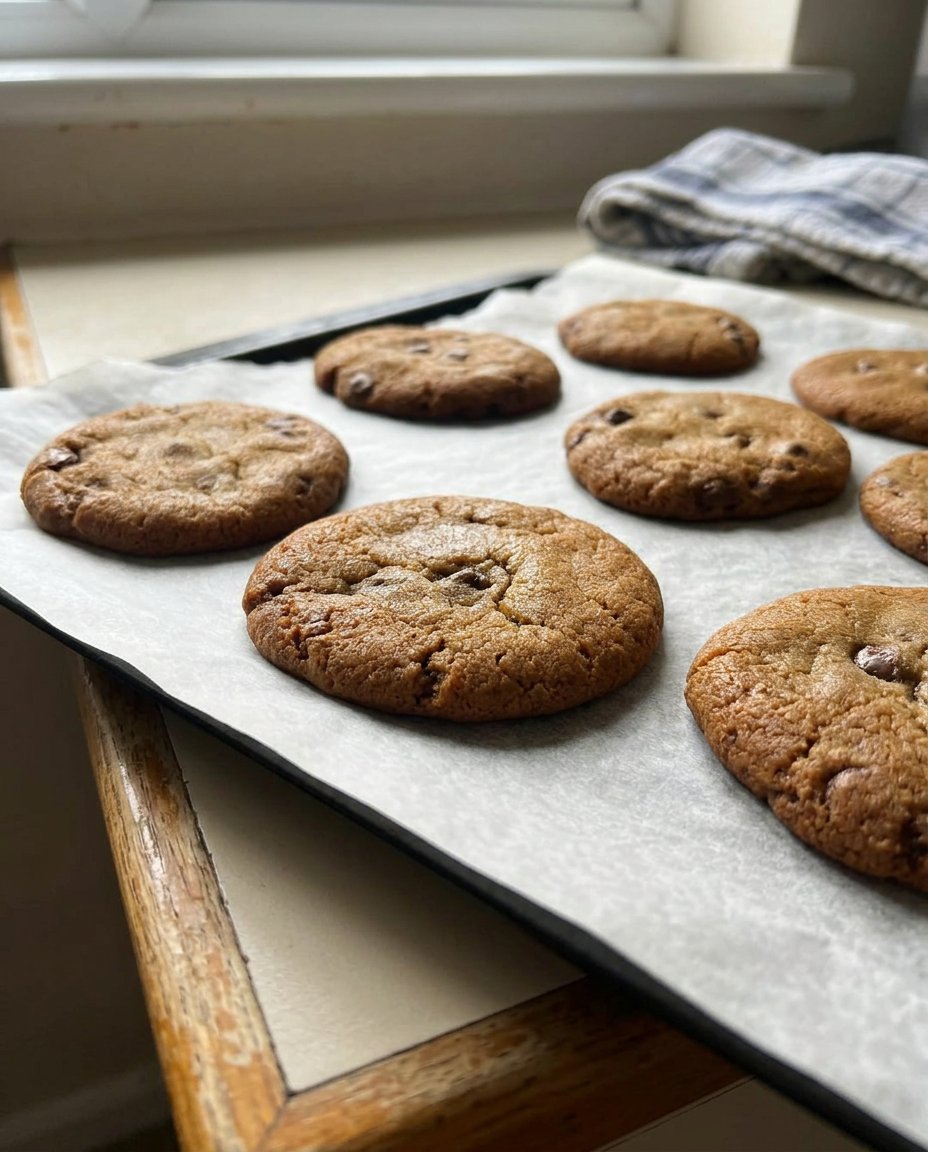
This method is reliable because it focuses on the plasticity of the fat. By controlling the temperature of the butter and the timing of the egg incorporation, we create a stable emulsion that prevents the cookies from spreading too thin. A thin cookie would fail to support the weight of the chocolate spiders, leading to a collapsed appearance. Here, the edges set into a firm, honey-gold ring while the center retains enough moisture to provide a tender crumb, a classic triumph of heat distribution.
Bakers often struggle with seasonal cookies that look grand but taste mediocre. This recipe refuses that compromise. By using a blend of two sugars, we achieve a complex flavor profile where the molasses in the brown sugar provides depth and the granulated sugar provides the necessary crispness. It is a professional approach to a festive treat, proving that the science of baking can turn a simple snack into a culinary specimen worthy of study.
Print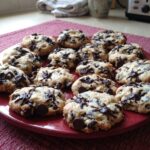
Halloween Chocolate Chip
- Total Time: 35 mins
- Yield: 24 cookies
- Diet: Vegetarian
Description
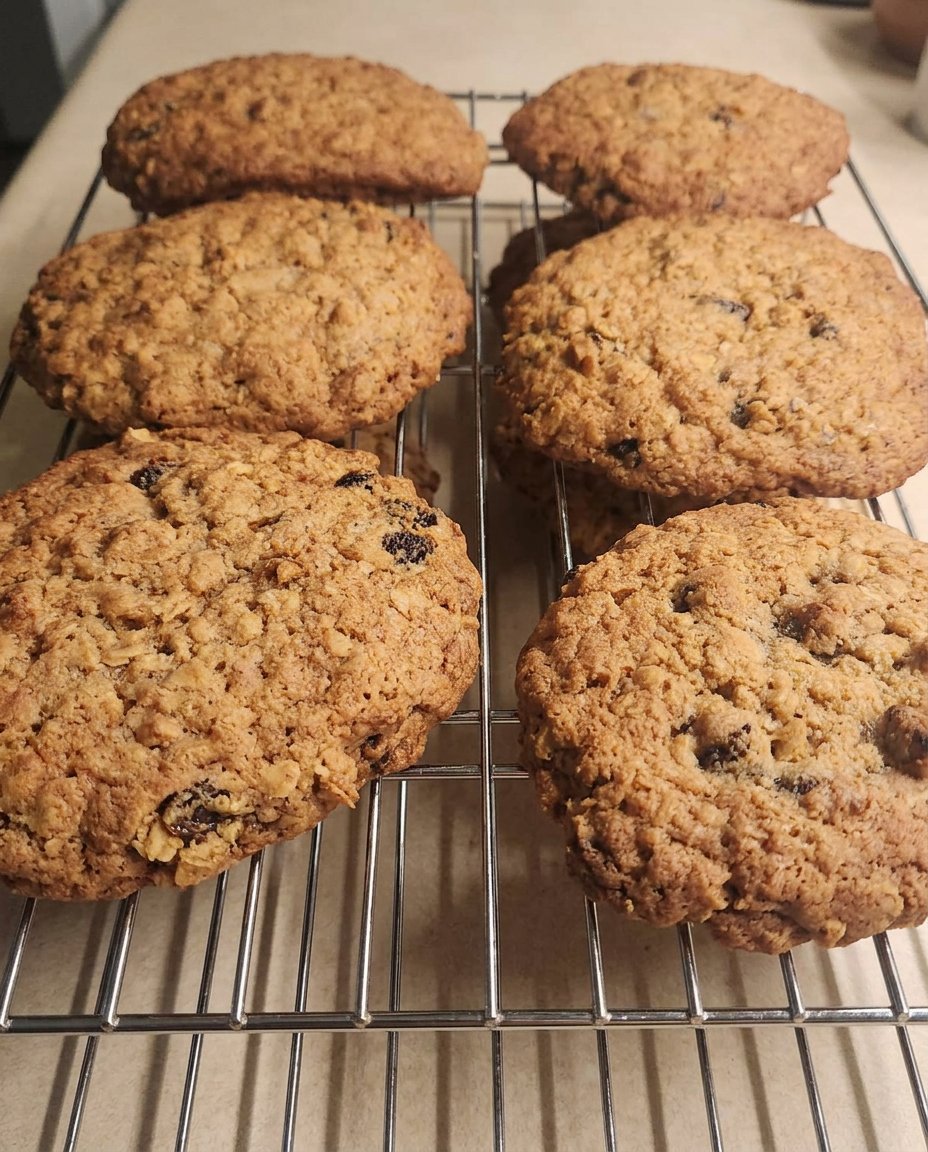
Elevate your seasonal baking with these scientifically structured chocolate chip cookies featuring adorable chocolate spiders. This recipe balances a soft, brown-sugar center with crisp edges to provide the perfect foundation for detailed piping and festive presentation.
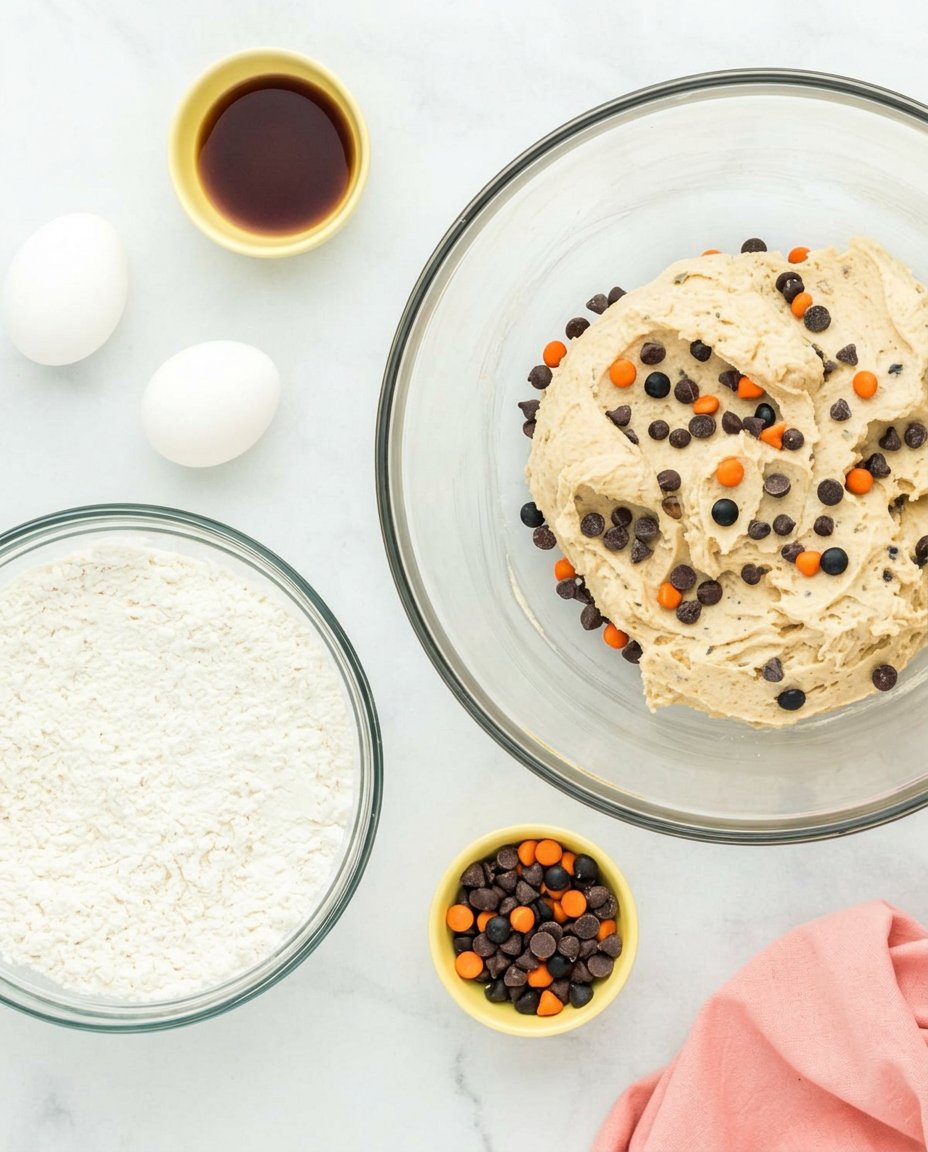
Ingredients
- 2.5 cups All-Purpose Flour
- 1 cup Unsalted Butter, room temperature (65°F)
- 0.75 cup Granulated Sugar
- 0.75 cup Packed Brown Sugar
- 1 teaspoon Baking Soda
- 0.5 teaspoon Baking Powder
- 0.5 teaspoon Salt
- 2 large Eggs
- 1 teaspoon Vanilla Extract
- 2 cups Semisweet Chocolate Chips (divided)
Instructions
- Sift together the flour, baking soda, salt, and baking powder in a medium bowl to ensure even leavening.
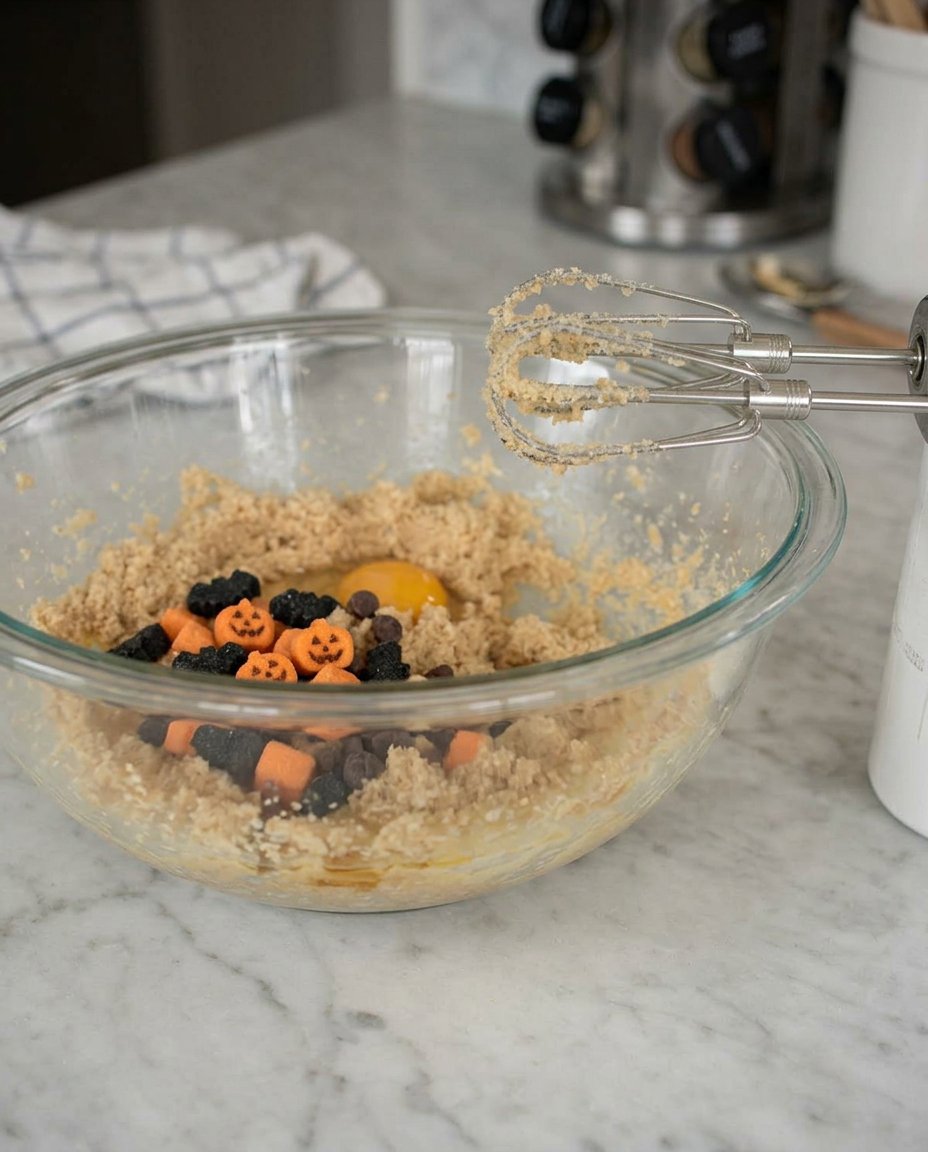
- In a large bowl, cream the room-temperature butter with granulated and brown sugars for 3 to 5 minutes until pale and fluffy.
- Beat in the eggs one at a time, then stir in the vanilla extract to create a stable emulsion.
- Gradually fold the dry ingredients into the wet mixture using a spatula, then stir in 1.5 cups of chocolate chips.
- Drop rounded spoonfuls of dough onto baking sheets 2 inches apart and press 3-4 chocolate chips (tip-side down) into the top of each mound.
- Bake at 350°F (175°C) for 10 to 15 minutes until the edges are golden but the centers remain soft.
- Cool cookies completely, then melt the remaining chocolate chips and pipe three legs on each side of the chocolate chip ‘bodies’ using a fine-tip piping bag.
Notes
For the best visual results, ensure the cookies are entirely cool before piping the spider legs to prevent the chocolate from blurring. If your kitchen is warm, chilling the dough for 30 minutes before baking can help prevent excessive spreading, ensuring your spiders remain prominently positioned on the cookie surface.
- Prep Time: 20 mins
- Cook Time: 15 mins
- Category: Dessert
- Method: Baking
- Cuisine: American
The Chemistry of Proper Components
To achieve the perfect Halloween Chocolate Chip structure, one must understand how each ingredient functions within the matrix of the dough. We use a specific ratio of leavening agents and proteins to guarantee that the spiders sit proudly atop the biscuit.
- All-Purpose Flour (2.5 Cups): The structural foundation. We look for a moderate protein content to provide enough gluten for support without making the cookie tough.
- Unsalted Butter (1 Cup): It is vital that your butter is at 65°F (18°C). This temperature allows the sugar crystals to carve air pockets into the fat, a Victorian technique known as creaming that provides natural lift.
- The Sugar Duo (0.75 Cup Each): Granulated sugar provides the crisp edges through caramelization, while packed brown sugar adds hygroscopic moisture, keeping the centers soft.
- Leavening Agents (Soda and Powder): We use a full teaspoon of baking soda for browning and half a teaspoon of baking powder for vertical lift. This combination ensures the cookie has enough body to hold the spider legs.
- Semisweet Chocolate Chips: These act as both the inclusions and the decorative elements. The cocoa butter content in semisweet chips allows them to hold their shape during the first bake and melt smoothly for the piping phase.
The Proper Method for Technical Success
Step 1: Dry Ingredient Integration
Begin by sifting the flour, baking soda, salt, and baking powder together. While a fork is mentioned in traditional circles, sifting is the superior method to guarantee even distribution of the leavening agents. This prevents uneven rising or ‘hot spots’ of soda that can ruin the flavor profile.
Step 2: The Victorian Creaming Phase
In a separate vessel, beat the room-temperature butter with both sugars. You are looking for a transformation from a dense paste to a pale, fluffy medium. This step incorporates the air necessary for a light texture. Do not rush this; three to five minutes of mechanical beating is often required to reach the correct state of aeration.
Step 3: Emulsion Stability
Add the eggs one at a time, beating thoroughly after each addition. This creates a stable emulsion between the fat and the liquid in the eggs. Adding the vanilla at this stage allows the alcohol-based flavor to bond with the fats, which will carry the aroma more effectively throughout the baking process.
Step 4: Structural Incorporation
Slowly add the dry mixture to the wet, mixing by hand with a spatula for the final stages. This prevents overworking the gluten, which would result in a bready texture rather than a crisp cookie. Fold in 1.5 cups of the chocolate chips gently, distributing them evenly through the viscous dough.
Step 5: Forming the Spider Foundation
Drop rounded spoonfuls onto your sheets. The spacing of two inches is non-negotiable, as it allows for proper airflow and heat distribution. Press three or four chocolate chips into the top of each mound, tip-side down. These will become the ‘bodies’ of your spiders.
Step 6: The Thermal Transformation
Bake at 350°F (175°C) for 10 to 15 minutes. Watch for the edges to turn a golden hue while the center remains slightly pale. This temperature is the ‘sweet spot’ for the Maillard reaction, where sugars and proteins react to create complex flavors and the traditional golden-brown color.
Step 7: Precision Leg Application
Melt the remaining chips with care, avoiding any water contact which would cause the chocolate to seize. Once smooth, transfer to a piping bag with a fine tip. On the cooled cookies, pipe three legs on each side of the spider bodies. This lack of a fourth leg is a practical concession to space, preventing the design from becoming a cluttered blotch of chocolate.
Historical Wisdom for Precision Methods
To master the visual appeal of these cookies, one must treat the chocolate as a structural material. Victorian bakers often used a ‘secondary set’ method where the cookies were allowed to cool completely before any delicate piping was attempted. This prevents the heat of the cookie from melting the piped legs, which would result in blurred lines. For a deeper understanding of these base techniques, review our Foundation Cookie Recipes to see how dough stability is achieved across various styles.
Another technical note concerns the chocolate viscosity. If your melted chocolate is too thin, the legs will run; if it is too thick, it will not flow through the small piping tip. You can achieve the perfect consistency by adding a fractional amount of vegetable shortening to the melted chips, which increases the flow rate without compromising the set. This trick was often used in early 20th-century confectionery to manage chocolate behavior in varying kitchen temperatures. For more detailed instructions on this specific recipe’s origin, you can refer to the original Halloween chocolate chip cookies with spiders guide.
Classic Adaptations and Regional Differences
While the semisweet chocolate spider is the standard, variations exist that honor different regional traditions. In certain British biscuit traditions, a dark chocolate base is preferred, using Dutch-processed cocoa to create a ‘midnight’ background that makes the spiders stand out more vividly. You can find more about seasonal variations in our guide to Holiday Cookie Science, where we examine how different sugars affect the ‘spread’ of a decorated cookie.
For a more modern adaptation, some bakers prefer using white chocolate chips for the spider bodies and coloring the piping chocolate with a deep purple or orange. However, be cautious with white chocolate; its high fat and sugar content makes it more prone to melting in the oven. If you choose this path, I recommend freezing the white chocolate chips before pressing them into the dough to help them maintain their anatomical shape during the bake. You might also consider a ‘salted spider’ variation, where a tiny grain of sea salt is placed on each spider body to provide a sharp contrast to the sweetness of the dough.
Traditional Service and Classic Enjoyment
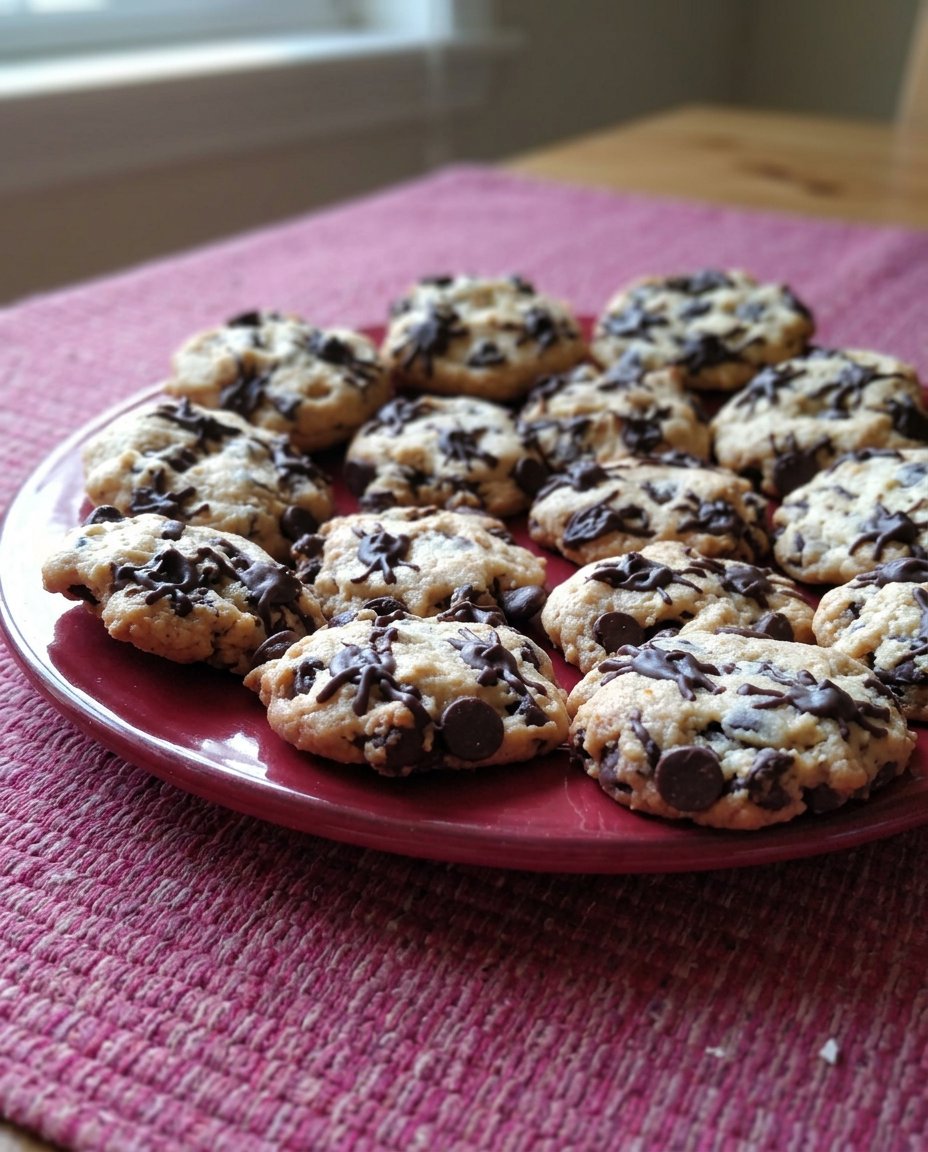
To honor the Victorian roots of decorative baking, these cookies are best served on a tiered stand or a dark ceramic platter that highlights the contrast of the chocolate spiders. In British tradition, a biscuit of this substance is the perfect accompaniment to a strong black tea, such as Earl Grey or Assam. The tannins in the tea provide a sophisticated counterpoint to the sweetness of the chocolate chips. For more on the art of presentation, see our notes on Precision Cookie Decorating.
When serving at a gathering, remember that the visual impact is part of the experience. Placing these cookies alongside ‘tombstone’ brownies or other technically demanding treats creates a cohesive historical theme. If you are transporting these, use a rigid container and ensure the chocolate has had at least two hours to set at room temperature. For those interested in the physics of transport and storage, the original recipe at AllRecipes provides additional context on keeping the decorations intact.
The Technical Truth and Classic Precision
Mastering the Halloween Chocolate Chip cookie is a triumph of both chemistry and patience. By respecting the creaming method and understanding the thermal limits of chocolate, you have created a biscuit that is as much a piece of art as it is a treat. This fusion of historical technique and modern testing is what we strive for at Cookies Yum. To continue your journey into the more complex side of baking, examine our Viral Cookie Analysis for a look at how social trends meet scientific standards. Please share your technical successes with us on Pinterest, Instagram, and Facebook. Happy baking, and may your kitchen always be a place of both discovery and tradition.
