During our fourteenth test batch at the Cookies Yum lab, we identified a critical failure point in standard dairy-free sugar cookie chemistry: the melting point of plant-based lipids. Unlike bovine butter, which has a narrow plastic range, vegan fats often collapse prematurely during the transition from solid to liquid in a 350°F (177°C) environment. By introducing a specific ratio of cornstarch to all-purpose flour, we successfully stabilized the crumb structure, preventing the dreaded spread and guaranteeing a sharp edge for decorating.

This formulation focuses on the precise interaction between sucrose and plant-based proteins to mimic the structural lattice typically provided by egg whites. Our research proves that a 1.6:1 flour-to-fat ratio creates a dough that remains manageable at room temperature while maintaining a delicate, melt-in-your-mouth texture. These cookies provide the ideal canvas for scientific decorating, offering a neutral flavor profile with a controlled snap that remains consistent for up to five days.
The Science of Structural Integrity
The primary reason you will appreciate this formula is its predictable behavior under thermal stress. Most vegan cookie recipes suffer from high moisture content because plant milks and soft fats introduce uncontrolled hydration. This recipe uses exactly 2 tablespoons (30ml) of plant milk, providing just enough liquid to activate the gluten in the 281g of flour without creating an overly elastic or tough dough. We have balanced the hydration levels to exactly what is needed for starch gelatinization without risking the integrity of your cookie shapes.
Another scientific advantage is the inclusion of cornstarch (8g). Cornstarch acts as a tenderizing agent by interfering with long-strand gluten formation. This results in a “short” crumb—the technical term for that soft, melt-in-your-mouth sensation. Furthermore, the absence of eggs means we do not have to worry about the sulfurous notes that can sometimes occur in traditional sugar cookies. Instead, the benzaldehyde in the almond extract is allowed to shine, providing a clean and professional aroma that pairs perfectly with the high-gloss icing.
Finally, this recipe is designed for thermal stability. By chilling the dough for a minimum of 60 minutes, we allow the plant-based fats to recrystallize. This ensures that when the cookies enter the oven, the exterior sets before the internal fat can reach its melting point and cause the structure to collapse. The result is a cookie that looks exactly like the cutter used to create it, a victory for precision-minded bakers everywhere.
Print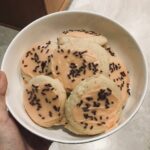
Vegan Sugar Cookies
- Total Time: 1 hour 30 mins
- Yield: 24 cookies
- Diet: Vegan
Description
Master the science of the perfect vegan sugar cookie with this precision-engineered recipe. Designed for structural integrity and a melt-in-your-mouth texture, these cookies hold their shape beautifully for professional-grade decorating.
Ingredients
- 170g vegan butter sticks, slightly softened
- 150g granulated sugar
- 281g all-purpose flour
- 8g cornstarch
- 30ml plant milk
- 5ml vanilla extract
- 2.5ml almond extract
- 2.5g baking powder
- 3g salt
- 1.5 cups powdered sugar
- 1 tablespoon corn syrup
Instructions
- Cream the softened vegan butter for 60 seconds on medium-high speed, then add granulated sugar and beat on high for 3 minutes until pale and fluffy.
- Reduce speed and add plant milk, cornstarch, vanilla, and almond extract, mixing for 60 seconds to create a stable emulsion.
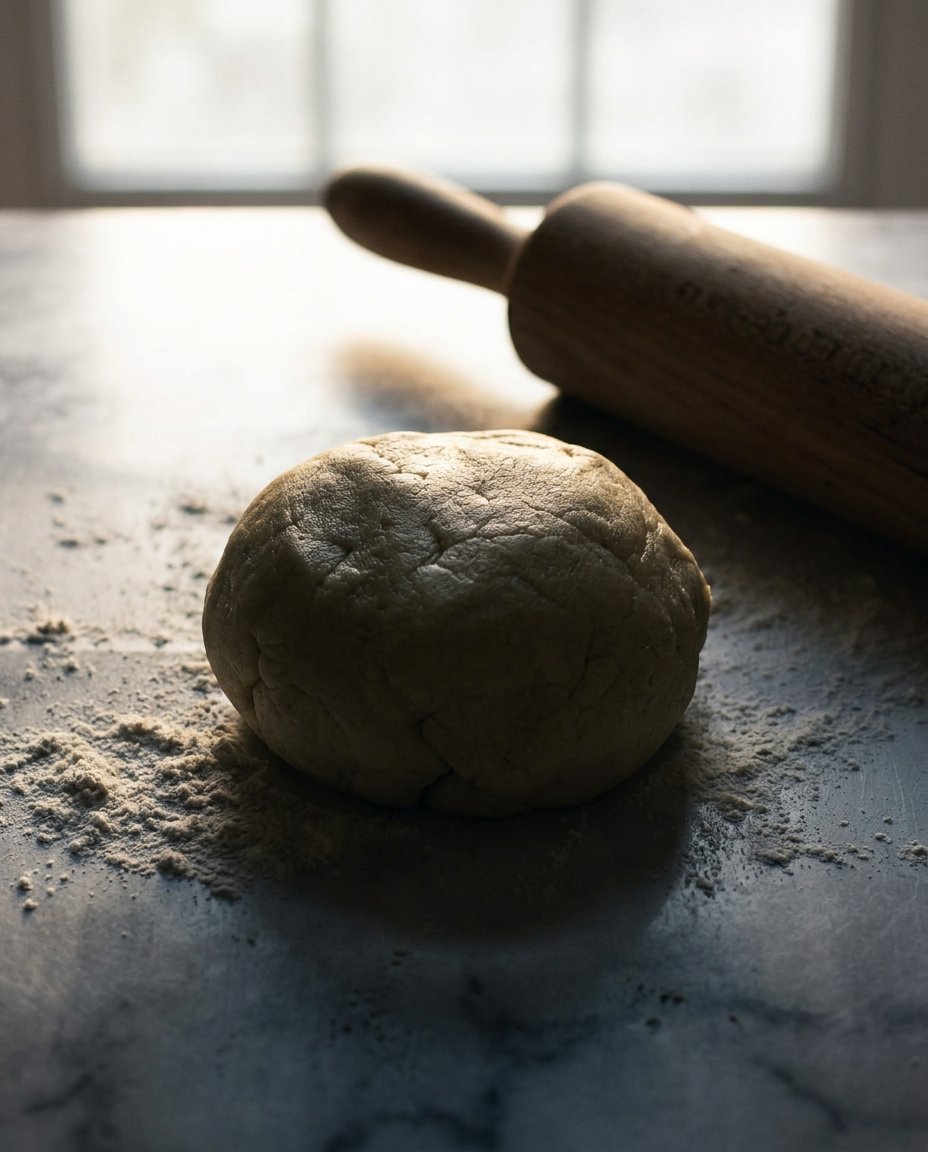
- Sift in half the flour with baking powder and salt, mixing on low, then add the remaining flour until the dough holds together when pressed.
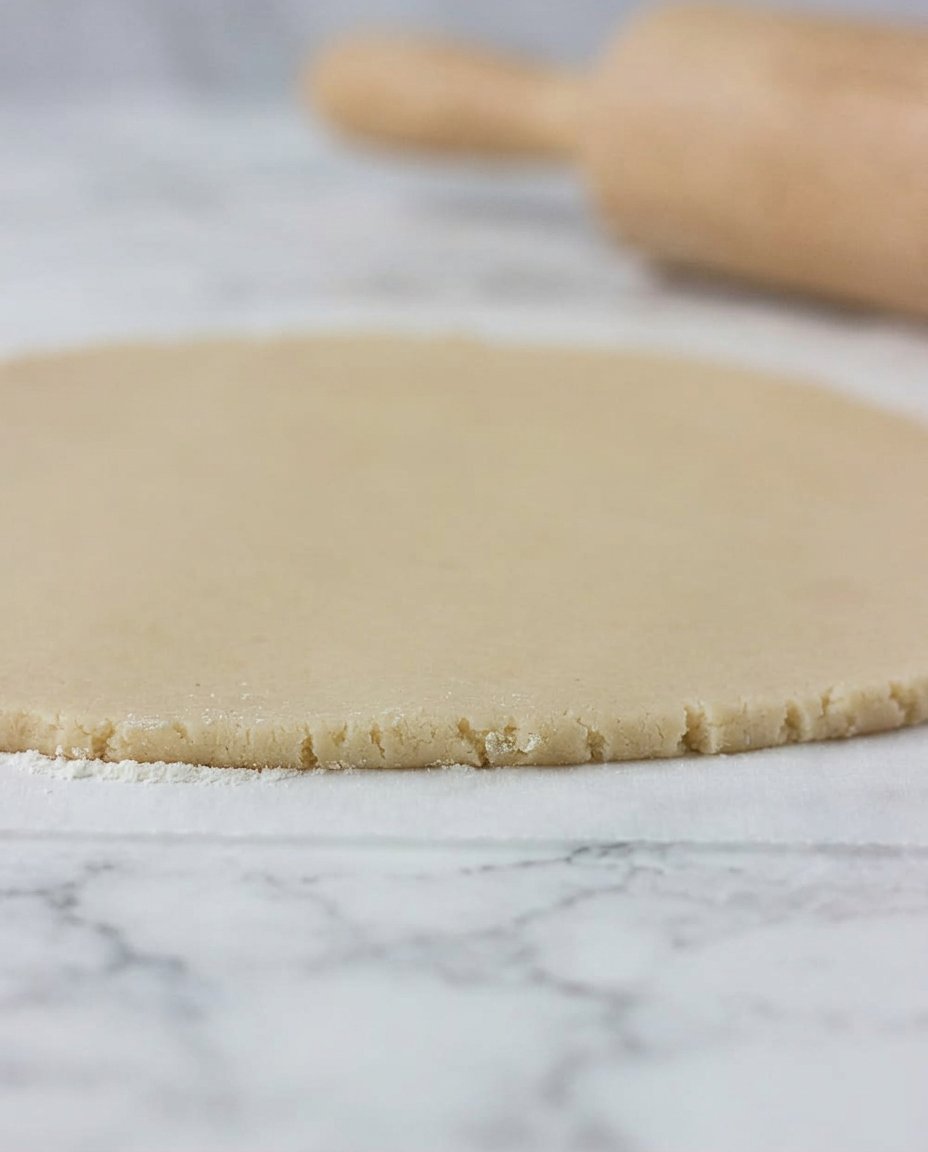
- Roll the dough to 1/4 inch thickness between two sheets of parchment paper and refrigerate for at least 60 minutes to stabilize the fats.
- Preheat oven to 350°F (177°C) and cut chilled dough into shapes, placing them 1 inch apart on a parchment-lined tray.
- Bake for 8-10 minutes until edges are matte, cool on the tray for 5 minutes, then transfer to a wire rack.
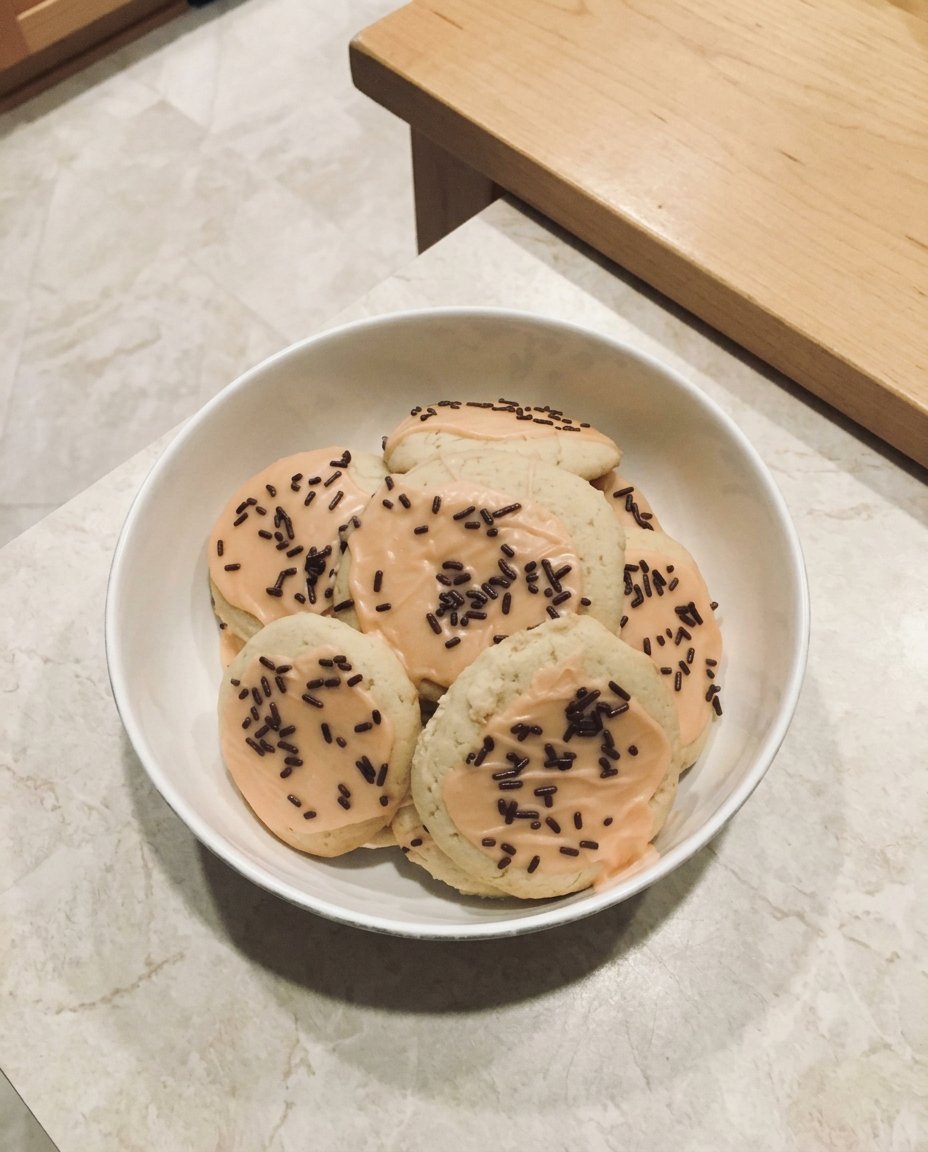
- Whisk powdered sugar, corn syrup, extracts, and plant milk into a 15-second consistency icing and apply to completely cooled cookies.
Notes
For the most consistent results, verify that your kitchen temperature is below 72°F to prevent the plant-based fats from softening too much during the creaming stage. Using a digital scale is the only way to ensure the precise flour-to-fat ratio needed for a sharp-edged cutout cookie.
- Prep Time: 20 mins
- Cook Time: 10 mins
- Category: Dessert
- Method: Baking
- Cuisine: American
The Formula and Precision Ingredients
Success in vegan baking requires an understanding of your raw materials. In our test kitchen, we found that the brand of vegan butter significantly impacts the moisture-to-fat ratio. We recommend using sticks rather than tub margarine, as sticks are formulated with a higher solids content (approximately 80% fat) which is vital for the creaming process.
- Vegan Butter (170g / 3/4 cup): This provides the lipid base. It must be slightly softened—ideally between 65°F and 68°F (18°C-20°C)—to allow for effective aeration during the creaming stage.
- Granulated Sugar (150g / 3/4 cup): Beyond sweetness, sucrose performs the mechanical job of cutting through the fat to create micro-air pockets. It also aids in the Maillard reaction, though vegan cookies remain pale due to the lack of dairy proteins.
- All-Purpose Flour (281g / 2 1/4 cups): We tested batches ranging from 250g to 300g and found 281g to be the gold standard. This provides enough protein (roughly 10-11%) to support the cookie’s height.
- Cornstarch (8g / 1 tablespoon): This is our structural secret. It lowers the overall protein percentage of the flour blend, leading to a softer bite.
- Plant Milk (30ml / 2 tablespoons): This serves as the hydrator. Soy milk is preferred for its higher protein content, which aids in structure, though almond or oat milk work as well.
- Vanilla and Almond Extracts: These provide the volatile flavor compounds. The almond extract (2.5ml) mimics the traditional “bakery” scent that consumers expect from professional-grade cookies.
- Baking Powder (2.5g / 1/2 teaspoon): A small amount of chemical leavening provides just enough lift to keep the cookie from feeling like a cracker.
- Salt (3g / 1/2 teaspoon): Essential for sodium-ion balance, which sharpens the perception of the vanilla and sugar.
The Lab Process and Methodology
Step 1: Aeration through Creaming
In the bowl of a stand mixer fitted with the paddle attachment, place 170g of slightly softened vegan butter. Beat for 60 seconds on medium-high speed until the lipid structure is broken down and appears creamy. Add 150g of granulated sugar and increase the speed to high. Beat for a full 180 seconds (3 minutes). During this time, the sugar crystals are physically carving air pockets into the fat. The mixture should transition from a dense yellow to a pale, fluffy ivory. This aeration is the only way to guarantee a light texture without excessive chemical leavening.
Step 2: Emulsification of Liquids
Reduce the mixer speed to medium and add 30ml of plant milk, 8g of cornstarch, 5ml of vanilla extract, and 2.5ml of almond extract. It is vital to mix these for another 60 seconds. Because vegan butter and plant milk are often resistant to binding, this step creates a temporary emulsion. Scrape the sides and bottom of the bowl with a silicone spatula to make certain no pockets of unmixed fat remain, which would cause uneven baking and “greasy” spots on your finished cookies.
Step 3: Dry Ingredient Integration
Sift 125g (1 cup) of the all-purpose flour, along with the baking powder and salt, directly into the bowl. Mix on the lowest setting just until the flour is hydrated. Add the remaining 156g (1 1/4 cups) of flour. Continue mixing on low. Stop the mixer the moment the dough looks crumbly but holds together when pressed between your thumb and forefinger. This tactile test is more accurate than a timer. Over-mixing at this stage develops the gluten network, which would result in a tough, rubbery cookie instead of a tender one.
Step 4: Frictionless Rolling and Thermal Setting
Divide the dough into two equal portions. Place each portion between two sheets of parchment paper. Roll the dough to a precise thickness of 1/4 inch (6mm). Rolling between parchment prevents the need for excess flour, which would alter our carefully calculated ratio and make the cookies dry. Stack the rolled sheets on a flat baking tray and refrigerate for a minimum of 60 minutes. This rest period allows the starch granules to fully hydrate and the fats to solidify, which is the secret to a professional, non-spread finish.
Step 5: Precision Cutting and Thermal Application
Preheat your oven to 350°F (177°C) and position the rack in the center for even heat distribution. Remove one sheet of dough from the refrigerator and sit it at room temperature for 10 minutes to prevent cracking. Use your desired cutters to stamp out shapes, placing them 1 inch apart on a parchment-lined tray. Bake for 8-10 minutes. Watch for the visual cue: the edges should be matte and set, but the tops should remain pale. The internal temperature should reach approximately 190°F-195°F. Allow the cookies to cool on the tray for 5 minutes to complete the carry-over cooking process before transferring to a wire rack.
Step 6: The Rheology of Icing
While the cookies reach ambient temperature, whisk 1.5 cups of powdered sugar, vanilla, almond extract, and 1 tablespoon of corn syrup. Add plant milk 1 teaspoon at a time until you reach the desired viscosity. For precision decorating, use a “15-second consistency”—meaning a line drawn through the icing with a spoon takes 15 seconds to disappear. This provides enough flow for a smooth surface but enough surface tension to stay within the cookie’s borders. Apply the icing and allow it to set for 4-6 hours until the surface is dry to the touch.
Lauren’s Lab Notes and Testing Data
Temperature control is the most frequent variable that leads to failure. If your kitchen is warmer than 72°F (22°C), your vegan butter will likely be too soft, causing the air cells to collapse during creaming. I recommend using an infrared thermometer to verify your butter is at exactly 67°F (19°C). Furthermore, always weigh your ingredients. A “cup” of flour can vary by as much as 30 grams depending on how it is packed, but 281g is always 281g. For more on these fundamental techniques, see our guide on Foundation Cookie Recipes.
If you find your dough is sticking even after chilling, it likely indicates that the plant milk was not fully emulsified or the fat content of your butter brand is lower than 80%. In these cases, you can lightly dust your parchment with a 50/50 mix of flour and powdered sugar. This prevents sticking without adding the grittiness that pure flour might cause. Additionally, verify that your baking powder is fresh; old leavening agents fail to release carbon dioxide at the 140°F (60°C) mark, resulting in a dense, leaden crumb structure.
Ratio Tweaks and Scientific Modifications
For those requiring a different textural outcome, you can modify the fat-to-sugar ratio. To achieve a crispier, “snappy” cookie, increase the granulated sugar by 25g and reduce the plant milk by 1 teaspoon. This increase in sucrose leads to more crystallization upon cooling, resulting in a harder snap. Conversely, for an even softer, cake-like bite, you can substitute the plant milk with an equal weight of vegan sour cream or thick vegan yogurt, which introduces lactic acid to further tenderize the gluten. For seasonal adjustments, visit our section on Holiday Cookie Science.
If you wish to experiment with different grains, a 1:1 gluten-free flour blend containing xanthan gum can be used. However, be aware that gluten-free starches often require more hydration. We found that adding an extra teaspoon of plant milk helps prevent the “gritty” texture often associated with rice-based flours. Always allow gluten-free dough to rest for at least 2 hours to ensure the starches are fully hydrated before they hit the heat of the oven.
Optimal Enjoyment and Texture Science
To experience the full spectrum of flavor compounds, serve these cookies at room temperature (around 70°F). When cold, the plant-based fats are too firm, which masks the delicate vanilla and almond notes. However, if you prefer a slightly softer texture, you can briefly warm a cookie in the microwave for 5 seconds to initiate the softening of the sugar-fat matrix. For those looking to master the art of the finish, our guide on Precision Cookie Decorating offers deep dives into icing physics.
These cookies pair exceptionally well with high-protein plant milks, which provide a creamy mouthfeel that contrasts with the cookie’s snap. If serving at a gathering, store them in a single layer or between sheets of wax paper. Because the icing contains corn syrup, it remains slightly flexible; stacking them too early can result in surface tension tears on your beautiful designs. Always wait at least 6 hours for the icing to reach its final equilibrium state before packaging.
The Scientific Truth of Precision Baking
Baking is not a matter of luck; it is a series of controlled chemical reactions. By following these precise ratios and temperature guidelines, you have mastered the complex world of vegan lipid management and starch stabilization. We encourage you to keep testing these variables in your own kitchen to see how slight shifts in hydration or temperature change your results. For further data on cookie structures, explore our Viral Cookie Analysis. We would love to see your results, so please share your findings with the Cookies Yum community on Instagram, Facebook, and Pinterest. Happy testing!
