The historical evolution of Gingerbread Cookies reflects a fascinating transition from the dense, honey-sweetened breads of medieval Europe to the refined, molasses-heavy biscuits popularized in the 19th century. Victorian bakers recognized that the acidity in molasses reacted specifically with potash—or modern baking soda—to create a leavening lift that yielded a tender crumb. This recipe honors that chemical heritage, focusing on the structural integrity required for precise shapes without sacrificing the soft, spiced interior that defines the classic holiday tradition.

In our modern test kitchen, we have confirmed what ancestral bakers knew intuitively: time is a critical ingredient for the perfect dough. By allowing a mandatory three-hour rest, the flour proteins fully hydrate and the potent blend of ginger and cinnamon permeates the fat molecules for a superior flavor profile. These Gingerbread Cookies represent a methodical approach to festive baking, where scientific precision meets the warmth of historical spice ratios.
The Tradition of the Perfect Holiday Spice
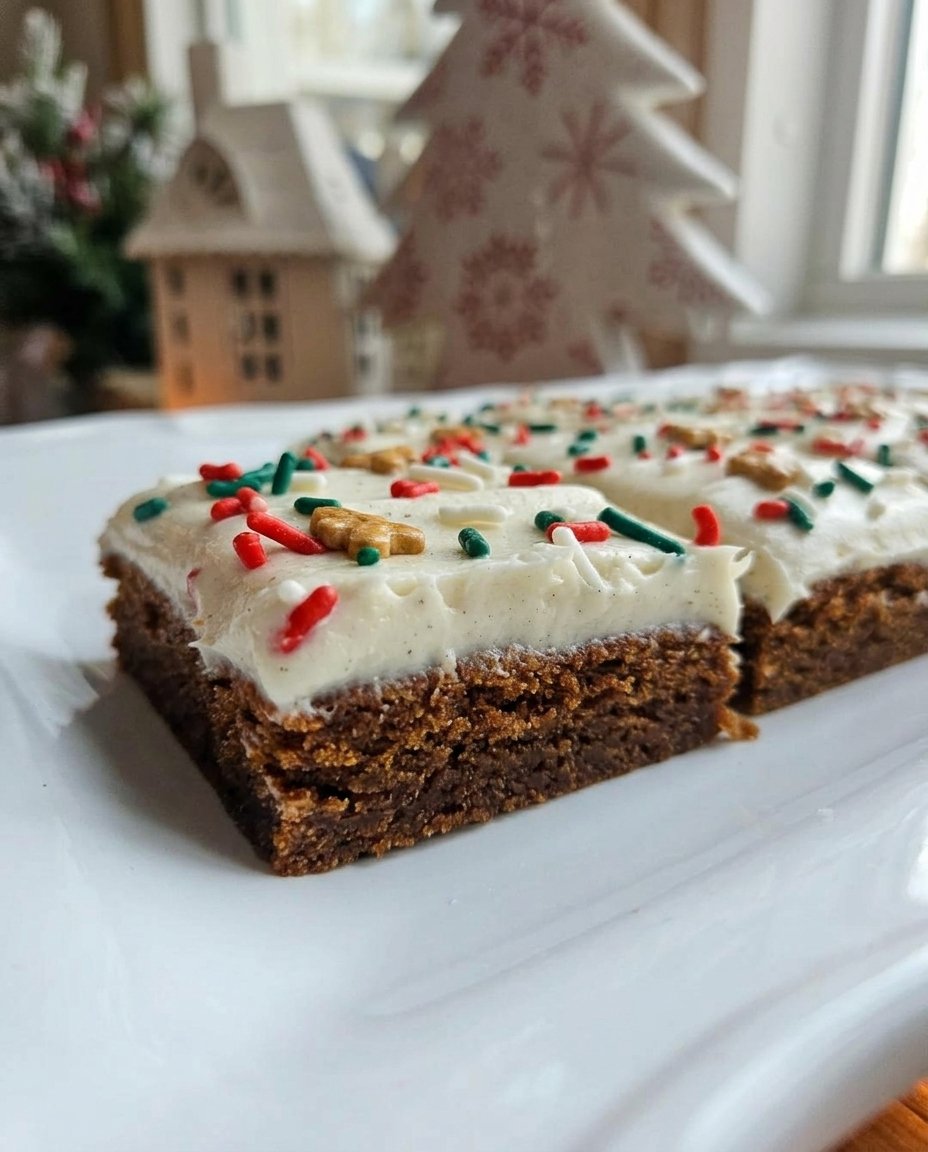
You will find that these Gingerbread Cookies provide a remarkable balance between the structural strength needed for ornate cutters and the soft, melting texture desired in a dessert. Historically, ginger was a prized commodity, and its generous use in these biscuits was a sign of hospitality and celebration. Our formula uses a full tablespoon of both ground ginger and ground cinnamon to achieve a depth of flavor that is often missing in contemporary, diluted versions.
The science behind the molasses is equally compelling; it acts as a humectant, drawing moisture from the air to keep the cookies soft for days after baking. Unlike thinner, crisper ginger snaps, this traditional method produces a substantial cookie that carries the weight of royal icing or buttercream with ease. It is a reliable standard that has remained a favorite because it treats the ingredients with the respect their history deserves. By following this methodical process, you are participating in a baking lineage that spans centuries, resulting in a cookie that is as technically sound as it is delicious.
Print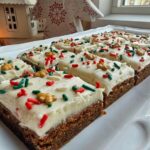
Gingerbread Cookies
- Total Time: 3 hours 30 mins
- Yield: 24 cookies
- Diet: Vegetarian
Description
This traditional gingerbread recipe yields a perfectly spiced cookie with enough structural integrity for intricate shapes and a tender, soft interior. By utilizing a high molasses content and a mandatory hydration rest, these biscuits achieve a deep, caramel-like flavor and long-lasting freshness.
Ingredients
- 440g All-Purpose Flour
- 1 teaspoon Baking Soda
- 1/2 teaspoon Salt
- 1 Tablespoon Ground Ginger
- 1 Tablespoon Ground Cinnamon
- 1/2 teaspoon Ground Allspice
- 1/2 teaspoon Ground Cloves
- 142g Unsalted Butter, softened
- 150g Brown Sugar
- 160ml Unsulphured Molasses
- 1 Large Egg, room temperature
- 1 teaspoon Pure Vanilla Extract
Instructions
- Whisk together the flour, baking soda, salt, ginger, cinnamon, allspice, and cloves in a large bowl to aerate and distribute spices.
- In a stand mixer with a paddle attachment, cream the softened butter for one minute, then add brown sugar and molasses and beat until smooth.
- Incorporate the egg and vanilla extract, beating on high speed for two minutes until a thick emulsion forms.
- Turn the mixer to low and gradually add the dry ingredients, mixing only until the white streaks of flour disappear.
- Divide the dough into two discs, wrap in plastic, and refrigerate for at least three hours or overnight to hydrate the flour.
- Preheat oven to 350°F (177°C) and roll the chilled dough on a floured surface to 1/4-inch thickness before cutting into shapes.
- Bake for 9-10 minutes, then let the cookies rest on the baking sheet for five minutes before moving to a cooling rack.
Notes
For the smoothest emulsion, ensure your egg and molasses are at room temperature so they do not cause the creamed butter to seize. If your kitchen is warm, rolling the dough between sheets of parchment paper prevents it from sticking without the need for excessive flour dusting.
- Prep Time: 3 hours 20 mins
- Cook Time: 10 mins
- Category: Dessert
- Method: Baking
- Cuisine: Holiday Tradition
Proper Components for Structural Success
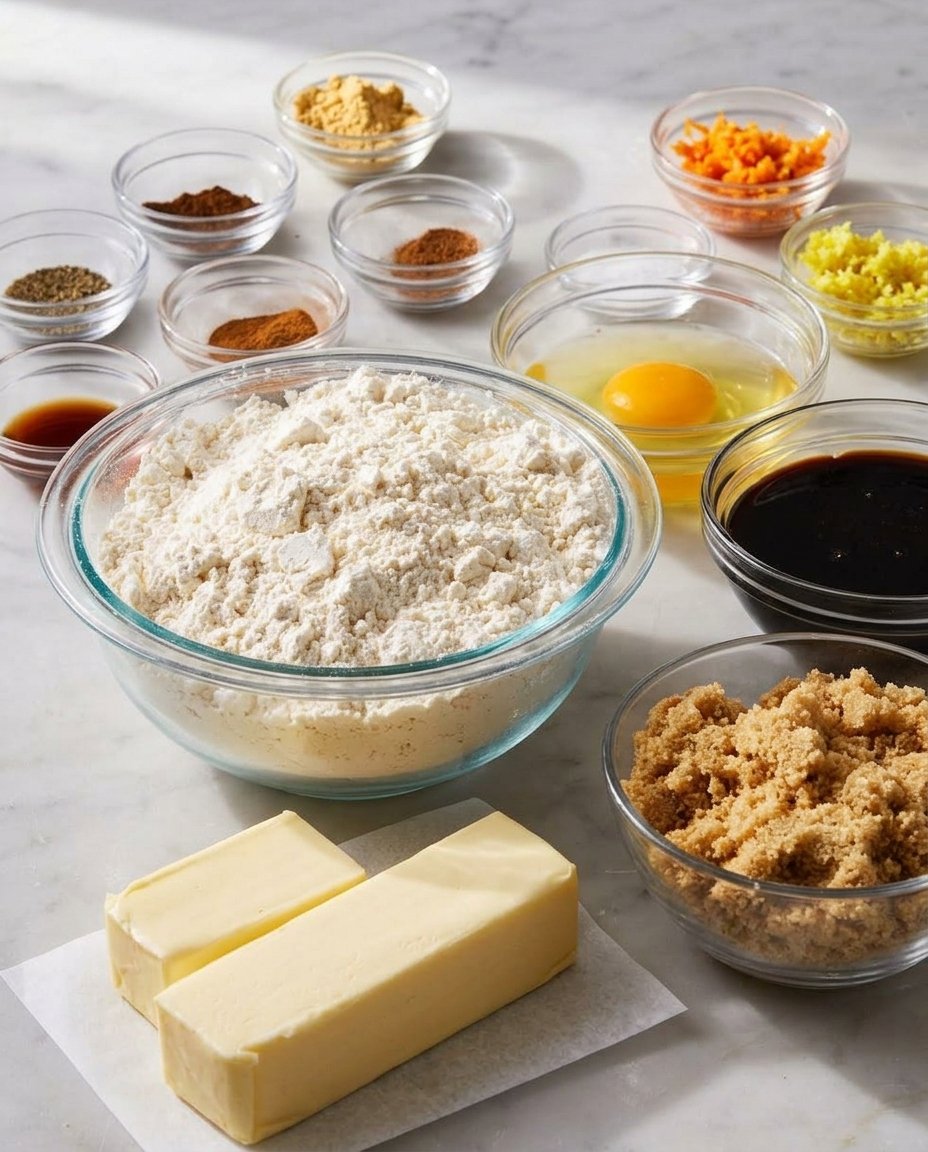
Selecting the correct ingredients is the foundation of any technical bake, particularly when dealing with the high-sugar and high-acid environment of a molasses dough. Each element in this recipe serves a specific chemical purpose in the final architecture of the cookie.
- All-Purpose Flour (440g): This provides the gluten framework. It is essential to use the spoon-and-level method or a kitchen scale to avoid an overly dry, crumbly biscuit.
- Baking Soda (1 teaspoon): This alkaline agent reacts with the acidic molasses to produce carbon dioxide, providing a gentle lift and a softer bite.
- Ground Ginger and Cinnamon (1 Tablespoon each): These high volumes are traditional for the 1800s style, ensuring the spices are the primary focus rather than a secondary note.
- Unsalted Butter (142g): Softened to room temperature, the butter coats the flour proteins to limit gluten development, which results in a tender rather than tough cookie.
- Unsulphured Molasses (160ml): Avoid blackstrap molasses, as its bitter mineral content and extreme acidity can disrupt both the flavor and the leavening balance. We prefer a dark, unsulphured variety for a rich, caramel-like sweetness.
- Large Egg: Acts as the primary binder, providing the lecithin necessary to emulsify the fats and liquids into a stable dough.
The Proper Method for Traditional Gingerbread
Step 1: Aerating the Dry Components
In a large mixing bowl, whisk together the all-purpose flour, baking soda, salt, ginger, cinnamon, allspice, and cloves. This step is not merely for mixing; it breaks up any clumps in the spices and aerates the flour to ensure even distribution of the leavening agent. Precise distribution prevents ‘hot spots’ of baking soda that can cause uneven rising or metallic aftertastes.
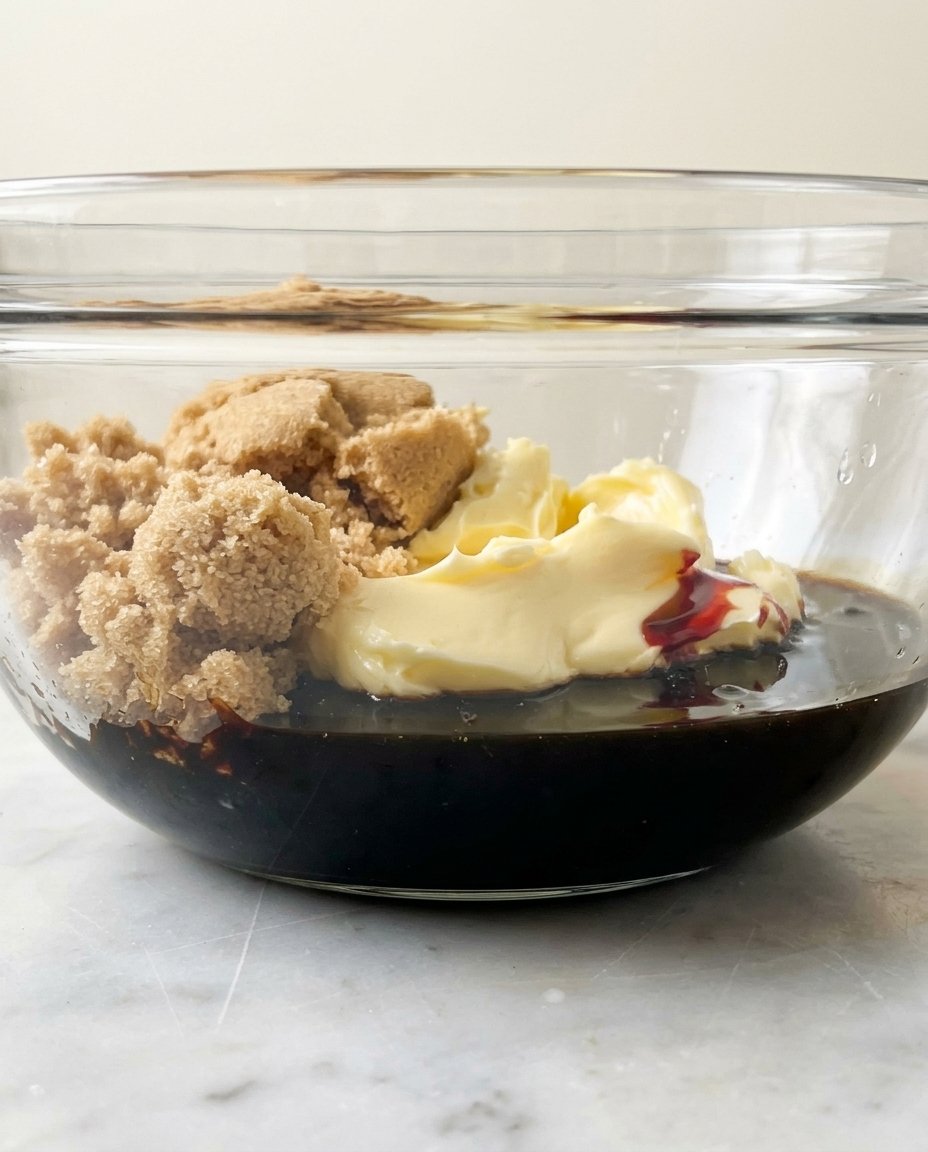
Step 2: Emulsifying the Fats and Sugars
Using a stand mixer fitted with the paddle attachment, cream the softened butter on medium speed for exactly one minute until it reaches a smooth, pale consistency. Add the brown sugar and molasses, then increase the speed to medium-high. Scrape the bowl thoroughly. It is vital to integrate the molasses fully at this stage to create a homogenous base for the flour.
Step 3: Incorporating the Binding Agents
Add the room-temperature egg and the pure vanilla extract. Beat on high speed for two full minutes. During this process, the mixture may appear to separate or curdle; this is a natural reaction as the water in the egg attempts to bond with the butter fat. Continued beating will build the emulsion back into a thick, creamy state. This step provides the air cells that the baking soda will later expand.
Step 4: The Low-Speed Integration
Turn the mixer to its lowest setting and gradually add the flour mixture. Mix only until the white streaks of flour disappear. Over-mixing at this stage will develop the gluten, leading to a tough, bread-like texture rather than a tender biscuit. The resulting dough should be thick and slightly tacky to the touch.
Step 5: The Hydration Rest
Divide the dough into two equal portions and wrap them tightly in plastic wrap, pressing them into flat discs. These discs must chill for a minimum of three hours, though an overnight rest is preferable. This ‘cold cure’ allows the starch granules in the flour to fully absorb the liquid from the egg and molasses, making the dough much easier to handle and preventing excessive spreading in the oven.
Step 6: Precision Rolling and Shaping
Preheat your oven to 350°F (177°C) and line your sheets with parchment paper. On a generously floured surface, roll the chilled dough to a consistent 1/4-inch thickness. If the dough cracks, it is simply because it is cold; use the warmth of your fingers to heal any fissures. Rotate the dough frequently to prevent sticking. Cut your shapes and place them one inch apart on the prepared sheets.
Step 7: The Controlled Bake
Bake for 9-10 minutes for standard four-inch cookies. You are looking for the edges to be set and the centers to appear slightly dull rather than shiny. If you prefer a crunchier, more Victorian-style ginger biscuit, extend the time by two minutes. Allow the cookies to rest on the hot sheet for five minutes before transferring them to a cooling rack to finalize their structure.
Historical Wisdom for Modern Precision
One of the most common issues with these Gingerbread Cookies is the dough sticking during the rolling process. Victorian bakers often used marble slabs because the cold surface kept the butter in the dough from melting. If your kitchen is warm, roll the dough between two sheets of parchment paper to avoid adding too much extra flour, which can toughen the final product. For more information on maintaining dough integrity, refer to our Foundation Cookie Recipes guide.
Another technical detail involves the molasses. The moisture content of molasses can vary by brand. If your dough feels excessively sticky even after chilling, you can lightly dust your rolling pin with cornstarch instead of flour. This provides a slick surface without altering the protein-to-fat ratio of the dough. Remember that the temperature of your egg is also paramount; a cold egg will seize the creamed butter, breaking the emulsion you worked so hard to build in Step 2.
Regional Adaptations and Tested Variations
While the base recipe is rooted in British traditions, there are several regional variations you can test. For a more pungent, Northern European profile, you can replace the allspice with ground cardamom or a pinch of black pepper. This adds a sophisticated heat that pairs beautifully with the dark molasses. For those interested in the chemistry of holiday treats, our look at Holiday Cookie Science explains how different spices affect dough pH.
If you require a sturdier biscuit for architectural purposes, such as a gingerbread house, you must reduce the butter content by 20% and increase the flour. This version, however, is designed for eating, prioritizing a soft, yielding texture. You might also consider a citrus variation by adding the zest of one orange to the sugar during the creaming stage, which highlights the floral notes in the ginger.
Traditional Service and Classic Enjoyment
Historically, Gingerbread Cookies were served with a strong black tea or a glass of cold milk to balance the intensity of the spices. For a formal presentation, they can be decorated with a simple royal icing made from egg whites and confectioners’ sugar, which provides a crisp, sweet contrast to the deep, earthy molasses. If you are new to piping, we have a detailed walkthrough on Precision Cookie Decorating to help you master the traditional outlines.
In the late 19th century, it was also common to serve these with a lemon glaze. The acidity of the lemon cuts through the richness of the butter and molasses, creating a bright flavor profile. For modern gatherings, these cookies are a sturdy addition to a holiday dessert board, standing up well against softer items like chocolate truffles or fruit preserves.
The Technical Truth of Festive Baking
Mastering the Gingerbread Cookie is a rite of passage for any serious home baker. It requires a respect for the chemistry of leavening and the patience to allow the dough its necessary rest. By following these methodical steps, you produce a biscuit that is steeped in history and validated by modern testing. For more technical insights into maximizing your kitchen output, visit our guide on Efficient Cookie Methods. We invite you to share your results with our community of dedicated bakers on Pinterest, Instagram, and Facebook.

