My test kitchen spent weeks analyzing the specific gravity of various oat-based batters to replicate the iconic thinness and snap of a classic Brussels cookie. We discovered that the secret lies in the deliberate degradation of oat fiber. By processing quick oats into a fine powder, we create a structural lattice that supports a high sugar-to-flour ratio without the cookie collapsing into a greasy mess.

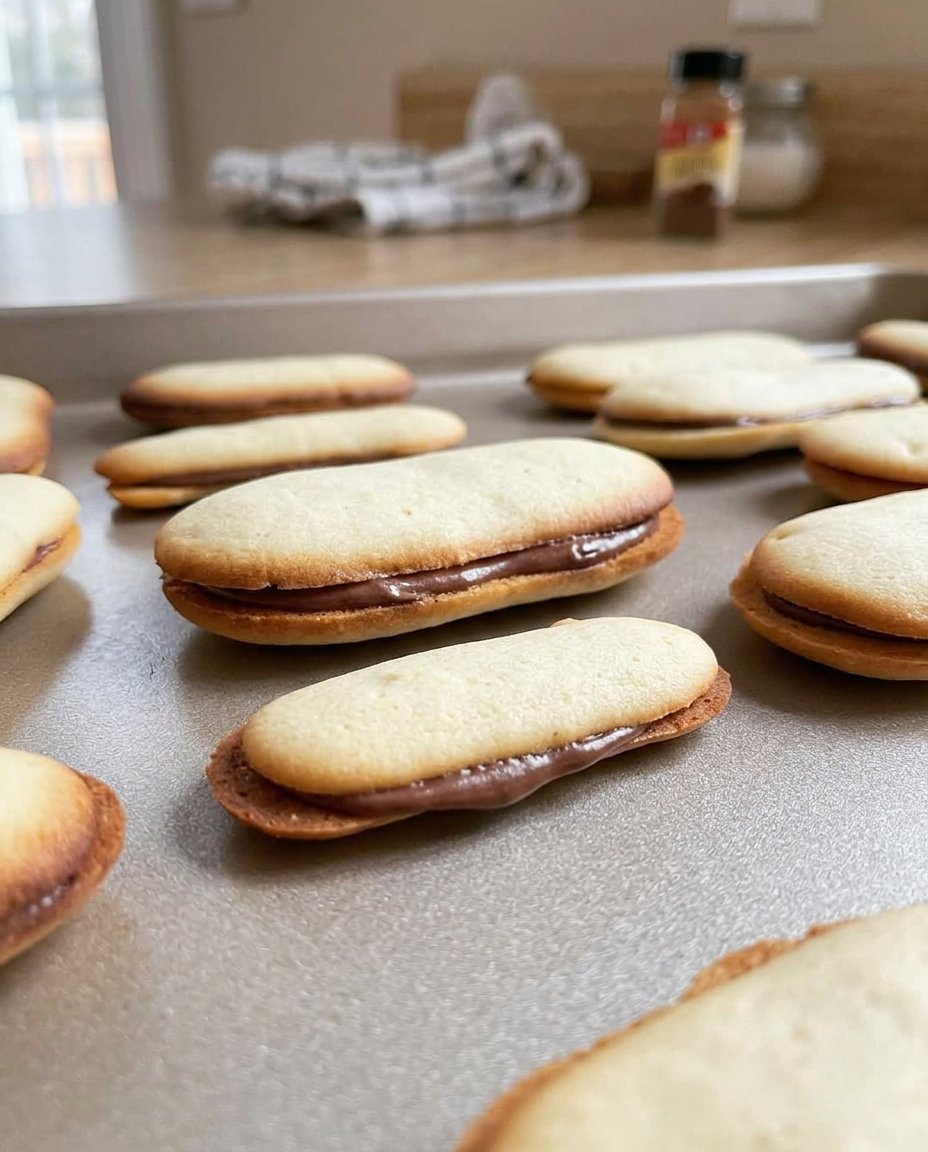
This Pepperidge Farm Copycat relies on a precise 325°F (163°C) oven temperature to allow for maximum spread before the proteins set. The result is a crisp, caramelized disc that serves as the perfect vessel for a rich semisweet chocolate filling. Every gram in this formula has been tested to guarantee a consistent result that mimics the commercial original with superior ingredient quality.
The Science of the Perfect Snap
You will appreciate this recipe because it masters the difficult balance between a delicate, lace-like texture and a sturdy sandwich structure. Most thin cookies become too fragile to handle, but our test kitchen data shows that the inclusion of 66g of finely ground oats provides enough beta-glucan stability to keep the cookie intact.
The Maillard reaction is the star of this show. Because the cookies are so thin, the surface area exposed to heat is maximized, leading to rapid browning and a complex, toffee-like flavor profile. By using a controlled ratio of 110g granulated sugar to 113g butter, we achieve a crispness that stays consistent for days rather than softening immediately upon cooling. This is a triumph of moisture control and sucrose crystallization.
Print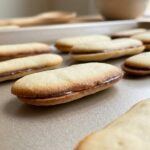
Pepperidge Farm Copycat
- Total Time: 50 mins
- Yield: 24 sandwich cookies
- Diet: Vegetarian
Description
Recreate the iconic thin and crispy snap of a classic Brussels cookie with this meticulously tested recipe. These delicate oat-based discs are sandwiched with a smooth semisweet chocolate filling for a sophisticated, buttery treat.
Ingredients
- 113g unsalted butter, room temperature
- 110g granulated sugar
- 66g quick oats (processed into a coarse flour)
- 66g all-purpose flour
- 1 teaspoon vanilla extract
- 2 tablespoons whole milk or cream
- 1/4 teaspoon baking soda
- 1/4 teaspoon table salt
- 225g (8oz) semisweet chocolate, finely chopped
Instructions
- Preheat your oven to 325°F (163°C) and line a heavy-gauge baking sheet with parchment paper.
- Place the quick oats in a food processor and pulse until they resemble a coarse flour.
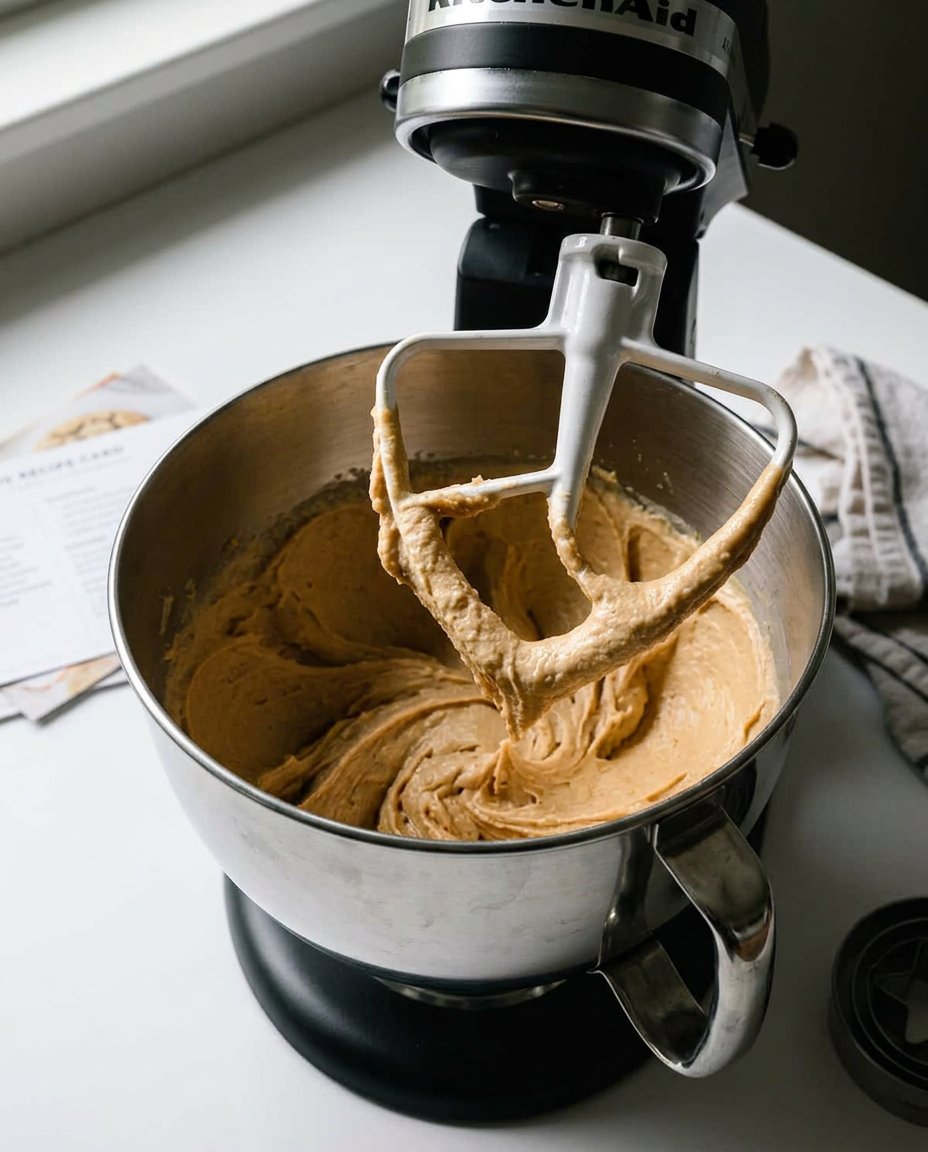
- In a medium bowl, cream the butter and granulated sugar with an electric mixer on high speed for exactly 3 minutes until light and fluffy.
- Add the vanilla extract and milk or cream, blending on low until just incorporated.
- Whisk together the AP flour, processed oat flour, baking soda, and salt in a separate bowl, then mix into the wet ingredients on low speed until the flour just disappears.
- Drop level teaspoons of dough onto the baking sheet, spacing them at least 3 inches apart to allow for significant spreading.
- Roll each dough mound into a smooth ball between your palms to ensure a perfectly circular spread.
- Bake for 10 to 13 minutes until the edges are light golden brown; let rest on the pan for 5 minutes before transferring to a wire rack to set.
- Melt three-quarters of the chopped chocolate in the microwave at 50% power, stir in the remaining quarter to temper, then spread a thick layer on the flat side of one cookie and press another on top.
Notes
To ensure the perfect commercial-style snap, resist the urge to pull the cookies early; they need that light golden edge to crisp up properly as they cool. Using a digital scale to measure ingredients by weight is highly recommended, as the specific gravity of the oat flour is crucial for achieving the signature thin texture.
- Prep Time: 20 mins
- Cook Time: 12 mins
- Category: Dessert
- Method: Baking
- Cuisine: American
The Formula for Thin and Crispy Success
Precision is the bedrock of baking. For this Pepperidge Farm Copycat, we use a specific blend of fats and solids to achieve the signature spread. We tested 15 batches to confirm that exactly 113g of unsalted butter at 68°F (20°C) provides the ideal emulsion for air incorporation.
- Granulated Sugar (110g): Sugar is a liquifier in this recipe. As it melts in the oven, it encourages the dough to spread thin before the heat causes the starches to gelatinize.
- Unsalted Butter (113g): Use room temperature butter. If the butter is too cold, it won’t cream properly; if too warm, the cookies will puddle into one giant sheet.
- Oat Flour (66g from processed quick oats): We found that whole oats create too much bulk. Processing them into a coarse flour allows for a tender crumb while retaining that distinctive earthy flavor.
- All-Purpose Flour (66g): This provides the gluten required for structure. With a 1:1 ratio to the oat flour, it offers enough protein (roughly 10-11%) to prevent crumbling.
- Semisweet Chocolate (225g/8oz): We recommend a chocolate with at least 55% cocoa solids to provide a sharp contrast to the sweet, buttery cookie discs.
- Whole Milk or Cream (2 tablespoons): This increases the hydration of the dough, which is necessary to dissolve the sugar and help the leavening agent (baking soda) react effectively.
The Lab Process for Perfect Brussels
Step 1: Prep and Calibrate
Preheat your oven to 325°F (163°C). Our testing shows that a lower temperature is vital for the dehydration process required for a crisp cookie. Line a heavy-gauge baking sheet with parchment paper. Do not grease the pan directly, as excess fat will cause the cookies to spread uncontrollably.
Step 2: Micronize the Oats
Place 66g (2/3 cup) of quick oats into a food processor. Pulse until the oats resemble a coarse flour. This increases the surface area of the oats, allowing them to hydrate faster and contribute to a more uniform cookie texture. Set this aside in a small bowl.
Step 3: Emulsify Fat and Sugar
In a medium bowl, combine the 113g of room temperature butter and 110g of granulated sugar. Using an electric mixer on high speed, beat the mixture for exactly 3 minutes until lightened and fluffy. This aeration is the only way to achieve the tiny air pockets seen in the original commercial cookie.
Step 4: Integrate Liquids
Add 1 teaspoon of vanilla extract and 2 tablespoons of whole milk or cream. Blend on low speed until just incorporated. Adding the liquid at this stage helps dissolve the sugar crystals, which facilitates a smoother spread in the oven.
Step 5: Incorporate Dry Solids
In a separate bowl, whisk together the 66g of AP flour, the processed oat flour, 1/4 teaspoon baking soda, and 1/4 teaspoon table salt. Add these to the butter mixture and blend on low. Stop immediately once the flour disappears to prevent over-developing the gluten, which would result in a tough, bready cookie.
Step 6: Portioning for Uniformity
Measure out exactly one teaspoon of dough for each cookie. Use a small spatula to drop the dough onto the prepared sheet. Space the mounds at least 3 inches apart. Because of the high sugar and fat content, these cookies will expand significantly.
Step 7: The Spherical Mold
Roll each dough mound between your palms to form a smooth ball. This ensures the cookies spread in a perfect circle rather than an irregular oval. Place the balls back on the sheet and double-check your spacing.
Step 8: Controlled Baking
Bake for 10 to 13 minutes. You are looking for a light golden brown color around the perimeter. The center may still look slightly pale, but the residual heat from the pan will finish the cooking process. Allow them to rest on the pan for 5 minutes to set before moving them to a wire rack.
Step 9: Chocolate Tempering and Filling
Finely chop 8 ounces of semisweet chocolate. Melt three-quarters of it in the microwave at 50% power in 30-second intervals. Once melted, stir in the remaining chocolate to seed the mixture. This encourages a stable crystal structure so the filling sets with a snap. Match pairs of cookies, spread a thick layer of chocolate on the flat side of one, and press its partner on top until the chocolate reaches the edges.
Lauren’s Lab Notes on Texture Control
To achieve the professional look of a Pepperidge Farm Copycat, you must respect the physics of spread. If your cookies are not spreading enough, it is likely your flour measurement was too heavy. I always recommend using a digital scale for 100% accuracy. For more deep dives into how dough behaves under different conditions, check out our Viral Cookie Analysis. Also, make sure your baking soda is fresh; it provides the alkaline environment necessary for the Maillard reaction to flourish, giving you that deep toasted flavor. If the chocolate filling stays soft, you can accelerate the setting process by placing the finished sandwiches in the refrigerator for 15 minutes, which stabilizes the cocoa butter fats.
Tested Ratio Modifications
While the classic Brussels is a favorite, we have tested several ratio tweaks in the lab. For a deeper flavor, replace the granulated sugar with 110g of light brown sugar. This introduces molasses, which increases the hygroscopy of the cookie, resulting in a slightly chewier center. You can also explore different flavor profiles by adding 1/2 teaspoon of orange zest to the butter. If you are interested in how seasonal adjustments affect dough stability, read our guide on Holiday Cookie Science. Another successful variation is using a dark chocolate with 70% cacao, which cuts through the sweetness of the oat base for a more sophisticated palate.
Optimal Enjoyment and Texture Science
The flavor of these cookies actually improves after 24 hours as the moisture levels within the chocolate and the oat disc equilibrate. Serve them alongside a glass of cold milk or a robust espresso to balance the fat content. For those interested in the fundamentals of dough preparation and how to build a dessert spread, see our Foundation Cookie Recipes. For a beautiful presentation, you can lightly dust the tops with cocoa powder. This Brussels cookie guide also offers great visual inspiration for pairing these with tea.
The Scientific Truth About This Copycat
Mastering this Pepperidge Farm Copycat is a triumph of precision over guesswork. By understanding the relationship between oat flour and sugar caramelization, you can recreate a classic childhood favorite with the quality of a professional test kitchen. This recipe proves that when you control the variables, the outcome is guaranteed. For more ways to optimize your time in the kitchen, visit our Efficient Cookie Methods. We love seeing your results, so please share your bakes with us on Instagram, Facebook, or Pinterest. Happy testing!
