Victorian bakers relied on the precise 1:2:3 ratio of sugar, butter, and flour to produce the most stable crumb. This method evolved from medieval biscuit bread, where leftover bread dough was dried in a cooling oven until it became a hard, lasting biscuit. Modern testing proves that high fat content inhibits gluten development, a fact those early bakers understood through tactile sensation rather than molecular chemistry.

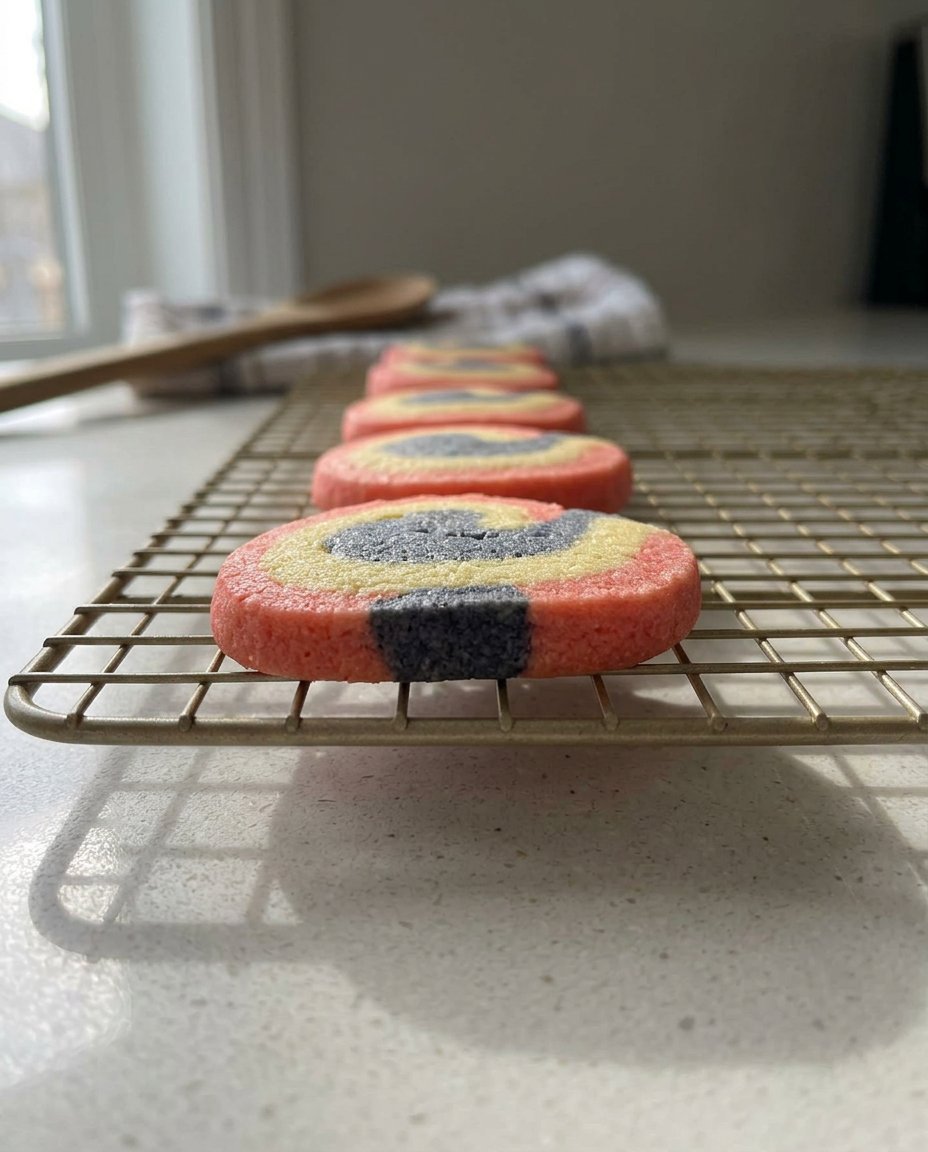
Traditional shortbread represents the pinnacle of British biscuit craft, requiring only a handful of ingredients to achieve a remarkably tender texture. By focusing on the science of fat-to-flour ratios, this recipe produces a cookie that melts away while maintaining a sturdy, professional structure. We shall examine the technical nuances that separate a standard butter cookie from a true, heritage-grade shortbread.
The Heritage of the Shortened Crumb
To appreciate these shortbread cookies, one must understand the term short in a culinary context. In baking science, a short dough is one where the gluten strands are physically kept short by a high concentration of fat. This prevents the formation of a tough, elastic network, resulting in the crumbly, melt-in-the-mouth texture that defines this Scottish classic. Historically, this was a luxury item, reserved for Christmas and Hogmanay, but today it serves as the foundation for technical baking proficiency.
This recipe thrives on its simplicity, yet it demands a methodical approach to temperature and timing. Unlike modern cookies that rely on chemical leaveners like baking soda, shortbread relies entirely on the aeration of butter and the expansion of air pockets during the baking process. By mastering this method, you are practicing a technique that has remained virtually unchanged for over four centuries. It is a triumph of ratio over complexity, proving that the highest quality ingredients require very little interference to shine.
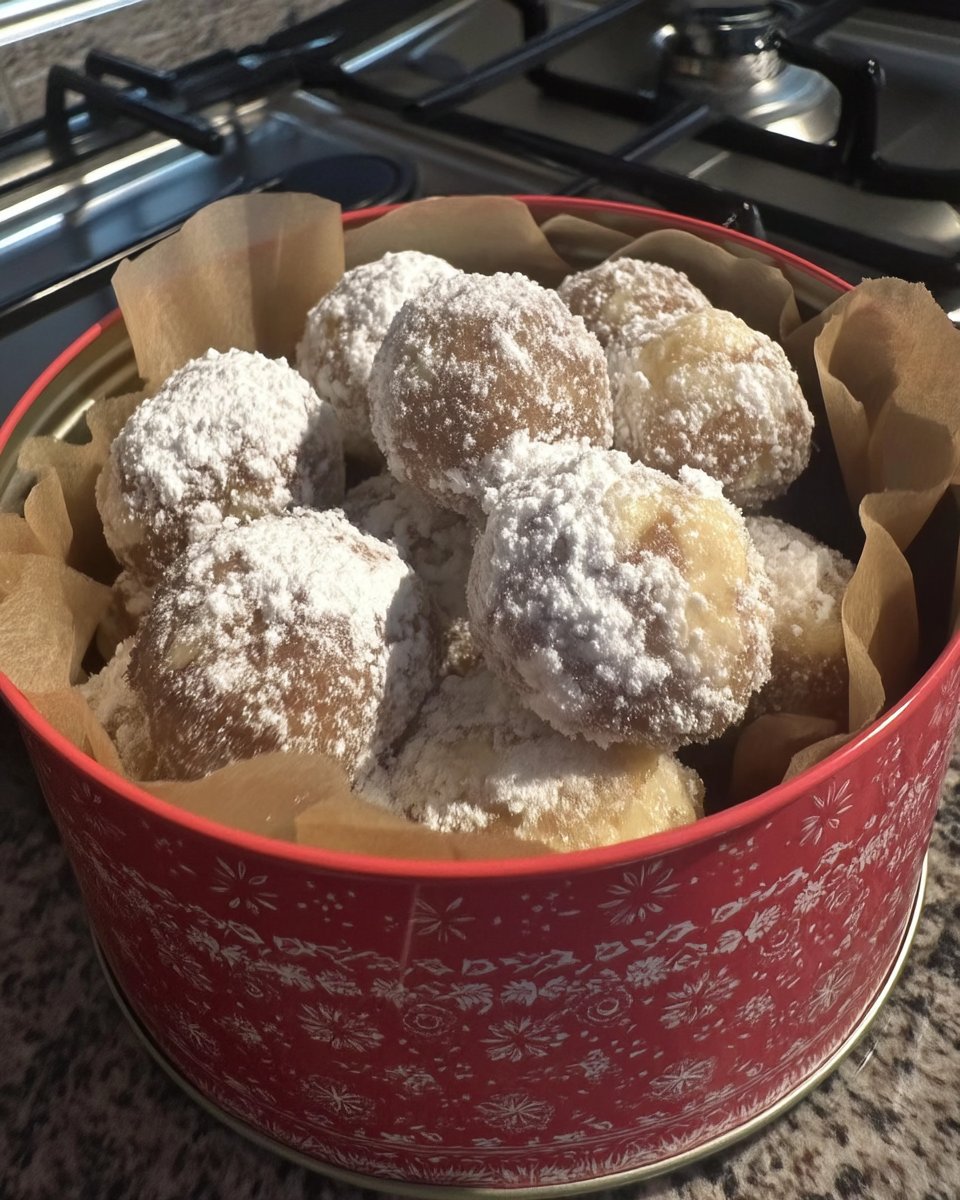
Furthermore, this particular formula has been tested to provide a perfect balance of structural integrity and tenderness. It is sturdy enough to be packed into a tin for travel, yet delicate enough to yield at the first bite. For those who value the history of the craft, this recipe serves as a bridge between the Victorian kitchen and the modern laboratory, stripping away unnecessary additives to reveal the true potential of butter and flour working in harmony.
Print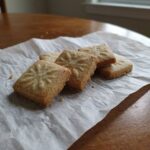
Shortbread Cookies
- Total Time: 1 hour 27 mins
- Yield: 18 cookies
- Diet: Vegetarian
Description
Experience the timeless elegance of traditional Scottish shortbread with this scientifically-tested recipe. By prioritizing a high fat-to-flour ratio and meticulous temperature control, these cookies achieve a delicate, melt-in-the-mouth texture perfect for afternoon tea.
Ingredients
- 142g (10 tbsp) Unsalted Butter, room temperature (65°F)
- 1/2 cup Confectioners’ Sugar
- 1/2 tsp Pure Vanilla Extract
- 180g (1 1/2 cups) All-Purpose Flour
- 1/2 tsp Kosher Salt
Instructions
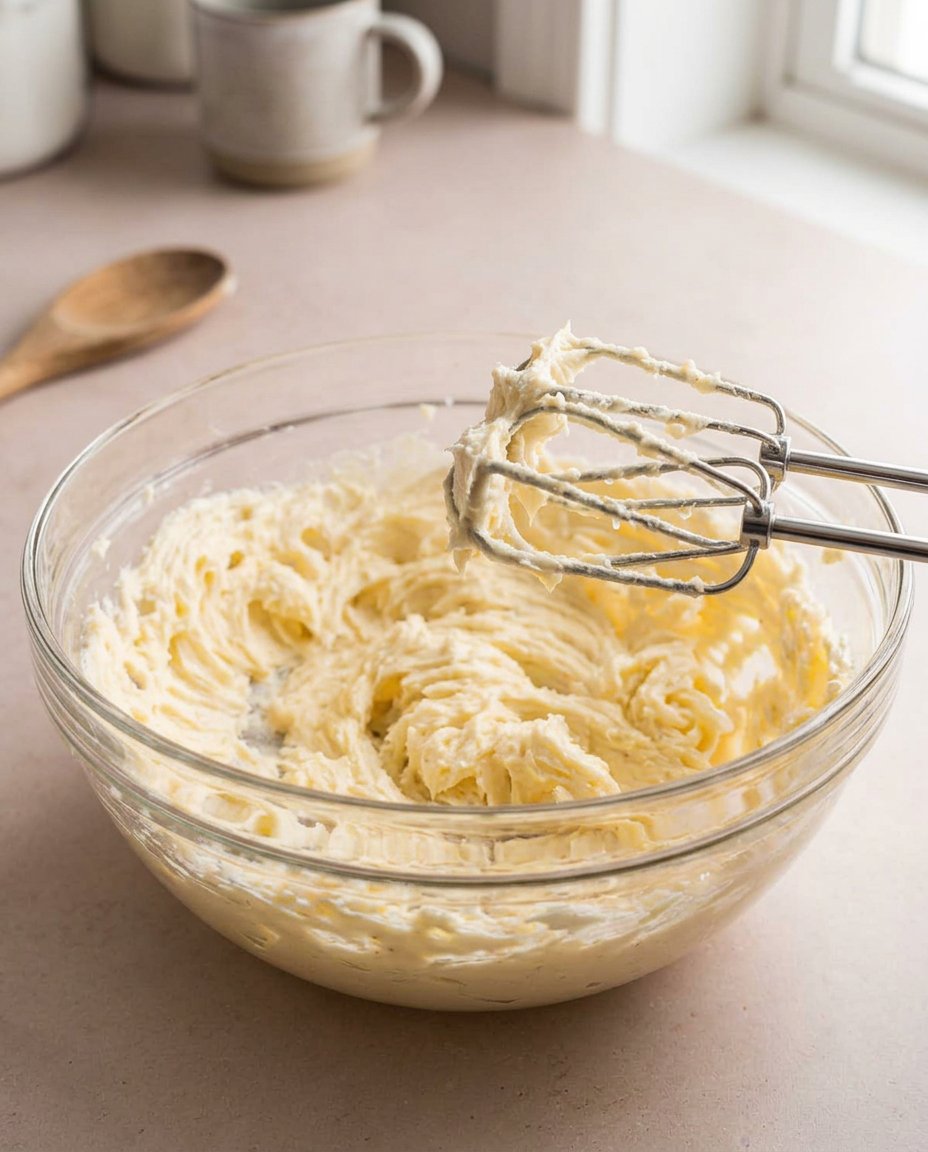
- In a stand mixer fitted with the paddle attachment, beat the softened butter and vanilla on medium speed for 3 minutes until pale and voluminous.
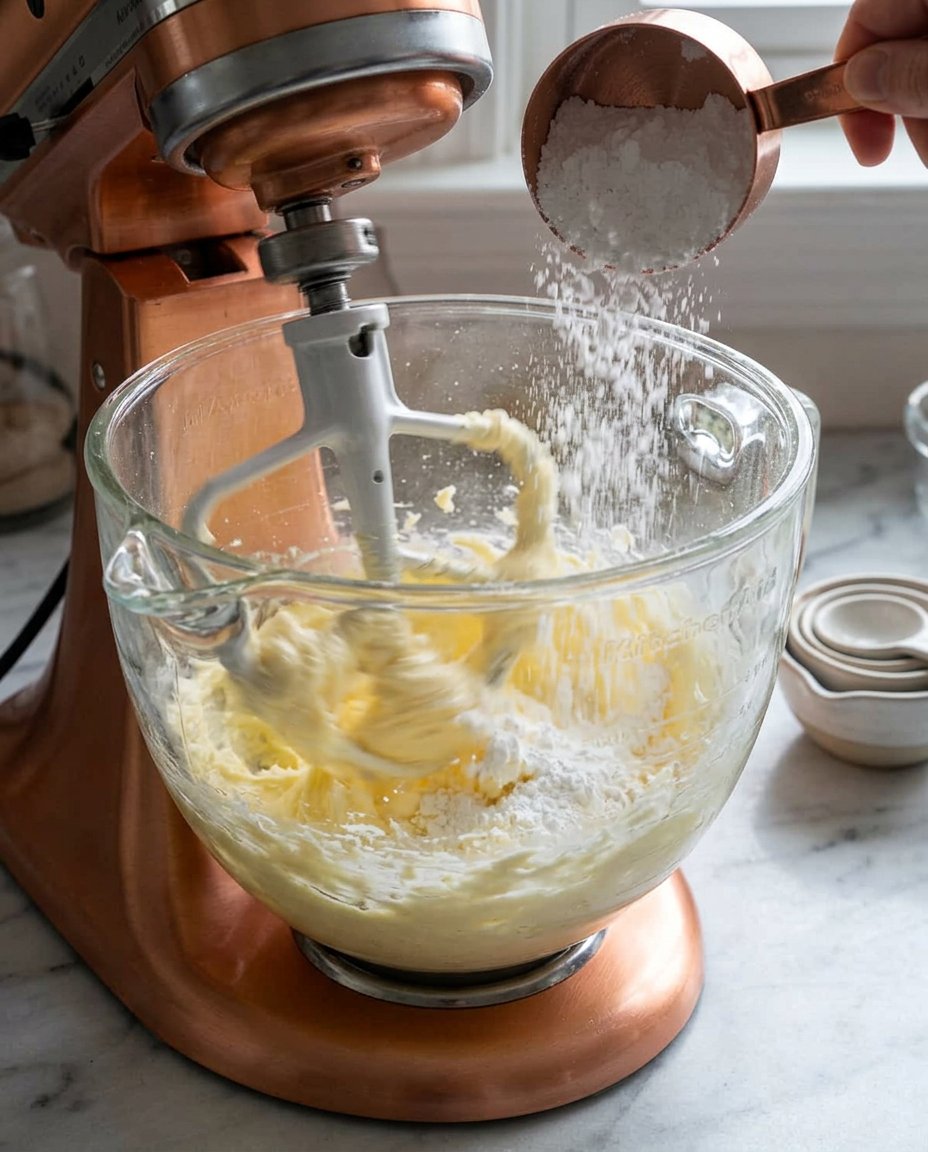
- Sift the confectioners’ sugar and salt into the bowl and mix on low speed until the sugar is fully absorbed, scraping the sides as needed.
- Add the flour in two additions, mixing on the lowest speed only until the flour disappears to prevent gluten development.
- Turn the dough onto plastic wrap, shape into a dense log or rectangular prism, and refrigerate for at least one hour.
- Preheat the oven to 350°F (177°C) and slice the chilled dough into 1/2-inch thick rounds using a sharp knife.
- Arrange on a lined baking sheet, dock the tops with a fork to allow steam to escape, and bake for 10-12 minutes until just set.
Notes
To ensure the most accurate results, always measure your ingredients by weight rather than volume. If the dough becomes too soft while slicing, return it to the refrigerator for 15 minutes to maintain the structural integrity of the butter before baking.
- Prep Time: 1 hour 15 mins
- Cook Time: 12 mins
- Category: Dessert
- Method: Baking
- Cuisine: Scottish
The Scientific Composition of Ingredients
Each component in this recipe serves a specific structural purpose. The absence of eggs and leavening agents means that every gram of butter and flour must be handled with absolute precision to achieve the desired result.
- Unsalted Butter (142g / 10 tbsp): This is the soul of the cookie. Use a high-quality butter with a high butterfat content, ideally 82% or higher. European-style butter provides less water and more fat, which is vital for the short texture. Ensure it is at a true room temperature, approximately 65°F (18°C), to allow for proper aeration during the creaming stage.
- Confectioners’ Sugar (1/2 cup): While many traditional recipes use granulated sugar for a sandy crunch, confectioners’ sugar contains a small amount of cornstarch. This addition contributes to a finer, more porcelain-like crumb and helps the cookie maintain its shape without spreading excessively.
- Pure Vanilla Extract (1/2 tsp): Although not present in the most ancient Scottish iterations, vanilla provides a modern depth that complements the richness of the butter. A high-quality extract is necessary as there are no other strong flavors to hide behind.
- All-Purpose Flour (180g / 1 1/2 cups): The protein content of your flour determines the final snap of the cookie. A standard all-purpose flour with roughly 10-11% protein provides enough structure to hold the shape while remaining tender. Measuring by weight is non-negotiable for consistent results.
- Kosher Salt (1/2 tsp): Salt is a flavor potentiator. It balances the sweetness and highlights the creamy notes of the butter. If using salted butter, omit this entirely to prevent an over-seasoned biscuit.
The Methodical Baking Process
Step 1: Aeration and Creaming
In the bowl of a stand mixer fitted with the paddle attachment, combine the softened butter and vanilla extract. Beat on medium speed for approximately three minutes until the butter appears pale and voluminous. This step is not merely about mixing; it is about physical aeration. Victorian bakers knew that trapping air in the fat was the only way to lighten the dense dough, as they lacked modern chemical leaveners.
Step 2: Incorporating Solids
Sift the confectioners’ sugar and salt into the creamed butter. Continue mixing on low speed until the sugar is fully absorbed. Sifting is a mandatory technical requirement here to remove any lumps in the sugar, which could create unsightly spots or uneven sweetness in the finished bake. Scrape down the sides of the bowl to confirm no pockets of unmixed fat remain.
Step 3: Folding the Flour
Add the flour in two additions, mixing on the lowest possible speed. Stop the mixer the moment the flour disappears. Over-mixing at this stage will develop the gluten, transforming a tender shortbread into a tough, bread-like biscuit. The goal is to coat the flour particles in fat, effectively waterproofing them against excessive gluten formation.
Step 4: Shaping and Structural Chilling
Turn the dough onto a piece of plastic wrap and shape it into a rectangular prism or a dense log. Wrap it tightly and refrigerate for at least one hour. This rest period is critical for two reasons: it allows the butter to solidify, preventing the cookies from spreading in the oven, and it permits the flour to fully hydrate, which leads to a more uniform bake and better flavor development.
Step 5: Precision Cutting and Docking
Preheat your oven to 350°F (177°C). Use a sharp, non-serrated knife to cut the chilled dough into 1/2-inch thick slices. Arrange them on a baking sheet lined with a silicone mat. Use a fork to indent a pattern on the top—a process known as docking. This is a traditional technique used to allow steam to escape during baking, which prevents the surface from bubbling and keeps the cookie flat and professional.
Step 6: Controlled Baking
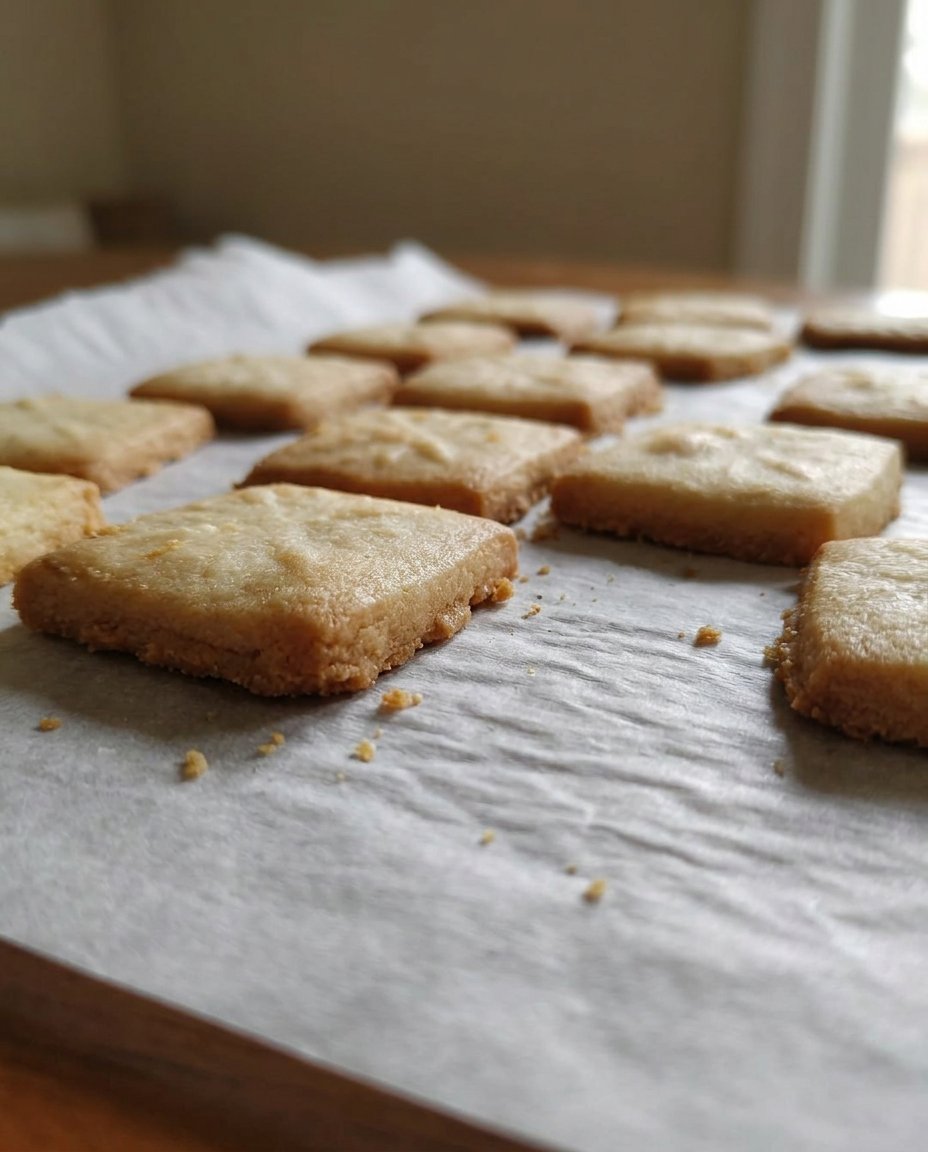
Bake for 10 to 12 minutes, rotating the pan halfway through to account for oven hot spots. The cookies should be set and pale, with only the slightest hint of gold at the very edges. True shortbread is never browned; it should remain the color of rich cream. Transfer the cookies to a wire rack immediately to stop the cooking process and allow the structure to firm up completely.
Technical Precision and Pro Tips
To achieve professional results, one must treat the temperature of the kitchen as a variable. If your room is too warm, the butter will lose its ability to hold air, resulting in a greasy dough. If you find the dough becoming too soft during the cutting process, do not hesitate to return it to the refrigerator for fifteen minutes. This patience is what separates the home baker from the technician. For more foundational advice on fat-to-flour ratios, consult our guide on Foundation Cookie Recipes.
Always weigh your flour. Volume measurements for flour can vary by as much as 20% depending on how the flour is packed into the cup. In a recipe with so few ingredients, a 20% error is catastrophic for the final texture. Furthermore, ensure your oven is truly at 350°F by using an independent oven thermometer. Many home ovens fluctuate wildly, and shortbread requires a steady, controlled environment to prevent the butter from melting faster than the flour can set.
Regional and Historical Adaptations
While the classic 1:2:3 ratio is the standard, regional variations offer fascinating insights into British history. The Shrewsbury biscuit, for instance, often includes caraway seeds or lemon zest, a practice dating back to the 1600s. To adapt this recipe, you might add a teaspoon of dried culinary lavender or finely chopped rosemary for a sophisticated, botanical profile. These additions should be folded in with the flour to maintain the dough’s integrity.
Another tested variation involves substituting a portion of the all-purpose flour with rice flour or cornstarch. This was a common Victorian method used to increase the crunch and sandiness of the biscuit. For those interested in how seasonal changes affect dough chemistry, our analysis of Holiday Cookie Science provides deeper context into these regional adjustments.
The Tradition of Service
Shortbread is traditionally served during afternoon tea, accompanied by a robust Assam or a delicate Earl Grey. The high fat content of the cookie acts as a palate cleanser for the tannins in the tea, creating a balanced sensory experience. For a formal presentation, serve the biscuits on a pre-warmed ceramic platter to maintain their subtle temperature. Historically, these were often served alongside a glass of sherry in the evening, a tradition that persists in many British households.
If you are preparing these for a gathering, consider pairing them with a sharp lemon curd or a fresh raspberry compote. The acidity of the fruit cuts through the richness of the butter perfectly. For more information on organizing your baking schedule for large events, see our tips on Efficient Cookie Methods.
The Technical Truth
Mastering these shortbread cookies is a rite of passage for any baker who values precision over flair. By respecting the historical methods of the Scottish kitchen and applying modern scientific understanding of gluten and fat, you produce a biscuit that is both a technical success and a culinary treasure. This recipe proves that when the technique is sound, simplicity is the ultimate sophistication. For those ready to move on to even more complex dough structures, I recommend studying our archives on Technical Bakes.
To see more historical technique in action, you may find the approach at Preppy Kitchen to be a useful comparison. If you have found success with this methodical approach, please share your results with our community on Pinterest, Instagram, or Facebook. The preservation of these classic techniques depends on the dedication of the modern home baker.


