The history of the Vanilla Spritz Cookies traces back to the artisanal bakeries of Germany and Scandinavia, where the term spritzen—meaning to squirt or extrude—first defined this unique method. Victorian-era bakers eventually replaced hand-carved wooden molds with mechanical metal presses, a shift that modern science proves helps align fat molecules for a more consistent, delicate snap. These early culinary engineers understood that forcing dough through a decorative plate creates a specific surface-to-volume ratio, ensuring a perfectly even bake across every intricate shape.

Achieving the perfect spritz requires a methodical approach to dough temperature and mechanical precision. By mastering the emulsification of butter and sugar, you create a structural framework that holds its shape under the intense heat of the oven without the need for chemical leavening. This recipe honors the traditional 19th-century ratios while incorporating modern testing to ensure your cookies adhere perfectly to the sheet every time.
The Architectural Elegance of the Spritz
There is a profound satisfaction in the mechanical rhythm of a cookie press, a technique that bridge the gap between engineering and baking. These Vanilla Spritz Cookies are a testament to the beauty of simplicity, relying on the quality of dairy and the precision of the method rather than complex additives. You will find that the ‘short’ texture—a term Victorian bakers used to describe a crumb that breaks cleanly—is far superior to the chewy profiles of modern drop cookies.
This method is particularly valuable for those who appreciate the science of thermal mass. Because the dough contains a high ratio of fat to flour, it responds remarkably well to the temperature of your baking sheets. The result is a biscuit that is both sturdy enough for shipping and delicate enough to dissolve on the tongue during a proper afternoon tea. It is a reliable formula that has withstood the test of time, proving that historical wisdom often mirrors modern food chemistry.
Print
Vanilla Spritz Cookies
- Total Time: 30 mins
- Yield: 48 cookies
- Diet: Vegetarian
Description
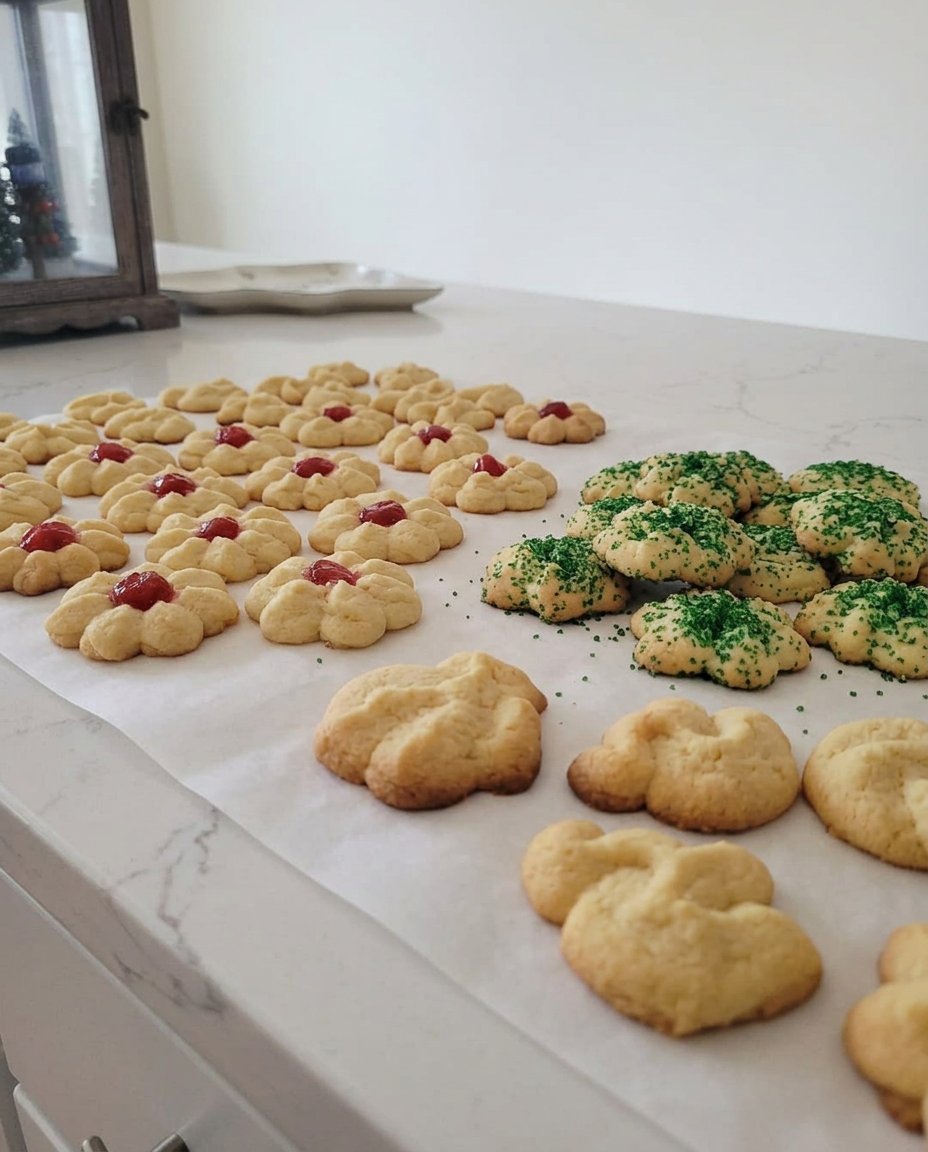
These elegant, buttery biscuits are crafted using a traditional cookie press to create intricate, melt-in-the-mouth shapes. Balanced with vanilla and almond extracts, they offer a crisp, professional texture that is perfect for holiday gifting or high tea.
Ingredients
- 226g Unsalted Butter, softened to 65-68°F (18-20°C)
- 150g Granulated Sugar
- 1 Large Egg, room temperature
- 1 tsp Pure Vanilla Extract
- 1/2 tsp Almond Extract
- 291g All-Purpose Flour
- 1/2 tsp Fine Sea Salt
Instructions
- Cream the softened butter and granulated sugar in a stand mixer on medium-high speed for 3 minutes until light and aerated.
- Add the room-temperature egg, vanilla, and almond extracts, beating on high speed for 1 minute to create a stable emulsion.
- Reduce speed to low and gradually add the flour and salt, mixing just until incorporated to avoid overworking the gluten.
- Prepare cold, unlined baking sheets; do not use parchment paper as the dough needs to ‘grab’ the metal surface.
- Load the dough into a cookie press and extrude shapes onto the sheets, spacing them 2 inches apart.
- Bake at 350°F (177°C) for 7 to 9 minutes until firm but not browned, then cool on the sheet for 5 minutes before moving to a wire rack.
Notes
To prevent the dough from becoming too soft, avoid handling the cookie press cylinder more than necessary, as the heat from your hands can melt the butter. If the cookies won’t release from the press, try wiping the baking sheet with a cold, damp cloth and drying it thoroughly to increase surface tension for the dough to adhere.
- Prep Time: 20 mins
- Cook Time: 10 mins
- Category: Dessert
- Method: Baking
- Cuisine: European
Components of a Classic Extruded Dough
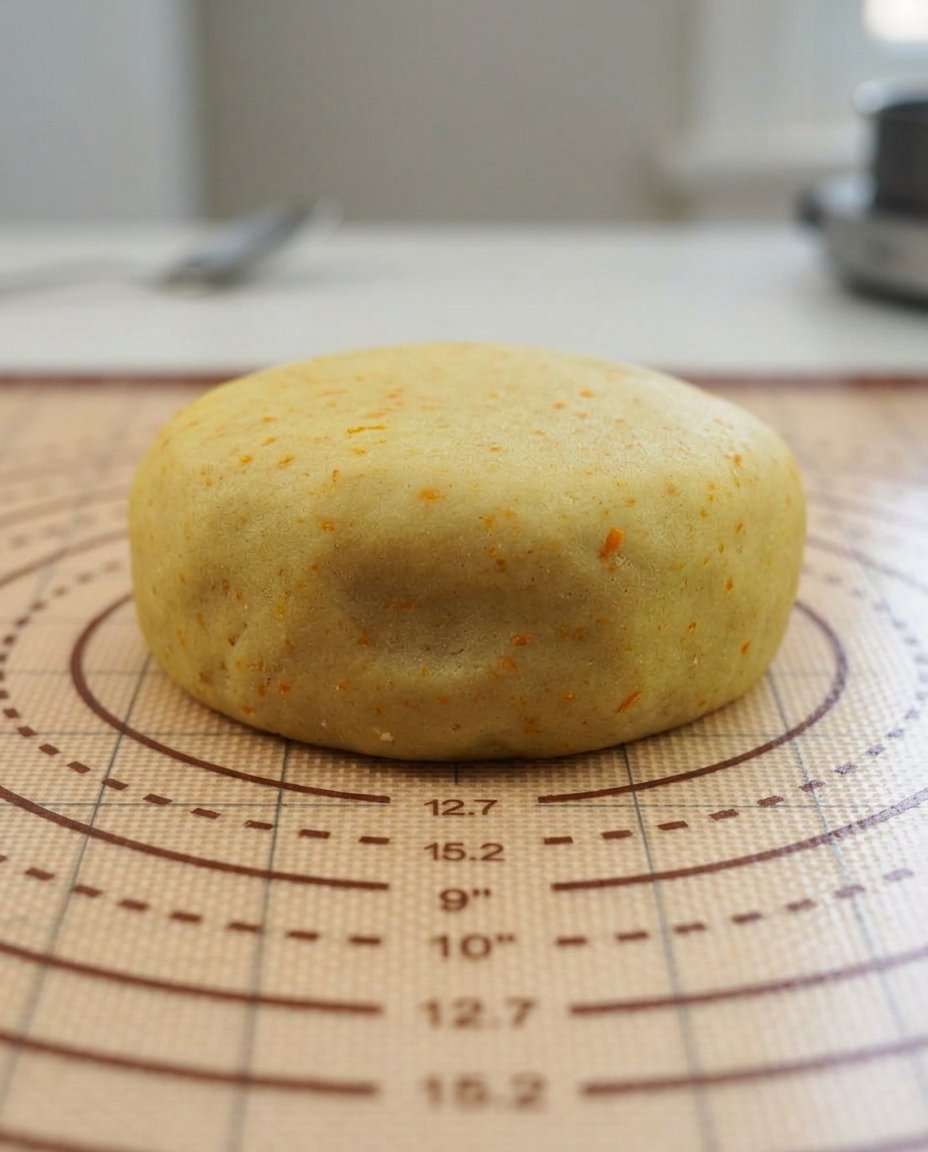
To achieve the structural integrity required for a cookie press, each ingredient must be selected and prepared with scientific intent. The ratio of fat to protein determines whether your shapes will remain crisp or melt into a singular mass. We utilize high-quality components to replicate the results of traditional European pastry kitchens.
- Unsalted Butter (226g): Use butter with at least 82% butterfat. It must be softened to exactly 65-68°F (18-20°C) to allow for proper aeration during the creaming stage. Cold butter will not extrude, while melted butter will cause the shapes to spread.
- Granulated Sugar (150g): The crystal size of granulated sugar is essential for creating the tiny air pockets that provide a light texture. Historically, this was a luxury ingredient, and its use here is calculated to provide sweetness without compromising the dough’s ‘grip.’
- Large Egg: At room temperature, the proteins in the egg act as the primary binder. This provides the tensile strength needed for the dough to pass through the press without tearing.
- Pure Vanilla and Almond Extracts: The combination of these two is a hallmark of classic biscuit making. Benzaldehyde, the primary flavor compound in almond extract, complements the vanillin to create a complex, professional aroma.
- All-Purpose Flour (291g): A protein content of approximately 10-11% is ideal. This provides enough gluten for structure but remains low enough to preserve the ‘short’ crumb. Always use the spoon-and-level method to avoid over-packing, which leads to a dry, crumbly dough.
- Fine Sea Salt: Salt is a flavor potentiator. It suppresses bitterness and highlights the creamy notes of the high-quality butter.
The Proper Method for Technical Perfection
Step 1: Scientific Creaming and Aeration
Begin by placing your softened butter and granulated sugar in a stand mixer fitted with the paddle attachment. Beat on medium-high speed for exactly three minutes. This period is not arbitrary; it is the time required for the sugar crystals to carve microscopic air pockets into the fat. This process, known as mechanical leavening, was the only way Victorian bakers achieved a light texture before the widespread availability of baking powder.
Step 2: Emulsification of Liquids
Add the room-temperature egg, vanilla, and almond extracts. Beat on high speed for one minute. You are looking for a stable emulsion where the fat and water-based ingredients are perfectly suspended. If your egg is too cold, the butter will seize, resulting in a broken batter that will clog the cookie press. Scrape the sides of the bowl to ensure a homogeneous mixture.
Step 3: Dry Ingredient Incorporation
Reduce the mixer speed to low and gradually add the flour and salt. Historical wisdom suggests that over-mixing at this stage is the primary cause of tough biscuits. Mix only until the flour is just incorporated, then finish by hand with a stiff spatula. This prevents excessive gluten development, ensuring the cookies remain tender and melt-in-the-mouth.
Step 4: Preparing the Extrusion Surface
This is a critical technical step: use cold, unlined baking sheets or silicone mats. Do not use parchment paper. The dough requires a high-friction surface to ‘grab’ as the press is lifted. If your kitchen is warm, place your baking sheets in the freezer for five minutes before pressing. This thermal contrast helps the dough release from the press and adhere to the metal.
Step 5: The Extrusion Process
Load the dough into the press, ensuring there are no air pockets. Hold the press perpendicular to the sheet. Apply firm, consistent pressure until you feel the dough contact the sheet, then lift cleanly. Space the cookies two inches apart to allow for heat circulation. If the dough becomes too soft, return the entire press to the refrigerator for ten minutes to restore the fat’s plasticity.
Step 6: Thermal Setting and Cooling
Bake at 350°F (177°C) for 7 to 9 minutes. The goal is a firm structure with barely any color on the edges; over-baking will destroy the delicate almond notes. Allow the cookies to rest on the sheet for five minutes. This allows the starches to set, making them safe to move to a wire rack without breaking. This two-stage cooling method is a traditional shortbread technique that ensures structural integrity.
Historical Wisdom and Precision Methods

The most common failure in extruded dough is a lack of surface adhesion. Victorian bakers often worked in cool larders, which naturally kept the dough at the ideal temperature for the press. If your cookies are sticking to the press instead of the tray, it is likely that your butter has become too greasy. For those looking to master the chemistry of holiday baking, understanding Holiday Cookie Science can reveal why fat stability is the cornerstone of a successful spritz. Always ensure your baking sheets are completely cool before starting a new batch; a warm sheet will melt the butter in the dough prematurely, causing the shapes to lose their definition. If you find the dough too stiff, the heat of your hands on the press cylinder usually provides just enough warmth to encourage flow without compromising the structure.
Regional Differences and Tested Adaptations
While the vanilla and almond profile is the standard, regional variations offer fascinating insights into local traditions. In some parts of Scandinavia, a portion of the flour is replaced with potato starch to create a ‘silkier’ crumb, a technique that requires careful monitoring of Precision Cookie Decorating methods if you plan to add intricate glazes. For a Dutch-style ‘Zandkoekjes’ variation, you can replace the almond extract with lemon zest and a pinch of mace, which provides a warmer, citrusy depth. Another popular adaptation involves dipping half of the cooled cookie into tempered dark chocolate and rolling the edge in finely crushed pistachios or hazelnuts, mirroring the decadent displays found in Viennese patisseries.
The Art of Traditional Service
To honor the heritage of these biscuits, they should be served alongside a properly brewed pot of tea. The ‘short’ crumb of a spritz cookie is designed to stand up to a brief dip in Darjeeling or Earl Grey without immediately disintegrating. For a formal gathering, arrange the cookies on a tiered silver tray, grouping them by shape to showcase the precision of your press work. If you are interested in building a repertoire of classics, our Foundation Cookie Recipes offer excellent pairings for a complete dessert course. In a modern context, these cookies make an exceptional gift because their low moisture content allows them to stay fresh and crisp for up to a week in a sealed tin.
The Technical Truth of the Spritz
Mastering the Vanilla Spritz Cookies is a rite of passage for any baker who values the intersection of history and science. By following these methodical steps and respecting the physics of extrusion, you produce a biscuit that is far more than a simple holiday treat—it is a piece of culinary engineering. For those who wish to further their understanding of structural baking, I encourage you to examine our Technical Bakes for more deep-dives into pastry science. I would love to see your results; please share your bakes with our community on Pinterest, Instagram, or Facebook. Happy baking, and remember that precision is the ultimate ingredient.
