Victorian bakers often relied on precise sugar-to-fat ratios to achieve the specific snap required for their afternoon tea biscuits. This transition from soft, cake-like sponges to the crisp textures we recognize as modern cookies was driven by a better understanding of moisture evaporation during the baking process. Modern science now confirms that these historical methods of reducing hydration were the key to achieving that perfect, resounding crunch in Crispy Chocolate Chip Cookies.

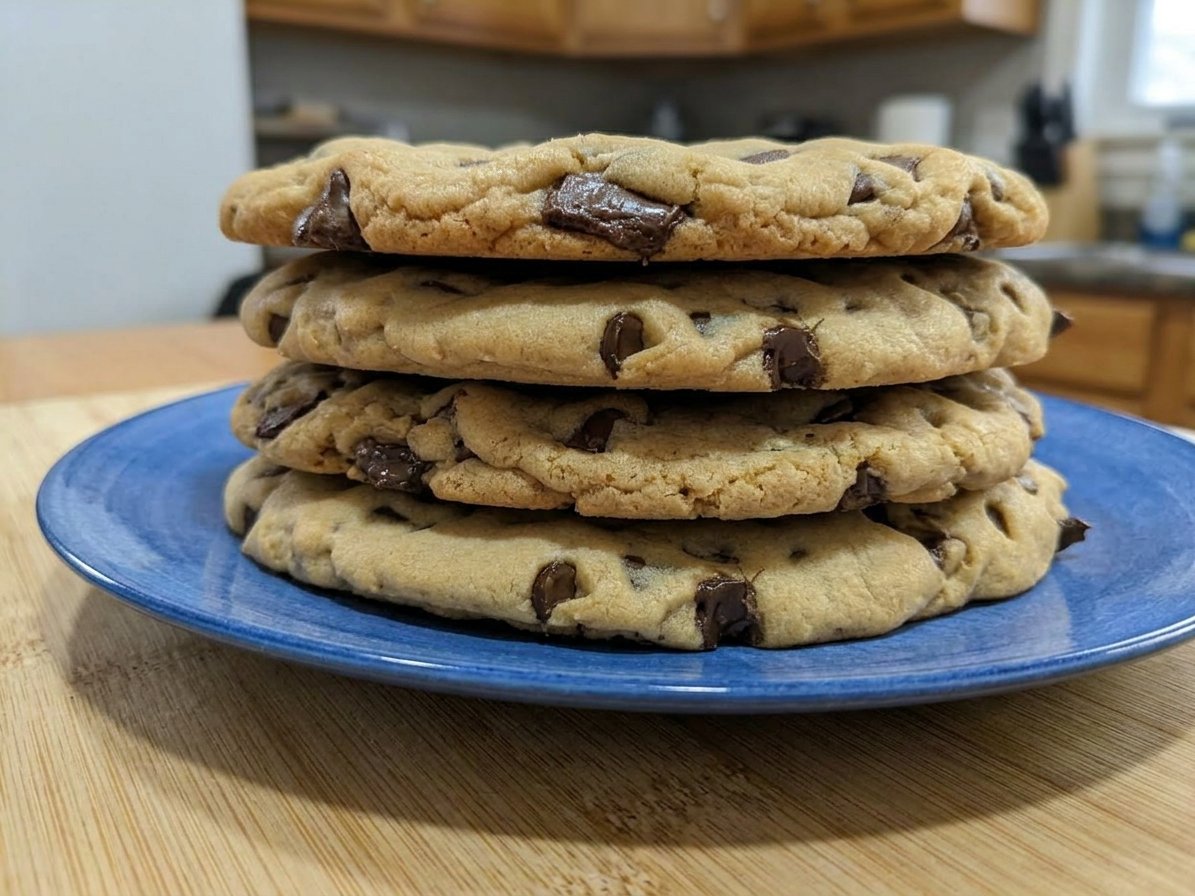
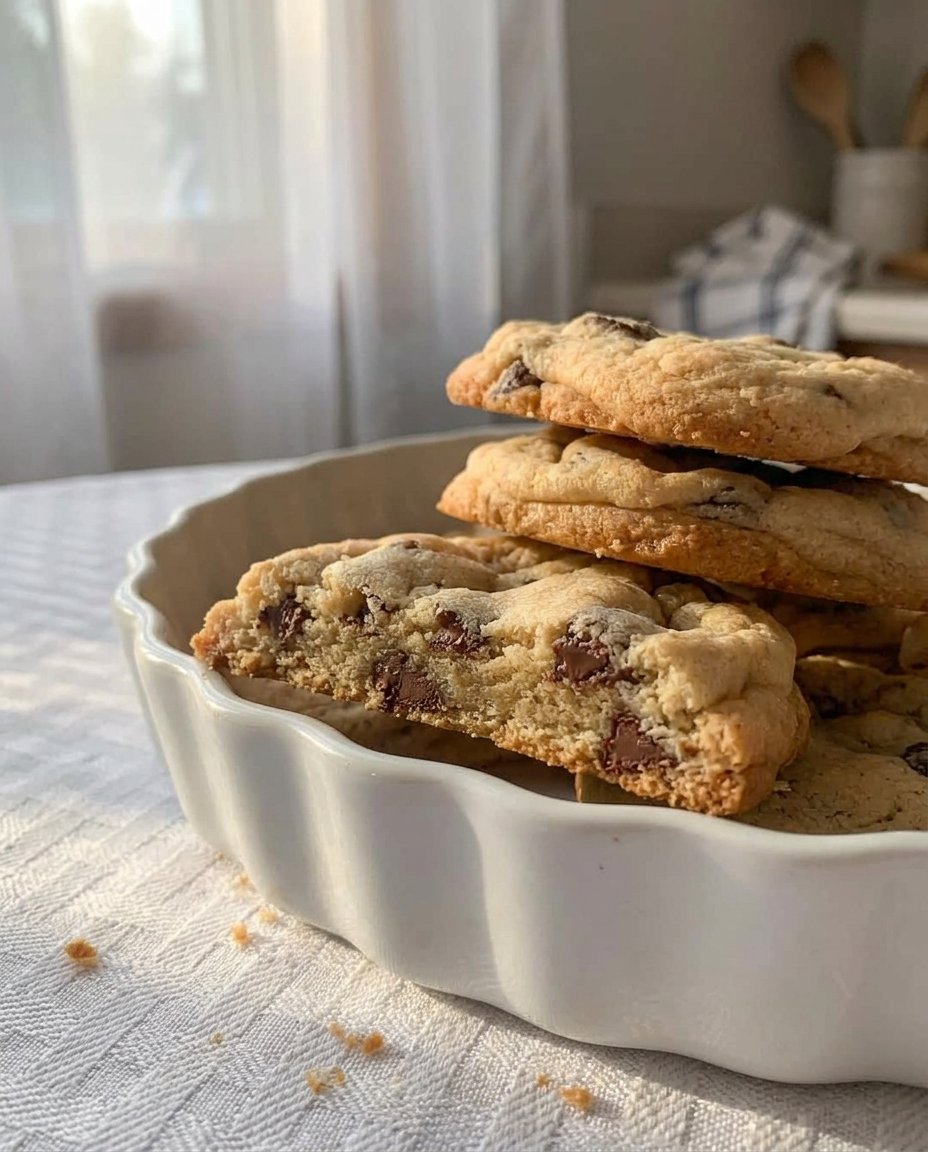
This recipe focuses on those very principles of moisture control and sugar caramelization to produce a superior biscuit. By utilizing melted butter and a specific balance of sugars, we create a cookie with remarkably thin edges and a deeply golden, shattered-glass texture. It is a methodical approach to a classic treat that rewards the baker who appreciates technical precision and historical baking wisdom.
The Science of the Perfect Snap
There is a specific joy in a cookie that offers a clean break rather than a soft bend. This texture is the result of a deliberate reduction in moisture and a strategic increase in sugar caramelization. In the British tradition, the ‘snap’ of a biscuit was a hallmark of quality, indicating that the bake was thorough and the structure sound. These cookies achieve that vintage standard while incorporating the rich, indulgent nature of American chocolate chips.
You will appreciate the way the butter, once melted, interacts with the granulated sugar to create a crystalline structure that holds its shape even as it spreads. The inclusion of honey acts as a catalyst for the Maillard reaction, producing a complexity of flavor that far exceeds standard recipes. This is not merely a snack; it is an exercise in achieving the ideal balance between fat, sugar, and heat. The result is a cookie that remains crisp for days, honoring the long-shelf-life traditions of 19th-century pantries.
Print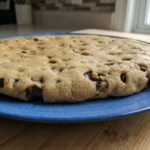
Crispy Chocolate Chip Cookies
- Total Time: 26 mins
- Yield: 24 cookies
- Diet: Vegetarian
Description
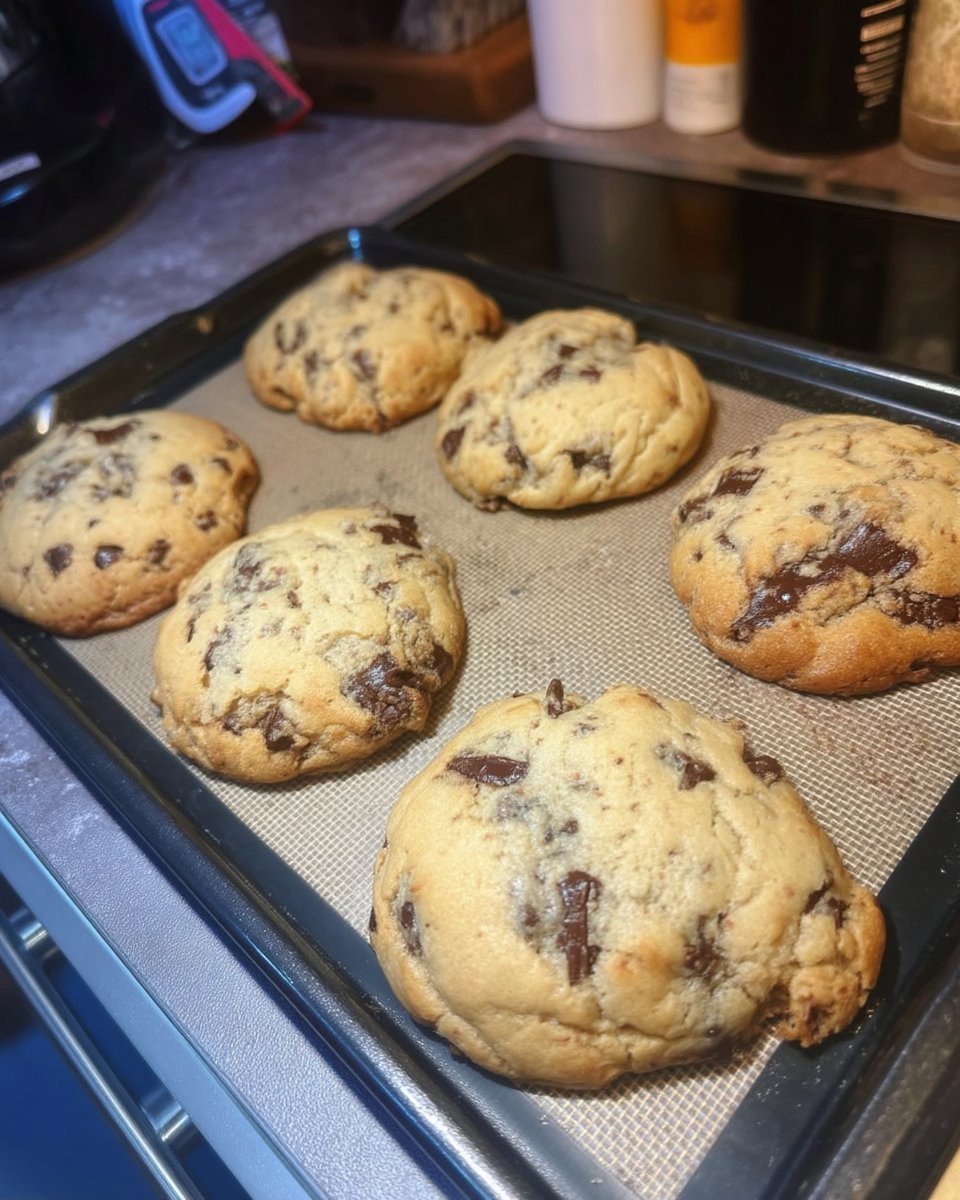
Experience the ultimate crunch with these meticulously engineered chocolate chip cookies. By focusing on moisture control and precise sugar ratios, this recipe delivers a thin, golden-brown biscuit with a professional snap and deep caramel flavor.
Ingredients
- 188g All-Purpose Flour
- 1/2 teaspoon Baking Soda
- 1/2 teaspoon Salt
- 142g Unsalted Butter, melted and slightly cooled
- 100g Granulated White Sugar
- 50g Light Brown Sugar
- 1 tablespoon Honey or light corn syrup
- 1 large Egg Yolk
- 1 tablespoon Milk
- 1 teaspoon Vanilla Extract
- 225g Semi-Sweet Chocolate Chips
Instructions
- Whisk the all-purpose flour, baking soda, and salt together in a large mixing bowl to ensure the leavening agent is perfectly distributed.
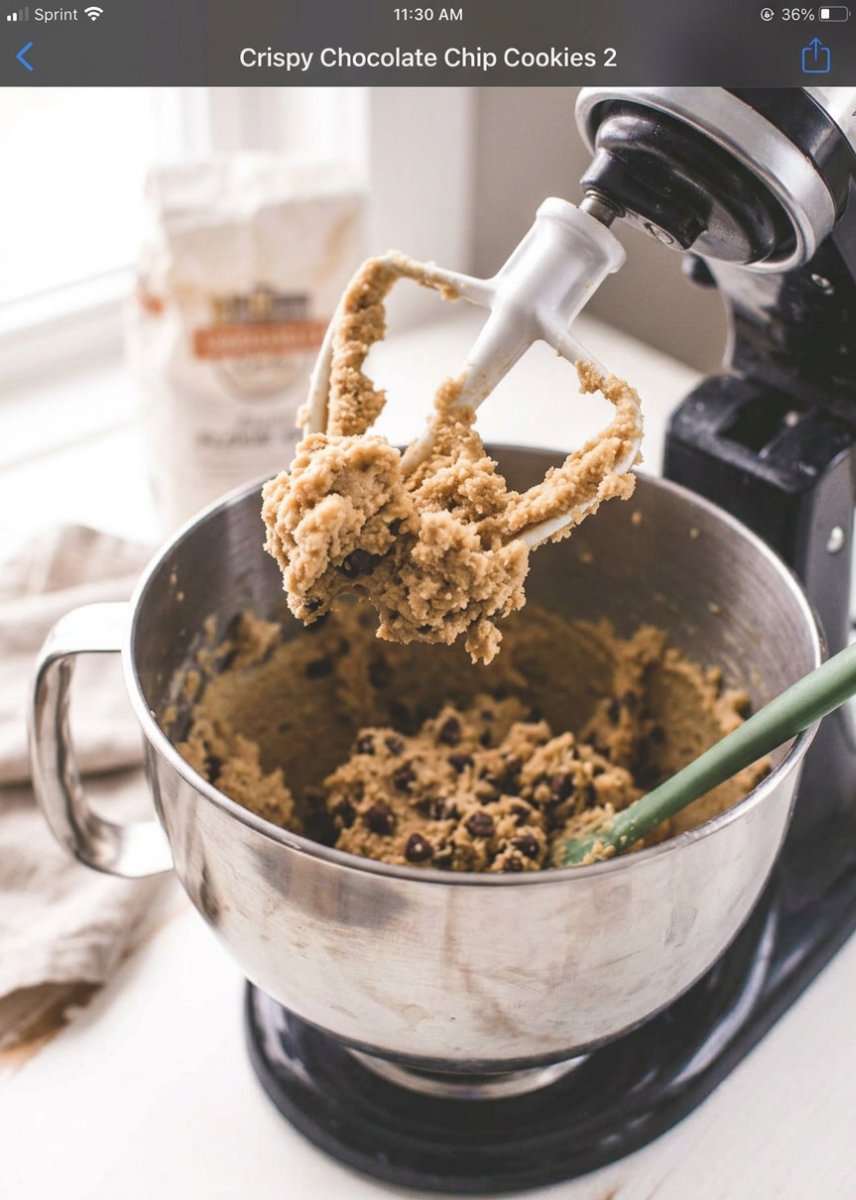
- In a separate vessel, vigorously whisk the melted butter with the granulated sugar, brown sugar, honey, egg yolk, milk, and vanilla extract until the mixture is cohesive.
- Pour the wet ingredients into the dry base and mix until just combined, then gently fold in the chocolate chips with a silicone spatula to avoid overworking the dough.
- For the thinnest snap, proceed to bake immediately; otherwise, chill the dough for 60 to 120 minutes depending on your preferred level of thickness and chew.
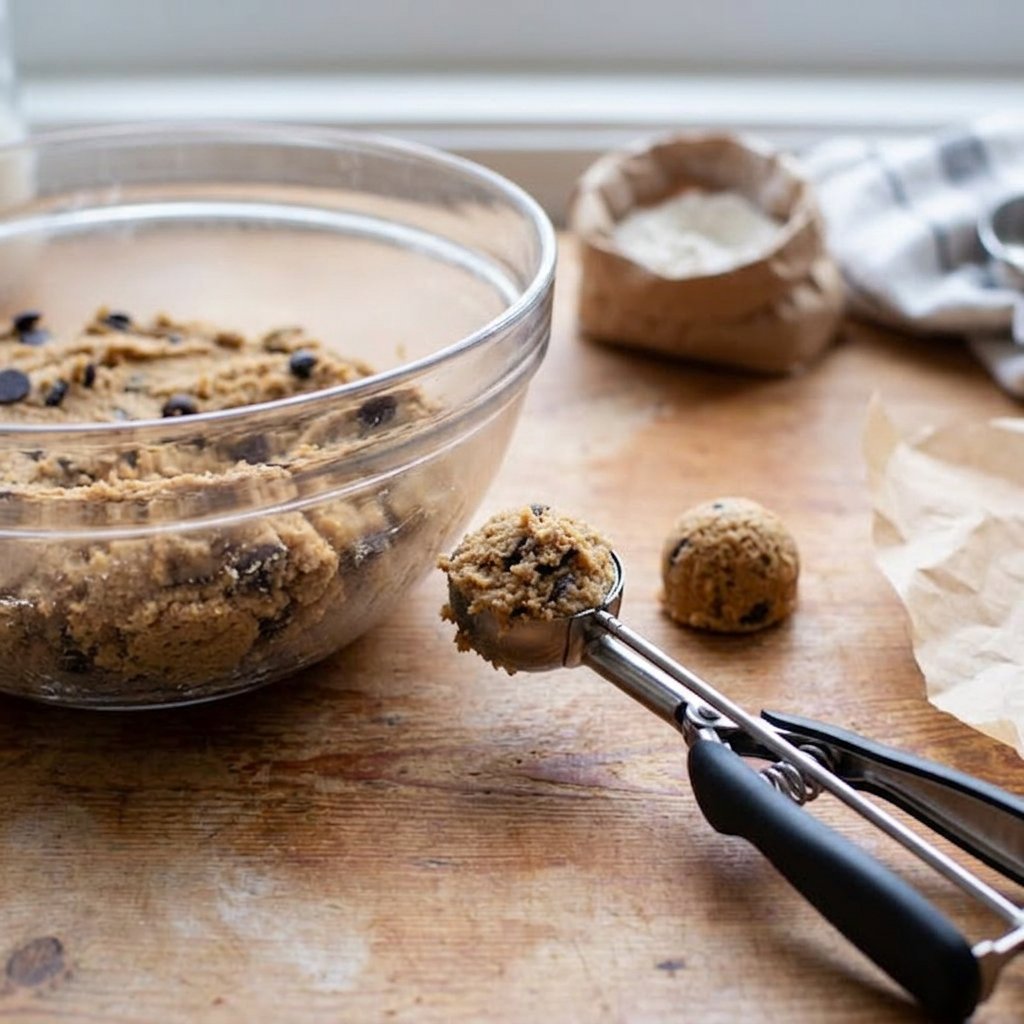
- Preheat your oven to 375°F (191°C) and roll the dough into scant tablespoon-sized balls, placing them 2 inches apart on prepared baking sheets.
- Bake for 10-11 minutes until the cookies are browned on top and edges, then let them rest on the hot baking sheet for 3 minutes before moving them to a wire rack to set.
Notes
To ensure your cookies achieve the desired thin profile, avoid using European-style butter with high fat content, as the extra moisture can cause excessive spreading. Using a kitchen scale for the flour and butter is essential for accuracy, as even a small deviation in weight can change the final texture from crispy to cakey.
- Prep Time: 15 mins
- Cook Time: 11 mins
- Category: Dessert
- Method: Baking
- Cuisine: American
Proper Components and Chemical Ratios
To achieve the specific structural integrity required for a truly crispy cookie, every ingredient must serve a functional purpose. We are not just mixing flavors; we are managing hydration and protein structures to make certain the cookie crisps as it cools.
- All-Purpose Flour (188g): The protein content here provides the necessary frame. By spooning and leveling, we avoid over-packing, which makes certain the cookie remains thin enough for the moisture to escape rapidly during the bake.
- Baking Soda: Beyond leavening, this alkaline component raises the pH of the dough. Historically, this was known to speed up browning, and we use it here to encourage the deep golden hue associated with toasted sugars.
- Melted Unsalted Butter (142g): Unlike the Victorian creaming method which traps air for lift, melting the butter creates a denser, flatter cookie. This lack of aeration is vital for the thin, snappy profile we are targeting.
- Granulated and Brown Sugars: The high ratio of granulated sugar is what provides the crispness. Brown sugar adds a touch of acidity to react with the soda, but the white sugar is the primary architect of the crunch.
- Honey or Light Corn Syrup: These inverted sugars help with a unique crackly surface and a depth of color that mimics long-aged doughs. They are essential for that professional finish.
- Milk and Egg Yolk: The yolk provides emulsification without the excess water found in the egg white. The small addition of milk further aids in the browning process, making certain the cookies look as striking as they taste.
- Semi-Sweet Chocolate Chips (225g): We use a generous amount to make certain a high inclusion-to-dough ratio, which creates those beautiful, rugged landscapes on the cookie surface.
The Proper Method for Crisp Results
Step 1: Prepare the Dry Foundation
Whisk the all-purpose flour, baking soda, and salt together in a large mixing bowl. It is vital to distribute the soda evenly to guarantee uniform browning across the entire batch. This methodical start mirrors the dry mixing phase seen in historical shortbread production where ingredient distribution was paramount.
Step 2: Emulsify the Liquids
In a separate vessel, whisk the melted and slightly cooled butter with both sugars, the honey, egg yolk, milk, and vanilla extract. Whisk vigorously until the mixture is cohesive. The honey and milk must be fully integrated to prevent spotting during the bake, a technique often stressed in 1890s pastry manuals to achieve an even finish.
Step 3: Combine and Fold
Pour the wet ingredients into the dry base and mix until just combined. Over-mixing at this stage can develop too much gluten, leading to a tough rather than crispy texture. Gently fold in the semi-sweet chocolate chips using a silicone spatula to maintain the integrity of the soft dough without overworking the proteins.
Step 4: Determine Your Desired Texture
This is where technical precision meets personal preference. For the thinnest, most traditional snap, proceed to baking immediately. If you prefer a slightly more robust edge with a hint of chew in the center, a 60-minute chill is required. For a cookie that honors the soft-center modern tradition while maintaining a crisp exterior, a 2-hour rest in the refrigerator allows the flour to fully hydrate.
Step 5: Portions and Heat Distribution
Preheat your oven to 375°F (191°C), a temperature slightly higher than the standard to encourage rapid expansion and immediate edge-setting. Roll the dough into scant tablespoon-sized balls and space them 2 inches apart on prepared sheets. The high heat will cause the cookies to spread and ripple, creating the desired thin profile.
Step 6: The Final Bake and Set
Bake for 10-11 minutes until the cookies are browned on top and around the sides. Remove from the oven and allow them to rest on the hot baking sheet for 3 minutes. This carry-over cooking is a critical historical technique; the residual heat continues to drive out moisture, which is what ultimately yields the crispy finish once cooled completely on a wire rack.
Jordan’s Technique Notes
Precision in temperature is non-negotiable for this recipe. If your oven runs cool, the cookies will spread too much before the edges set, resulting in a greasy texture rather than a crisp one. I recommend using an independent oven thermometer to verify you are hitting exactly 375°F. Victorian bakers didn’t have digital displays, but they understood ‘quick’ versus ‘slow’ ovens based on the way flour browned on the stone.
Another vital note involves the moisture content of your butter. If you use a high-moisture European-style butter, you may find the cookies spread more than intended. For those looking to master the basics of cookie chemistry, our guide on Foundation Cookie Recipes provides the necessary context on how different fats affect the final snap. Furthermore, if you want to see how these compare to other professional standards, you can find similar testing methodologies in this modern crispy cookie study.
Tested Adaptations and Regional Differences
While the classic semi-sweet chip is the standard, historical variations of the crisp biscuit often used different inclusions. In some British traditions, a similar base would be used for Shrewsbury-style biscuits, often flavored with lemon zest or caraway. You can adapt this recipe by swapping the chocolate for finely chopped nuts or even dried currants for a more traditional feel.
For those interested in how seasonal changes affect dough behavior, especially in humid climates, refer to our research on Holiday Cookie Science. If you wish to create a toffee-chip version, replace the honey with dark molasses; this increases the acidity and creates an even more pronounced crackle on the surface of your Crispy Chocolate Chip Cookies. This change in pH levels mimics older techniques used for ginger snaps and other high-caramelization biscuits.
Traditional Service and Classic Enjoyment
In the British tradition, a crisp biscuit is the essential companion to a properly brewed cup of Earl Grey or Darjeeling. The structural integrity of these cookies makes them ideal for dunking, a practice that dates back centuries as a way to soften harder hardtack or ship’s biscuits. For a more modern presentation, serve these alongside a glass of cold, whole milk to balance the rich cocoa solids.
If you are preparing these for a gathering, remember that their thinness makes them elegant. They can be stacked in glass jars for a beautiful display of their rippled edges. For more advice on high-volume baking and maintaining quality across large batches, see our notes on Efficient Cookie Methods. These cookies are best enjoyed within the first three days when the snap is at its peak and the chocolate is most vibrant.
The Technical Truth of the Snap
Understanding the transition from soft to crispy is a milestone in any baker’s journey. By respecting the ratios of sugar and the role of moisture evaporation, we honor the traditions of the past while using modern equipment to achieve consistent results. These Crispy Chocolate Chip Cookies are a testament to the fact that thin can be flavorful and crunch can be sophisticated. For more complex projects that require this level of attention to detail, I invite you to study our Technical Bakes category.
I look forward to hearing about your results and seeing your crisp edges. Please share your bakes with our community of methodical bakers on Pinterest, Instagram, and Facebook. Happy baking, and may your snap always be clean.

