Victorian bakers recognized that the Linzer Torte was a masterpiece of geometry and fat-to-flour ratios, dating back to 1653 as the oldest known cake recipe. This Austrian tradition eventually shrank into the delicate biscuits we recognize today, often referred to as Linzer Augen or “Linzer Eyes.” Modern testing proves that the mandatory chilling of this dough is not just a matter of convenience but a fundamental requirement for starch retrogradation and fat stability.

This recipe adapts that heritage by incorporating Dutch-process cocoa, a technique developed in the 19th century by Coenraad van Houten to neutralize acidity and darken the profile. By following this methodical approach, you produce a biscuit with a robust structural integrity that supports the rich, creamy weight of a hazelnut filling. It is a bridge between the 17th-century spice traditions and 20th-century chocolate innovations.
The Tradition of the Linzer Eye
There is a profound satisfaction in the architectural precision of a Linzer cookie. Unlike standard drop cookies, the Chocolate Hazelnut Linzer relies on the scientific principle of the short-crust, where fat coat flour particles to inhibit gluten development. This results in a biscuit that snaps cleanly before melting on the palate.
Historically, the Linzer torte was a celebration of local nuts and preserves. By introducing Dutch-process cocoa, we create a sophisticated bitterness that counters the sugar, much like the dark-roasted coffee served in Viennese salons. This recipe honors the 1940s tradition of hand-mixing, where the baker’s touch determines the final crumb density better than any high-speed machine.
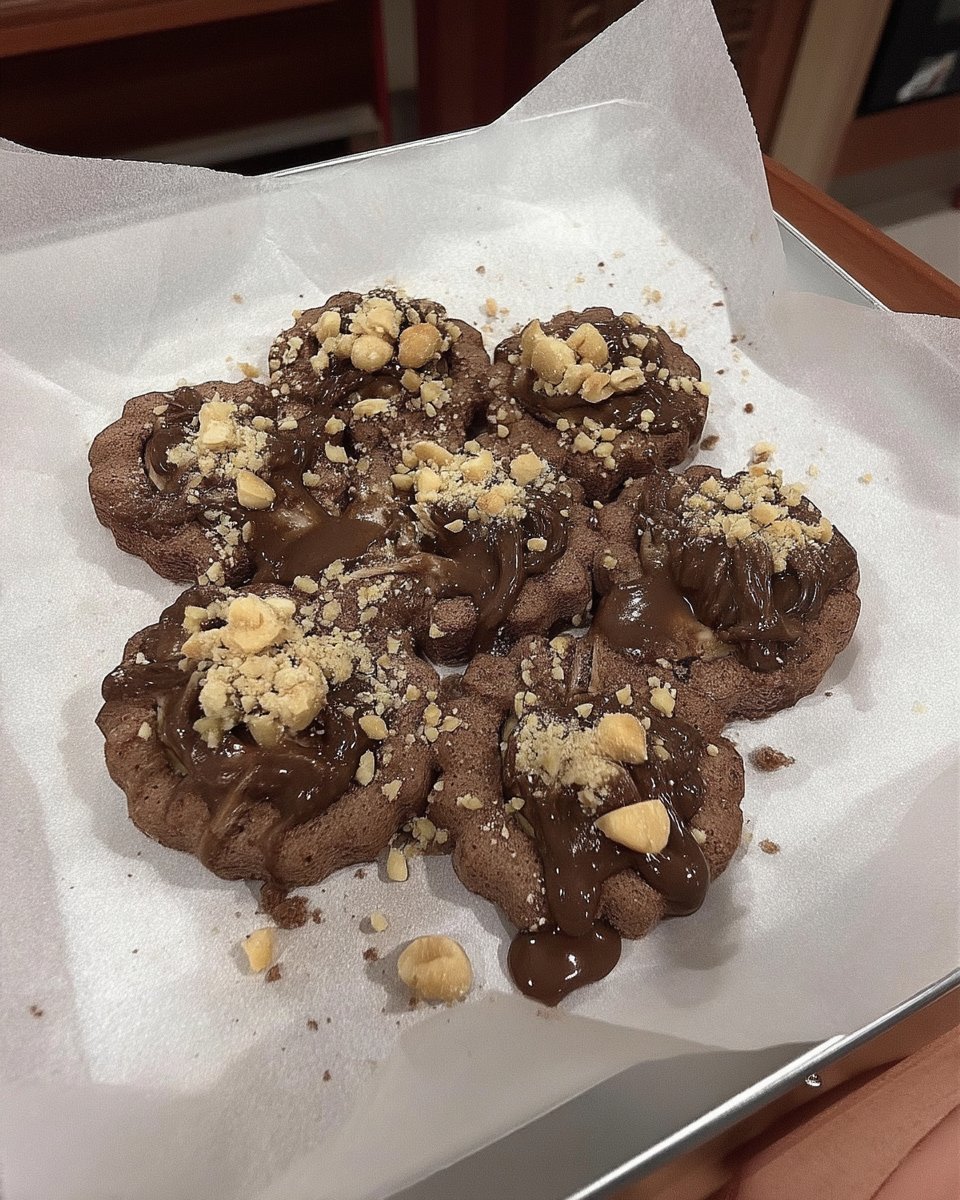
The visual appeal is equally grounded in purpose. The “eye” or cutout in the top biscuit isn’t merely decorative; it allows the hazelnut filling to breathe and set slightly, creating a professional finish. It is a triumph of both aesthetics and engineering, providing a reliable texture that survives the journey from the baking sheet to the cooling rack without losing its sharp edges.
Print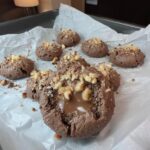
Chocolate Hazelnut Linzer
- Total Time: 2 hours 25 mins
- Yield: 24 cookies
- Diet: Vegetarian
Description
These sophisticated chocolate linzer cookies combine a tender, Dutch-process cocoa shortbread with a rich hazelnut filling. Based on historical Austrian techniques, they offer a perfect balance of bitter cocoa and sweet nutty cream for a professional bakery finish.
Ingredients
- 1 cup unsalted butter, softened
- 3/4 cup granulated sugar
- 1 large egg
- 1 teaspoon vanilla extract
- 2 cups all-purpose flour
- 1/2 cup Dutch-process cocoa powder
- 1/2 teaspoon salt
- 1/2 teaspoon baking powder
- 1/2 cup hazelnut spread
- Sparkling sugar for dusting
Instructions
- Cream the softened butter and granulated sugar for three to four minutes until pale and aerated, then incorporate the egg and vanilla extract.
- Whisk together the flour, cocoa powder, salt, and baking powder in a separate bowl before gradually mixing into the butter mixture on low speed.
- Divide the dough into two disks, wrap tightly in plastic, and refrigerate for 30 to 60 minutes.
- Roll the chilled dough between sheets of parchment paper to a 1/8-inch thickness and refrigerate the rolled sheets for another hour.
- Cut the dough into 2-inch rounds, removing the centers from half of them, and bake at 350°F (175°C) for 7 to 10 minutes.
- Allow the cookies to cool completely before sandwiching a teaspoon of hazelnut spread between a solid base and a cutout top.
Notes
For the cleanest edges, ensure the dough is thoroughly chilled before using your cookie cutters. If the dough warms up too much during the cutting process, return it to the freezer for five minutes to firm up the butter and maintain the architectural integrity of the window cutout.
- Prep Time: 2 hours 15 mins
- Cook Time: 10 mins
- Category: Dessert
- Method: Baking
- Cuisine: Austrian
Historical Ingredients and Proper Components
Success in the kitchen begins with an understanding of your raw materials. Every component in this Chocolate Hazelnut Linzer has been selected for its technical contribution to the final structure and flavor profile.
- Dutch-Process Cocoa Powder: Unlike natural cocoa, Dutch-process is treated with an alkalizing agent. This historical method, pioneered in the Netherlands, results in a darker color and a smoother, more mellow flavor that won’t react unpredictably with your leavening agents.
- Unsalted Butter: Precision requires control. By using unsalted butter, you dictate the exact sodium content, which is vital for maintaining the balance between the cocoa’s bitterness and the hazelnut’s sweetness.
- All-Purpose Flour: We look for a moderate protein content here. It provides enough structure to hold the cutout shapes while remaining tender enough for a short-crust texture.
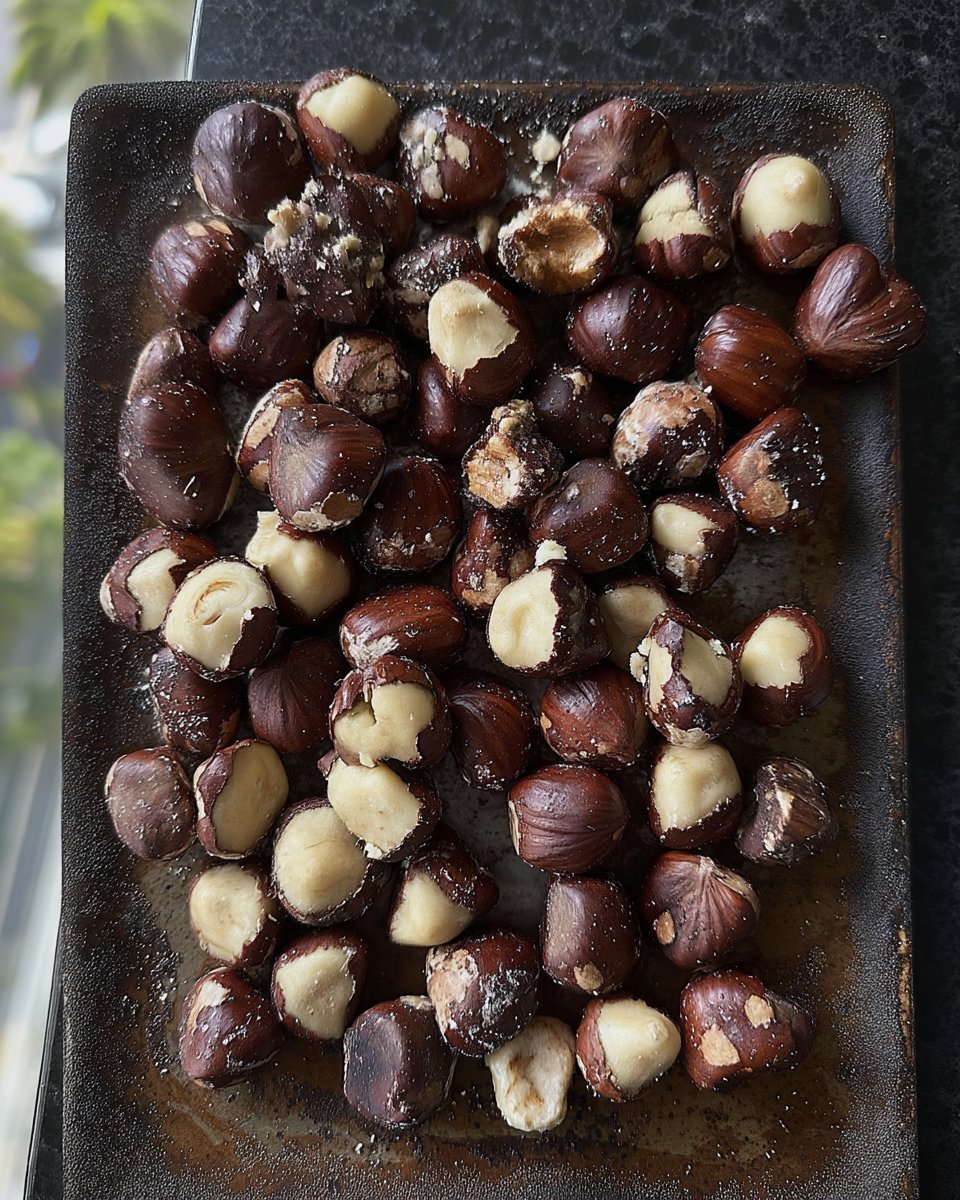
- Hazelnut Spread: A nod to the Ferrero tradition, this filling provides the essential emulsion of fats and sugars needed to bond the two cookie halves together.
- Granulated Sugar: This acts not only as a sweetener but as a tenderizer, interfering with the hydration of flour proteins to keep the biscuit crisp rather than chewy.
- Egg: A single large egg provides the lecithin needed for emulsification, ensuring the dough remains pliable during the rolling process.
- Baking Powder: Though traditional shortbread often omits leavening, a small amount of baking powder here helps the cocoa-heavy dough rise just enough to feel light on the tongue.
The Proper Method for Linzer Success
Step 1: Creaming and Emulsification
In a large bowl, or the bowl of a stand mixer, combine your softened butter and granulated sugar. Use the paddle attachment on medium-high speed for three to four minutes. This Victorian-era technique is essential for aeration; the sugar crystals cut through the butter, creating tiny air pockets that will expand in the oven. Once the mixture is light and pale, incorporate the egg and vanilla. Continue beating until the mixture is fully emulsified and shows no signs of separation.
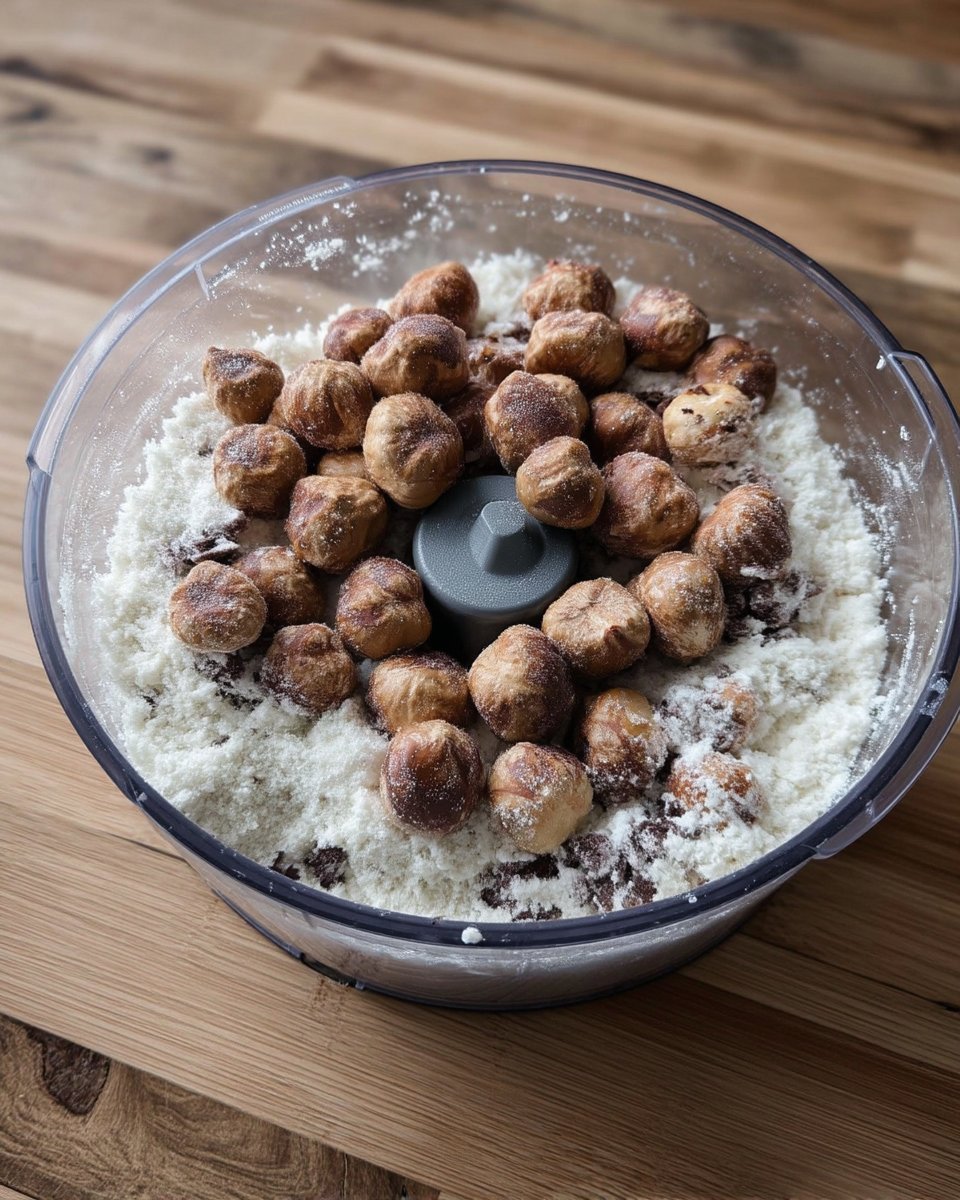
Step 2: Sifting and Incorporating Dry Ingredients
In a separate medium bowl, whisk together the flour, Dutch-process cocoa, salt, and baking powder. Sifting is highly recommended here, as cocoa powder is notoriously prone to clumping. Reduce your mixer to the lowest setting and gradually add the dry ingredients. Stir only until the dough just comes together into a cohesive mass. Over-mixing at this stage will develop the gluten, leading to a tough, bready biscuit instead of a tender one.
Step 3: The Primary Chill and Dough Division
Divide your dough into two equal portions and pat them into flat disks. Wrap each tightly in plastic wrap. This is a critical stage where the flour fully hydrates and the fats solidify. Refrigerate for at least 30 to 60 minutes. Historically, bakers kept their kitchens cool to manage high-fat doughs; refrigeration serves as our modern solution to ensuring the dough remains pliable but not sticky.
Step 4: Rolling with Precision
Place one chilled disk between two sheets of parchment paper. Using a floured rolling pin, roll the dough to a uniform thickness of 1/8 inch. The use of parchment paper is a modern precision technique that prevents the dough from picking up excess flour from a countertop, which would otherwise dry out the biscuit. Stack the rolled sheets on a baking tray and return them to the refrigerator for another hour. This “second rest” is the secret to preventing the cookies from spreading in the oven.
Step 5: Cutting and Baking
Heat your oven to 350°F (175°C). Use a 2-inch cutter to create your base cookies. For half of these, use a smaller cutter to remove the center, creating the “window.” Arrange them on parchment-lined sheets, leaving one inch of space. If desired, apply a light dusting of sparkling sugar to the cutout tops. Bake for 7 to 10 minutes. The cookies are finished when the edges are set and the surface no longer appears damp. Allow them to cool entirely on the tray to solidify the structure.
Step 6: Assembly and Maturation
Flip the solid base cookies over so the flat side faces up. Apply approximately one teaspoon of hazelnut spread to the center. Gently press a cutout top onto the filling until the spread reaches the edges of the window. For the best experience, allow the assembled cookies to sit for several hours. This allows the moisture from the filling to migrate slightly into the biscuit, creating a cohesive, professional texture.
Jordan’s Technique Notes for Perfection
To achieve the perfect Chocolate Hazelnut Linzer, one must respect the thermal properties of the dough. If your kitchen is warm, the butter will melt quickly, leading to a greasy texture. Always work with one sheet of dough at a time, keeping the remainder in the refrigerator. If the dough becomes too soft to handle, return it to the cold immediately.
Precision in rolling is also paramount. Use rolling pin rings or dowels to ensure every cookie is exactly 1/8 inch thick; this ensures they all bake at the same rate, preventing burnt edges on thinner biscuits. For more on managing dough consistency across different environments, review our Foundation Cookie Recipes to master the basics of fat-to-flour ratios. Remember that Dutch-process cocoa absorbs more moisture than natural cocoa, so do not be tempted to add more flour even if the dough feels soft initially.
Tested Adaptations of the Classic Recipe
While the chocolate and hazelnut combination is a modern favorite, the Linzer tradition is ripe for regional variation. You might consider replacing the hazelnut spread with a traditional raspberry jam, which provides a sharp acidity that cuts through the rich cocoa. This variation was common in 19th-century British interpretations of Austrian sweets.
For a more intense chocolate experience, a dark chocolate ganache (made with a 1:1 ratio of heavy cream to 70% cacao) can be used as a filling. If you are interested in how different fats and fillings interact during the baking process, our guide on Holiday Cookie Science provides a deep look at ingredient interactions. You may also replace the sparkling sugar with a dusting of powdered sugar, though this should only be done just before serving to prevent the sugar from dissolving into the biscuit.
Traditional Service and Enjoyment
The Chocolate Hazelnut Linzer is a sophisticated biscuit that demands proper presentation. Traditionally, these would be served during afternoon tea, accompanied by a robust Earl Grey or a dark-roast coffee. The bitterness of the drink provides a perfect foil for the sweet hazelnut interior. For a truly professional display, use a small offset spatula to apply the filling, ensuring a perfectly level surface.
If serving at a formal gathering, consider the geometry of your platter. Arrange the cookies in overlapping rows to showcase the “eye” detail. For more tips on the visual engineering of your bakes, check our guide on Precision Cookie Decorating. These cookies also make an excellent gift when packed in a tin with parchment separators, as their sturdy nature allows them to travel well without breaking.
The Technical Truth of Linzer Bakes
Mastering the Chocolate Hazelnut Linzer is a rite of passage for any baker interested in the intersection of history and science. By respecting the chilling times and focusing on the creaming method, you produce a cookie that is far superior to any mass-produced alternative. This recipe proves that patience is an active ingredient, essential for the structural integrity and flavor development of high-fat cocoa doughs. To continue your journey into methodical baking, explore our section on Efficient Cookie Methods to refine your workflow. For more technical inspiration, follow us on Facebook, Instagram, Pinterest, and X. This recipe was inspired by the techniques seen at Girl Versus Dough, adapted with a focus on historical precision.


