During our most recent round of testing for Slice And Bake Cookies 2, we conducted a side-by-side analysis of various fat-to-flour ratios to determine the precise point where structural stability meets a tender crumb. We found that maintaining a strictly controlled temperature during the creaming phase prevents the air pockets from collapsing, ensuring the log retains its circular geometry during the chilling process. This scientific approach removes the guesswork often associated with traditional shortbread-style doughs.

These cookies are the result of a rigorous test kitchen protocol designed to maximize flavor through extract synergy and fat emulsification. By utilizing a single egg yolk rather than a whole egg, we have decreased the water content and increased the lecithin, which produces a richer, more cohesive texture. This methodical preparation ensures every slice provides a consistent visual and sensory experience.
The Anatomy of Slice And Bake Cookies 2
The primary advantage of this formula lies in its mechanical predictability and the specific mouthfeel achieved through controlled gluten development. Unlike drop cookies, which rely on rapid spreading and high hydration, Slice And Bake Cookies 2 use a lower moisture-to-fat ratio to create a tight, fine-crumbed matrix that holds its shape under thermal stress. This makes them the ideal candidate for precise aesthetic applications where uniform thickness and diameter are required for presentation.
From a laboratory perspective, the inclusion of both granulated and light brown sugar serves a dual purpose beyond mere sweetness. The granulated sugar (100g) provides the necessary sharp edges for mechanical aeration during the creaming stage, while the tightly packed light brown sugar (50g) introduces a specific level of hygroscopic moisture. This balance ensures the cookies are crisp at the edges but retain a soft, pliable center. Furthermore, the ability to prep the dough logs up to three days in advance allows for maximum flour hydration, which results in a more developed flavor profile and a superior bake.
We also prioritized the ease of slicing by optimizing the fat solidification rate. By chilling the dough at a standard refrigerator temperature (approx. 38°F / 3°C), the butter reaches a plastic state that is firm enough to resist the pressure of a knife but soft enough to prevent cracking. This technical precision ensures that every cookie in the batch is a perfect clone of the last, satisfying the needs of even the most detail-oriented baker.
Print
Slice And Bake Cookies 2
- Total Time: 3 hours 32 mins
- Yield: 30 cookies
- Diet: Vegetarian
Description
Experience the precision of a test-kitchen favorite with these scientifically optimized slice-and-bake cookies. By controlling the fat-to-flour ratio and chilling process, these treats achieve a perfectly tender crumb and professional appearance every time.
Ingredients
- 226g (1 cup) unsalted butter, softened
- 100g (1/2 cup) granulated sugar
- 50g (1/4 cup) light brown sugar
- 1 large egg yolk
- 1/2 teaspoon salt
- 1 teaspoon vanilla extract
- 1/2 teaspoon almond extract
- 295g (2 1/4 cups) all-purpose flour
- 2 1/2 Tablespoons nonpareils
Instructions
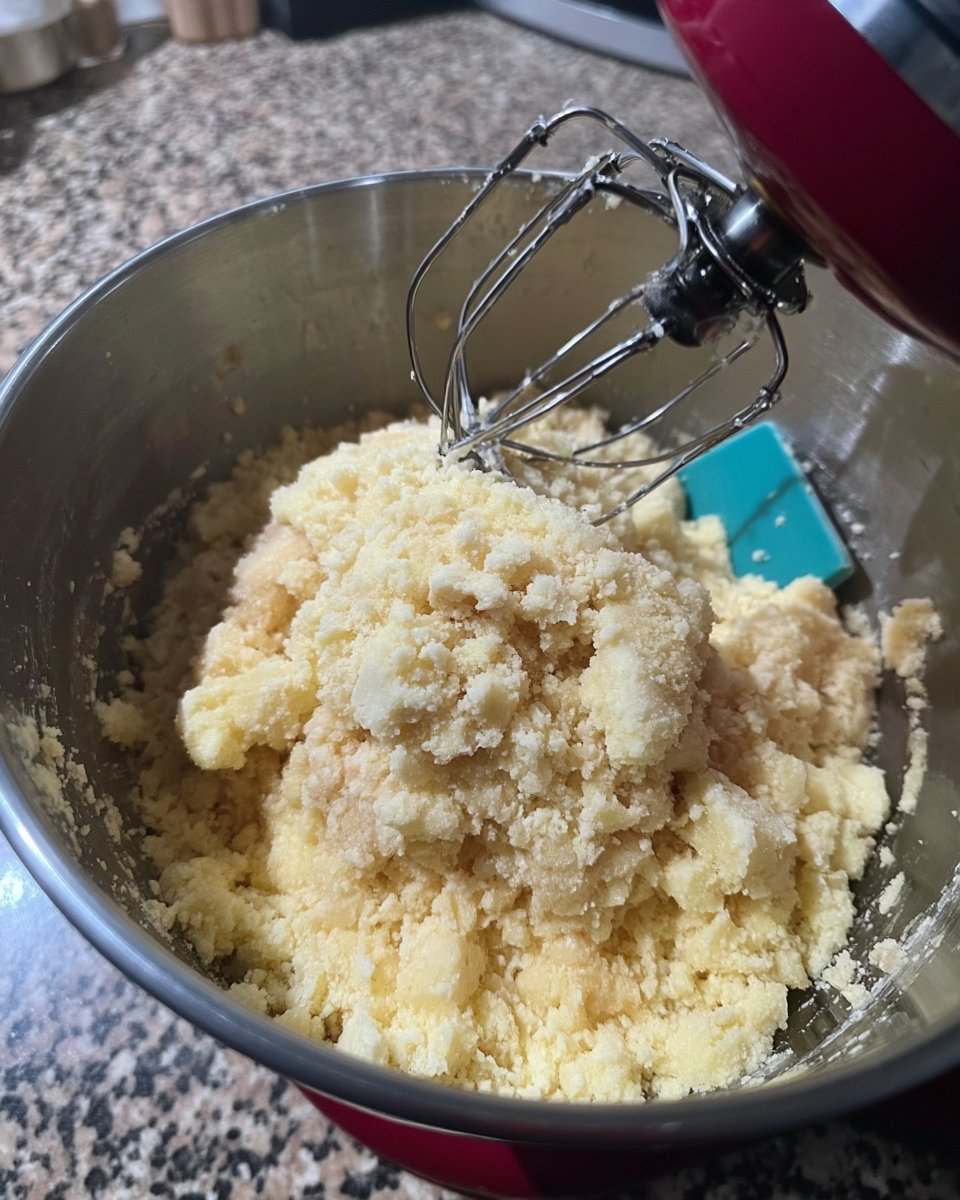
- Cream the softened butter, granulated sugar, and light brown sugar together on medium speed for 3-4 minutes until light and fluffy.
- Beat in the egg yolk followed by the salt, vanilla extract, and almond extract, scraping the bowl to ensure full emulsification.
- Add the flour on low speed, mixing just until combined to prevent over-developing the gluten.
- Fold in the nonpareils by hand to maintain the integrity of the colors.
- Form the dough into two 2-inch diameter logs using wax paper and chill for a minimum of 2-3 hours.
- Preheat the oven to 350°F (175°C) and line a baking sheet with parchment paper.
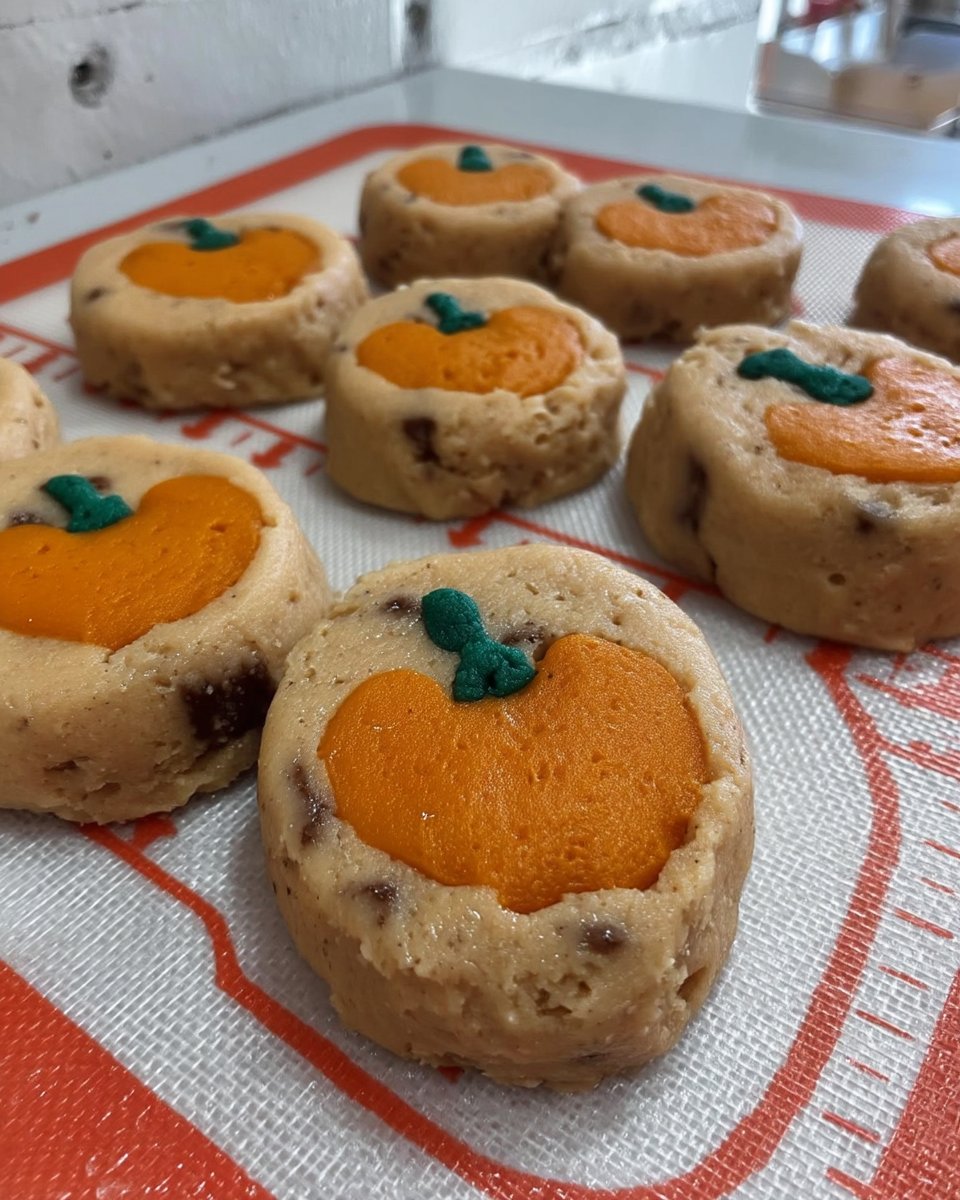
- Slice the logs into 1/4-inch thick rounds and bake for 10-12 minutes until the edges are lightly golden.
Notes
To maintain a perfectly round shape, rest the wrapped dough logs inside an empty cardboard paper towel tube during the chilling phase. This prevents the bottom from flattening under its own weight, ensuring every cookie is a perfect circle.
- Prep Time: 20 mins
- Cook Time: 12 mins
- Category: Dessert
- Method: Baking
- Cuisine: American
The Formula for Shortbread Success
To achieve the specific texture required for these cookies, we must look closely at the chemical composition of each component. Each ingredient has been weighed to the gram to ensure the protein-to-fat ratio remains constant across all batches.
- Unsalted Butter (226g / 1 cup): We specify unsalted butter to maintain total control over the sodium content, which affects the strengthening of the gluten network. The butter must be softened to approximately 65°F (18°C) to allow for optimal air entrapment during the creaming process.
- Granulated Sugar (100g / 1/2 cup): Provides structure and aids in the Maillard reaction, contributing to the golden-brown edges.
- Light Brown Sugar (50g / 1/4 cup): The molasses content provides a slight acidity that reacts with the flour proteins to tenderize the crumb.
- Large Egg Yolk (1 unit): The yolk acts as a natural emulsifier. The lecithin within the yolk binds the fats and liquids together, preventing the dough from becoming greasy.
- All-Purpose Flour (295g / 2 1/4 cups): We tested flour with protein contents ranging from 10% to 11.5%. A standard all-purpose flour at 11% provides enough structure to prevent spreading without making the cookie tough.
- Salt (1/2 teaspoon): Essential for flavor modulation and for tightening the gluten strands.
- Vanilla and Almond Extracts: The 1:0.5 ratio of vanilla to almond creates a complex aromatic profile that mimics professional bakery standards. The almond extract is optional but recommended for a deeper flavor dimension.
- Nonpareils (2 1/2 Tablespoons): These provide a textural contrast and visual interest. We recommend high-quality nonpareils that have a high melting point to prevent color bleeding during the mixing phase.
The Laboratory Process
Step 1: Aeration and Sugar Integration
In the bowl of a stand mixer fitted with the paddle attachment, combine 226g of softened unsalted butter with 100g of granulated sugar and 50g of light brown sugar. Beat on medium speed for approximately 3-4 minutes. You are looking for a physical change where the mixture becomes pale and noticeably aerated. This mechanical leavening is the only lift the cookies will receive, so do not rush this stage.
Step 2: Emulsification of Fats and Aromatics
Add the single large egg yolk to the creamed mixture. Continue to beat on medium-low speed until fully integrated. Once the yolk is absorbed, add 1/2 teaspoon of salt, 1 teaspoon of vanilla extract, and 1/2 teaspoon of almond extract. Scrape the sides of the bowl with a silicone spatula to ensure that no unmixed fat remains at the bottom, which could cause inconsistent texture in the final bake.
Step 3: Flour Incorporation and Gluten Management
Reduce the mixer speed to the lowest setting. Gradually add the 295g of all-purpose flour. It is critical to stop the mixer as soon as the last streaks of white disappear. Over-mixing at this stage will develop too much gluten, leading to a tough, bready cookie rather than a short, crisp one. If the dough appears crumbly, use a spatula to finish the mixing by hand, pressing the dough against the side of the bowl until it clumps together.
Step 4: Inclusion Management
If using colorful nonpareils, fold them in gently by hand using a wide spatula. This prevents the friction of the mixer from breaking the sugar coating on the sprinkles, which can lead to unsightly gray or muddy streaks in the dough.
Step 5: Log Formation and Geometry Stabilization
Divide the dough into two equal portions (approximately 340g each). Place each portion onto a sheet of wax paper. Using the paper as a guide, roll the dough into a cylinder approximately 2 inches (5cm) in diameter. To ensure the logs remain perfectly round and do not develop a flat side while chilling, place the wrapped logs inside a cardboard paper towel tube that has been slit lengthwise. This provides a rigid, curved cradle for the dough.
Step 6: Thermal Conditioning
Transfer the logs to the refrigerator and chill for a minimum of 2-3 hours. For the best scientific results, a 24-hour chill allows for full starch hydration, which results in a more uniform bake and a deeper flavor profile. The fat must be completely cold before the dough hits the oven to prevent premature spreading.
Step 7: Precision Slicing and Baking
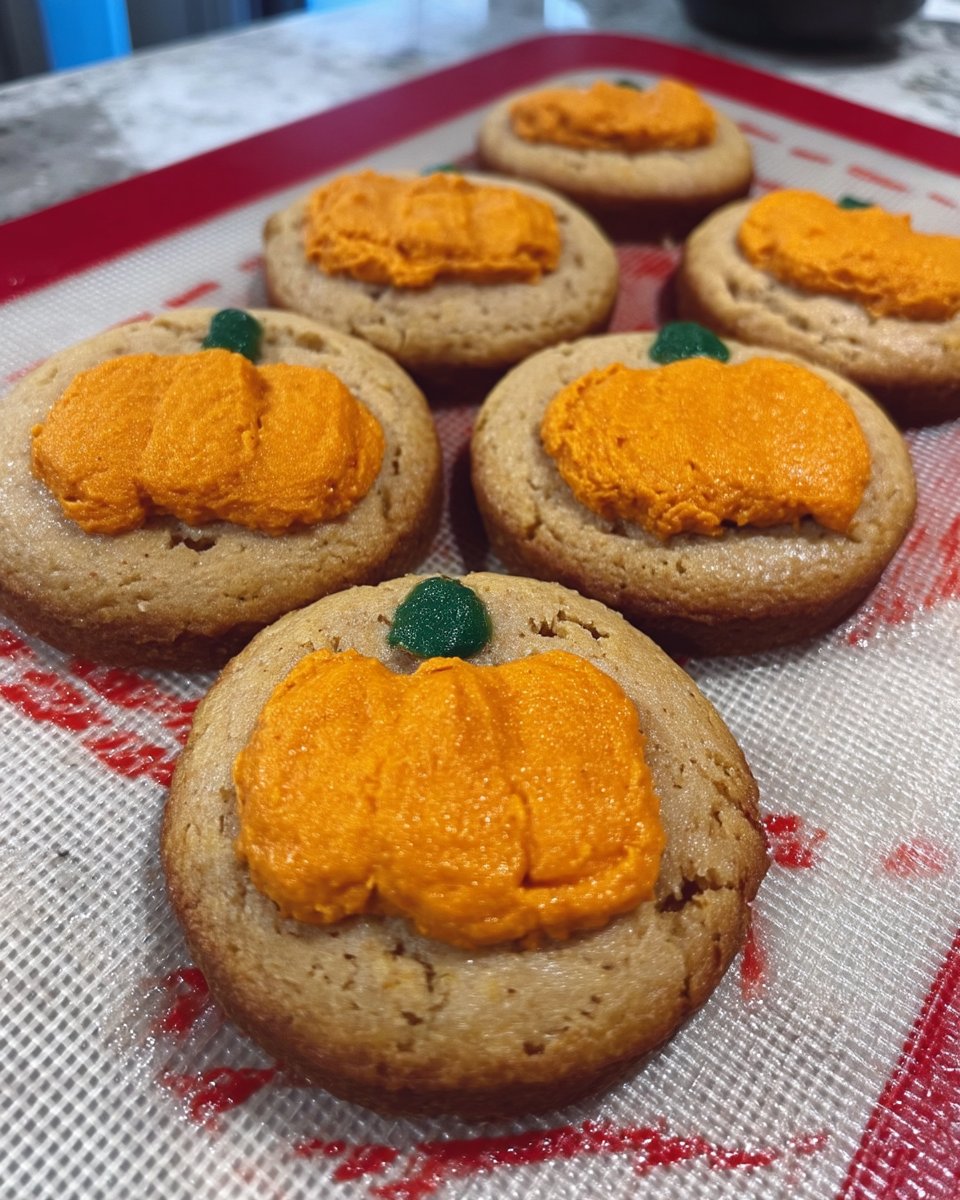
Preheat your oven to 350°F (175°C) and line a heavy-gauge baking sheet with parchment paper. Remove one log at a time from the refrigerator. Using a sharp, non-serrated chef’s knife, cut the log into 1/4-inch (0.6cm) slices. Place the discs on the prepared sheet, spaced 1 inch apart. Bake for 10-12 minutes. The visual cue for completion is when the edges are just beginning to turn a pale golden brown, while the centers remain matte and set.
Test Kitchen Secrets for Clean Slices
To achieve a professional-grade finish, always use a cold knife and a cold log. If the dough begins to soften while you are slicing, return it to the freezer for 10 minutes to re-stabilize the butter. We also recommend rotating your baking sheet 180 degrees halfway through the bake to account for oven hot spots, ensuring even heat distribution across all 30 cookies. For those interested in optimizing their workflow for large batches, our guide on Efficient Cookie Methods details how to scale these ratios without losing structural integrity. Additionally, using a ruler to mark your log before slicing ensures that every cookie is exactly 1/4 inch thick, which leads to a perfectly synchronized baking time for the entire tray.
Precision Ratio Tweaks
While this base formula is highly stable, you can modify the flavor profile by adjusting the inclusions or the extract ratios. For a citrus variation, replace the almond extract with 1 tablespoon of fresh lemon zest; the oils in the zest will emulsify perfectly with the butter. If you prefer a more decadent finish, you can dip the cooled cookies into tempered high-quality dark chocolate (60% cacao or higher). For more information on the chemistry of add-ins, refer to our study on Holiday Cookie Science, where we examine how different inclusions affect the final moisture content of shortbread doughs. You can also substitute the nonpareils for finely chopped pecans or walnuts, provided you maintain the 2.5 tablespoon volume to avoid disrupting the dough’s cohesion.
Optimal Texture Enjoyment
These cookies are best served at room temperature (approx 70°F / 21°C), which allows the butter to soften slightly, releasing the volatile aromatic compounds from the vanilla and almond extracts. If you have dipped your cookies in chocolate, ensure the chocolate has fully tempered and set to provide a crisp snap that contrasts with the tender cookie. For those looking to master the art of presentation, our resources on Foundation Cookie Recipes offer further insights into how temperature affects the sensory perception of sweetness and fat. For a professional touch, serve these alongside a hot beverage like espresso or Earl Grey tea; the heat from the drink will slightly melt the cookie’s fats on the palate, creating a luxurious finish.
The Final Scientific Verdict
Success in baking is rarely a matter of luck; it is a matter of understanding the thermal and chemical reactions occurring inside your oven. This recipe for Slice And Bake Cookies 2 provides a reliable framework for anyone looking to achieve consistent results through precision and patience. By mastering the creaming method and the chilling phase, you gain complete control over the final outcome. For more advanced techniques on aesthetic finishing, visit our section on Precision Cookie Decorating. For a comparative look at similar methods, you may also find this external resource helpful in your research. We invite you to share your results and continue your baking education with us on Pinterest, Instagram, and Facebook. Keep testing, keep measuring, and keep baking with precision.
