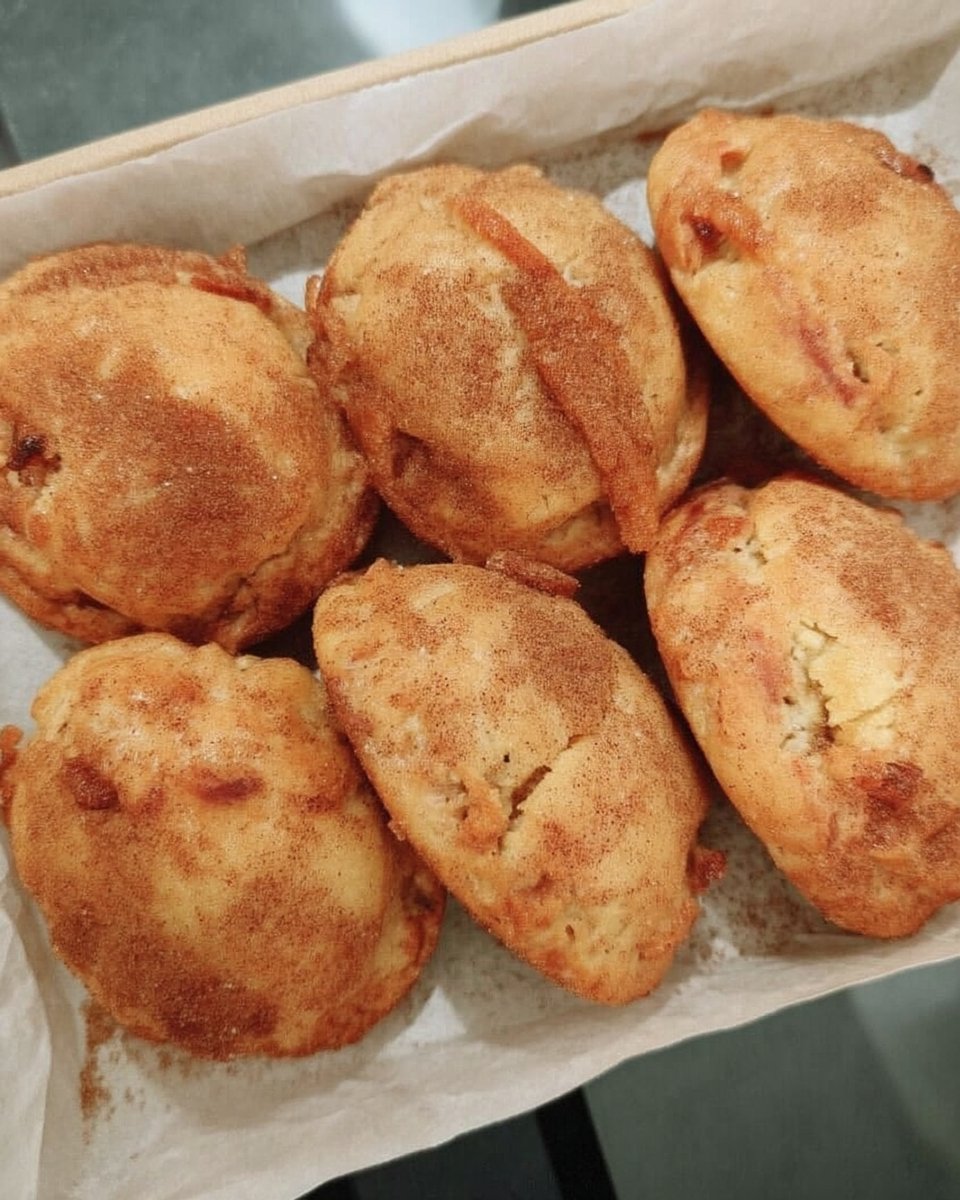
The first time I observed the structural collapse of a Polvorón, I was fascinated by the physics of its ‘dusty’ crumb. The name stems from ‘polvo,’ the Spanish word for dust, which perfectly describes the sensory experience of a cookie that resists gluten development to favor a melt-away texture. This unique behavior is a result of lipid interference, where fats coat flour proteins so thoroughly that water cannot trigger the elastic bonds we usually seek in bread.

In this specific formula, we focus on the interplay between shortening and sugar to create a sturdy yet fragile matrix. These vibrant Mexican pink cookies are a staple of the panaderia, offering a lesson in how simple ingredients behave under precise thermal conditions. By managing our aeration and temperature, we produce a bake that honors traditional heritage through modern flavor science.
The Physics of the Melt\n\nMost cookies rely on a balance of chew and crunch, but the Polvorón lives in the realm of friability. This recipe is a remarkable study in gluten inhibition. Because we use a high ratio of shortening—a 100% fat medium—to flour, we effectively encapsulate the gliadin and glutenin proteins. This prevents them from hydrating and forming the long, elastic chains that create chew. The result is a cookie that holds its shape under gravity but disintegrates upon the mechanical pressure of a bite, releasing a burst of vanillin and sucrose.\n\nYou will find the mouthfeel of these cookies surprisingly complex despite their humble origins. The science of ‘shortness’ in baking refers to this exact phenomenon: shortening the protein strands. This leads to a sensory experience where the cookie feels substantial on the tongue before rapidly dissolving. Unlike butter-based cookies, which contain roughly 16% to 18% water, shortening is anhydrous. This lack of moisture is the secret to preventing the cookies from becoming tough or bread-like, maintaining a delicate, sandy texture that is scientifically distinct from a standard sugar cookie.\n\nFurthermore, the use of cane sugar as a topical coating adds a secondary texture layer. While the interior is soft and powdery, the exterior provides a sharp, crystalline crunch. This contrast is a beautiful example of textural layering, where the rapid dissolution of the interior is preceded by the structural resistance of the sugar crystals. It is a satisfying sequence of events for the palate, making each bite a discovery of how different forms of the same ingredients can behave so differently.
Print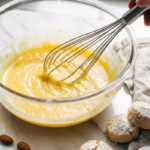
Polvorones
- Total Time: 1 hour 29 mins
- Yield: 24 cookies
- Diet: Vegetarian
Description
Experience the delicate, melt-away texture of traditional Mexican Polvorones with this science-backed recipe. These vibrant pink treats leverage a high lipid-to-protein ratio to create a signature ‘dusty’ crumb that is a staple of any classic panaderia.
Ingredients
- 541g All-Purpose Flour
- 336g Vegetable Shortening or Lard
- 300g White Granulated Sugar
- Pure Vanilla Extract (or vanilla bean paste)
- Large Eggs
- Baking Soda
- Baking Powder
- Salt
- Concentrated gel food coloring (pink)
- Cane sugar (for coating)
Instructions
- In a large glass bowl, whisk together the flour, baking soda, baking powder, and salt until evenly distributed.
- Using a stand mixer with a paddle attachment, cream the shortening, granulated sugar, and vanilla on medium speed for two minutes to achieve proper aeration.
- Incorporate the eggs one at a time, allowing the mixture to emulsify thoroughly.
- Set the mixer to low and gradually add the dry ingredients, mixing only until no white streaks of flour remain.
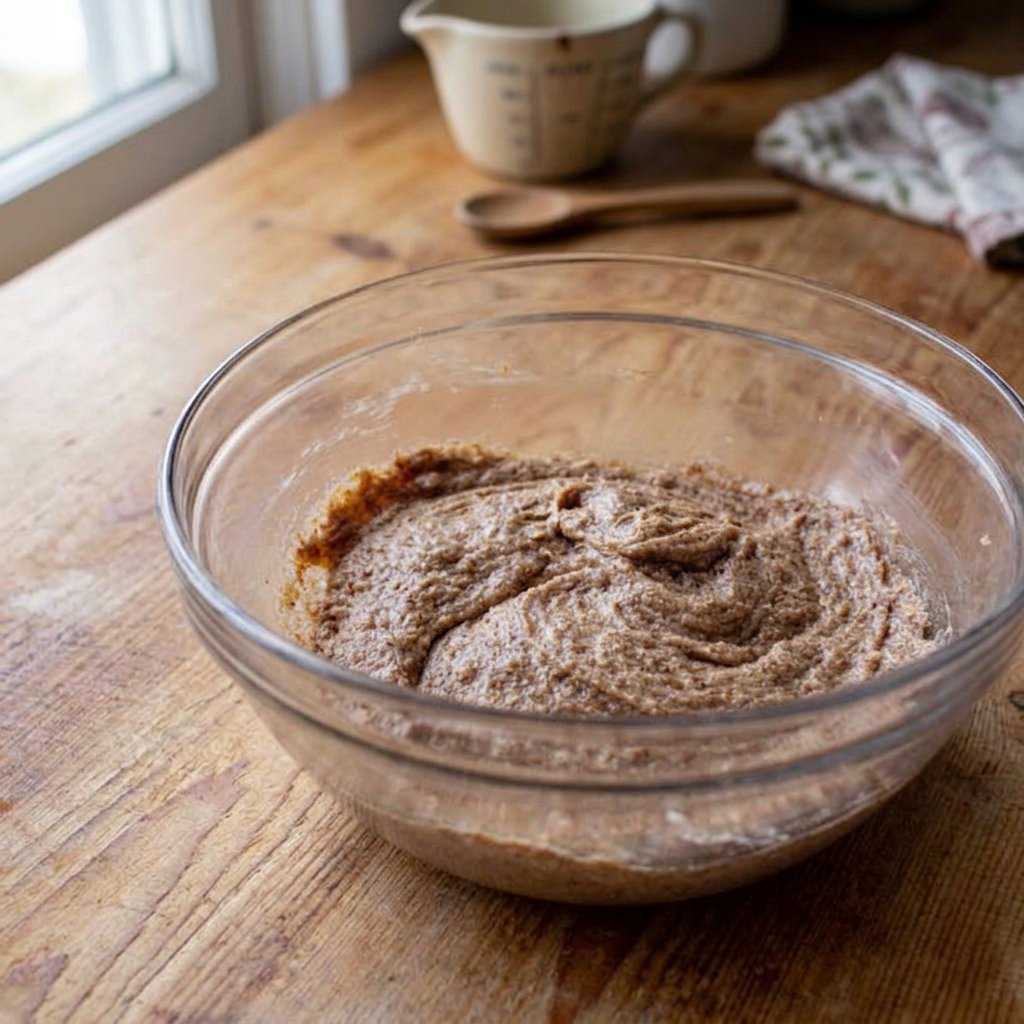
- Tint the dough with pink gel food coloring, wrap in plastic, and refrigerate for at least one hour to stabilize the fats.
- Preheat your oven to 350ºF and line baking sheets with parchment paper.
- Scoop 1/4 cup portions of dough, roll into spheres, and coat each ball in cane sugar.
- Place on the prepared sheets, flatten slightly, and bake for 12-14 minutes until the cookies crack but remain pale in color.
Notes
To achieve the lightest possible texture, ensure your shortening is at room temperature before beginning the creaming process. If you find the dough too soft to handle after coloring, an additional 30 minutes of chilling will help the lipids solidify, preventing excessive spread in the oven.
- Prep Time: 1 hour 15 mins
- Cook Time: 14 mins
- Category: Dessert
- Method: Baking
- Cuisine: Mexican
Structural Building Blocks\n\nEvery component in this recipe serves a specific chemical purpose in the final crumb architecture. We are not just mixing ingredients; we are building a stable emulsion that will undergo a specific transformation in the heat of the oven. Understanding these blocks allows for a more precise bake.\n\n* All-Purpose Flour (541g): This provides the scaffolding. We choose all-purpose for its moderate protein content (usually 10-12%). This is enough to provide structure so the cookie doesn’t vanish into a puddle, but low enough that it doesn’t become rubbery.\n* Vegetable Shortening or Lard (336g): This is our primary lipid. Lard provides a traditional, slightly savory depth and a large crystal structure that creates a very flaky crumb. Shortening is engineered for a consistent beta-prime crystal size, which is perfect for trapping air during the creaming stage. Both are 100% fat, making certain there is no water to activate gluten.\n* White Granulated Sugar (300g): Beyond sweetness, sugar is a humectant. It interferes with the coagulation of egg proteins and the gelatinization of starch, which keeps the cookie soft. During creaming, the sharp edges of the sugar crystals carve tiny tunnels into the fat, which later expand with gas to create the rise.\n* Pure Vanilla Extract: We use this for its high concentration of vanillin. When heated, vanillin becomes highly volatile, providing the aromatic profile that characterizes the classic panaderia scent. For a more intense experience, vanilla bean paste offers the added visual of tiny seeds and a broader range of aroma compounds.\n* Large Eggs: These provide the only significant moisture in the recipe. The proteins in the egg whites offer a small amount of structural support through coagulation, while the lecithin in the yolks acts as an emulsifier, helping the fat and sugar stay unified.\n* Baking Soda and Powder: This dual leavening system manages the pH of the dough. The soda encourages browning (the Maillard reaction) even at shorter bake times, while the powder provides a consistent lift for that iconic cracked surface.

The Kinetic Sequence\n\n### Step 1: Dry Ingredient Integration\nIn a large glass bowl, whisk together the flour, baking soda, baking powder, and salt. This step is critical for even distribution of the leavening agents. If the baking soda is concentrated in one area, you will get uneven gas pockets and a localized metallic taste. We want the salt crystals to be dispersed so they can act as flavor boosters throughout the entire matrix.\n\n### Step 2: Aeration and Emulsification\nUsing a stand mixer with the paddle attachment, combine the shortening, granulated sugar, and vanilla. Beat on medium speed for exactly two minutes. During this time, the sugar crystals are physically cutting air into the fat. This process, known as creaming, is what determines the final density of the cookie. Add the eggs one at a time, allowing the lecithin in the yolk to bond the fats with the small amount of water in the egg whites.\n\n### Step 3: Low-Hydration Mixing\nTurn the mixer to the lowest setting and add the dry ingredients one cup at a time. We do this slowly to avoid overworking the dough. Even with the fat coating the flour, excessive mechanical energy can still force some gluten development. Mix only until no streaks of white remain. The dough should feel heavy and slightly greasy, which is a sign of a well-saturated lipid-flour mixture.\n\n### Step 4: Pigmentation and Thermal Stabilization\nDivide the dough into portions for coloring. If you are making the traditional pink version, use a concentrated gel food coloring to avoid adding unnecessary moisture. Knead the color in gently. Wrap the dough in plastic and refrigerate for at least one hour. This rest period allows the fats to solidify and the flour to fully hydrate, which makes certain the cookies do not spread too thin in the oven.\n\n### Step 5: Shaping and Thermal Transformation\nPreheat your oven to 350ºF. Scoop 1/4 cup portions and roll them into spheres. The rolling action should be brief to avoid melting the fats with the heat from your hands. Coat each ball in cane sugar for that essential crunch. Place them on parchment-lined sheets and flatten slightly. Bake for 12-14 minutes. We are looking for the cookies to crack—a sign of the internal gases escaping—but they should remain pale. Browning changes the flavor profile toward caramelization, which can mask the delicate vanilla and fat notes of a true Polvor3n.
Precision Adjustments for Texture\n\nOne fascinating scientific trick to improve the ‘dusty’ quality of your cookies is to toast your flour before mixing. By heating the dry flour in a pan until it smells slightly nutty, you are performing a dry Maillard reaction. This not only creates complex pyrazine flavor compounds but also denatures some of the proteins, further reducing their ability to form gluten. If you choose this path, let the flour cool completely before use to prevent melting your shortening prematurely. For more ideas on managing dough behavior, examine our Foundation Cookie Recipes to see how different flours impact crumb structure. Also, pay attention to your salt placement; adding a few larger flakes of sea salt on top can suppress the perception of bitterness in the fat and make the sweetness feel more vibrant.
Molecular Swaps and Tweaks\n\nYou can easily shift the flavor profile by looking at shared chemical compounds. For example, adding orange zest introduces limonene, a terpene that shares an aromatic bridge with vanilla, creating a bright, citrusy lift. If you want to experiment with different fat profiles, try a blend of 50% lard and 50% butter. The butter adds diacetyl (the ‘buttery’ scent) while the lard preserves the crumbly texture. For a deeper look at seasonal variations, see our guide on Holiday Cookie Science. You might also find inspiration in the traditional Chicano Eats version, which highlights the cultural significance of the pink aesthetic and its specific place in Mexican baking history.
Thermodynamic Pairing Suggestions\n\nThe way you serve these cookies can change how the flavors are perceived on the tongue. Serving them alongside a hot beverage, such as Mexican hot chocolate or a dark roast coffee, is scientifically sound. The heat from the liquid helps melt the shortening faster in your mouth, which releases the fat-soluble vanilla compounds more effectively. Coffee also contains bitter alkaloids that balance the high sucrose content of the cookie coating. For more on the science of pairing and how cookies trend based on their flavor profiles, check out our Viral Cookie Analysis. You might also consider serving them at a slightly cool room temperature (around 68ºF) to maintain the crispness of the outer sugar layer.
