The transition from the dense, honey-laden cakes of the Middle Ages to the crisp, aerated biscuits of the Victorian era represents a significant shift in culinary physics. Historical bakers discovered that by vigorously beating sugar into softened animal fats, they could trap microscopic air bubbles, providing a lift that predates modern chemical leaveners. This method, which we now recognize as the creaming process, remains the technical foundation for the perfect butter cookie.

These particular biscuits are a study in structural integrity and lipid-to-flour ratios, producing a crumb that is simultaneously firm to the touch and melting on the tongue. By focusing on high-quality dairy and controlled temperatures, we honor a tradition of precision that has satisfied tea-time requirements for generations.
The Heritage of the Perfect Snap
There is a profound satisfaction in a biscuit that honors the traditional ratio of fat to flour without relying on the crutch of modern additives. You will find that these butter cookies offer a remarkable clarity of flavor because they prioritize the quality of the lipid content over excessive sweetness. The science of this recipe relies on the interaction between the sucrose crystals and the butterfat; as the sugar dissolves during the bake, it creates a delicate, glass-like structure that provides that signature crispness.
Historically, the butter cookie was a marker of status in British households, as the high fat content required a cool larder and expensive ingredients. Today, we value it for its methodical simplicity. The addition of egg yolks specifically contributes lecithin, an emulsifier that binds the water in the butter to the proteins in the flour, preventing the dough from becoming tough. This creates a short crumb, a term bakers have used for centuries to describe a texture that breaks easily rather than stretching.
Modern testing confirms what our ancestors knew intuitively: the resting period is not merely a suggestion. It allows the flour to fully hydrate and the fats to re-solidify, which controls the spread in the oven. This results in a cookie with a consistent height and a uniform golden edge. When you bite into one, you are experiencing the culmination of centuries of baking refinement, distilled into a single, buttery moment.
Print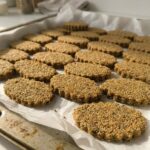
Butter Cookies
- Total Time: 1 hour 32 mins
- Yield: 16 cookies
- Diet: Vegetarian
Description
Master the art of heritage baking with these crisp, short-crumb butter cookies that rely on the traditional creaming method for their delicate lift. These biscuits offer a sophisticated clarity of flavor, balancing high-quality dairy with a signature sanding sugar rim for the perfect tea-time treat.
Ingredients
- 1 cup unsalted butter, softened (82% fat preferred)
- 3/4 cup granulated sugar
- 1/4 teaspoon salt
- 2 large egg yolks
- 1 teaspoon pure vanilla extract
- 2 1/4 cups all-purpose flour
- 1/4 cup sanding sugar, for coating
Instructions
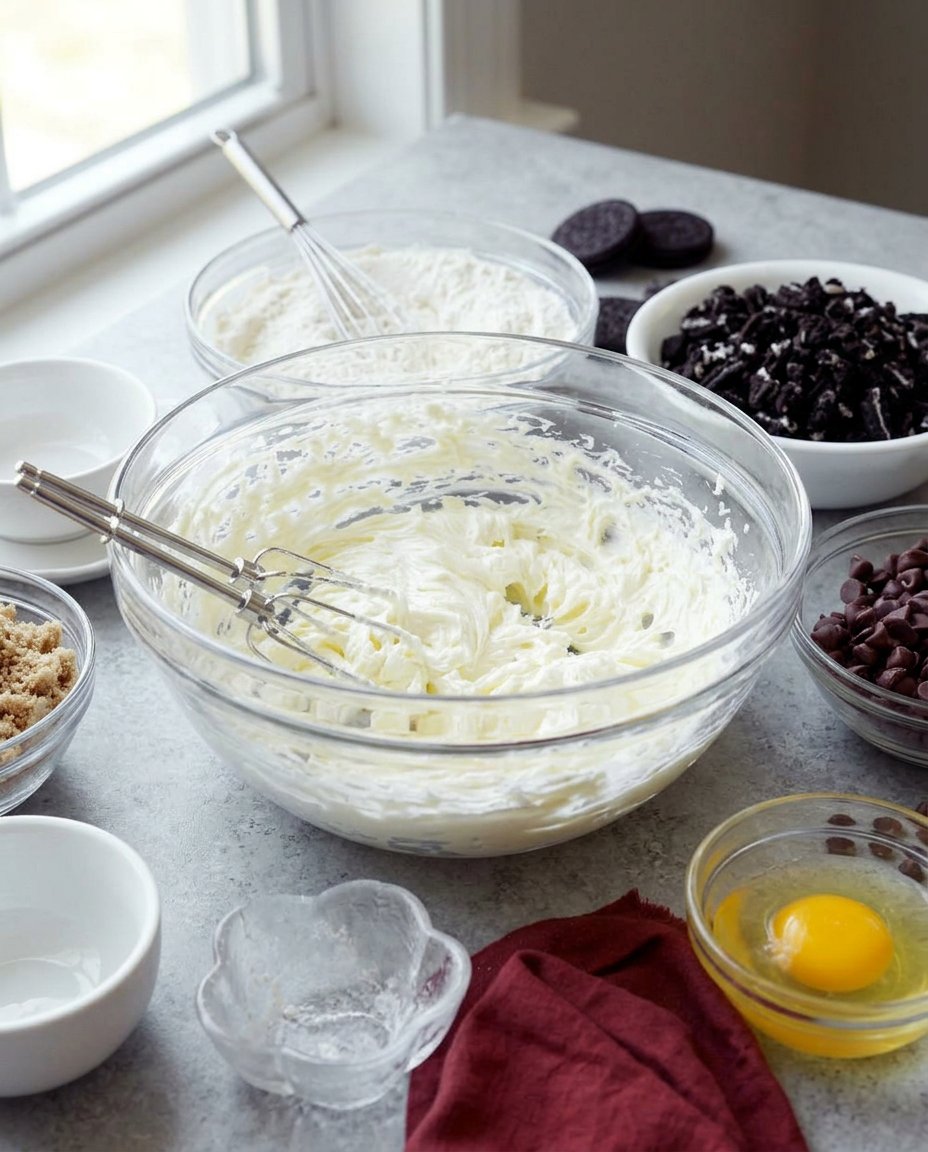
- In a stand mixer fitted with the paddle attachment, cream the softened butter, granulated sugar, and salt on medium speed for 2 to 3 minutes until pale and aerated.
- Reduce the mixer speed to low and introduce the egg yolks and vanilla extract, scraping down the bowl to ensure a uniform emulsion.
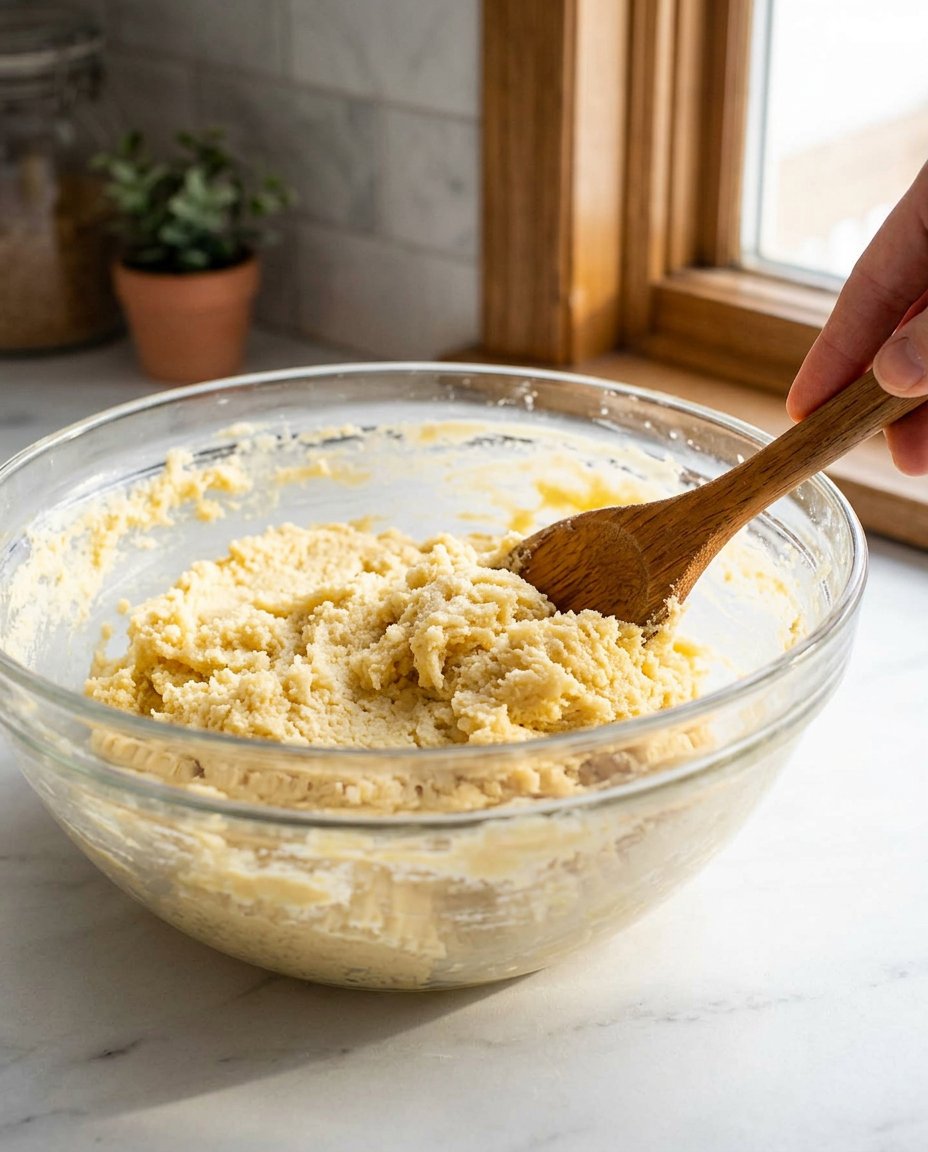
- Add the measured flour and mix on the lowest setting just until the white streaks disappear, being careful to minimize gluten development.
- Transfer the dough to a lightly floured surface, knead gently to bring it into a cohesive mass, and form into a 12-inch cylinder.
- Wrap the log tightly in parchment paper or plastic film and refrigerate for a minimum of one hour to allow the starch to hydrate and the fats to re-solidify.
- Preheat your oven to 350°F, roll the chilled log in sanding sugar until coated, and use a sharp knife to slice into discs exactly 3/4-inch thick.
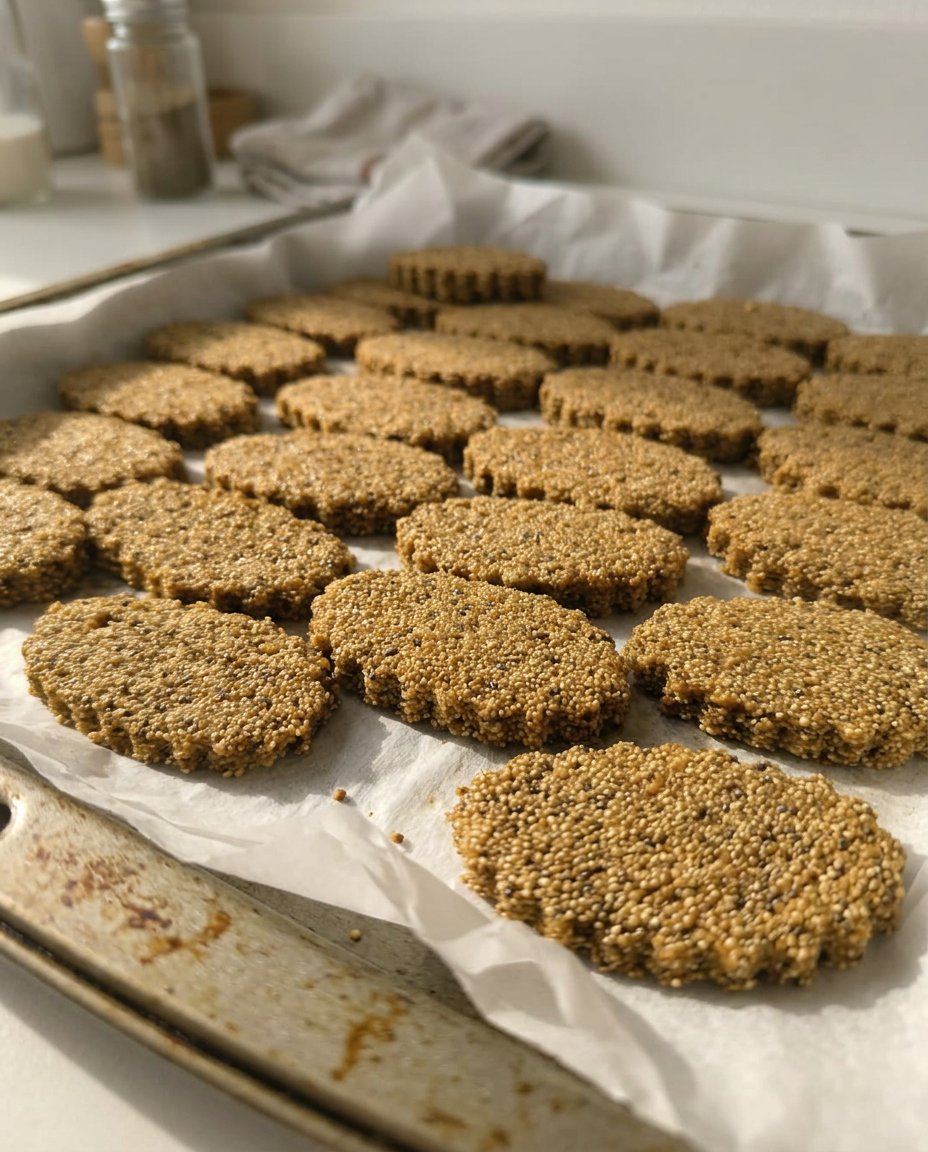
- Arrange the discs on parchment-lined baking sheets and bake for 10 to 12 minutes until the edges are a very pale gold and the centers are matte.
Notes
For the most precise results, always measure your ingredients by weight using a digital scale to ensure the perfect lipid-to-flour ratio. If you find your dough log flattening in the fridge, placing it inside a cardboard tube will help maintain its professional circular shape during the chilling process.
- Prep Time: 20 mins
- Cook Time: 12 mins
- Category: Dessert
- Method: Creaming
- Cuisine: British
Proper Components for Technical Success
To achieve the specific texture required for a traditional butter cookie, one must understand the function of each component within the emulsion. The selection of ingredients is not merely about flavor, but about the chemical reactions that occur at 350°F.
- Unsalted Butter: This is the structural backbone of the biscuit. Using unsalted butter allows the baker to control the mineral content precisely, which is vital for maintaining the integrity of the gluten bonds. Aim for a butter with at least 82% fat content for the best results.
- Granulated Sugar: Beyond sweetness, sugar acts as a physical tenderizer. It interferes with the development of gluten by competing with the flour for moisture, keeping the cookie tender.
- All-Purpose Flour: A medium-protein flour (roughly 10-11%) provides enough structure to hold the shape without making the biscuit bready or hard.
- Egg Yolks: By excluding the whites, we remove the excess water and albumen, which can lead to a leathery texture. The yolks provide fat and color, resulting in a richer, more fragile crumb.
- Sanding Sugar: This coarse sugar has a higher melting point than standard granulated sugar, allowing it to remain intact during the bake for a textural contrast on the rim.
- Pure Vanilla Extract: In a recipe with so few ingredients, the quality of the aromatic carries the profile. Historical recipes often used rosewater or mace, but high-quality vanilla has become the modern standard for heritage baking.
The Proper Method for Butter Cookies
Step 1: Execute the Creaming Process
In the bowl of a stand mixer fitted with the paddle attachment, combine the softened butter, granulated sugar, and salt. Beat on medium speed for approximately 2 to 3 minutes. This duration is specific; you are looking for the mixture to transition from a dense yellow to a pale, aerated ivory. This physical agitation creates the primary leavening for the cookie.
Step 2: Emulsify the Aromatics and Yolks
Reduce the mixer speed to low and introduce the egg yolks and vanilla extract. It is vital to scrape down the sides of the bowl with a flexible spatula to ensure every gram of fat is incorporated into the emulsion. Continue mixing only until the color is uniform. Over-mixing at this stage can introduce too much heat, potentially melting the butterfat before it reaches the oven.
Step 3: Incorporate the Structural Foundation
Add the measured flour to the bowl. Mix on the lowest setting just until the white streaks of flour disappear. The goal here is to minimize gluten development. If you work the dough too much, the resulting cookie will be tough rather than short. The dough will appear soft, which is normal given the high lipid ratio.
Step 4: Shape and Condition the Dough
Transfer the dough to a lightly floured surface. Knead it gently two or three times to bring it into a cohesive mass. Form the dough into a cylinder approximately 12 inches in length. This log-shaped method is a classic technique that ensures uniform heat distribution during the bake. Wrap the log tightly in parchment paper or plastic film, twisting the ends to maintain pressure.
Step 5: The Essential Chill Period
Refrigerate the dough for a minimum of one hour. To prevent the log from developing a flat side—a common problem in domestic refrigeration—place the wrapped cylinder inside an empty cardboard paper towel tube. This keeps the round profile perfect. This resting period allows the starch granules in the flour to swell and the butter to firm up, which is the secret to a professional finish.
Step 6: Coating and Precision Slicing
Preheat your oven to 350°F and prepare your baking sheets with parchment. Spread the sanding sugar on a flat tray. Unwrap the chilled dough and roll it firmly through the sugar, applying enough pressure so the crystals adhere to the outer surface. Use a sharp, non-serrated knife to slice the log into discs exactly 3/4-inch thick. Precision here ensures that every cookie in the batch finishes baking at the exact same moment.
Step 7: The Final Bake
Arrange the discs on the prepared sheets, leaving one inch of space between them. Bake for 10 to 12 minutes. The technical indicator of readiness is a very pale gold around the extreme edges, while the center remains matte and set. Avoid over-browning, as this destroys the delicate dairy notes of the butter. Let them cool on the sheet to allow the residual heat to finish the internal structure.
Jordan’s Technique Notes for Precision
Temperature control is the most frequent point of failure in heritage biscuit recipes. If your butter is too warm during the creaming stage, the air bubbles will collapse, resulting in a greasy, flat cookie. Conversely, if the butter is too cold, it will not trap air efficiently. Aim for 65°F—the butter should yield to pressure but still hold its shape. For those looking to master other core techniques, I recommend studying our Foundation Cookie Recipes to understand the broader science of dough hydration.
Another technical secret involves the ‘dehydration’ phase. If you prefer a cookie with a traditional British ‘snap’—similar to a digestive biscuit—you can turn the oven off once the cookies are done and crack the door open for five minutes. This allows moisture to escape without further browning the sugars. Always weigh your flour in grams; volumetric measuring with cups is notoriously inaccurate and can lead to a dry, crumbly dough that refuses to hold its shape during the slicing process.
Historical and Regional Adaptations
While the classic vanilla butter cookie is a triumph of simplicity, the Victorian kitchen often saw variations based on seasonal availability. A common regional adaptation is the inclusion of citrus zest; adding the zest of one lemon to the sugar during the creaming process releases essential oils through the abrasive action of the sugar crystals. This technique is often found in Holiday Cookie Science, where aromatics are prioritized for festive bakes.
For a more traditional Scottish variation, you might replace 1/4 cup of the all-purpose flour with rice flour or cornstarch. This further inhibits gluten formation and creates an even more fragile, sandy texture known as ‘short’ dough. You can also experiment with spices such as ground mace or cardamom, which were historically prized for their ability to complement the rich notes of high-quality butter. Always maintain the fat-to-dry-ratio to ensure the structural integrity remains intact.
Traditional Service and Classic Enjoyment
In the British tradition, these biscuits are the quintessential accompaniment to a formal afternoon tea. They should be served on a porcelain or stoneware plate to maintain the proper temperature of the room. The crispness of the cookie provides a necessary textural contrast to the soft nature of finger sandwiches and scones. For a more modern approach, these cookies serve as an excellent base for fruit preserves or a thin layer of high-quality dark chocolate.
When organizing a gathering, refer to our guide on Efficient Cookie Methods to help you manage the timing of your bakes. These cookies are best enjoyed at room temperature, which allows the butterfat to soften slightly, releasing the full bouquet of the vanilla. Store them in an airtight tin—never plastic—to preserve the ‘snap’ that defines a well-executed butter biscuit.
The Technical Truth of Heritage Baking
Mastering the butter cookie is less about the ingredients themselves and more about the respect one shows for the physics of the emulsion. By adhering to the historical methods of creaming and chilling, we produce a biscuit that is far superior to any mass-produced alternative. For those who wish to advance their skills further, our resources on Precision Cookie Decorating offer insights into how these stable bases can be used for more complex artistic endeavors. We invite you to share your technical triumphs with our community and continue the tradition of precise, methodical baking.
Connect with us for more historical techniques on Facebook, Pinterest, and Instagram.
