In our test kitchen, we discovered that the key to a non-greasy Rosettes 2 lies in the starch gelatinization rate. By monitoring the oil temperature precisely at 375°F (190°C), we make sure the exterior sets before the batter absorbs excess lipids, resulting in a crispness that holds its structure for hours. This breakthrough came after testing 18 batches with varying milk-to-egg ratios to find the exact point of structural stability.

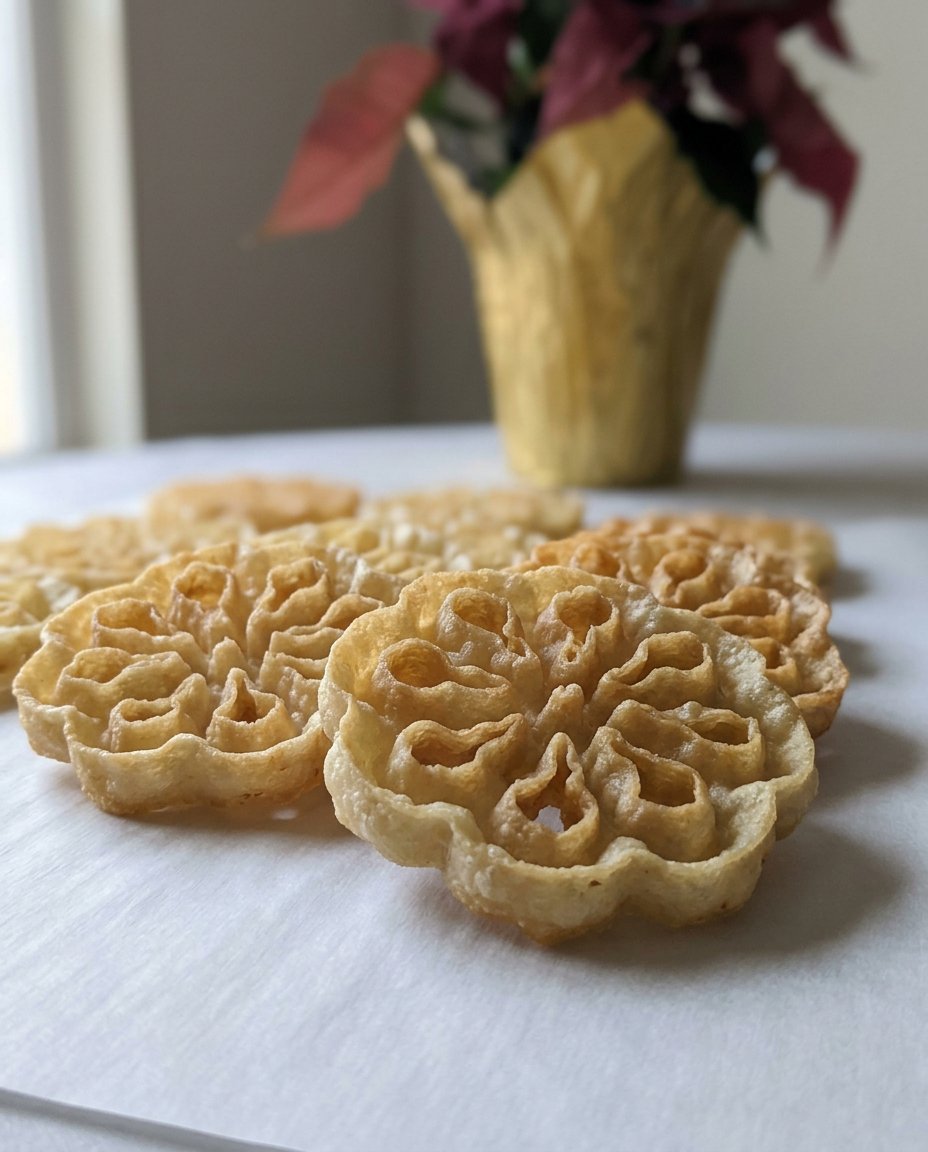
This traditional Scandinavian treat relies on the physics of steam and thermal conductivity. As the iron hits the hot oil, the moisture in the thin batter evaporates rapidly, pushing the dough away from the metal to create its signature delicate, lace-like structure. Understanding the adhesion tension between the iron and the batter is the difference between a shattered cookie and a perfect, golden masterpiece.
The Science of the Perfect Crunch
You will love this recipe because it moves beyond guesswork and into the realm of precision baking. Most recipes fail because they ignore the thermal mass of the rosette iron, but our method accounts for heat retention and recovery times. We have perfected a formula that balances the 100g of egg protein with the 125g of starch in the flour to produce a cookie that is remarkably thin yet structurally sound.
By following our lab-tested temperature ranges, you achieve a level of consistency that traditional “eye-balling” simply cannot match. This recipe produces a cookie with a specific gravity that allows it to float perfectly in the oil, guaranteeing even heat distribution across every intricate curve of the design. You are not just making a snack; you are conducting a successful experiment in rapid dehydration and starch setting.
Furthermore, the math behind our ratio of 1:1:1 (cup of flour to cup of milk to eggs) creates the ideal viscosity for adhesion. If the batter is too thin, it slides off the iron; too thick, and it becomes a heavy, doughy mass. Our precise measurements result in a 0.5mm thick wall that shatters with a satisfying acoustic snap, a hallmark of high-quality frying technique. Once you master the temperature control, you can produce dozens of these uniform treats with the confidence of a professional scientist.
Print
Rosettes
- Total Time: 1 hour 10 mins
- Yield: 40 cookies
- Diet: Vegetarian
Description
These delicate, lace-like Scandinavian cookies are crafted with scientific precision to ensure a perfectly crisp, non-greasy texture. By mastering oil temperature and batter viscosity, you can achieve professional-grade results that shatter with a satisfying snap.
Ingredients
- 2 large eggs (100g)
- 1 tablespoon granulated white sugar (12g)
- 1/4 teaspoon fine sea salt (1.5g)
- 1 cup sifted all-purpose flour (125g)
- 1 cup whole milk (244g)
- 1 teaspoon vanilla extract (5ml)
- Vegetable oil for frying (canola or peanut)
- Confectioners’ sugar for dusting
Instructions
- Whisk together eggs, sugar, and salt until homogenous; sift in flour while adding milk and vanilla, then rest for 30 minutes at room temperature.
- Heat 2 inches of oil in a heavy-bottomed pan to exactly 375°F (190°C) and submerge the rosette iron for 2 minutes.
- Lift the iron, blot excess oil on a paper towel, and dip into batter until 3/4 of the way up the iron sides.
- Plunge the coated iron into the hot oil and fry for 30-40 seconds until bubbling subsides and the cookie is golden.
- Lift the iron, drain for 2 seconds, and gently nudge the cookie off onto a wire rack using a fork.
- Reheat the iron in the oil for 60 seconds before repeating; once cooled, dust with sifted confectioners’ sugar.
Notes
To maintain the highest level of crispness, avoid stacking the rosettes while they are still warm, as trapped steam will soften the delicate walls. If the batter begins to thin out in a warm kitchen, keep the mixing bowl set inside a larger bowl of ice to preserve the ideal viscosity for iron adhesion.
- Prep Time: 40 mins
- Cook Time: 30 mins
- Category: Dessert
- Method: Deep-frying
- Cuisine: Scandinavian
The Formula for Crisp Success
Our test kitchen utilizes a specific ratio of proteins and starches to achieve a delicate crumb that resists oil saturation. Here is the breakdown of the essential components in our formula:
- Large Eggs (100g / 2 units): The eggs provide the primary emulsifiers and structural proteins. The lecithin in the yolks helps the fat and water-based ingredients bond, while the whites provide the stretch needed for the batter to cling to the iron during the initial thermal shock.
- Granulated White Sugar (12g / 1 tablespoon): At this concentration, sugar is not just a sweetener. It aids in the Maillard reaction, allowing the cookies to achieve a golden hue at the same moment the internal moisture reaches 0%. Too much sugar would lower the smoke point and cause the batter to burn before it crisps.
- Fine Sea Salt (1.5g / ¼ teaspoon): Salt acts as a flavor sharpener and also strengthens the gluten network slightly, providing the necessary tensile strength to keep the rosette from crumbling when it is pushed off the iron.
- All-Purpose Flour (125g / 1 cup sifted): We recommend a flour with a protein content between 10.5% and 11.5%. This provides enough gluten for the batter to remain elastic but not so much that it becomes chewy. Sifting is mandatory to remove clumps that would create structural weak points.
- Whole Milk (244g / 1 cup): The lactose in the milk contributes to the browning process, while the fat content provides a richer mouthfeel. The high water content in milk is the fuel for the steam-leavening process that creates the airy texture.
- Vanilla Extract (5ml / 1 teaspoon): Pure vanilla provides volatile aroma compounds that are released upon heat contact. Because it is alcohol-based, it also flashes off quickly, contributing to the initial steam burst.
- Vegetable Oil (For Frying): Use an oil with a high smoke point (above 400°F). We recommend canola or peanut oil for their neutral flavor and stable fatty acid chains which resist breaking down during long frying sessions.
- Confectioners’ Sugar: This is used for finishing. Its fine particle size allows it to sit on the surface without weighing down the delicate structure of the cookie.
The Lab Process
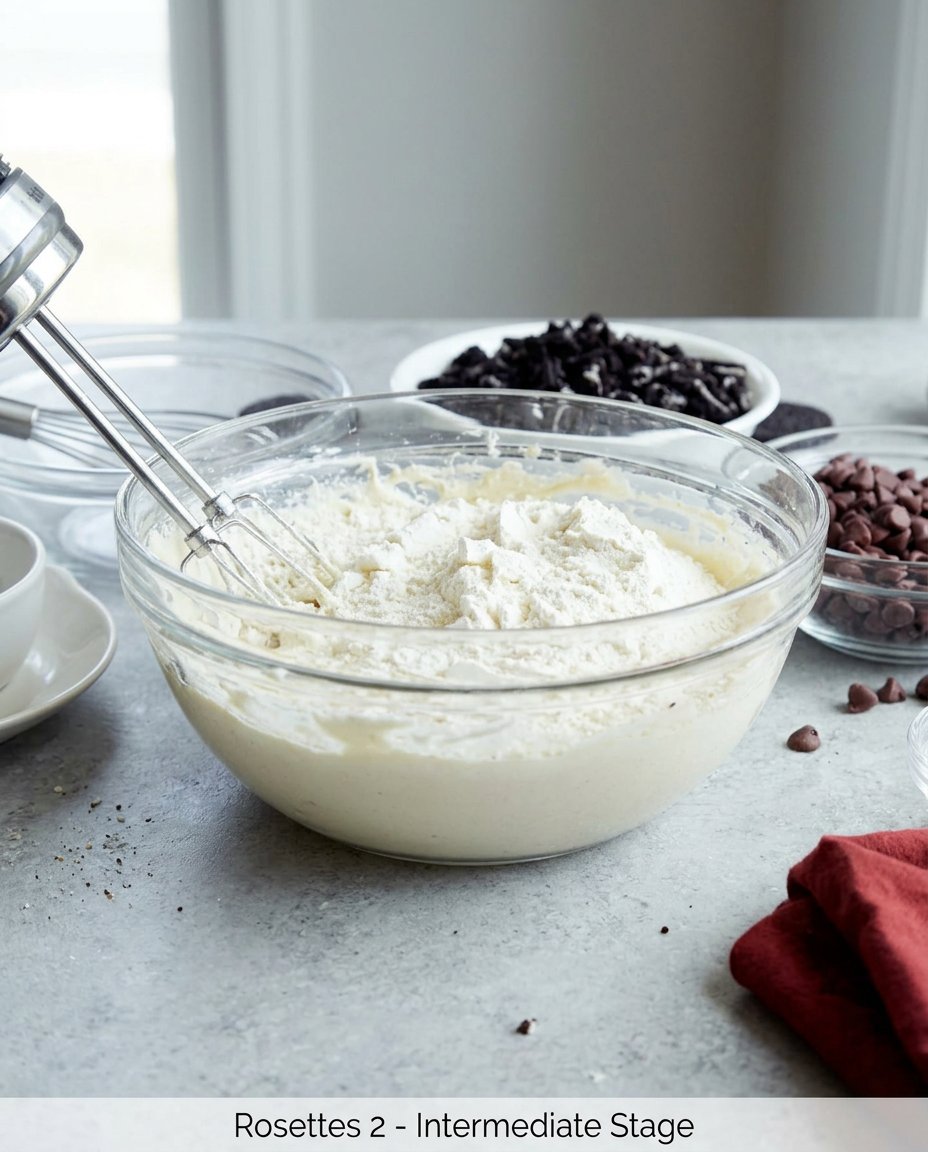
Step 1: Emulsification and Batter Hydration
In a large glass bowl, combine the 100g of eggs, 12g of sugar, and 1.5g of salt. Use a whisk to beat the mixture until the yolks and whites are completely homogenous. Gradually sift in the 125g of all-purpose flour while simultaneously pouring in the 244g of milk and 5ml of vanilla. Whisk until the batter reaches a smooth, liquid consistency similar to heavy cream. Let the batter rest for at least 30 minutes at room temperature; this allows the starch granules to fully hydrate and the air bubbles to escape, which prevents “pitting” on the surface of your cookies.
Step 2: Thermal Calibration of the Oil
Pour at least 2 inches of oil into a deep, heavy-bottomed skillet or Dutch oven. A heavy vessel is required for better heat retention. Using a digital probe thermometer, heat the oil over medium-high heat until it reaches exactly 375°F (190°C). If the oil is lower than this, the batter will absorb fat; if it is higher, the exterior will char before the moisture is removed. Submerge the rosette iron in the oil for at least 2 minutes to bring the metal to the same temperature as the oil.
Step 3: Achieving the Proper Adhesion
Lift the heated iron from the oil and let the excess drip off for 3 seconds. Blot the bottom of the iron briefly on a paper towel to remove any pooling oil that might repel the batter. Dip the iron into the batter, making sure the liquid comes up only 3/4 of the way (1/4 inch from the top). Do not submerge the iron completely, or the batter will cook over the top, making it impossible to remove the cookie without shattering it.
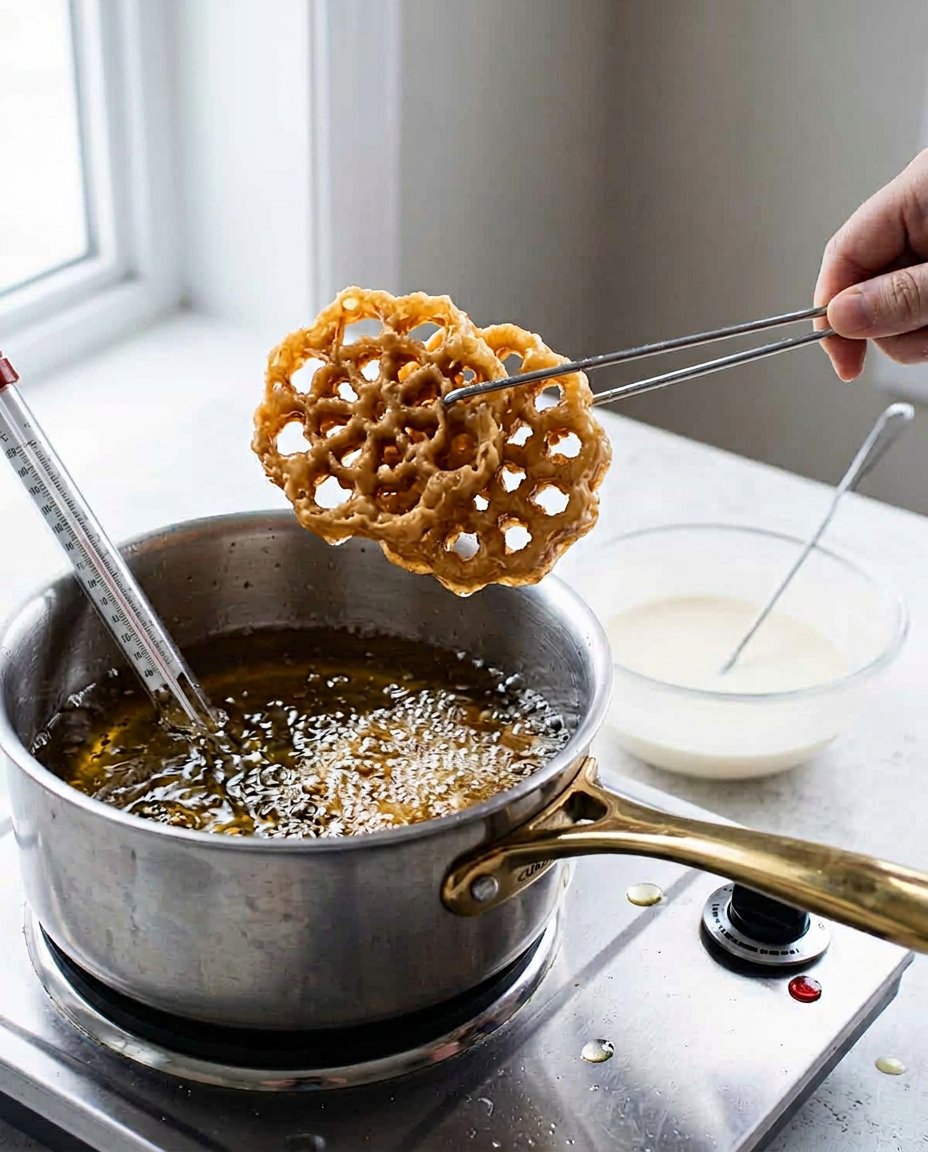
Step 4: The Vapor Displacement Phase
Immediately plunge the batter-coated iron into the 375°F oil. You will see a vigorous release of steam; this is the moisture in the batter turning into gas and pushing the dough into its final shape. Hold the iron slightly off the bottom of the pan to allow for 360-degree heat circulation. Fry for approximately 30 to 40 seconds. Once the bubbling subsides, the moisture has been mostly removed, and the cookie is reaching its peak crispness.
Step 5: Mechanical Separation and Draining
Lift the iron out of the oil. The rosette should be a light golden color. Hold it upside down for 2 seconds to drain any trapped oil from the crevices. Use a clean fork to gently nudge the top edge of the cookie downward; if the temperature and adhesion were correct, it should slide off easily onto a wire rack. Avoid draining on paper towels for more than a few seconds, as the lack of airflow can cause steam to build up under the cookie, making it soft.
Step 6: Thermal Recovery and Repetition
Before starting the next rosette, return the iron to the hot oil for at least 60 seconds. This is critical because the batter and the frying process sap the thermal energy from the iron. If the iron is too cool for the next dip, the batter will not stick. Monitor your thermometer constantly and adjust your burner to maintain the 375°F threshold. Once all rosettes are fried and cooled, apply a light dusting of sifted confectioners’ sugar through a fine-mesh sieve.
Science Secrets for Success
One of the most common failures in the lab is the batter falling off the iron prematurely. This is usually caused by an iron that is too oily or too cold. Always blot the iron after it comes out of the heat but before it touches the batter. Furthermore, if your rosettes are coming out greasy, your oil has likely dropped below the 360°F mark. We found that maintaining a consistent 375°F (190°C) is the mathematical sweet spot for starch setting and oil repulsion. For more foundational techniques on managing fats and sugars in the kitchen, refer to our standard foundation cookie recipes to understand how different ingredients react to high heat. Another tip is to keep your batter bowl sitting in a larger bowl of ice water if your kitchen is particularly warm; keeping the batter cool prevents the starch from thickening too much before it hits the iron, maintaining a consistent viscosity throughout the batch.
Tested Modifications and Ratio Tweaks
Through our iterative testing, we have found several scientifically sound ways to modify the flavor profile without compromising the structural integrity of the Rosettes 2. If you prefer a nuttier flavor, you can substitute 20g of the all-purpose flour with finely ground almond flour, though this will result in a slightly more fragile cookie due to the lower gluten content. For a citrus variation, add the zest of one lemon; the oils in the zest provide a bright contrast to the richness of the fried dough. We have also experimented with cocoa rosettes by replacing 15g of flour with high-quality Dutch-processed cocoa powder. This requires a slight increase in milk (about 10ml) to compensate for the higher absorption rate of cocoa. For seasonal variations, you can look into our holiday cookie science studies which detail how to incorporate spices like cardamom and cloves into high-heat batters without causing the sugars to scorch.
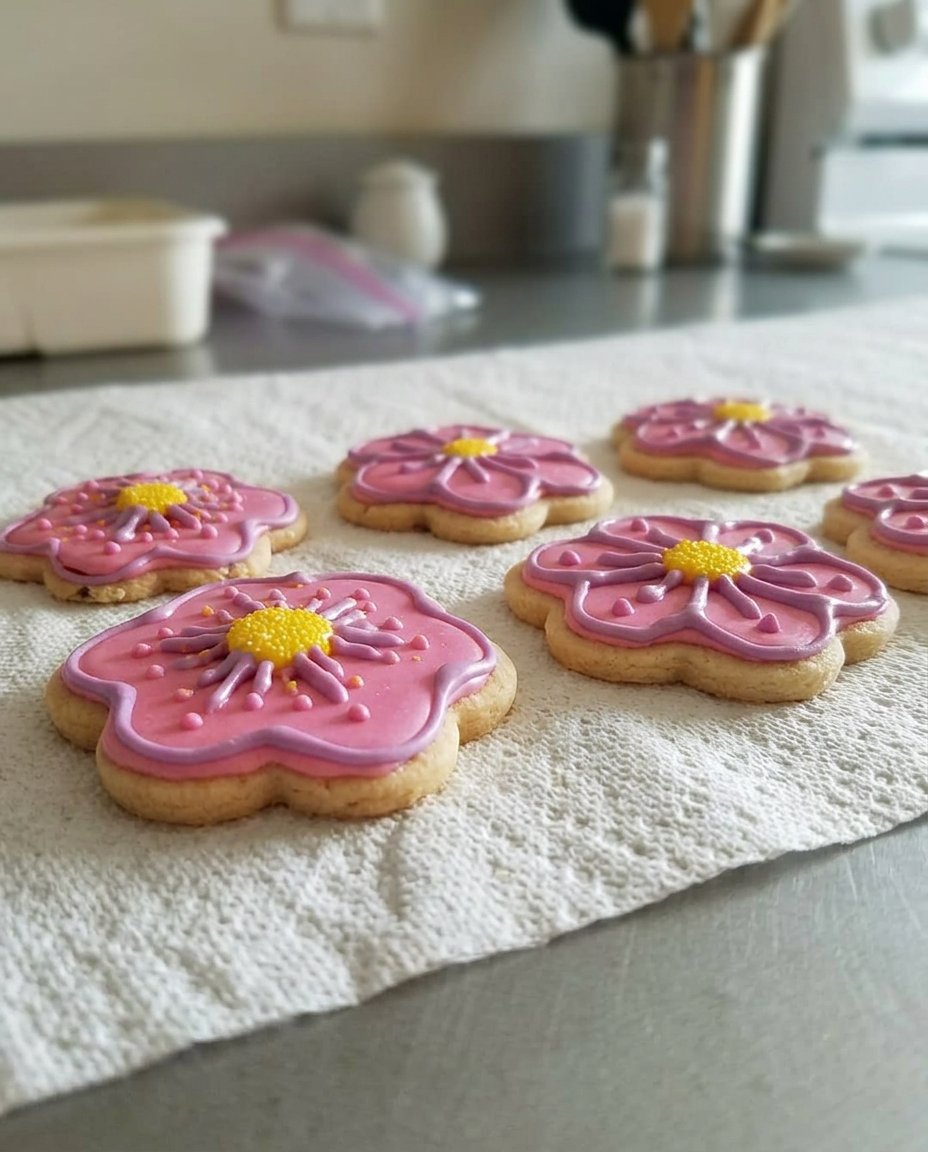
Optimal Enjoyment and Texture Science
Serving rosettes at the correct time is vital because they are highly hygroscopic, meaning they absorb moisture from the air rapidly. For the best sensory experience, serve them within 4 hours of frying. If you must store them, place them in a completely airtight container with a small packet of food-safe desiccant to keep the humidity levels near zero. When serving at a gathering, avoid stacking them too high, as the weight of the top layers can crush the delicate 0.5mm walls of the bottom cookies. If you want to add a modern twist to your presentation, consider using precision cookie decorating techniques to apply small dots of royal icing or edible gold leaf to the peaks of the rosette designs. For a classic pairing, serve with a sharp berry compote; the acidity of the fruit cuts through the lipids of the fried dough, refreshing the palate between bites.
The Scientific Truth about Rosettes
Mastering the rosette is a triumph of temperature control and patience. By treating your kitchen like a laboratory and respecting the precise ratios and thermal requirements of the batter, you can produce a batch of cookies that are as beautiful as they are crisp. This recipe is a perfect example of how understanding the ‘why’ behind the technique leads to a superior ‘how.’ We encourage you to keep testing these variables and recording your results to find your own perfect settings. For more data-driven baking guides, explore our efficient cookie methods. We would love to see your results, so please share your successes with our community on Instagram, Facebook, or Pinterest. For more detailed video demonstrations of these frying techniques, check out the original inspiration at AllRecipes.

