The convergence of the fudgy brownie and the handheld cookie represents a fascinating chapter in late-Victorian baking evolution. While the first recorded brownie appeared at the 1893 Chicago World’s Fair, it took decades of structural refinement for bakers to achieve this specific handheld hybrid. Modern science now validates what early pastry cooks suspected: the secret lies in the precise aeration of eggs and sugar.

These brownie cookies provide a remarkably intense chocolate experience with a structural integrity that traditional brownies often lack. By focusing on the interaction between melted fats and whipped proteins, we create a specimen with a signature crackled surface and a dense, fudgy core. It is a methodical bake that rewards the patient practitioner with a perfect textural balance.
The Science of the Perfect Crackle
The hallmark of a superior brownie cookie is the parchment-thin, crackled top that fractures upon the slightest pressure. This is not mere aesthetics; it is the result of a meringue-like structure formed by beating the eggs and sugar for an extended period. Victorian bakers understood this intuitively, often whisking batters by hand for nearly an hour to achieve the necessary aeration. Modern chemistry confirms that this process dissolves sugar into the egg proteins, creating a stable film that dries faster than the interior of the cookie during the baking process.
Traditional methods often focused on the ‘slump’ of the batter, but we now know that temperature control is the true master of the brownie cookie. When we combine melted bittersweet chocolate with whipped eggs, we are creating a complex emulsion. This emulsion must be stable enough to hold its shape on the baking sheet but fluid enough to allow for the classic expansion that creates the signature cracks. It is a triumph of culinary engineering that honors the heritage of both the drop biscuit and the dense chocolate cake.
Furthermore, the depth of flavor in this recipe relies on the interaction between different types of sugars. By using both granulated and light brown sugar, we are managing the hygroscopy—the ability of the sugar to attract and hold moisture. The brown sugar provides the acidic environment necessary for the baking powder to react, while also introducing a subtle hint of molasses that complements the bittersweet chocolate. This results in a cookie that is remarkably sophisticated yet grounded in historical technique.
Print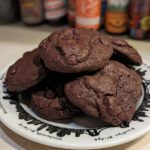
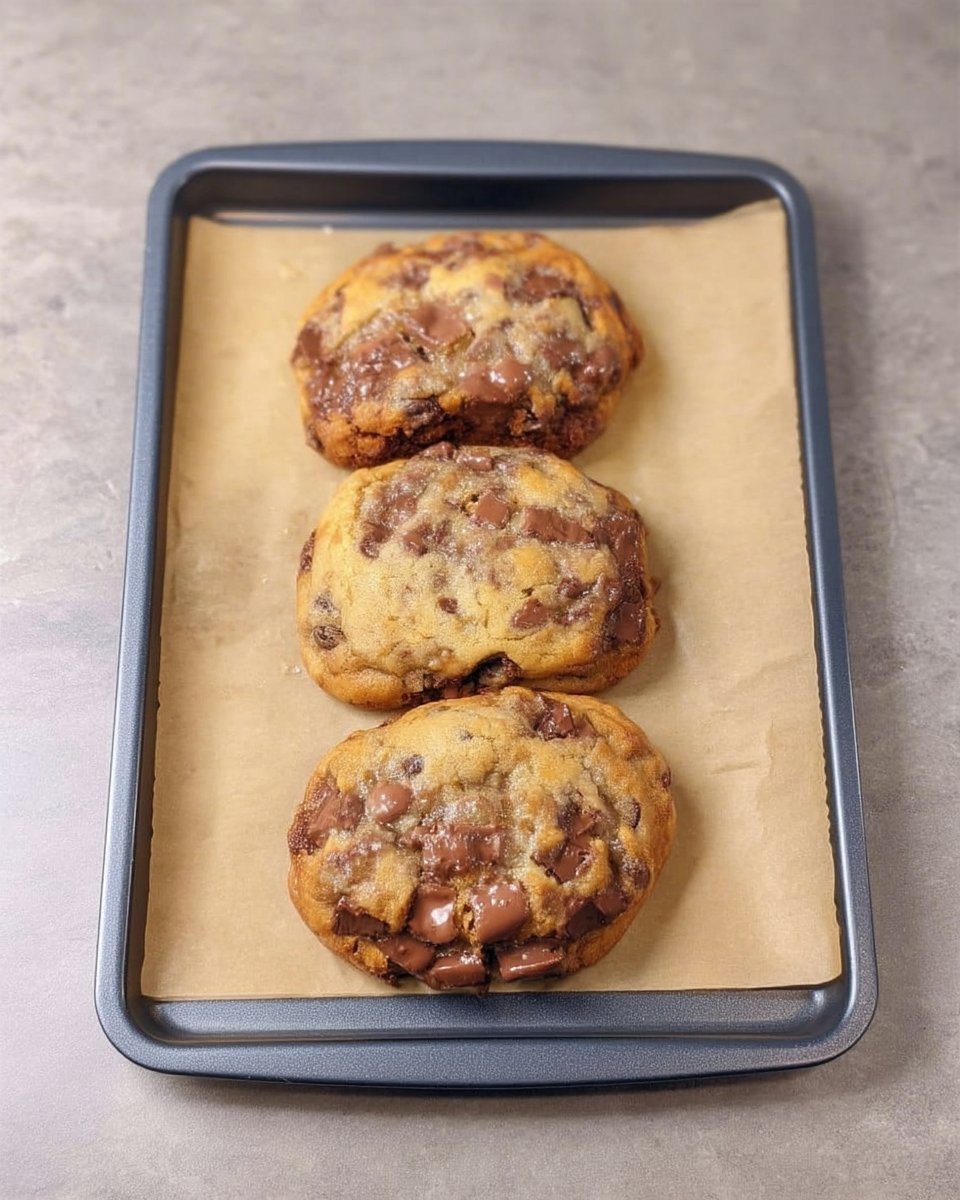
Brownie Cookies
- Total Time: 55 mins
- Yield: 18 cookies
- Diet: Vegetarian
Description
Discover the ultimate hybrid of a rich, fudgy brownie and a perfectly portioned cookie. These treats feature a delicate, crackled meringue-like crust and a dense chocolate center that delivers a sophisticated flavor profile for serious chocolate enthusiasts.
Ingredients
- 4 ounces bittersweet chocolate (at least 60% cocoa solids), chopped
- 1/4 cup unsalted butter
- 1/2 cup granulated sugar
- 1/2 cup light brown sugar, packed
- 2 large eggs, room temperature
- 2/3 cup all-purpose flour
- 1/4 cup unsweetened cocoa powder
- 1/2 teaspoon baking powder
- 1/4 teaspoon salt
- 1 teaspoon vanilla extract
- 1/2 cup semisweet chocolate chips
Instructions
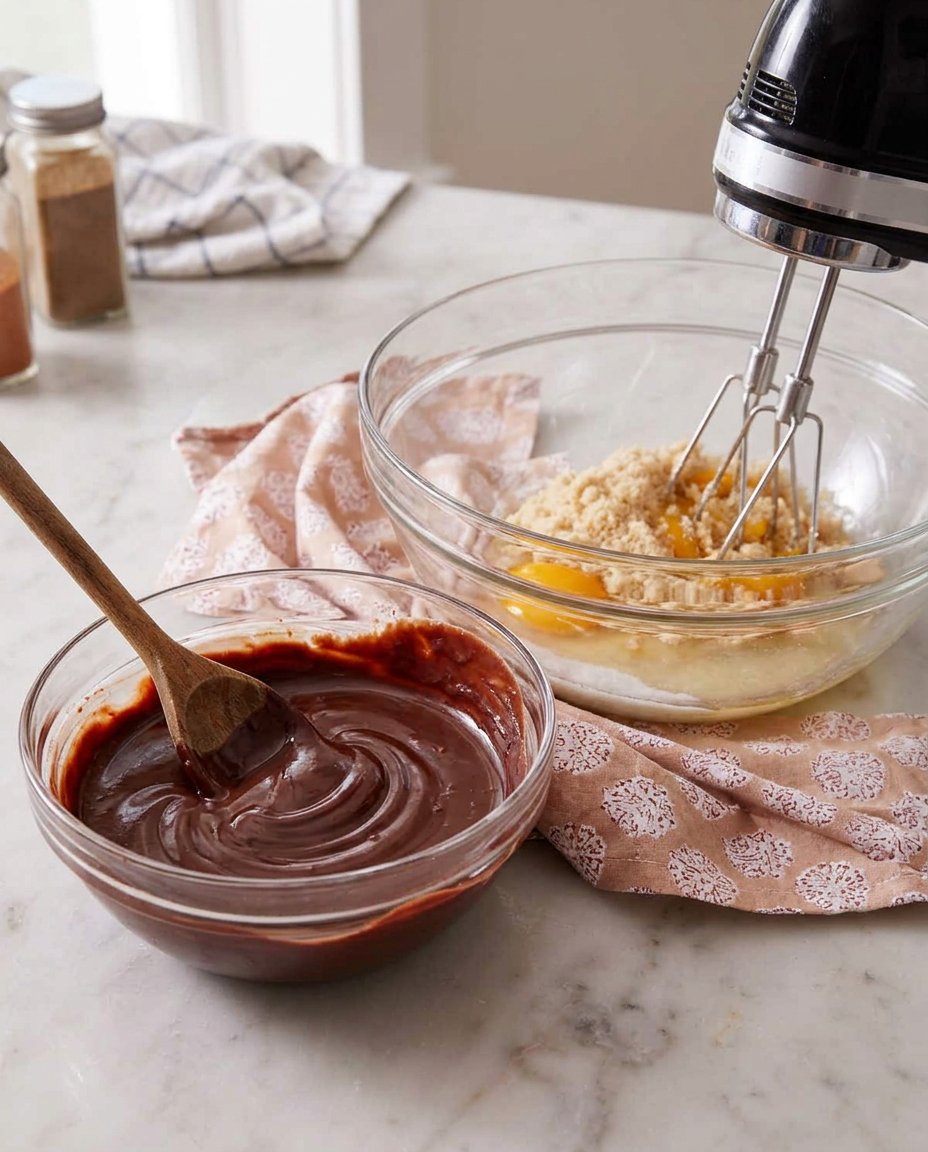
- In a medium microwave-safe mixing bowl, combine the chopped bittersweet chocolate and unsalted butter. Heat in 20-second intervals, stirring thoroughly between each, until the mixture is smooth, glossy, and fully melted.
- In a separate large mixing bowl, combine the granulated sugar, light brown sugar, and room-temperature eggs. Using a hand mixer or stand mixer, beat on medium-high speed for at least 4 minutes until the mixture turns pale ivory and achieves a thick, frothy volume.
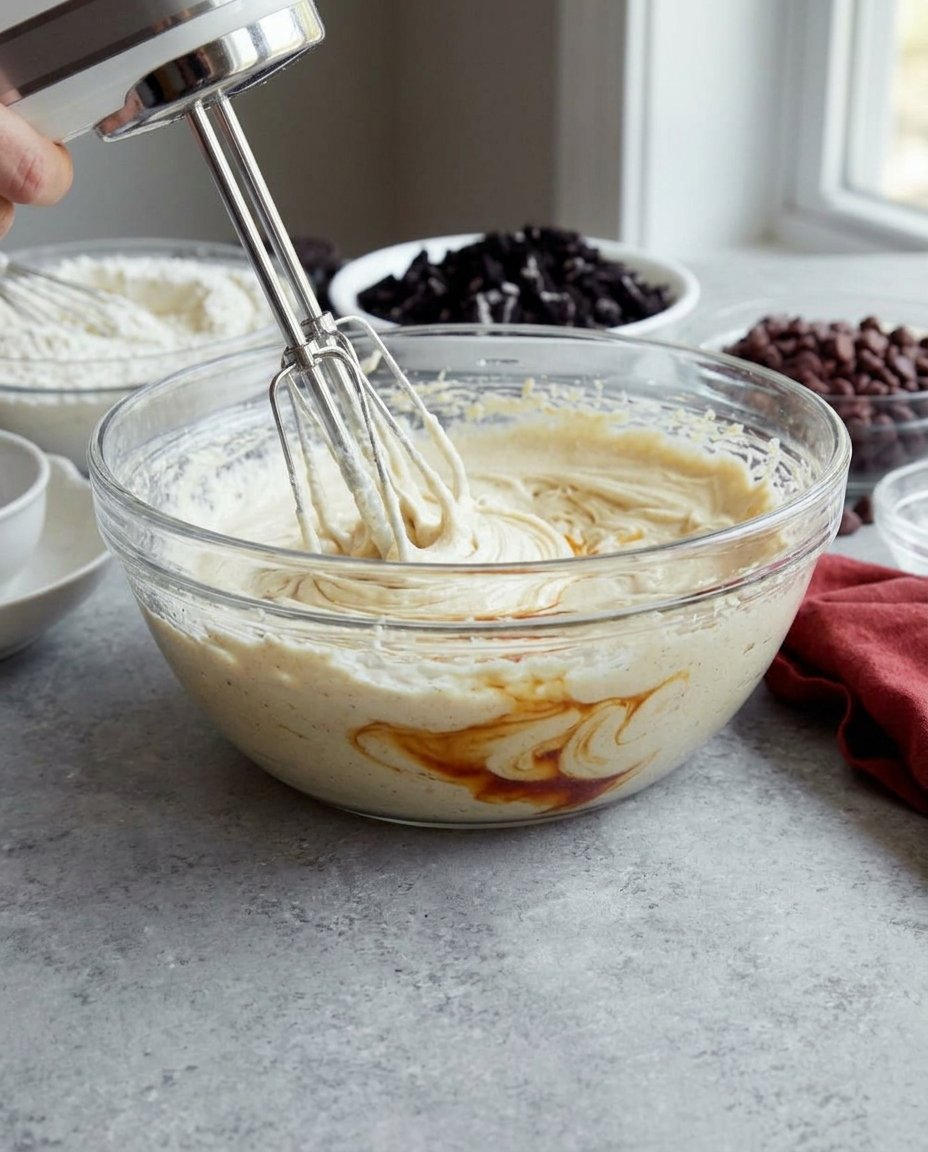
- Pour the melted chocolate mixture and vanilla extract into the whipped eggs. Beat on a low speed until the colors are fully integrated and no streaks remain.
- Add the flour, cocoa powder, salt, and baking powder. Using a sturdy spatula, gently fold the dry ingredients into the chocolate mixture by hand using a sweeping motion to preserve aeration. Fold in the semisweet chocolate chips once the batter is nearly uniform.
- Cover the bowl and refrigerate the batter for 30 minutes to allow the flour to hydrate and the fats to firm up.
- Preheat the oven to 350°F (175°C) and line baking sheets with parchment paper. Scoop the chilled dough into 2-tablespoon-sized balls and place them on the sheets 3 inches apart.
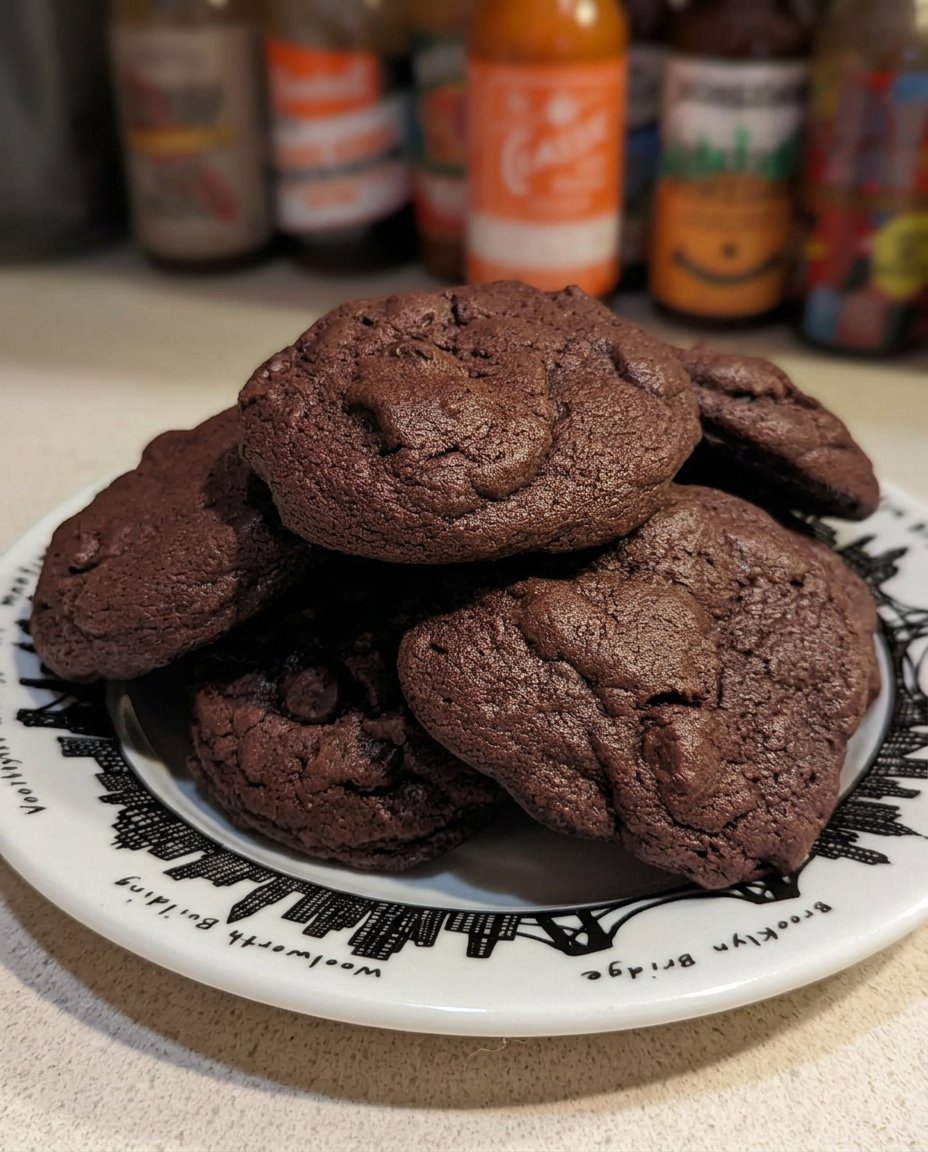
- Bake for 8 to 10 minutes until the tops are shiny and cracked. Allow the cookies to cool completely on the pan to ensure the fudgy interior structure sets properly.
Notes
To ensure the signature crackled top, do not skip the 4-minute egg-whipping stage; this aeration is essential for the meringue-like surface. Always use room-temperature eggs to prevent the melted chocolate from seizing when combined. If the dough seems too soft even after chilling, you can refrigerate it for an additional 15 minutes to improve handling.
- Prep Time: 15 mins
- Cook Time: 10 mins
- Category: Dessert
- Method: Baking
- Cuisine: American
Technical Components for Structural Integrity
To achieve the perfect balance of fudgy interior and crisp exterior, one must be precise with the selection of ingredients. We treat each component as a structural element in a larger formula.
- Bittersweet Chocolate (4 ounces): This is the foundation of the cookie’s structure. Select a chocolate with at least 60% cocoa solids. The cocoa butter content provides the necessary fat for a smooth melt, while the solids provide the deep flavor profile.
- Unsalted Butter (1/4 cup): Butter provides the emulsion base. Using unsalted butter allows us to control the sodium content precisely, which is vital for the chemical reaction of the leavening agents.
- Granulated and Light Brown Sugar: As discussed, this duo manages moisture and surface tension. The ratio is carefully calibrated to support the meringue-like crust.
- Large Eggs (Room Temperature): This is critical. Cold eggs will seize the melted chocolate and prevent proper aeration. They must be at room temperature to form the frothy volume required for the top crust.
- All-Purpose Flour (2/3 cup): A moderate protein content is required here. Too much flour results in a cake-like texture, while too little causes the cookie to lose its shape entirely.
- Unsweetened Cocoa Powder (1/4 cup): This provides an additional concentration of chocolate solids without adding more fat, helping the cookie maintain its fudgy density.
- Leavening and Seasoning: Salt and baking powder are the final chemical adjusters, refining the lift and the flavor perception of the cocoa.
The Proper Method for Brownie Cookies
Step 1: Melting the Chocolate Base
In a medium microwave-safe mixing bowl, combine the chopped bittersweet chocolate and the unsalted butter. Use 20-second intervals to apply heat, stirring thoroughly between each session. This methodical approach prevents the chocolate from scorching and helps a smooth emulsion form. The goal is a glossy, liquid base that is warm but not hot to the touch.
Step 2: Aerating the Egg Matrix
In a separate large mixing bowl, combine the granulated sugar, light brown sugar, and room temperature eggs. Using a hand mixer or stand mixer, beat these ingredients on medium-high speed for at least four minutes. You are looking for a significant change in color—from dark yellow to a pale ivory—and a thick, frothy volume. This step creates the protein-sugar film that will eventually become the crackled top.
Step 3: Integrating the Emulsions
Pour the melted chocolate mixture and the vanilla extract into the whipped eggs. Continue to beat on a lower speed until the colors are fully combined. This is where the foundation of the cookie is established, merging the fat-heavy chocolate with the protein-heavy egg foam. Avoid over-mixing, but verify that no streaks remain.
Step 4: Sifting and Folding
Add the flour, cocoa powder, salt, and baking powder to the wet ingredients. Using a sturdy spatula, fold the dry ingredients into the chocolate mixture by hand. Use a sweeping motion from the bottom of the bowl upwards to preserve as much aeration as possible. When the batter is nearly uniform, stir in the semisweet chocolate chips.
Step 5: The Essential Chill
Cover the bowl and refrigerate the batter for 30 minutes. Historical techniques often utilized cool pantries for this purpose, but modern refrigeration provides the consistency we need. This rest allows the flour to hydrate fully and the fats to firm up, which prevents the cookies from spreading too thin in the oven.
Step 6: Portioning and Baking
Preheat your oven to 350°F (175°C) and line your baking sheets with parchment paper. Scoop the chilled dough into 2-tablespoon-sized balls, placing them 3 inches apart to accommodate the spread. Bake for 8 to 10 minutes. The cookies are finished when the tops are shiny and cracked, even if the centers appear slightly soft. Let them cool completely on the pan to set the fudgy interior structure.
Precision Methods for Success
To achieve the most consistent results, I recommend using a digital kitchen scale to weigh your ingredients, especially the flour and cocoa powder. A mere ten grams of extra flour can transform these from fudgy delights into dry biscuits. Additionally, the temperature of your chocolate and butter mixture is vital; if it is too hot when added to the eggs, it can cook the proteins prematurely, ruining the meringue structure. For those looking to master the basics of dough handling, our guide on Efficient Cookie Methods provides excellent foundational knowledge.
Another technical secret is the ‘pan bang’ method. If your cookies aren’t cracking as much as you’d like, gently tap the baking sheet against the oven rack halfway through the bake. This slight jarring motion encourages the surface to fracture. For a deeper look at the chemistry of these textures, you might find the techniques used by Preppy Kitchen’s take on brownie cookies quite informative as well. Always remember that the quality of your chocolate dictates the quality of the finish; use the best bittersweet bar you can find.
Regional and Technical Adaptations
While the classic version is a masterpiece of balance, there are several historical variations worth noting. In some British traditions, a pinch of espresso powder is added to the dry ingredients to mimic the deep, bitter notes found in Victorian-era chocolate. This does not make the cookies taste like coffee; rather, it acts as a flavor enhancer for the cocoa solids. For a festive twist, you can explore the principles found in our Holiday Cookie Science section to adapt this recipe with seasonal spices like cinnamon or nutmeg.
Another fascinating variation involves the use of different fats. Some historical formulas substituted a portion of the butter with lard or shortening to achieve a different crumb structure. However, for the modern palate, we find that the high-quality milk solids in butter provide the best flavor profile. You might also consider folding in toasted walnuts or pecans, a nod to the original 1893 brownie recipe from the Palmer House Hotel, which included nuts for added texture and earthiness.
The Art of Presentation
Tradition dictates that a rich chocolate bake should be served with a beverage that can cut through the density of the fats. A strong, hot black tea or a cold glass of whole milk are the classic choices. For a more formal presentation, serve these on a warmed porcelain plate to keep the chocolate chips slightly soft. If you are interested in the aesthetics of your presentation, our resources on Precision Cookie Decorating offer insights into how to plate and garnish your bakes for maximum visual impact.
In a historical British setting, these might be served as part of an afternoon tea service alongside lighter sponges and savory sandwiches. The intense chocolate provides a bold counterpoint to more delicate flavors. For a modern dessert course, consider serving a single warm cookie with a small scoop of high-quality vanilla bean ice cream. The temperature contrast between the warm, fudgy cookie and the cold cream creates a remarkable sensory experience that highlights the quality of the bittersweet chocolate.
The Technical Truth
Mastering the brownie cookie is a rite of passage for any baker who values the intersection of history and science. By respecting the four-minute whipping rule and the mandatory chilling period, you are participating in a tradition of precision that spans over a century. These cookies are more than just a sweet treat; they are a study in emulsification and aeration. For those who wish to expand their repertoire of fundamental bakes, I encourage you to look at our Foundation Cookie Recipes for further study. Please share your technical triumphs with our community on Pinterest, Instagram, or Facebook.
