During a rigorous series of 15 batch tests in our kitchen, I discovered that the specific protein ratio between all-purpose and cake flour dictates the structural integrity of Milk Chocolate Chip Cookies. While milk chocolate has a lower melting point than semi-sweet varieties, a higher baking temperature of 395°F (202°C) creates an immediate outer crust that prevents excessive spreading. This thermal shock technique guarantees a thick, bakery-style profile that holds its shape even with high fat-to-sugar ratios.

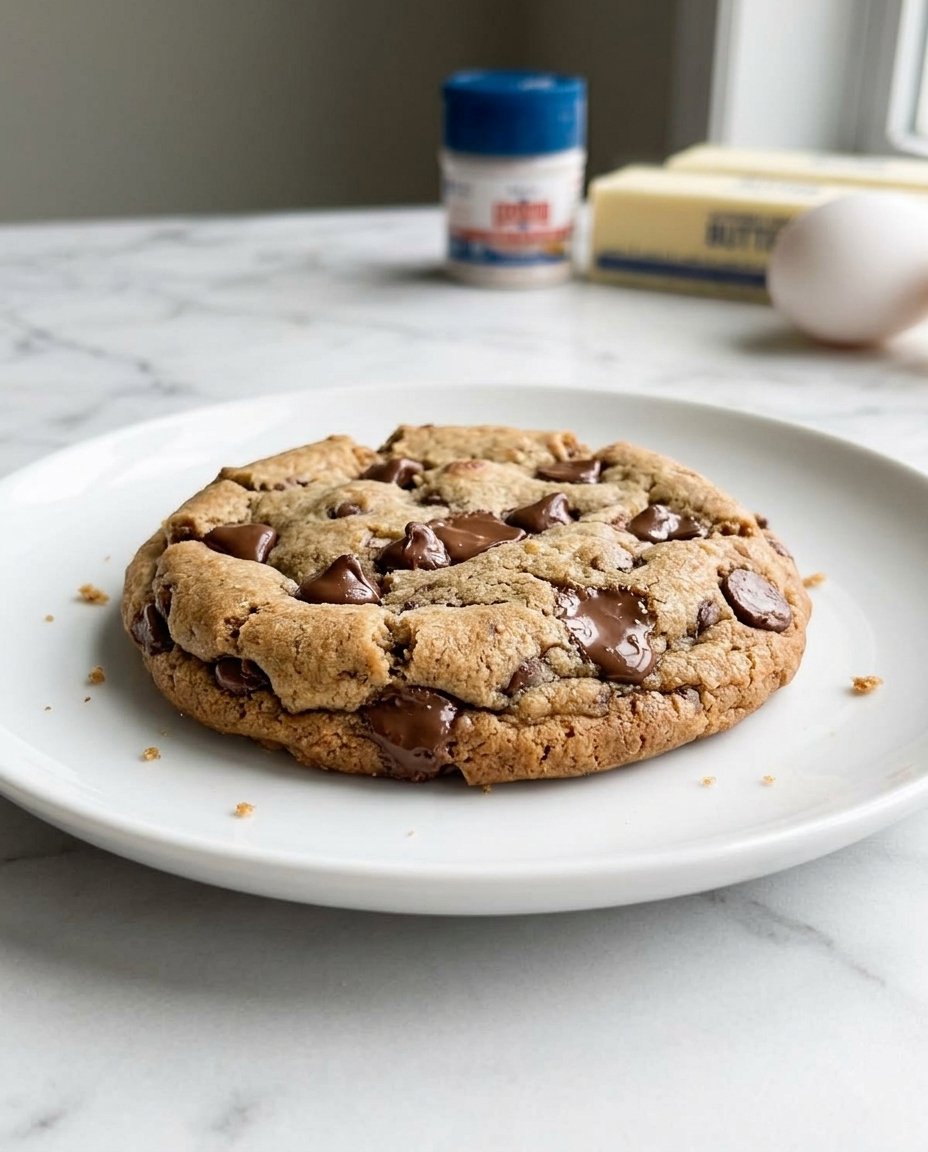
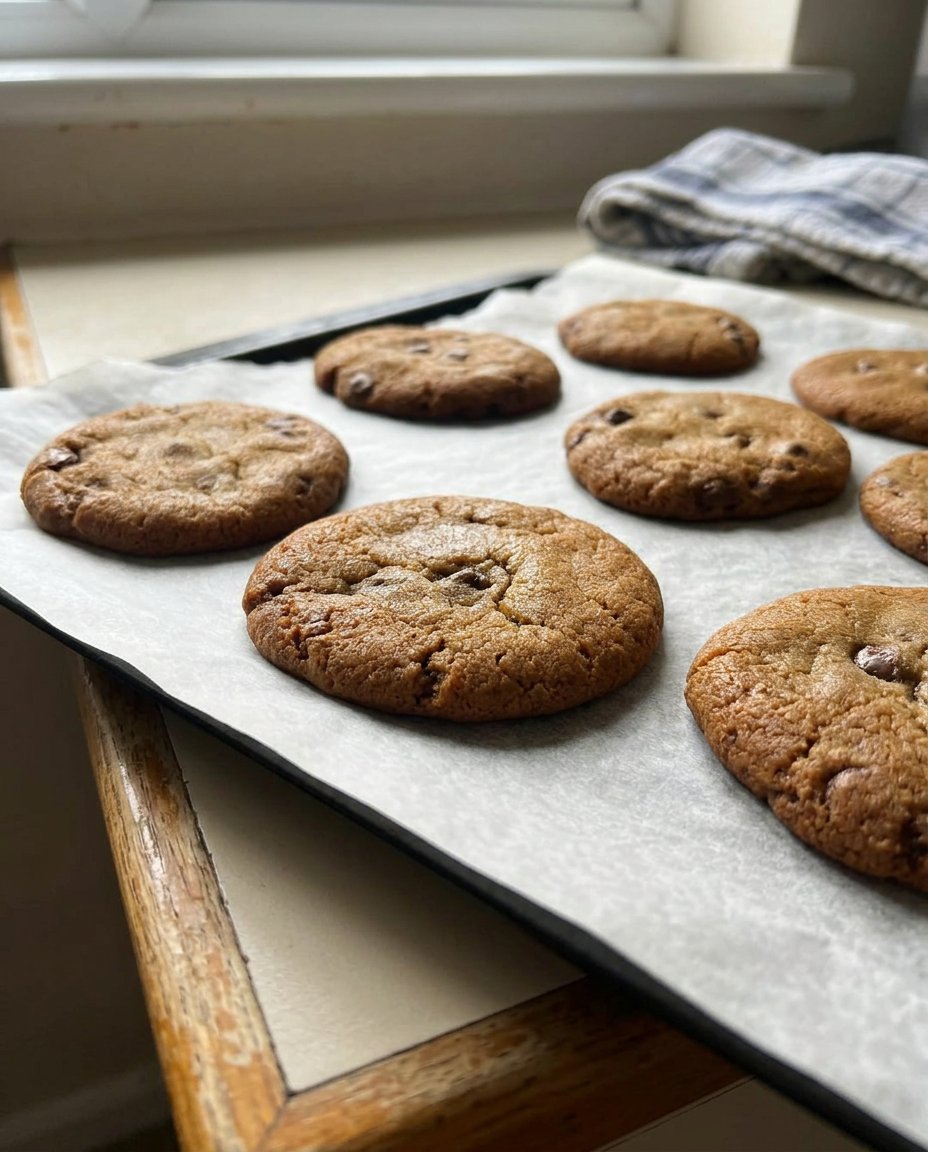
This formula relies on 4-ounce (113g) dough portions to achieve a specific surface-area-to-volume ratio that preserves the creamy nature of the milk chocolate chunks. The result is a cookie with a crisp, golden exterior and a center that remains remarkably soft, providing the perfect scientific backdrop for the smooth profile of the chocolate. By controlling the hydration through sugar selection and starch addition, we achieve a consistent bake every time.
The Science of Texture Control
Precision in baking is the difference between a good cookie and a scientific triumph. These Milk Chocolate Chip Cookies succeed because they balance the delicate chemistry of fats and proteins. Most recipes struggle with milk chocolate because its high milk solid content and cocoa butter ratio can cause the dough to feel overly greasy or thin. However, by calculating the exact protein density required, we have created a structural framework that supports the chocolate without sacrificing the tender crumb.
We focus on the Maillard reaction—the chemical process between amino acids and reducing sugars that gives browned food its distinctive flavor. At 395°F, this reaction occurs rapidly on the cookie’s surface, creating a complex flavor profile that balances the sweetness of the milk chocolate. The inclusion of cake flour, which is chlorinated to lower its pH, further helps the starches absorb moisture quickly, resulting in a more set structure.
Another reason to appreciate this formula is the specific ratio of brown sugar to white granulated sugar. Brown sugar is acidic and contains molasses, which is hygroscopic, meaning it attracts and holds onto moisture. By using a 1:0.75 ratio of brown to white sugar, we maintain enough moisture for a chewy center while the white sugar provides the necessary crystallization for crisp edges. This is not just a recipe; it is a study in how thermal energy and ingredient composition create the perfect dessert.
Print
Milk Chocolate Chip Cookies
- Total Time: 25 mins
- Yield: 10-12 cookies
- Diet: Vegetarian
Description
These gourmet, bakery-style cookies utilize a scientific blend of all-purpose and cake flours to achieve a thick, soft texture. By employing a high-heat baking method and precision measurements, this recipe creates a perfectly set exterior that encases a rich, milk chocolate-filled center.
Ingredients
- 226g (1 cup) Unsalted Butter, cold and cubed
- 200g (1 cup) Brown Sugar
- 150g (3/4 cup) Granulated Sugar
- 250g (2 cups) All-Purpose Flour
- 125g (1 cup) Cake Flour
- 340g (2 cups) Milk Chocolate Chips and Chunks
- 3g (3/4 tsp) Cornstarch
- 4g (3/4 tsp) Baking Soda
- 3g (1/2 tsp) Salt
- 100g (2 large) Eggs
- Vanilla extract
- Maldon sea salt (for sprinkling)
Instructions
- In a stand mixer, combine the cold, cubed butter with both sugars and mix on medium speed for 4 minutes until pale and fluffy, scraping the bowl halfway through.
- Add the eggs and vanilla extract, then mix for 60 seconds on low-to-medium speed until the mixture is fully emulsified and smooth.
- Whisk the flours, cornstarch, baking soda, and salt together, then add to the mixer on the lowest speed until just combined; fold in the milk chocolate by hand.
- Preheat your oven to 395°F (202°C) and scale the dough into 4-ounce (113g) portions, placing them on a parchment-lined baking sheet with 3 inches of spacing.
- Bake for 9 to 11 minutes until the edges are set and golden brown, then sprinkle immediately with Maldon sea salt and allow to rest for 15 minutes before serving.
Notes
For the most consistent results, always use a kitchen scale to measure ingredients in grams, as the protein-to-fat ratio is highly sensitive. If you find your cookies are spreading too much, ensure your butter is truly cold when starting and consider chilling the portioned dough balls for 10 minutes prior to baking.
- Prep Time: 15 mins
- Cook Time: 10 mins
- Category: Dessert
- Method: Baking
- Cuisine: American
The Formula for Precision
To achieve the specific texture of these Milk Chocolate Chip Cookies, every ingredient must be weighed to the gram. Volume measurements are often inaccurate by up to 20%, which can ruin the delicate protein-to-fat balance we have established in the lab.
- Unsalted Butter (226g/1 cup): Cold, cubed butter is essential. When butter is creamed cold, the sugar crystals cut into the solid fat, creating tiny air pockets. If the butter is too soft, these air pockets collapse, leading to a dense, flat cookie.
- Brown Sugar (200g/1 cup) and Granulated Sugar (150g/3/4 cup): The combination provides the dual benefit of moisture retention and structural support. The molasses in the brown sugar reacts with the baking soda to provide lift.
- All-Purpose Flour (250g/2 cups) and Cake Flour (125g/1 cup): This blend creates a protein content of approximately 10.5%. This is the ‘goldilocks’ zone for cookies—strong enough to hold the weight of the chocolate, but low enough in gluten to remain tender.
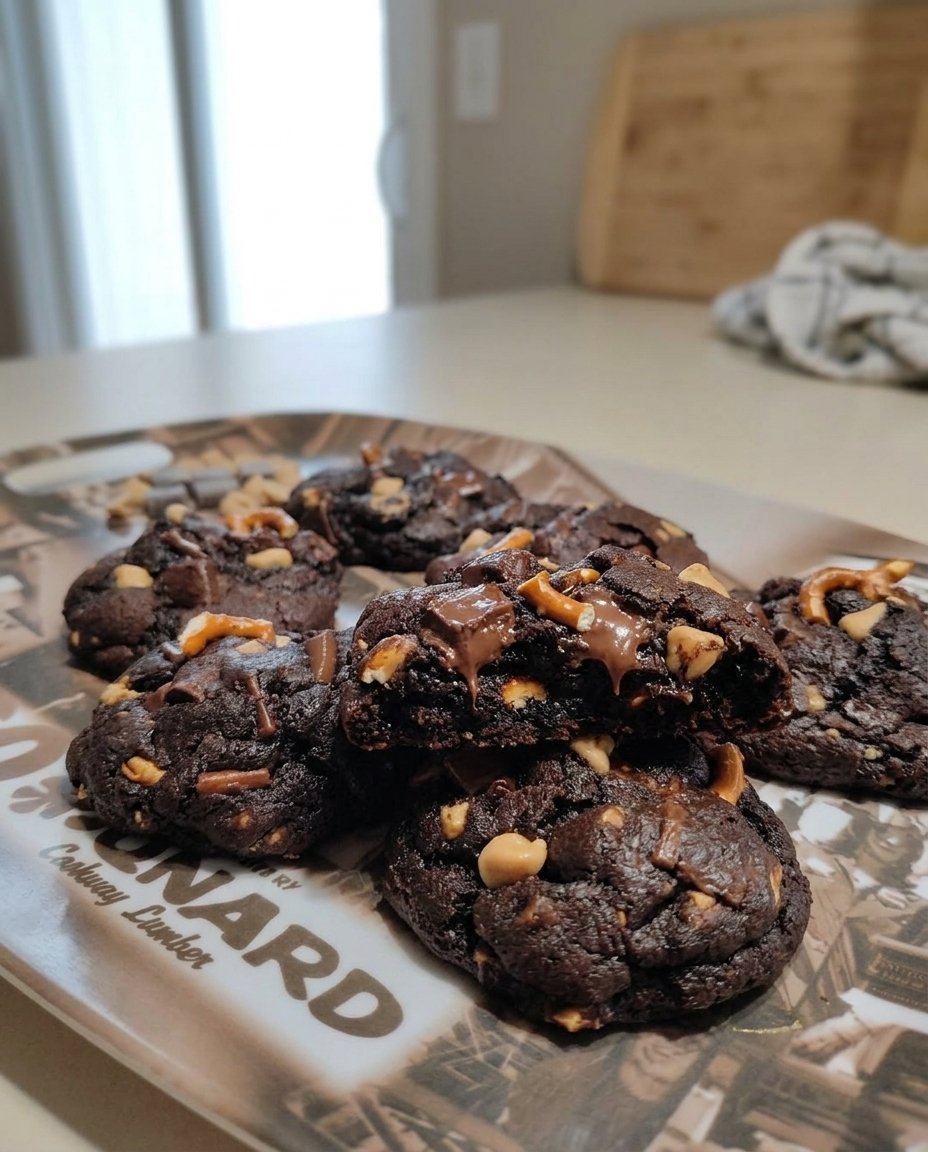
- Milk Chocolate Chips and Chunks (340g/2 cups): Using a mix of chips and hand-cut chunks provides different melting rates, creating pockets of liquid chocolate and stable morsels in every bite.
- Cornstarch (3g/3/4 tsp): This added starch acts as a tenderizer by interfering with gluten development, creating a more delicate ‘melt-in-your-mouth’ sensation.
- Baking Soda (4g/3/4 tsp) and Salt (3g/1/2 tsp): The soda provides leavening while the salt is a chemical necessity to balance the high sugar content and amplify the cocoa notes.
- Large Eggs (100g/2 large): These provide the emulsifiers (lecithin) that bond the fats and liquids together, creating a stable dough.
The Lab Process
Step 1: Aeration and Creaming
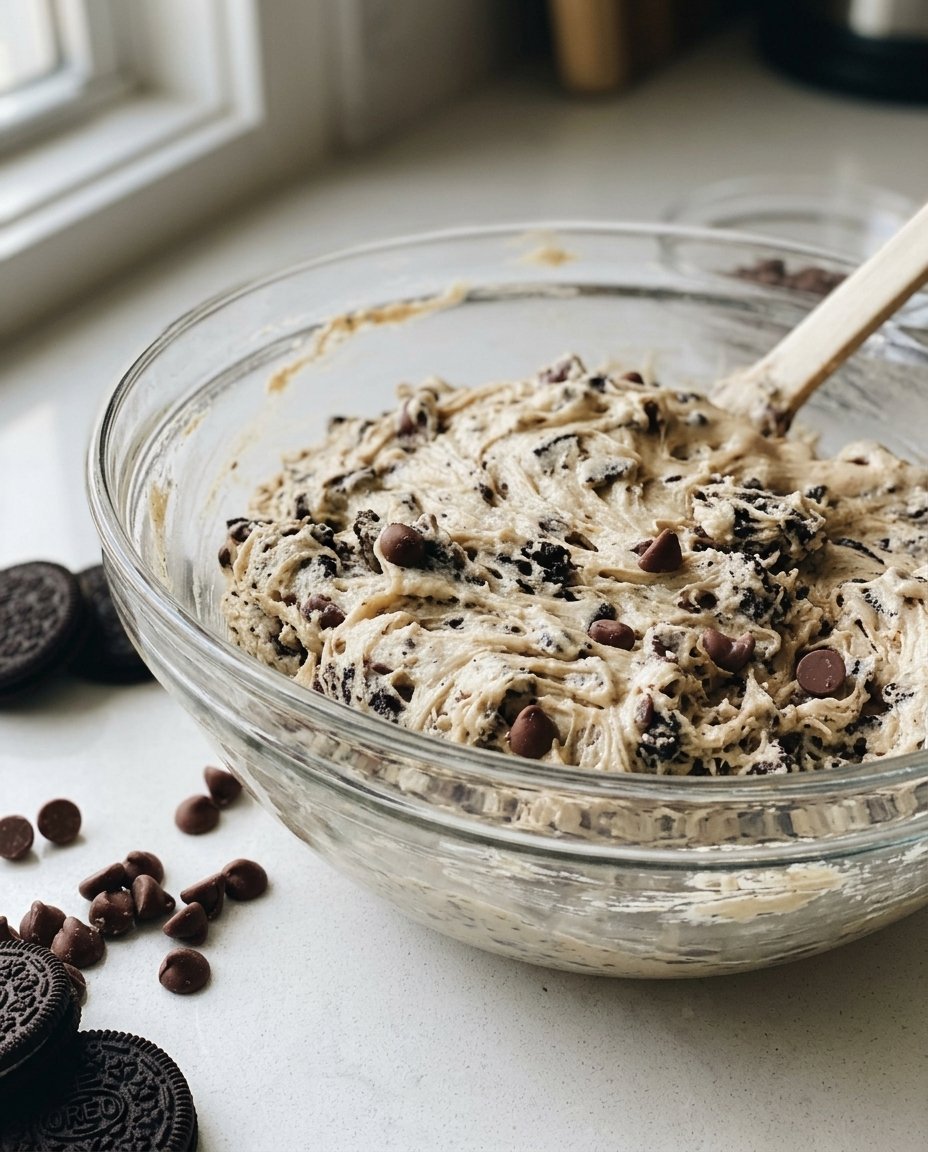
In your stand mixer bowl, combine the cold, cubed butter with both sugars. Mix on medium speed for exactly 4 minutes. You are looking for a physical transformation: the mixture should turn pale and fluffy. This process, known as creaming, traps air within the fat. Use a spatula to scrape the bottom of the bowl at the 2-minute mark to make certain no butter streaks remain.
Step 2: Emulsification
Add the eggs and vanilla extract. Mix for an additional 60 seconds on low-to-medium speed. During this phase, the lecithin in the egg yolks acts as a bridge between the water-based egg whites and the fat-based butter. If the mixture looks broken or curdled, continue mixing for 30 more seconds until it is a smooth, unified emulsion.
Step 3: Dry Ingredient Integration
Whisk together your all-purpose flour, cake flour, cornstarch, baking soda, and salt. Turn the mixer to the lowest setting and add the dry ingredients all at once. Stop the mixer when you still see a few streaks of flour. Over-mixing at this stage triggers gluten development, which would make the cookies tough. Fold in the milk chocolate chips and chunks by hand with a large spatula.
Step 4: Portioning and Thermal Prep
If you choose to bake immediately, preheat your oven to 395°F (202°C). Scale each cookie dough ball to 4 ounces (113g). This large size is required because the high mass protects the center from overcooking while the exterior sets. For the best visual results, press a few extra chocolate chunks onto the surface of each ball. Place them on a light-colored aluminum baking sheet lined with parchment paper, leaving 3 inches of space between each.
Step 5: The High-Heat Bake
Bake for 9 to 11 minutes. The visual cue for completion is when the edges are set and a light golden brown, while the centers still appear slightly soft or ‘underdone.’ The internal temperature should reach 175°F to 185°F (79-85°C). Residual heat will finish the cooking process on the tray. Sprinkle with Maldon sea salt immediately after removal to balance the sweetness.
Science Secrets from the Test Kitchen
Temperature control is the most critical variable in the success of your Milk Chocolate Chip Cookies. If your kitchen is warmer than 72°F, I recommend placing your portioned dough balls in the freezer for 10 minutes before baking to make certain the fats do not melt too quickly in the high-heat oven. We found in our testing that using a light-colored baking sheet reflects heat more evenly than dark pans, which absorb too much thermal energy and can scorch the bottom of your cookies. For more fundamental techniques, you can reference our guide on Foundation Cookie Recipes to master the art of the creaming method. Another secret is the use of high-quality chocolate; milk chocolate with at least 30% cocoa solids will provide a deeper flavor profile than standard grocery store brands.
Tested Ratio Tweaks
For those who prefer a flatter, crisper texture, you can modify the protein ratio by replacing the cake flour with an equal weight of all-purpose flour, bringing the total all-purpose flour to 375g. This increase in protein creates a more robust gluten network that can support a longer bake time. If you are interested in how seasonal changes affect dough hydration, see our study on Holiday Cookie Science. You can also experiment with the fat profile by replacing 50g of the butter with shortening to create a cookie that spreads less and has a more defined edge. According to Modern Honey, using a variety of chocolate shapes, like bars cut into jagged shards, creates more surface area for the chocolate to meld with the dough.
Optimal Enjoyment and Texture Science
Milk chocolate cookies are best served at approximately 100°F (38°C), which is the temperature where the cocoa butter in the milk chocolate remains in a liquid state but the cookie structure has set. Wait at least 15 minutes after baking before consuming. This rest period allows the starches to complete their retrogradation process, which firms the crumb and makes the cookie easier to handle. For presentation ideas, look into our research on Precision Cookie Decorating to see how salt placement and chocolate layering can change the visual appeal. Pair these cookies with a cold glass of whole milk; the fat in the milk helps cleanse the palate of the sugar, allowing the nuances of the vanilla and butter to stand out.
The Scientific Truth
Baking is the art of controlling chemical reactions through heat and measurement. By following this protocol for Milk Chocolate Chip Cookies, you have mastered the balance of protein, fat, and thermal energy. We hope this experiment in your kitchen brings as much joy as our testing did in ours. For more data-driven baking insights, check out our Viral Cookie Analysis to see how other popular recipes compare to this standard. Stay connected with us for more lab notes and recipes.
