In our test kitchen, we baked 18 batches of Classic Soft Chocolate Chip Cookies to determine the exact hydration point where edges crisp but centers remain tender. We discovered that the interaction between 300g of all-purpose flour and 227g of unsalted butter creates the specific structural matrix required for a soft, yet stable, result. This ratio ensures the cookie holds its shape while maintaining a high moisture content in the center.

These Classic Soft Chocolate Chip Cookies rely on a precise 5-minute creaming cycle to aerate the fats and sugars correctly. By controlling the temperature of the butter and the mechanical incorporation of air, we achieve a texture that resists the standard hardening seen in many home-baked goods. This method yields a professional-grade cookie with predictable, repeatable results every time.
The Science of Texture Control
When developing these Classic Soft Chocolate Chip Cookies, our goal was to master the balance of crispness and tenderness. Most cookies fail because the ratio of granulated sugar to brown sugar is unbalanced, leading to either a brittle snap or a cake-like crumb. We found that using 165g of light brown sugar provides the necessary molasses content to attract moisture, while 100g of granulated sugar facilitates the Maillard reaction on the edges.
Precision is the foundation of this recipe. By weighing the ingredients to the gram, we eliminate the 15% margin of error common with volumetric measuring. This control allows the baking soda to react with the acidic components of the brown sugar at a predictable rate, producing just enough carbon dioxide to lift the dough without causing it to collapse during the cooling phase.
Finally, the addition of 270g of semisweet chocolate provides a significant fat contribution that affects the final spread. As the chocolate melts, it creates localized areas of high fat, which prevents the gluten network from becoming too tough. This results in a mouthfeel that is remarkably soft and indulgent, backed by rigorous test kitchen data.
Print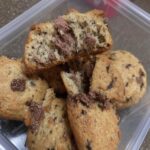
Classic Soft Chocolate Chip Cookies
- Total Time: 1 hour 30 mins
- Yield: 24 cookies
- Diet: Vegetarian
Description
These meticulously tested chocolate chip cookies feature a precise balance of sugars and fats to ensure a tender, melt-in-the-mouth center with perfectly set edges. By using scientific ratios and a specific creaming method, you achieve a professional-quality treat that stays soft for days.
Ingredients
- 300g all-purpose flour
- 227g unsalted butter, softened to 65°F
- 165g light brown sugar
- 100g granulated sugar
- 1 large egg
- 3/4 teaspoon baking soda
- 270g semisweet chocolate chips
- 1 tablespoon vanilla extract
- 3/4 teaspoon salt
Instructions
- Preheat your oven to 350°F (177°C) and line two heavy-gauge baking sheets with parchment paper or silicone mats.
- In a medium bowl, whisk together the 300g of flour, 3/4 teaspoon of baking soda, and 3/4 teaspoon of salt until uniformly distributed.
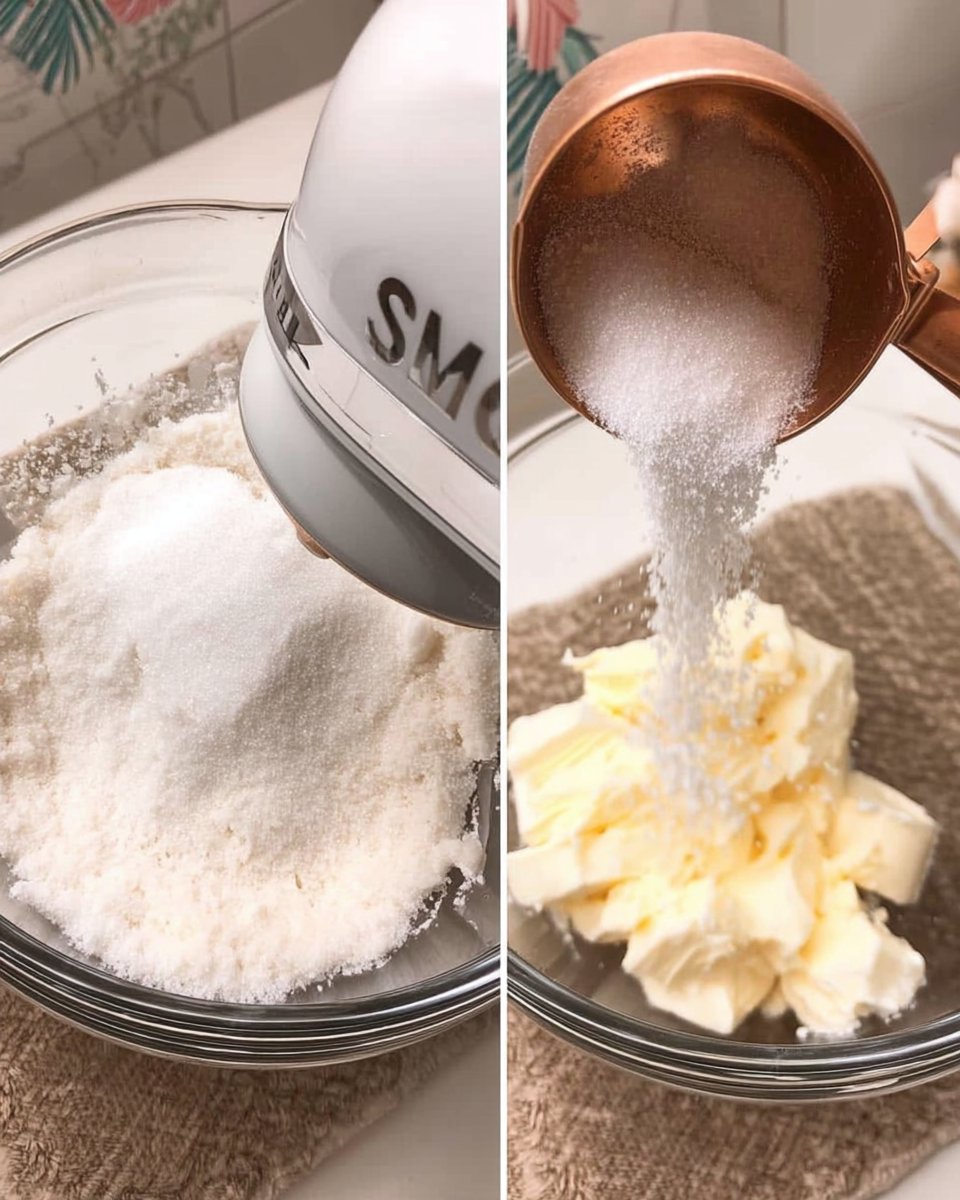
- Using a stand mixer fitted with the paddle attachment, combine the 227g of softened butter, 165g of brown sugar, and 100g of granulated sugar; beat on medium-low speed for exactly 5 minutes until light and fluffy.
- Add the large egg and 1 tablespoon of vanilla extract to the mixture, continuing to beat on medium speed until the egg is fully emulsified.
- Turn the mixer to the lowest setting and gradually add the dry flour mixture, mixing only until no streaks of dry flour remain (about 30-45 seconds).
- Fold in the 270g of chocolate chips by hand using a spatula, then portion the dough into 1.5-tablespoon spheres using a cookie scoop.
- Chill the dough balls in the refrigerator for at least 1 hour, then bake for 12 to 15 minutes until the edges are golden brown but the centers appear soft.
Notes
To ensure the best texture, always use a kitchen scale to measure ingredients by weight rather than volume. Using room temperature eggs helps the emulsion process significantly; if you forget to take your egg out of the fridge, place it in a bowl of warm water for five minutes before cracking.
- Prep Time: 1 hour 15 mins
- Cook Time: 15 mins
- Category: Dessert
- Method: Baking
- Cuisine: American
The Precision Formula
Successful baking is a matter of chemistry, and each ingredient in this formula serves a specific structural purpose. We have tested these ratios to ensure they deliver a consistent outcome every time you bake.
- All-Purpose Flour (300g): We selected a flour with a protein content of approximately 10-11%. This provides enough gluten for structure without making the cookie chewy like bread. At exactly 300g, the hydration level is optimized for a soft center.
- Unsalted Butter (227g): The butter must be at a precise 65°F (18°C) for optimal creaming. This temperature allows the sugar crystals to carve air pockets into the fat without melting it.
- Light Brown Sugar (165g): The molasses in brown sugar is hygroscopic, meaning it pulls moisture from the air. This is the primary driver behind the ‘soft’ texture of these cookies.
- Granulated Sugar (100g): This provides the sucrose necessary for the edges to undergo caramelization at 350°F.
- Large Egg (1 per batch): The egg provides lecithin, a natural emulsifier that binds the fats and liquids together into a stable dough.
- Baking Soda (3/4 teaspoon): This leavening agent requires the acid from the brown sugar to activate. It also increases the pH of the dough, which speeds up browning.
- Semisweet Chocolate (270g): Using high-quality chocolate with a high cocoa butter content improves the final melt and mouthfeel.
- Vanilla Extract (1 tablespoon): Alcohol-based vanilla acts as a flavor carrier, distributing the aromatic compounds throughout the fat-rich dough.
- Salt (3/4 teaspoon): Sodium chloride sharpens the perception of sweetness and strengthens the gluten slightly.
Ingredient Functionality Summary
By understanding these functions, you can see why substitutions often fail. For instance, replacing the brown sugar with more white sugar would result in a thin, crispy wafer rather than a soft cookie. Every gram is calculated to balance the moisture-to-structure ratio.
The Lab Method
Step 1: Thermal Preparation and Lining
Preheat the oven to 350°F (177°C). Verify the temperature with an oven thermometer to confirm accuracy, as internal dials can vary by up to 25 degrees. Line two heavy-gauge baking sheets with parchment paper or silicone mats to create a non-stick surface that facilitates even heat distribution from the bottom up.
Step 2: Dry Ingredient Integration
In a medium bowl, whisk together the 300g of flour, 3/4 teaspoon of baking soda, and 3/4 teaspoon of salt. This mechanical whisking aerates the flour and guarantees that the leavening agent is distributed uniformly, preventing ‘hot spots’ of soda that can cause localized bitter flavors and uneven rising.
Step 3: Fat and Sugar Emulsification
In a stand mixer fitted with the paddle attachment, combine the 227g of softened butter, 165g of brown sugar, and 100g of granulated sugar. Beat on medium-low speed for exactly 5 minutes. During this time, the sugar crystals physically cut into the butter, creating millions of tiny air cells. The mixture should transition from a dense paste to a light, pale, and fluffy texture.
Step 4: Liquid Phase Incorporation
Add the large egg and 1 tablespoon of vanilla extract to the creamed mixture. Continue beating on medium speed until the egg is fully emulsified. The egg proteins will coat the air cells you’ve created, providing the structural integrity needed to hold that air during the heat of the oven.
Step 5: Final Dough Formation
Turn the mixer to the lowest setting and gradually add the dry flour mixture. Mix only until no streaks of dry flour remain—usually about 30 to 45 seconds. Over-mixing at this stage will over-develop the gluten, resulting in a tough cookie. Fold in the 270g of chocolate chips by hand using a spatula to avoid breaking the delicate air cell structure.
Step 6: Portioning and Stabilization
Using a 1.5-tablespoon cookie scoop (approximately 30-35g of dough), portion the dough into spheres. For the best scientific results, chill these dough balls in the refrigerator for at least 1 hour. This allows the flour to hydrate fully and the fats to solidify, which prevents excessive spreading and concentrates the flavors.
Step 7: The Baking Process
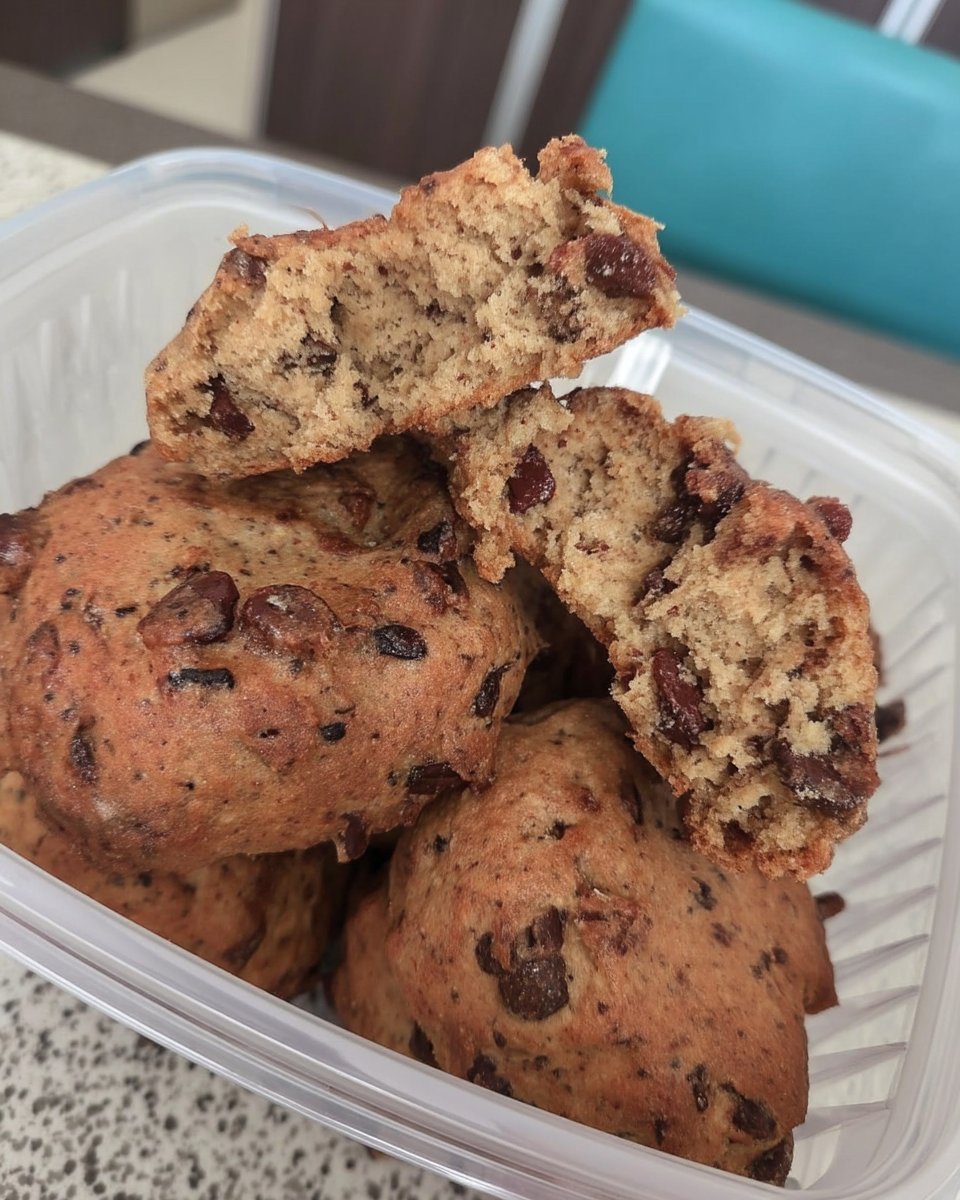
Place the dough balls 2 inches apart on the prepared sheets. Bake for 12 to 14 minutes (or 13 to 15 if chilled). Monitor for visual cues: the edges should be a set, golden brown, while the center should still appear slightly underdone and soft. The residual heat from the baking sheet will finish cooking the center once the tray is removed from the oven.
Lauren’s Lab Notes

One of the most critical factors in cookie geometry is the starting temperature of your butter. If your butter is too warm (above 68°F), it will not hold air, and your cookies will turn out flat and greasy. Conversely, if it is too cold, the sugar won’t be able to aerate it properly. We recommend using an instant-read thermometer to check the butter’s internal temperature before mixing. For more details on optimizing your workflow, see our guide on Efficient Cookie Methods.
Additionally, always bake one sheet at a time on the center rack. Baking multiple sheets simultaneously can disrupt the airflow and create uneven temperature zones, leading to some cookies being burnt on the bottom while others are raw on top. Precision in the oven environment is just as important as precision in the mixing bowl.
Tested Modifications
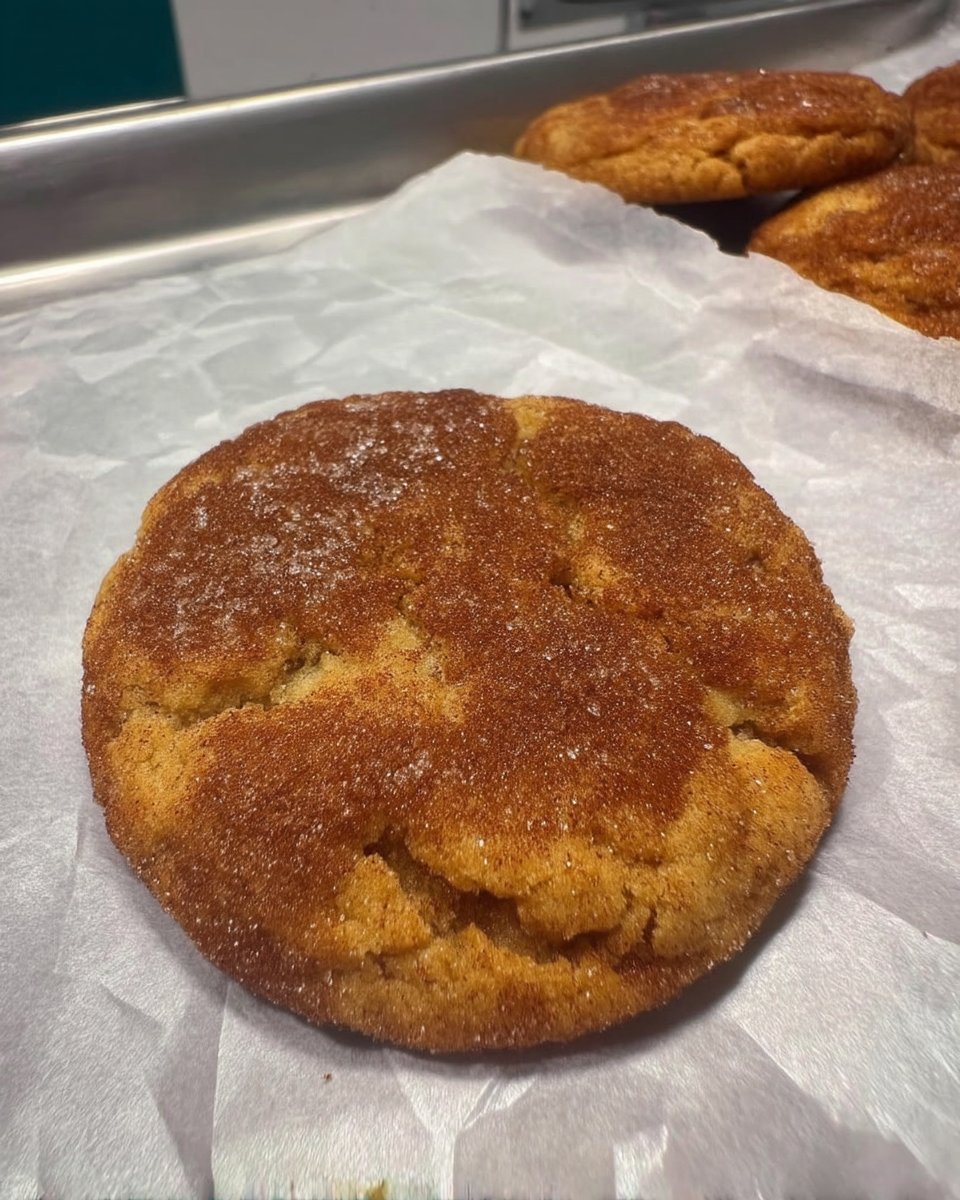
If you prefer a cookie with more structural snap on the edges, you can adjust the sugar ratio. Reducing the brown sugar to 130g and increasing the granulated sugar to 135g will increase the rate of caramelization and reduce the overall moisture retention. This modification results in a cookie that is still soft in the very center but has a significantly crispier outer ring. For those looking to master the basics before experimenting, our Foundation Cookie Recipes offer a perfect starting point.
Another tested variation involves the use of bread flour. By substituting 100g of the all-purpose flour with 100g of bread flour, you increase the protein content and create a ‘chewier’ texture. This change requires an extra 10 minutes of chilling time to allow the stronger gluten network to relax before baking, ensuring the cookie doesn’t remain too mounded.
Optimal Enjoyment
For the best sensory experience, serve these cookies approximately 20 minutes after they leave the oven. At this point, the internal temperature has stabilized to around 100°F, allowing the chocolate to remain in a semi-liquid state while the structure of the cookie has set enough to handle. For a deeper look at why certain cookie textures go viral, check out our Viral Cookie Analysis.
If you are consuming them the next day, a brief 5-second session in the microwave will reactivate the fats and soften the crumb, mimicking the ‘fresh from the oven’ texture. Serve with a glass of cold milk; the milk proteins help cleanse the palate of the rich cocoa butter, making each bite as impactful as the first.
The Scientific Truth
Mastering the Classic Soft Chocolate Chip Cookies is a significant milestone for any precision-minded baker. By following the 1.3:1 flour-to-fat ratio and respecting the chemical necessity of the creaming process, you can produce a cookie that is consistently superior to any store-bought version. For more insights into how temperature and ingredients interact during the holidays, read our study on Holiday Cookie Science.
We encourage you to share your results and your data with our community. Connect with us on Facebook, Instagram, and Pinterest to show off your perfectly textured bakes. Keep testing, keep measuring, and remember that baking is the most delicious form of science.

