Making nut butter at home is a fascinating lesson in physics and cellular breakdown. By applying shear force to roasted peanuts, we rupture the cell walls to release the natural oils stored within, transforming distinct solids into a smooth, cohesive emulsion. This process allows us to control the viscosity and flavor intensity without relying on hydrogenated stabilizers found in commercial jars.

This recipe focuses on the purity of the peanut flavor profile, utilizing the natural fats inherent in the legume. Whether you need a low-glycemic option or simply prefer to control the sweetness level, understanding the mechanics of grinding allows you to achieve the perfect texture. We add just enough oil to facilitate the emulsion process, resulting in a creamy, spreadable finish.
The Science of Freshness
Commercially processed peanut butter often contains added sugars and stabilizers to prevent oil separation, but these additives can mask the nuanced flavor of the nut. By making this sugar free peanut butter at home, you prioritize the Maillard reaction—the browning process that occurs during roasting—which develops those deep, savory pyrazine compounds we associate with a rich peanut taste.
Furthermore, controlling the grind allows you to determine the mouthfeel. You are in charge of the particle size, moving from coarse grit to a liquid emulsion based on the duration of processing. This recipe offers a cleaner, more intense flavor profile because the oils haven’t oxidized on a shelf for months.
Print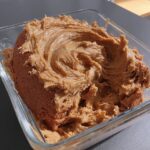
Sugar Free Peanut Butter
- Total Time: 10 mins
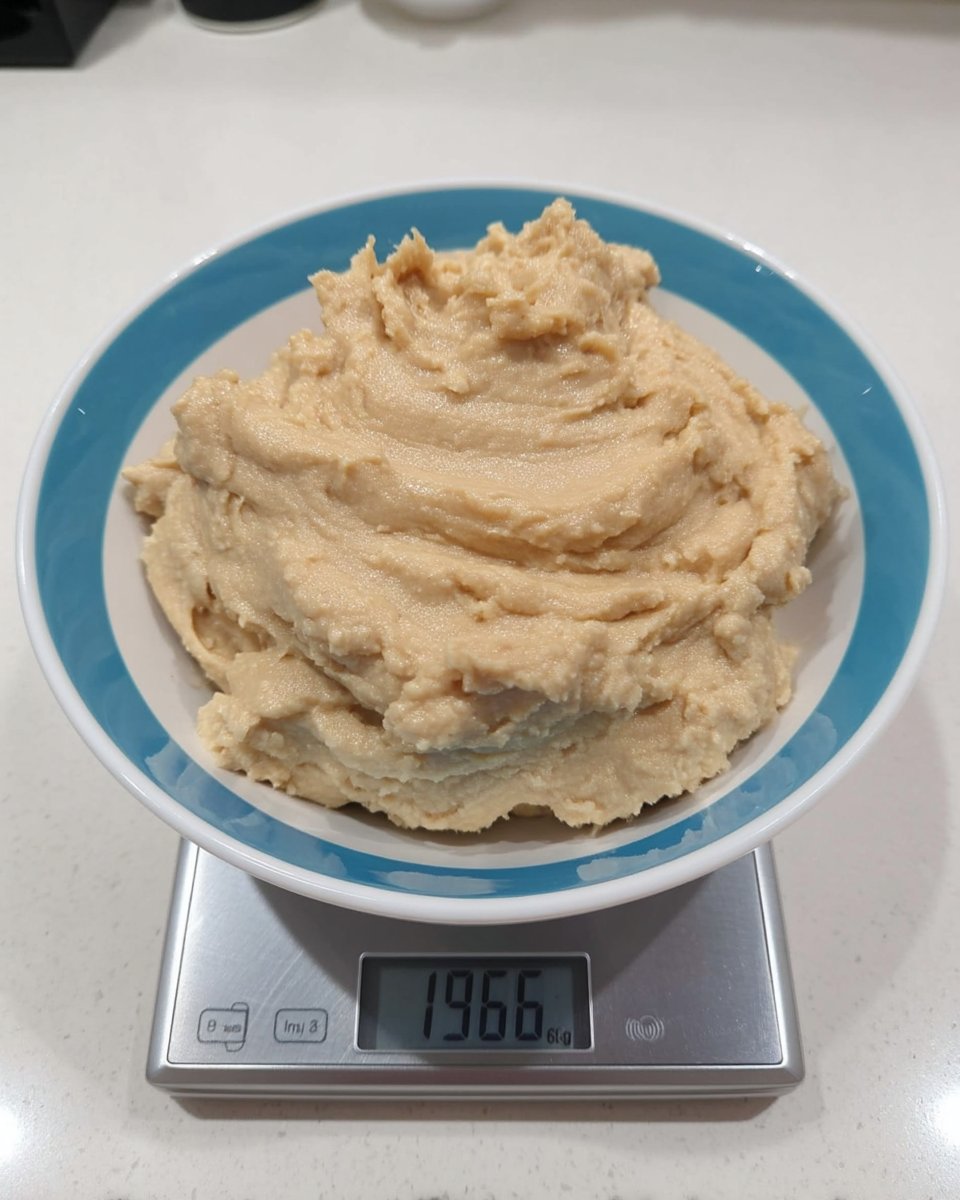
- Yield: 1.5 cups
- Diet: Keto, Gluten-Free
Description
Experience the pure, intense flavor of homemade nut butter with this simple four-step guide. By controlling the emulsification process, you can achieve a perfectly smooth, sugar-free spread that far surpasses commercial varieties in both taste and nutritional quality.
Ingredients
- 2 cups roasted unsalted peanuts
- 1–2 tablespoons peanut oil
- 1/2 teaspoon salt (to taste)
- 1–2 teaspoons liquid sweetener (optional, such as honey or erythritol monk fruit blend)
Instructions
- Place the roasted peanuts into a high-performance blender or food processor.
- Process for one minute until the nuts reach a coarse meal or crumb stage, then stop and scrape down the sides.
- Add one tablespoon of peanut oil and your preferred sweetener, then process for another minute until the mixture forms a thick, cohesive ball.
- Scrape down the sides again, add the remaining oil if needed for consistency, and process for a final minute until the mixture is glossy and fluid.
Notes
To ensure the best shelf life and flavor, store your homemade peanut butter in a clean, airtight glass jar in the refrigerator. If you prefer a crunchy variety, simply pulse a handful of roasted peanuts separately and stir them into the finished smooth emulsion at the very end.
- Prep Time: 5 mins
- Cook Time: 5 mins
- Category: Spread
- Method: Emulsification
- Cuisine: American
Flavor Components and Ratios
- Peanuts: The foundation of the recipe. I recommend using roasted unsalted peanuts. Roasting is crucial because it reduces moisture content and develops flavor compounds through non-enzymatic browning. Raw peanuts will yield a vegetal taste and a paste that is less willing to emulsify.
- Peanut Oil: While peanuts contain their own oil, adding a small amount of supplementary peanut oil acts as a lubricant. It helps the solid particles move more fluidly against the blades, reducing friction heat and speeding up the transition to a creamy state.
- Sweetener (Optional): If you require a touch of sweetness without the glycemic spike, use a liquid alternative like honey (if not strictly vegan/keto) or a dissolved erythritol monk fruit blend. Remember that fat coats the tongue and can dampen sweetness perception, so taste as you go.
- Salt: Essential for flavor balance. Sodium ions suppress bitterness and amplify the perception of other flavors, making the peanut taste more robust.
The Emulsification Method
Step 1: Prepare the Base
If your peanuts are raw, roast them first to develop flavor and dry out residual moisture. Place your roasted peanuts into a high-performance blender or food processor. The goal here is to prepare the solids for breakdown.
Step 2: Initial Processing
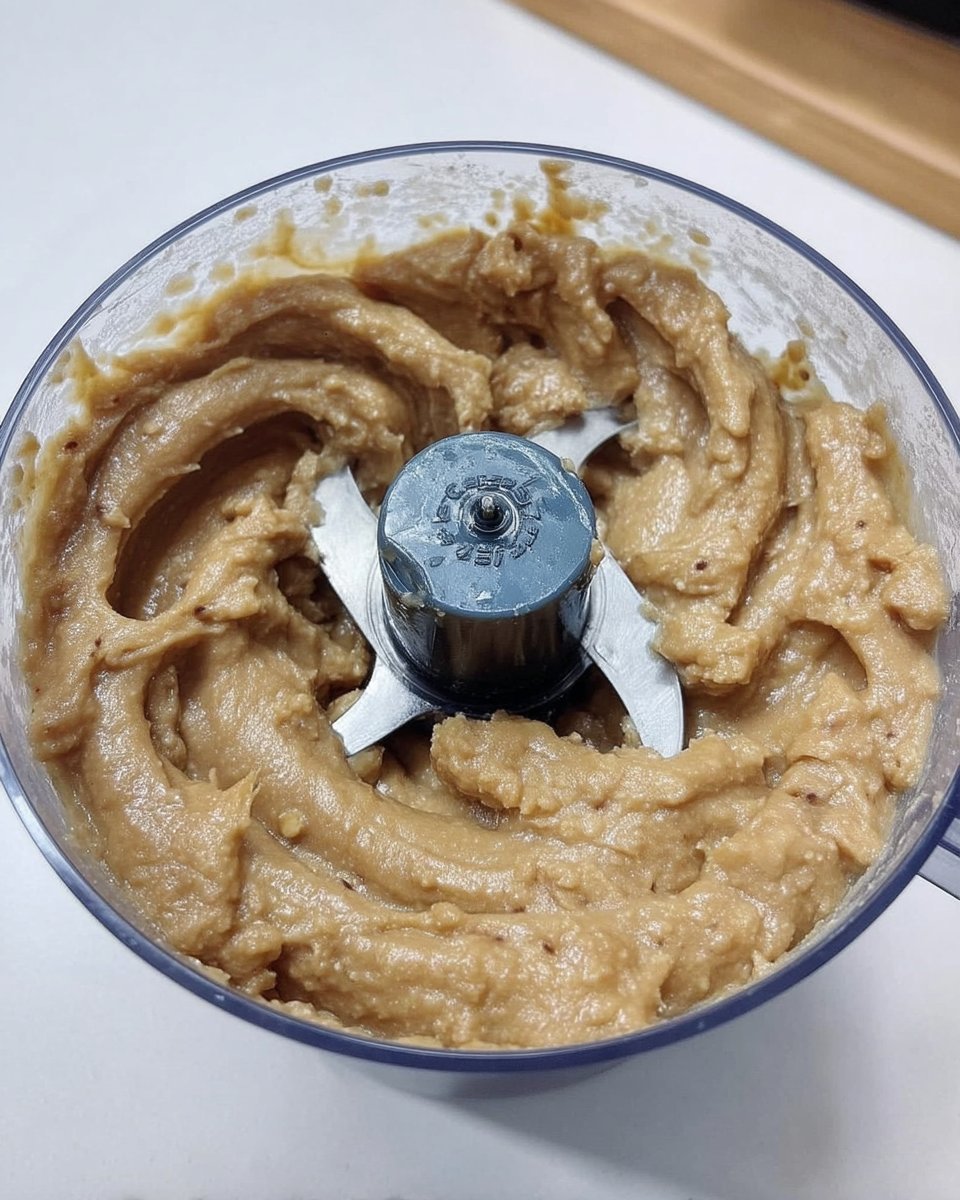
Turn the machine on and process for one minute. The blades will pulverize the nuts into a coarse meal or “crumb” stage. Stop and scrape down the sides of the container. At this point, the surface area of the nuts is increasing, but the oil hasn’t fully released.
Step 3: Inducing the Oil Release
Add one tablespoon of the peanut oil and your sweetener if using. Resume processing for another minute. You will notice the mixture transitioning from a dry crumble to a thick, cohesive ball. This clump forms as the oil begins to coat the particles, increasing the surface tension.
Step 4: Final Emulsion
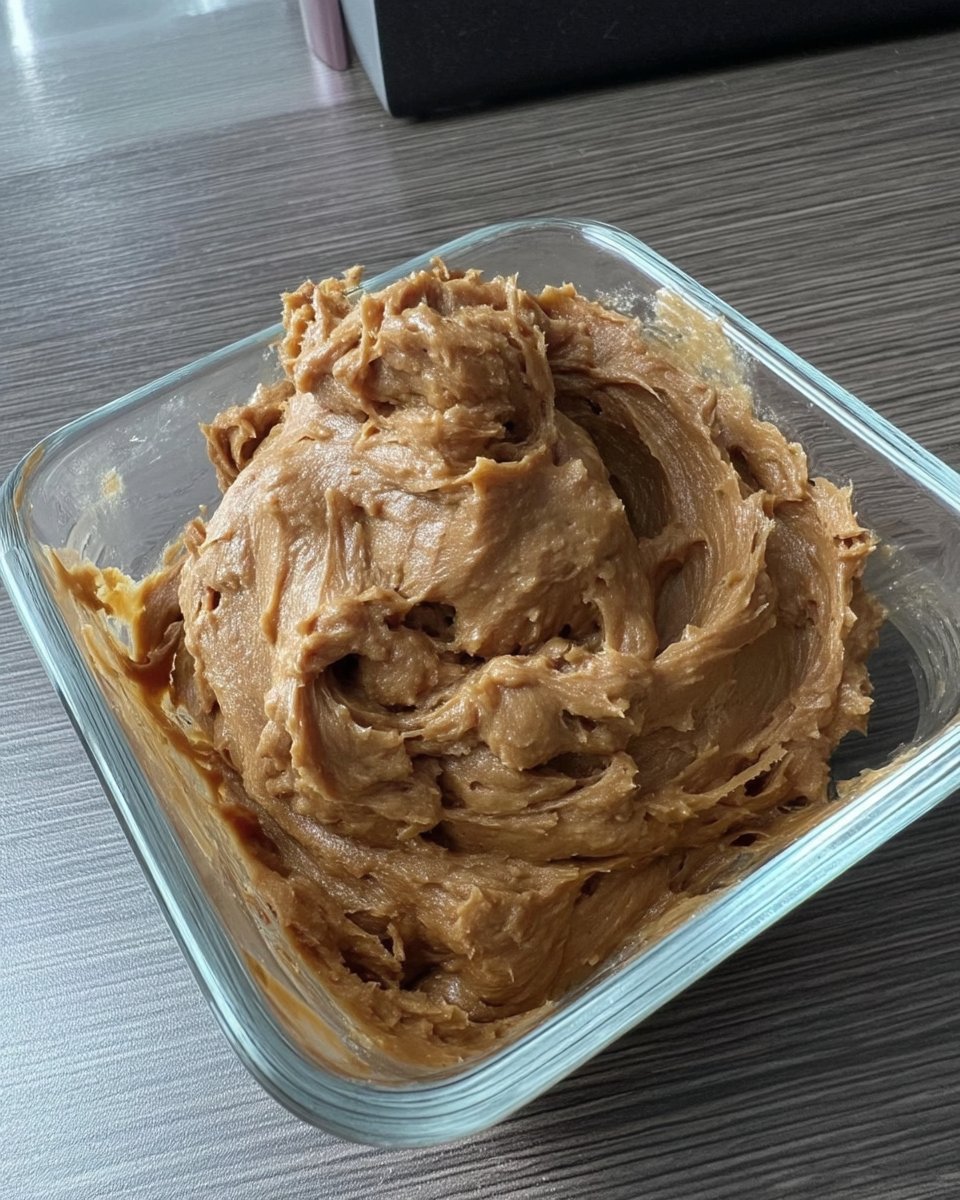
Scrape down the sides again and add the remaining oil if the mixture feels too stiff. Process for a final minute or until the mixture “surrenders” into a glossy, fluid state. The friction heat generated by the blades helps lower the viscosity of the oils, ensuring a smoother spread.
Jasmine’s Protocol for Precision
- Temperature Management: Processing generates significant friction heat. While warmth helps the oils flow, overheating can damage the flavor compounds or overheat your motor. If the base feels hot, let it rest for five minutes before the final blend.
- Equipment Efficiency: A Vitamix or high-powered blender creates a smoother emulsion faster than a food processor due to higher RPMs (rotations per minute). If using a food processor, be patient; the particle size reduction takes longer.
- Salt Timing: Add salt at the very end. Adding it too early can increase friction in the mixture. For more on how equipment impacts texture, read our guide on efficient cookie methods.
- Storage Chemistry: Since we lack hydrogenated stabilizers, natural separation will occur over time. Store in the refrigerator to slow down oxidation (rancidity) and keep the texture firm.
Flavor Compound Swaps
- The Almond Shift: You can apply this same ratio to almonds. Almonds have a harder cell structure and may require slightly more oil or processing time to release their fats.
- Chocolate Suspension: For a mocha profile, add cocoa powder. However, cocoa powder is dry and will absorb moisture and fat, so you must increase the oil content to maintain spreadability. This creates a profile similar to the foundation found in our foundation cookie recipes.
- Spice Layering: Cinnamon contains cinnamaldehyde, which pairs beautifully with the fatty mouthfeel of peanuts. Add a teaspoon during the final blend for a warming sensation.
Pairing and Application
This butter is versatile because of its neutral sweetness profile. It pairs exceptionally well with crisp, acidic fruits like green apples, where the acidity cuts through the dense fat of the butter. For a breakfast application, swirl it into oatmeal; the heat will volatilize the peanut aroma, making it smell more intense.
If you are looking to incorporate this into a keto diet, you might find inspiration in other low-carb adaptations, such as the recipes found at The Sugar Free Diva. For a more decadent approach, try using this base in our viral cookie analysis to see how reducing sugar affects the spread and crunch of a baked good.
Final Sensory Notes
Mastering this sugar free peanut butter gives you total control over the nutritional density and flavor balance of your pantry staples. By understanding the simple physics of grinding and emulsification, you ensure a product that is fresh, unoxidized, and perfectly tailored to your palate.
Experiment with the roast level of your peanuts next time to see how darker roasts change the viscosity. For more ideas on how to gift or package these homemade treats, explore our holiday cookie science section. Don’t forget to share your creations with us on social media!

