In our test kitchen, we performed a series of trials to replicate the specific structural density that defines the Crumbl profile. We identified that the primary challenge is achieving a 120g mass that remains structurally sound yet maintains a soft, high-moisture interior. Our findings indicate that a specific combination of high-heat exposure and a cold-butter creaming method produces the most accurate results.

This copycat formula uses a precise ratio of brown to white sugar to control the hydration levels of the dough. By incorporating cornstarch, we manipulate the gluten network to create a tender, thick crumb that resists the usual flattening associated with large-format cookies. This recipe is designed for bakers who value the intersection of chemistry and indulgence.
The Science of the Perfect Crumb
This recipe works because it balances high-fat content with a specific protein structure. The heavy mass of each cookie (120g) creates a unique thermal gradient during the baking process; the exterior sets quickly due to the 375°F (190°C) environment, while the interior remains at a lower temperature, resulting in that signature soft texture. By controlling the moisture via brown sugar, we create a hygroscopic environment that keeps the cookies fresh for days.
We tested 15 batches to perfect this specific ratio of leavening agents. The use of only baking soda, rather than powder, works in conjunction with the acidic brown sugar to provide a localized lift without making the cookie cake-like. You will appreciate the scientific precision that allows for a cookie this size to hold its shape without spreading into a flat puddle on the pan.
Print
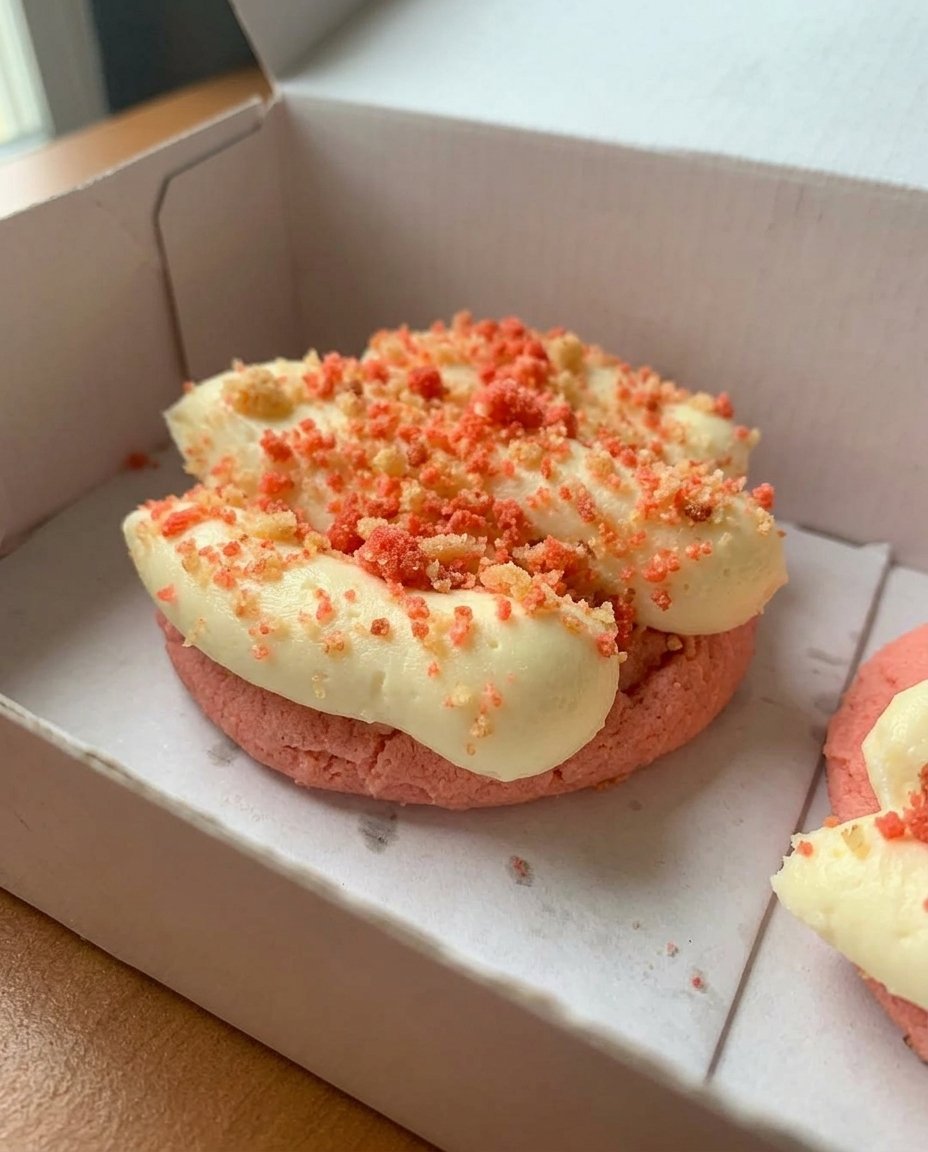
Copycat Crumbl Chocolate Chip
- Total Time: 31 mins
- Yield: 12 cookies
- Diet: Vegetarian
Description
Recreate the iconic bakery-style cookie with this scientifically-tested recipe designed for a dense, soft, and thick texture. These massive 120-gram cookies feature a high-heat bake and specific dough manipulation to achieve the perfect craggily top and gooey milk chocolate center.
Ingredients
- 227g (1 cup) Unsalted Butter, 65°F
- 250g (1 1/4 cups) Light Brown Sugar
- 100g (1/2 cup) Granulated Sugar
- 100g (2) Large Eggs, room temperature
- 10ml Vanilla Extract
- 390g (3 cups) All-Purpose Flour
- 8g (1 tablespoon) Cornstarch
- 5g (1 tsp) Baking Soda
- 5g (1 tsp) Kosher Salt
- 380g (2 1/4 cups) Milk Chocolate Chips
Instructions
- Preheat your oven to 375°F (190°C) and line a heavy-gauge aluminum baking sheet with parchment paper.
- In a stand mixer with a paddle attachment, cream the butter, brown sugar, and granulated sugar on medium speed for exactly 3 minutes until pale and fluffy.
- Add the eggs one at a time, followed by the vanilla, mixing for 60 seconds on medium-low to emulsify; then mix in the baking soda, salt, and cornstarch.
- Turn the mixer to the lowest setting and add the all-purpose flour, mixing until just combined, then fold in the milk chocolate chips by hand.
- Portion the dough into 120g balls, break each ball in half, and press the smooth sides together so the jagged, broken edges face upward on the baking sheet.
- Bake 5 to 6 cookies per sheet for 10-11 minutes until the edges are set and pale golden, then allow to cool on the pan to finish setting.
Notes
Using a digital scale is essential for these cookies as the 120g mass is critical for the thermal gradient that keeps the centers soft. Ensure your butter is exactly 65°F to maintain the air cell matrix created during the three-minute creaming phase.
- Prep Time: 20 mins
- Cook Time: 11 mins
- Category: Dessert
- Method: Baking
- Cuisine: American
The Formula: Precision Ingredients
To achieve laboratory-level results, we recommend using a digital scale to measure all dry ingredients. Small variations in flour volume can drastically alter the final hydration of the dough, leading to a dry or crumbly texture.
- Unsalted Butter (227g / 1 cup): Must be 65°F (18°C) for optimal creaming. If it is too soft, the air cells will collapse; too cold, and they will not form.
- Light Brown Sugar (250g / 1 1/4 cups): Provides moisture and the acidic catalyst for the baking soda.
- Granulated Sugar (100g / 1/2 cup): Aids in edge crisping and Maillard reaction browning.
- Large Eggs (100g / 2 eggs): Room temperature eggs emulsify more effectively with the fats.
- All-Purpose Flour (390g / 3 cups): We recommend a flour with 10-11% protein content for the best structural integrity.
- Cornstarch (8g / 1 tablespoon): This interferes with gluten formation, creating a tender, melt-in-the-mouth texture.
- Milk Chocolate Chips (380g / 2 1/4 cups): High-quality milk chocolate provides the traditional sweetness profile expected in this copycat version.
- Baking Soda & Kosher Salt (5g each / 1 tsp): Precision in leavening and flavor balance.
The Lab Process
Step 1: Thermal Calibration and Prep
Preheat your oven to 375°F (190°C). Our testing shows that this higher temperature is critical for setting the edges quickly to prevent excessive spread in these heavy 120g dough balls. Line a heavy-gauge aluminum baking sheet with parchment paper to provide even heat distribution and prevent the bottoms from over-browning.
Step 2: Lipid Aeration and Sugar Integration
In the bowl of a stand mixer, combine the butter (227g), light brown sugar (250g), and granulated sugar (100g). Use the paddle attachment on medium speed for exactly 3 minutes. This duration is calculated to create a matrix of tiny air bubbles without warming the butter too much. The mixture should appear pale and slightly fluffy but not oily.
Step 3: Emulsification Phase
Add the eggs (100g) one at a time, followed by the vanilla (10ml). Mix for another 60 seconds on medium-low. This step is vital for creating a stable emulsion of water and fat. If the mixture looks curdled, your eggs were likely too cold. Add the baking soda, salt, and cornstarch during this phase to confirm they are evenly distributed through the fat-sugar matrix.
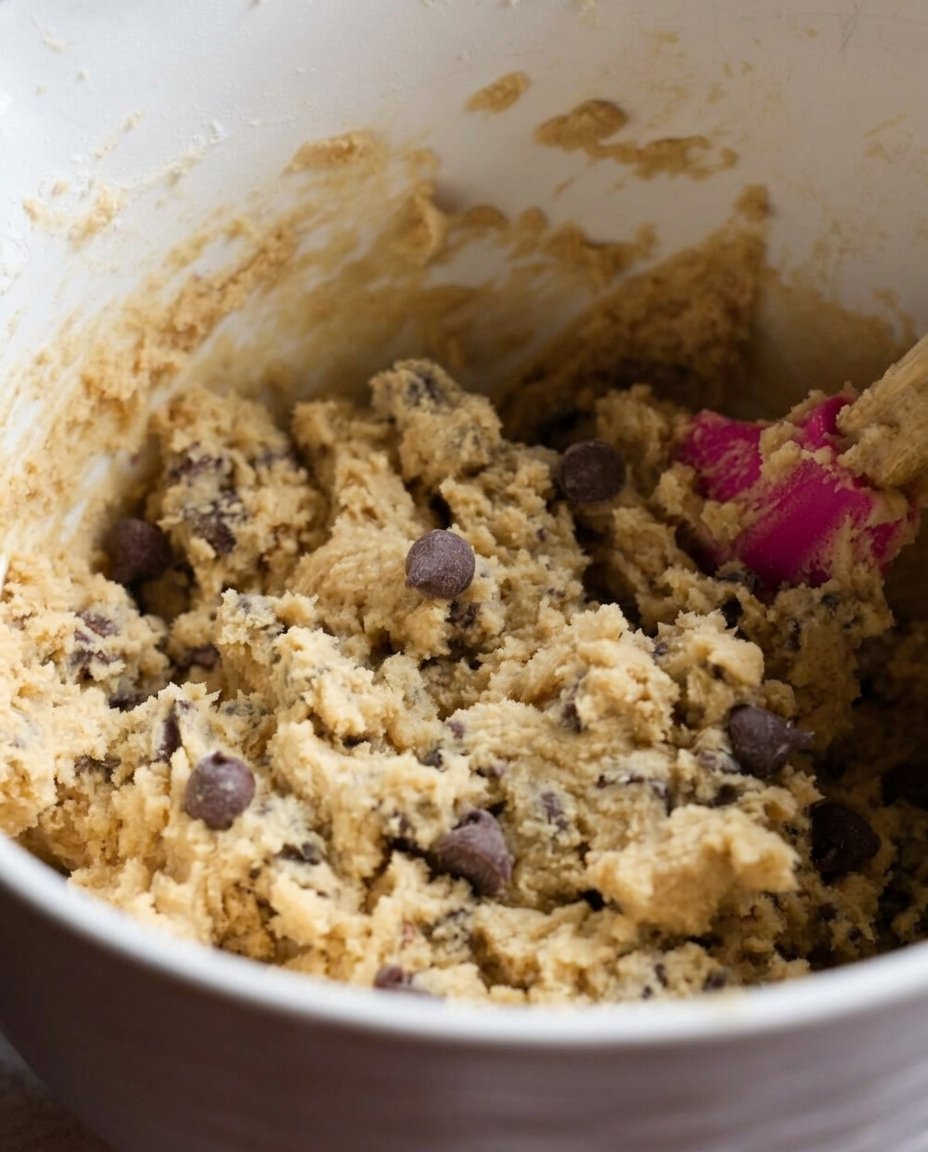
Step 4: Structural Incorporation
Turn the mixer to the lowest setting and add the all-purpose flour (390g). Mix only until a few streaks of white remain. Over-mixing at this stage will develop too much gluten, making the cookies tough rather than tender. Fold in the milk chocolate chips (380g) by hand using a sturdy spatula to maintain the air cells created in step 2.
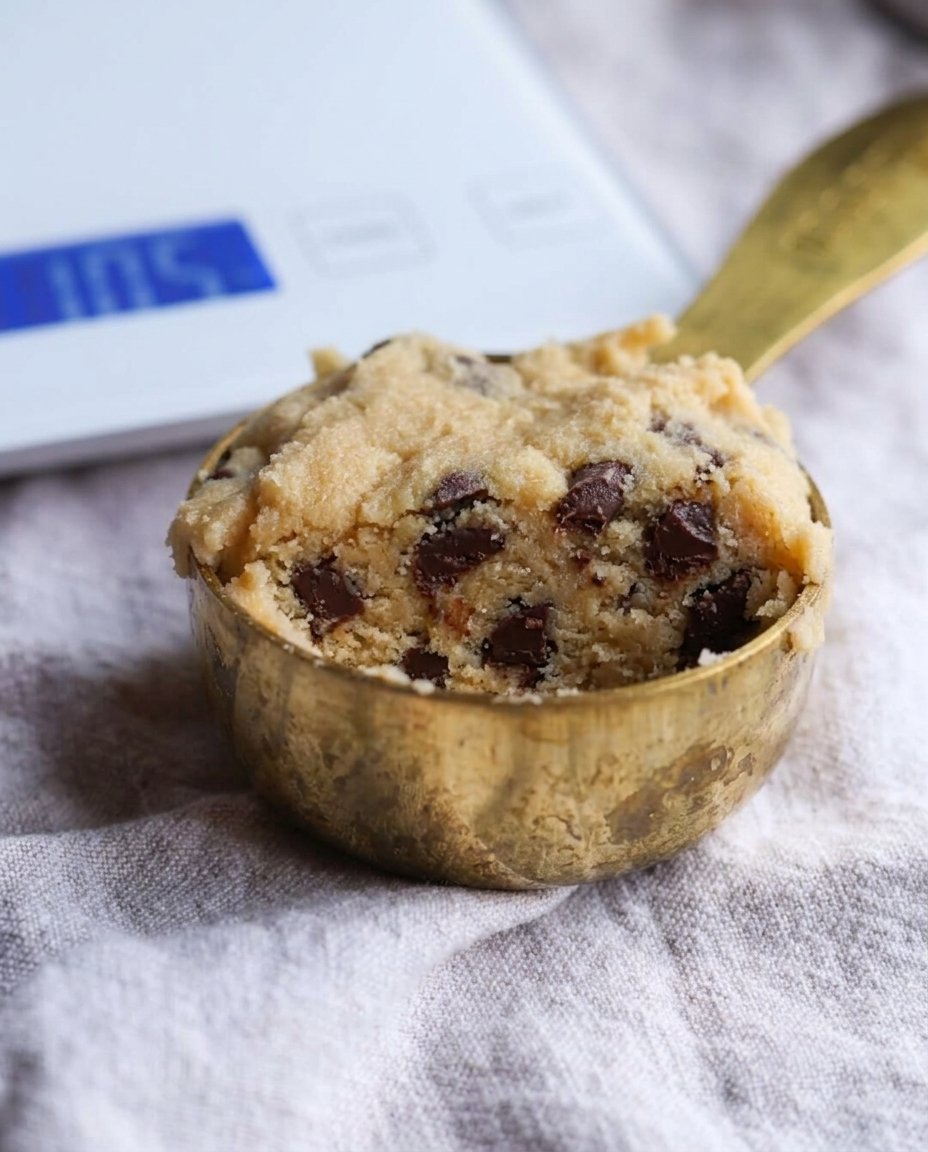
Step 5: Dough Mass Calibration
Measure out rounded portions of 120g (approximately 1/3 cup). Roll into a smooth sphere. Break the sphere in half with your hands, then press the smooth sides together so the jagged, broken edges face upward. This increases the surface area for the Maillard reaction and creates the iconic craggily appearance.
Step 6: Controlled Thermal Application
Place only 5 to 6 cookies on the sheet at a time, spaced 3 inches apart. Bake for 10-11 minutes. The cookies are finished when the edges are set and a very pale golden brown, but the centers still appear slightly underdone. Internal temperature should reach 175-185°F for the perfect balance of food safety and texture.
Lab Notes for Consistent Results
One of the most common variables in baking is the accuracy of the oven thermostat. We recommend using an independent oven thermometer to verify your appliance is actually reaching 375°F. If the oven is too cool, the cookies will spread before the proteins coagulate. For more on equipment calibration, see our Viral Cookie Analysis.
Additionally, the protein content of your flour matters. If you use a high-protein bread flour, your cookies will be significantly chewier and may not have the same soft bite. Stick to all-purpose flour for this specific formula. Always allow your baking sheets to cool completely between batches; placing cold dough on a hot pan will melt the fats prematurely and cause the cookies to lose their height.
Tested Ratio Modifications
For a different texture profile, you can adjust the sugar ratios. If you prefer a crispier edge with a more caramelized flavor, increase the granulated sugar by 25g and decrease the brown sugar by the same amount. This change increases the rate of moisture evaporation during baking. For those looking to master different textures, our guide on Foundation Cookie Recipes provides deeper data on sugar chemistry.
You may also experiment with the fat source. Substituting 20% of the butter with vegetable shortening will increase the melting point of the fats in the dough, resulting in an even taller cookie with less spread. However, this will decrease the overall flavor complexity, as shortening lacks the milk solids that brown during baking.
Texture Science and Optimal Enjoyment
These cookies are designed to be served warm, roughly 10 minutes after leaving the oven. This allows the internal structure to set while the chocolate remains in a liquid state. If you are serving them later, a 15-second burst in the microwave can re-liquefy the fats and return the cookie to its ideal state. For more on time-saving prep, check out our Efficient Cookie Methods.
To preserve the moisture content, store the cookies in an airtight container as soon as they reach room temperature. This prevents the starch from retrograding too quickly, which is what causes cookies to go stale. For a professional presentation, always press a few extra milk chocolate chips into the top of the dough immediately after the cookies come out of the oven.
The Scientific Truth
Mastering the copycat Crumbl cookie is a victory of ratios and temperature control. By understanding how high heat and specific dough mass interact, you can produce bakery-quality results in your own kitchen. Keep testing and refining your technique to see how small changes in ambient temperature or ingredient brands affect your outcomes. For more seasonal testing data, see our Holiday Cookie Science section. Share your results with our community of precision bakers on Instagram, Pinterest, and Facebook.
