The distinct allure of red velvet stems from a fascinating chemical reaction between acidic buttermilk and raw cocoa powder, which historically produced a soft reddish hue. This anthocyanin-driven color shift occurs when the acidity of the leavening agents interacts with the chocolate’s natural pigments, creating a flavor profile that is more nuanced than a standard chocolate bake. By understanding these molecular interactions, we can master a cookie that balances a subtle tang with the deep, earthy notes of premium cocoa.

These red velvet cookies offer a soft-baked texture that relies on precise moisture management and a specific chilling phase to allow the flavor compounds to mature. We use a high-fat emulsion of softened butter and various sugars to create a tender crumb that holds its shape while providing a melt-in-the-mouth sensation. Whether you use vibrant food coloring or prefer the natural bronzed look of the cocoa, this recipe provides a scientific foundation for a truly remarkable dessert.
The Flavor Science Behind the Red Velvet Craze
Red velvet is often misunderstood as simply “chocolate with red dye,” but the true chemistry is much more interesting. The presence of buttermilk or a high-acid environment causes the cocoa powder to lose its bitterness while accentuating its floral and fruity notes. This recipe uses brown sugar specifically for its molasses content, which introduces humectants that keep the cookie soft long after it leaves the oven. When you bite into one of these, you are experiencing the synergy of lactic acid and vanillin, which boosts our perception of sweetness without adding excessive sugar.
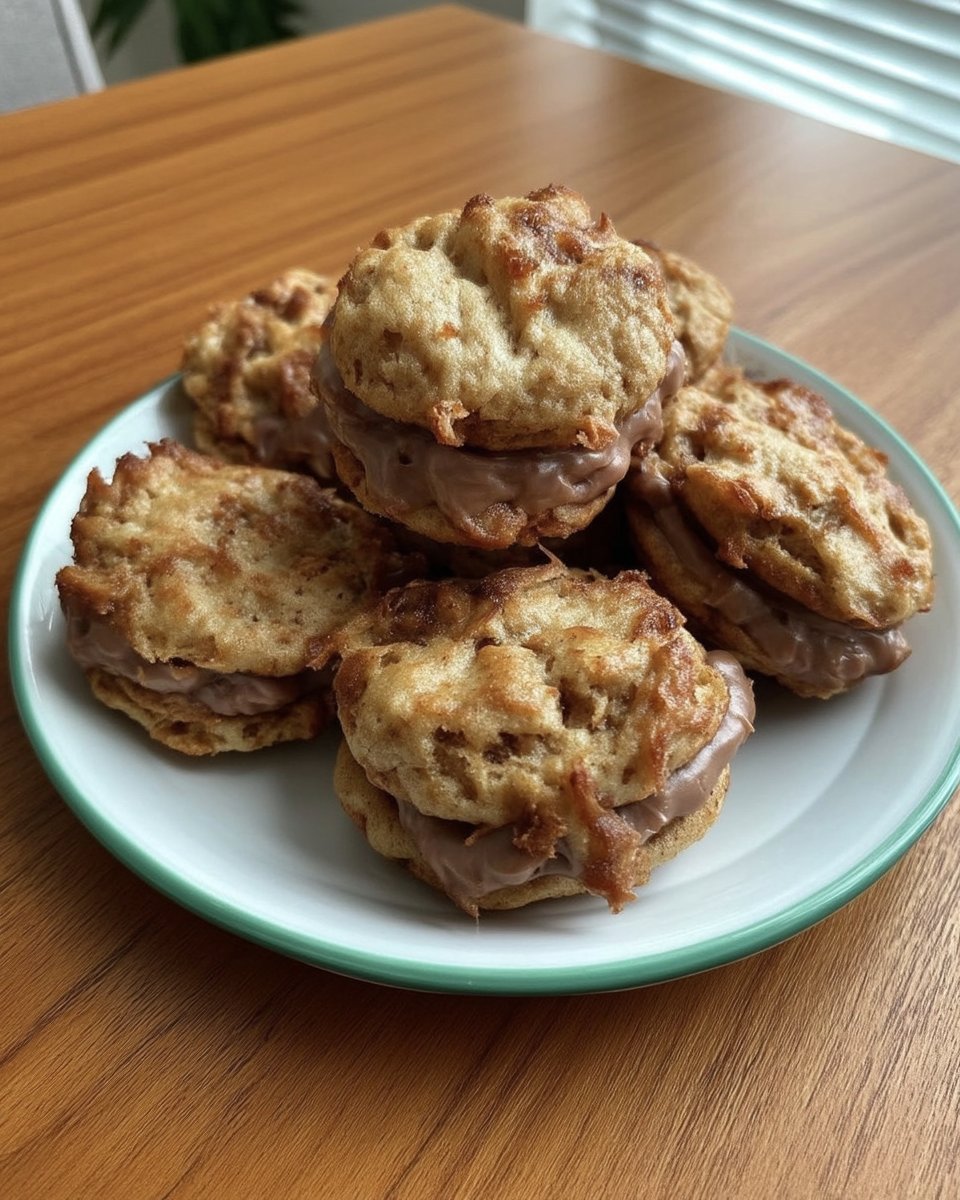
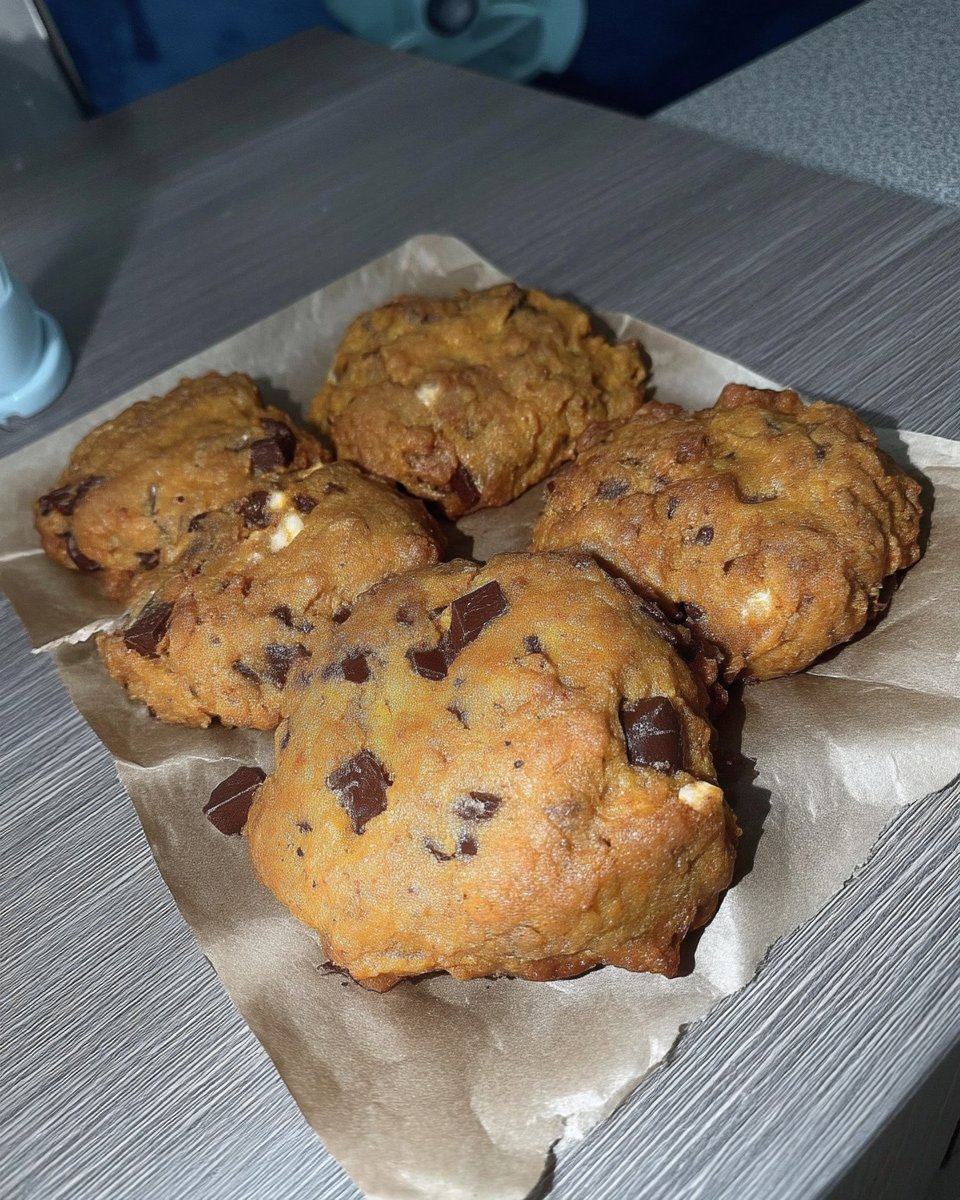
Furthermore, the addition of white or semi-sweet chocolate chips introduces a textural contrast that heightens the sensory experience. The fats in the chocolate chips share similar melting points with the butter in the dough, creating a harmonious mouthfeel. This intentional layering of ingredients ensures that every bite provides a complex spectrum of tastes, from the slight saltiness that suppresses bitterness to the rich, creamy finish of the cocoa butter. It is a study in taste balance that makes these cookies scientifically irresistible.
Print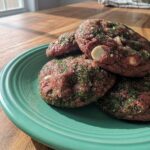
Red Velvet Cookies
- Total Time: 1 hour 27 mins
- Yield: 24 cookies
- Diet: Vegetarian
Description
Experience the perfect marriage of chemistry and flavor with these soft-baked red velvet cookies featuring a tender crumb and rich chocolate notes. These treats leverage the unique reaction between cocoa and buttermilk to deliver a sophisticated dessert that is as beautiful as it is delicious.
Ingredients
- 210g all-purpose flour
- Unsweetened natural cocoa powder
- Baking soda
- Salt
- Unsalted butter, softened
- Dark or light brown sugar
- Granulated sugar
- 1 large egg, room temperature
- Pure vanilla extract
- Buttermilk or milk
- Red gel food coloring
- White or semi-sweet chocolate chips
Instructions
- Whisk the flour, natural cocoa powder, baking soda, and salt together in a medium bowl to aerate and distribute the leavening agent.
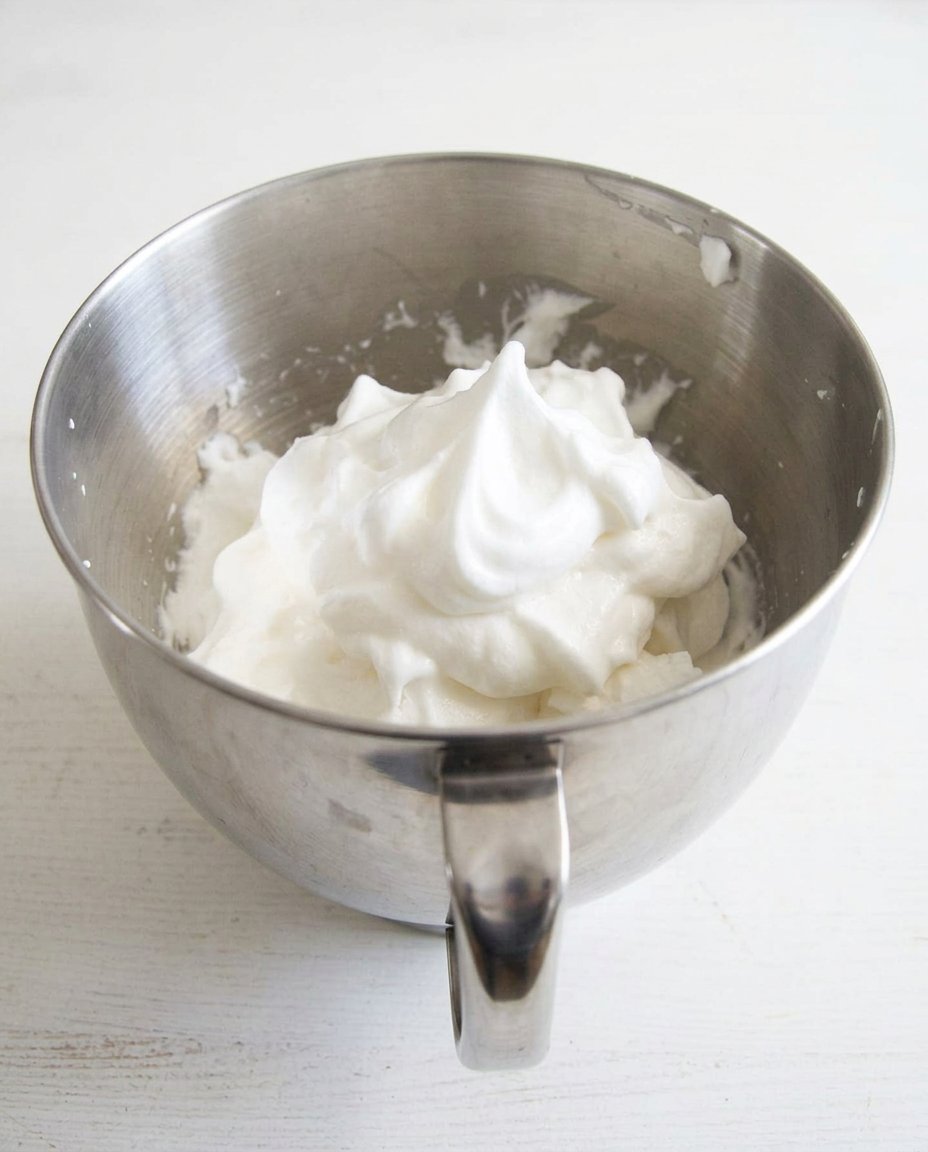
- Beat the softened butter with both sugars for 3 minutes on medium speed until a stable, creamy emulsion forms.
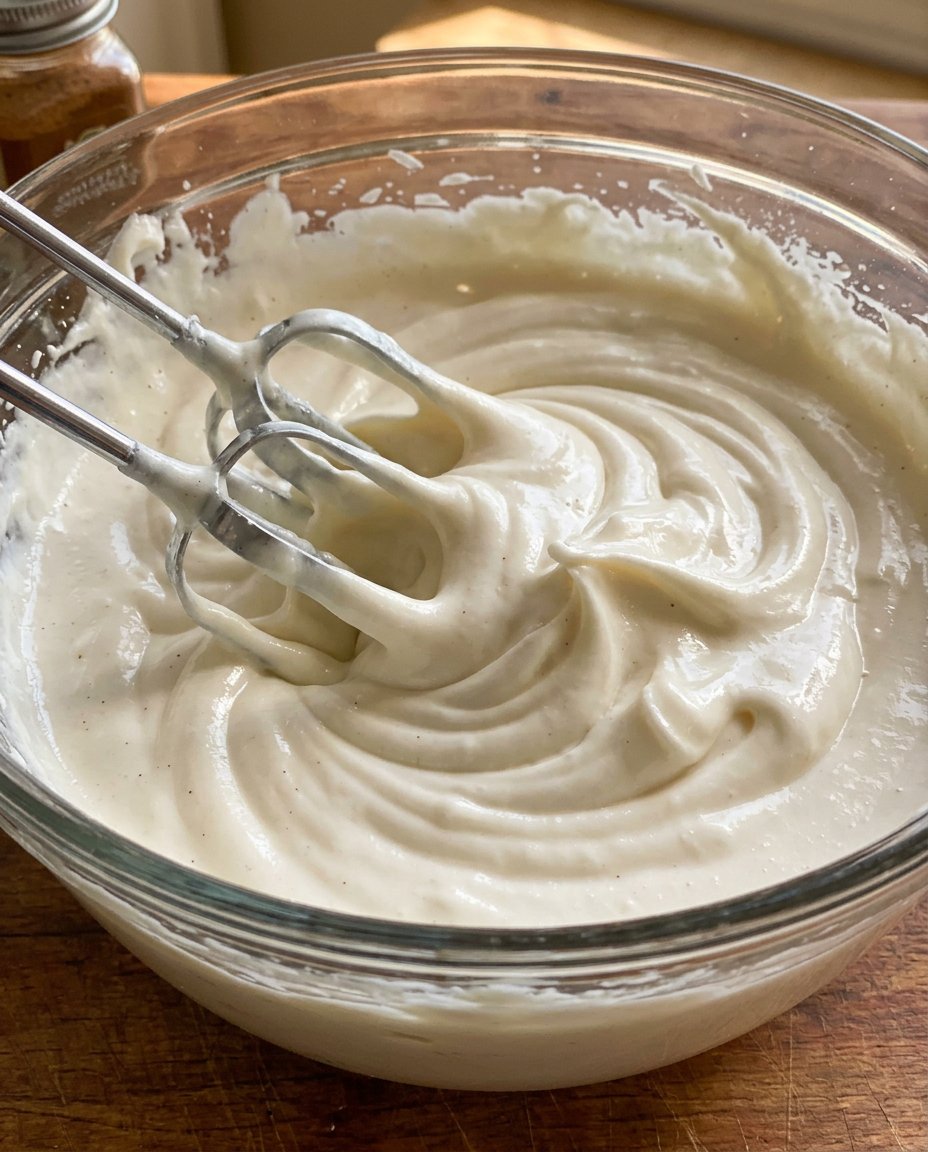
- Incorporate the egg and vanilla on high speed for 1 minute, then mix in the dry ingredients, buttermilk, and red food coloring on low speed.
- Gently fold in the chocolate chips until just distributed throughout the dough.
- Chill the dough in the refrigerator for at least 1 hour to allow for proper starch hydration and flavor development.
- Preheat the oven to 350°F (177°C) and line baking sheets with parchment paper.
- Roll 1.5-tablespoon portions of dough into spheres and place them 3 inches apart on the prepared baking sheets.
- Bake for 11–13 minutes, then let the cookies rest on the hot sheet for 5 minutes before moving them to a wire rack.
Notes
To ensure your cookies have a uniform color and texture, bring your egg to room temperature before mixing to prevent the emulsion from breaking. If you prefer a less sweet profile, try using dark chocolate chips with a high cocoa percentage to balance the sugars in the dough.
- Prep Time: 15 mins
- Cook Time: 12 mins
- Category: Dessert
- Method: Baking
- Cuisine: American
Molecular Components of the Perfect Red Velvet Crumb
To achieve the ideal balance of flavor and structure, each ingredient must be selected for its specific chemical properties and contribution to the final product.
- Unsweetened Natural Cocoa Powder: Unlike Dutch-processed cocoa, natural cocoa is acidic, which is vital for the traditional red velvet reaction and the leavening process with baking soda.
- All-Purpose Flour: We use a specific volume of 210g to provide enough protein for structure without making the cookies tough; this maintains a delicate gluten network.
- Unsalted Butter: Softened to room temperature, butter acts as an emulsion base. The water content in the butter turns to steam in the oven, helping the cookies rise.
- Dark or Light Brown Sugar: This sugar is hygroscopic, meaning it attracts moisture. It also contains pyrazines from the molasses that add a savory-sweet depth.
- Buttermilk or Milk: The lactic acid in buttermilk reacts with the baking soda to create carbon dioxide bubbles, leading to an airy, soft texture.
- Pure Vanilla Extract: Vanillin is a powerful aroma compound that amplifies the sweetness of the chocolate chips and rounds out the acidity of the dough.
- Gel Food Coloring: Gel is preferred over liquid to avoid altering the hydration levels of the dough while providing a concentrated pigment.
- Chocolate Chips: These provide pockets of concentrated fat and sugar, which act as flavor boosters throughout the cookie.
Understanding the pH of your ingredients is the first step toward a successful bake. The interaction between the cocoa’s acidity and the baking soda’s alkalinity is what creates the initial rise and the signature tender crumb of the red velvet cookies 2 formula.
The Scientific Layering Process
Step 1: Aerating the Dry Ingredients
Whisk the flour, natural cocoa powder, baking soda, and salt together in a medium bowl. This process not only removes lumps but also introduces air into the mixture, ensuring that the leavening agent is evenly distributed. By homogenizing the dry components, you prevent “hot spots” of baking soda that could lead to an uneven rise or metallic aftertastes.
Step 2: Creating the Fat-Sugar Emulsion
Using a hand mixer or a stand mixer fitted with a paddle attachment, beat the softened butter with both the brown and granulated sugars on medium speed for approximately 3 minutes. This step is critical for mechanical leavening; the sugar crystals tear tiny holes in the butter, which then trap air. The mixture should appear creamy and pale, indicating that a stable emulsion has formed.
Step 3: Incorporating Liquids and Pigments
Add the large egg and vanilla extract to the creamed mixture, beating on high for about 1 minute until fully combined. Scrape the sides of the bowl to make sure all fats are integrated. Next, pour in the dry ingredients along with the buttermilk and red food coloring. Mix on low speed to avoid overworking the gluten. The dough will be sticky, which is a sign of high hydration—this is exactly what we want for a soft-baked result.
Step 4: Folding in the Flavor Reservoirs
Add the chocolate chips and mix on low speed just until they are distributed. These chips serve as localized areas of high fat and sugar, which will melt slightly during baking to create a varied texture. Do not overmix here, as we want to maintain the air pockets created during the creaming stage.
Step 5: The Hydration and Chilling Phase
Cover the dough and refrigerate for at least 1 hour. This resting period is vital for starch hydration. During this time, the flour absorbs the liquid, which results in a thicker dough that spreads less in the oven. Additionally, the flavors of the vanilla and cocoa have time to meld and deepen. If you chill for more than 2 hours, let the dough sit at room temperature for 15 minutes before scooping to make it manageable.
Step 6: Thermal Transformation
Preheat your oven to 350°F (177°C) and prepare your baking sheets with parchment paper. Scoop approximately 1.5 tablespoons of dough and roll into uniform spheres. Arrange them 3 inches apart to allow for lateral expansion. Bake for 11–13 minutes. The edges should be set, but the centers must remain soft to the touch; the cookies will continue to firm up through carry-over cooking once removed from the heat.
Step 7: Final Setting and Cooling
Allow the cookies to rest on the hot baking sheet for 5 minutes. This allows the internal structure to stabilize before you transfer them to a wire rack. Cooling completely is necessary for the fats to re-solidify, giving you that perfect, chewy red velvet texture.
Jasmine’s Flavor Science Secrets
To achieve the most complex flavor profile, I recommend using a high-quality sea salt rather than standard table salt. Salt is a flavor modifier; it suppresses bitterness and magnifies our perception of sweetness, which is essential when working with cocoa. If you want to dive deeper into the basics of cookie chemistry, take a look at our Foundation Cookie Recipes to understand how different fats affect the final spread. Another secret is the temperature of your egg; using a room-temperature egg ensures it emulsifies properly with the butter, preventing the batter from breaking. This leads to a more uniform crumb and a better distribution of the red pigment throughout the dough.
Scientific Flavor Swaps and Pairings
You can modify the flavor chemistry of this recipe by changing the type of inclusion used. For instance, swapping white chocolate chips for dark chocolate chips (70% cocoa) will increase the presence of tannins, making the cookie taste less sweet and more sophisticated. If you are baking for a specific season, you might investigate our Holiday Cookie Science for ideas on incorporating spices like cinnamon, which shares aroma compounds with vanilla. For a citrus twist, add a teaspoon of orange zest; the limonene in the orange peel creates a beautiful aromatic pairing with the chocolate notes in the red velvet base.
Optimal Taste Enjoyment and Pairings

To experience the full range of flavors in these cookies, serve them slightly warm. This allows the cocoa butter in the chocolate chips to reach its melting point, releasing more aroma compounds into your palate. I suggest pairing these with a glass of cold whole milk; the casein proteins in the milk help cleanse the palate of the cocoa’s richness, making each bite taste as fresh as the first. For a more adult pairing, a medium-roast coffee is excellent as it shares certain pyrazines with the baked cocoa. You can see how these trends perform in our Viral Cookie Analysis. For those looking for the original inspiration for this specific balance, you can check out the classic Red Velvet Chocolate Chip Cookies approach.
The Flavor Truth and Continued Discovery
Mastering these red velvet cookies is a journey into the heart of baking chemistry. By controlling the acidity and the hydration of your dough, you create a treat that is both visually stunning and scientifically balanced in flavor. As you continue to experiment with different cocoa percentages and inclusions, you will find that the possibilities for flavor layering are nearly endless. For more tips on streamlining your baking process for consistent results every time, visit our guide on Efficient Cookie Methods. We would love to see your results and hear about your flavor discoveries! Please share your bakes with us on Pinterest, Instagram, and Facebook. Happy baking!

