In the late 19th century, British bakers discovered that keeping fats at a specific thermal threshold prevented premature spreading in heavy biscuits. This methodical approach to temperature control was a precursor to modern food science, proving that the physical state of ingredients dictates the final geometry of the bake. By using cold butter, we maintain the structural integrity required to produce a cookie with remarkable verticality.

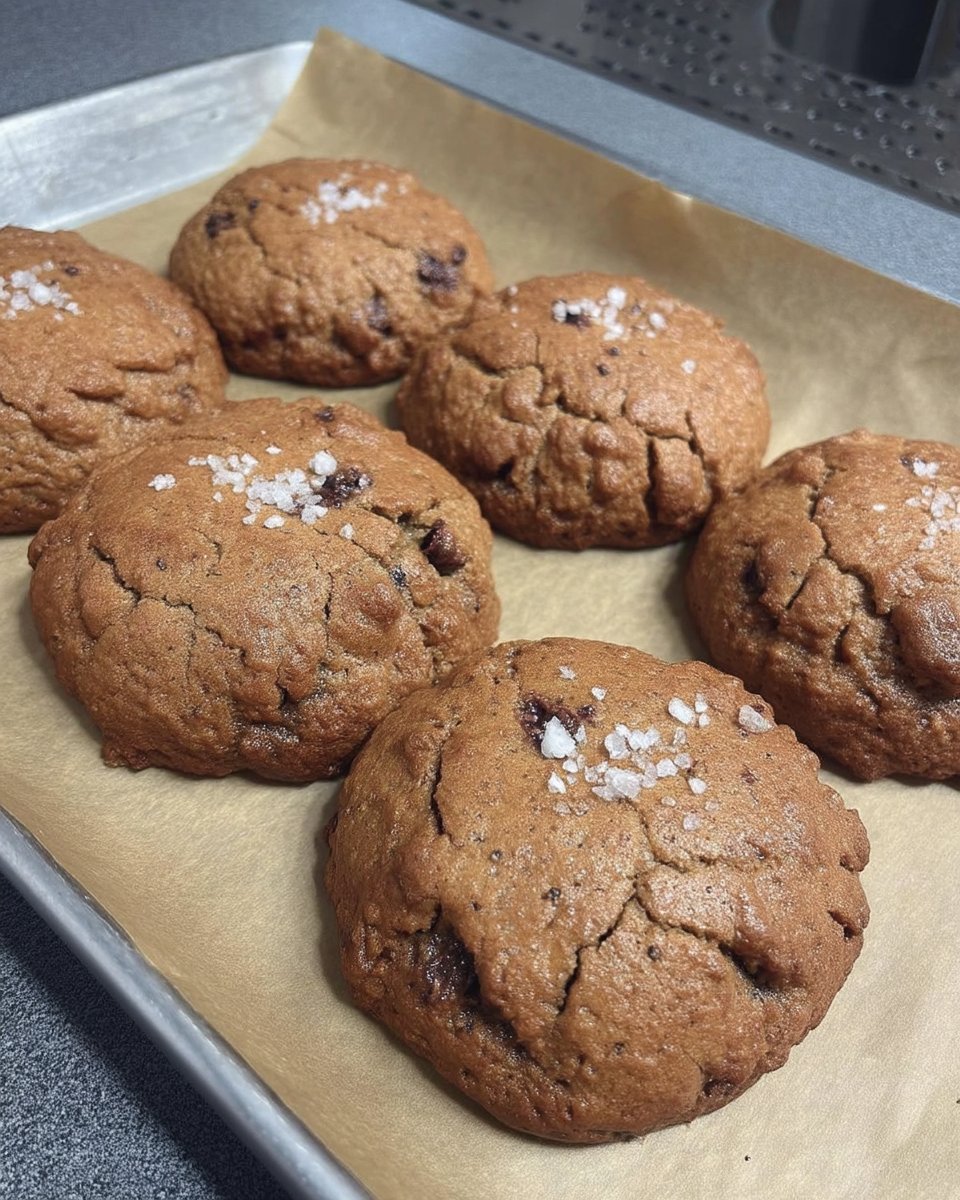
These Thick Chocolate Chip Cookies represent the intersection of Victorian precision and contemporary testing. By employing a dual-flour blend and a mandatory freezing period, we create a cookie that resists the common tendency to flatten under high heat. This recipe yields a dense, satisfying texture that honors the heritage of substantial, well-crafted bakes.
The Tradition of Substantial Bakes
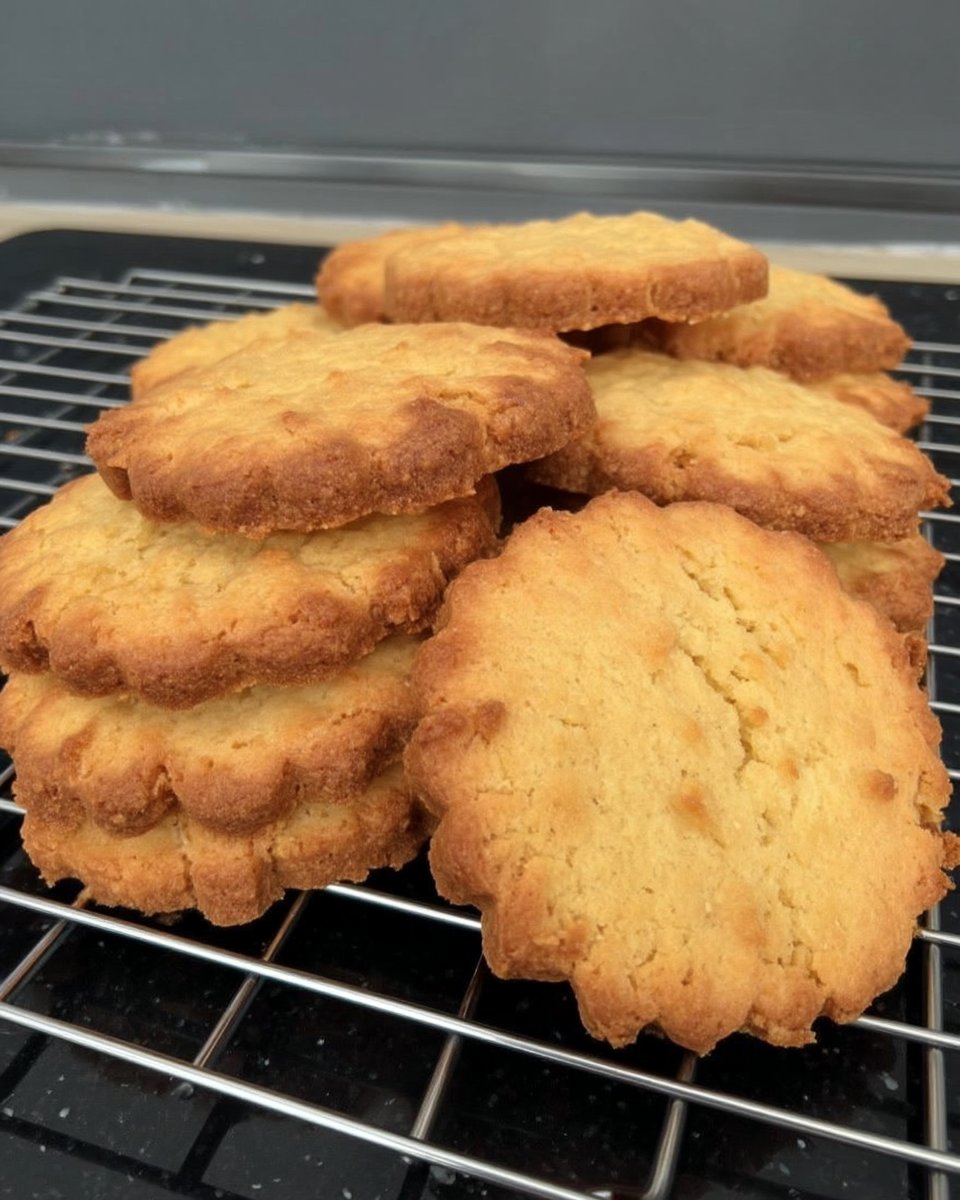
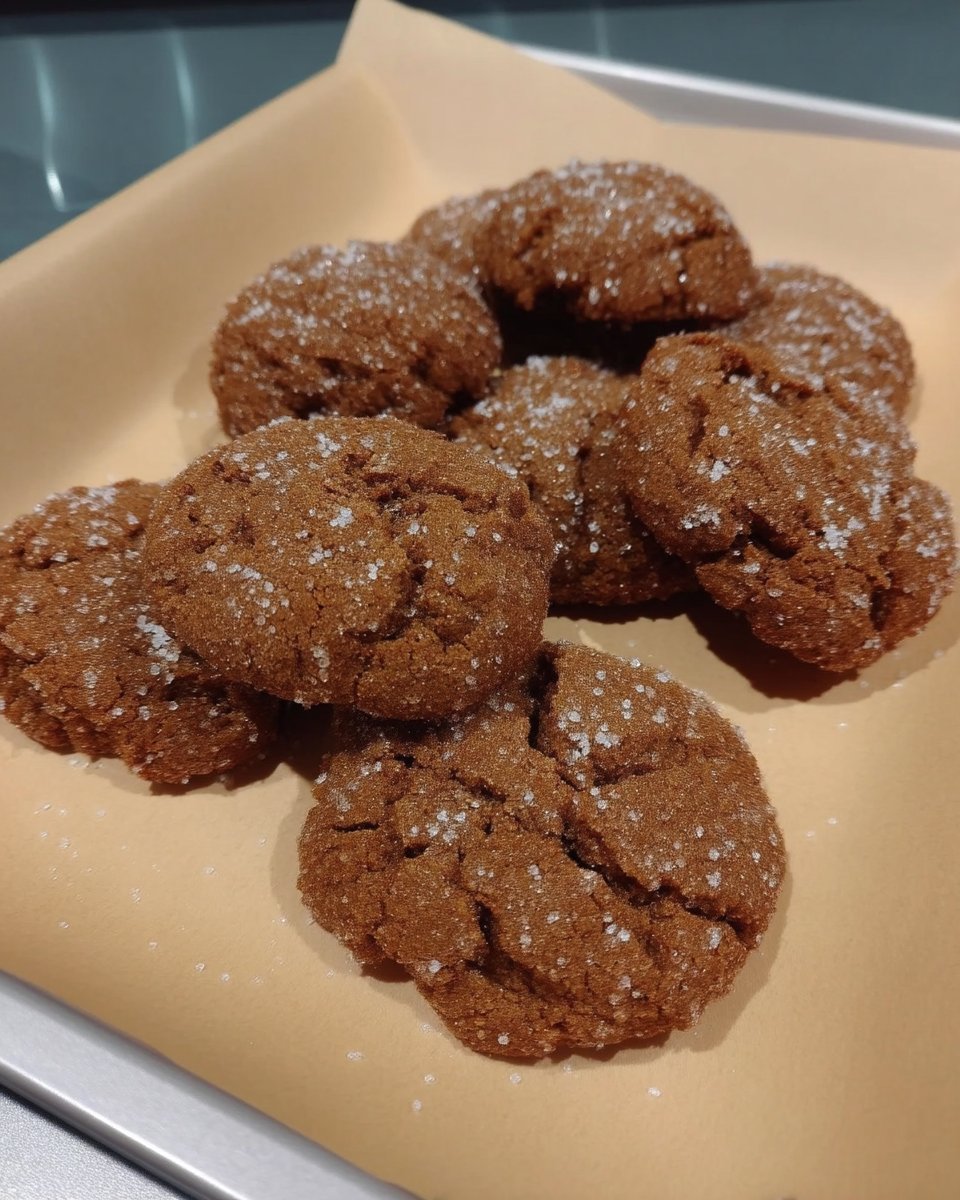
The appeal of these cookies lies in their architectural defiance of the standard flat biscuit. While many modern recipes prioritize a thin, lacy edge, this method looks back to a time when cookies were meant to be hearty and sustaining. The 120-gram weight of each dough ball is a specific choice, providing enough thermal mass to remain soft in the center while the exterior sets.
Historically, bakers understood that a larger mass takes longer for heat to penetrate, which is why these cookies manage to stay gooey despite the high oven temperature. You will appreciate the rustic aesthetic, which mirrors the hand-shaped biscuits of old-world English kitchens. Every lump and bump on the surface is a testament to the manual process, creating a variety of textures from crisp ridges to tender valleys.
Print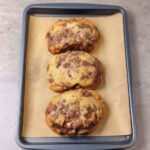
Thick Chocolate Chip Cookies
- Total Time: 2 hours 5 mins
- Yield: 8 large cookies
Description
Achieve professional-grade height and texture with this technical approach to the classic chocolate chip cookie. By utilizing cold butter and a mandatory freezing phase, these cookies resist spreading to create a dense, satisfying bake with a soft, vertical center.
Ingredients
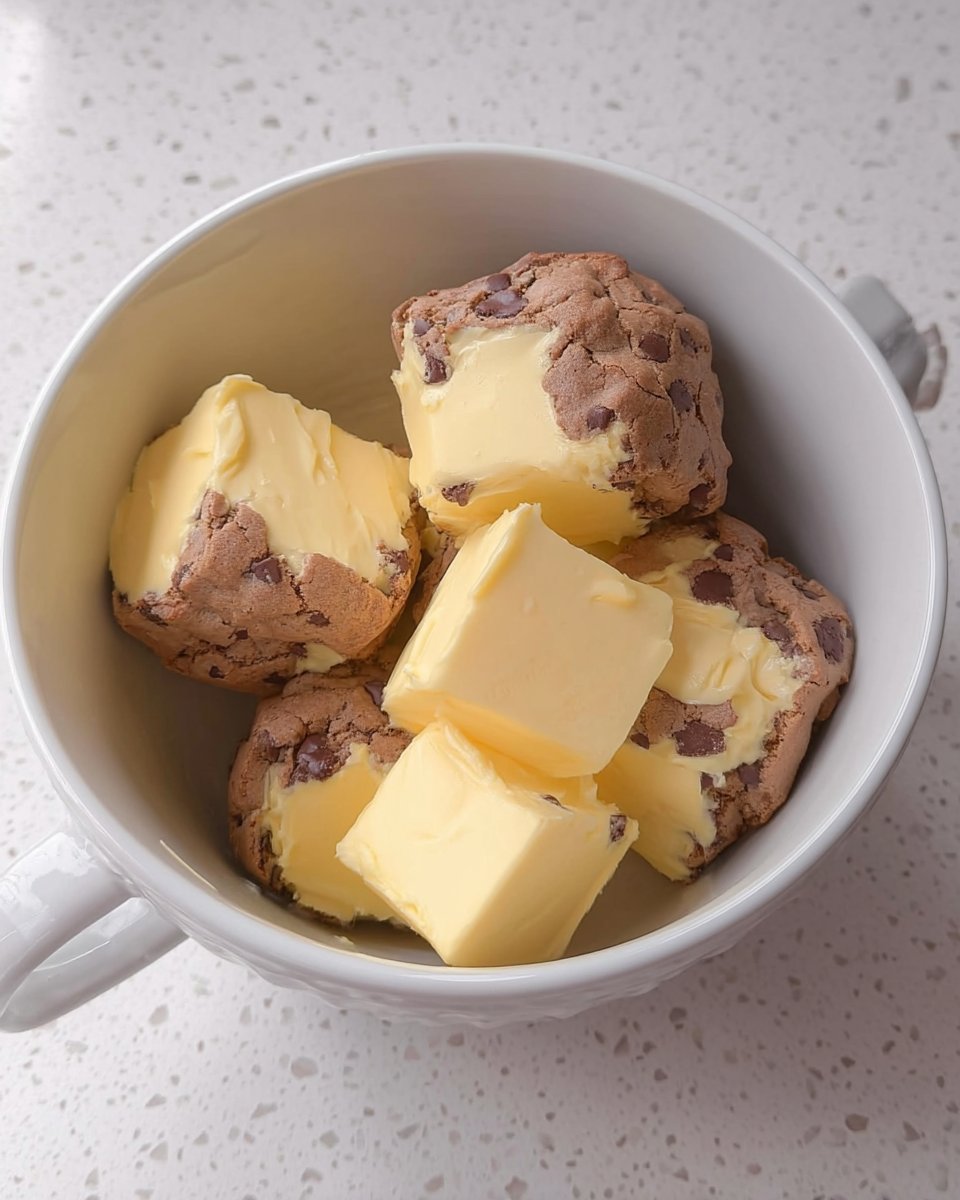
- Cold unsalted butter, chopped into chunks
- Light brown sugar
- White caster sugar
- 2 large eggs, room temperature
- Vanilla extract
- Self-raising flour
- Plain flour
- Salt
- Baking powder
- 300g mixed chocolate chips (milk, white, and dark)
Instructions
- Beat the cold, chopped butter chunks for exactly one minute until malleable but still firm.
- Add the light brown and caster sugars, mixing only until just combined to prevent warming the butter.
- Incorporate the eggs and vanilla extract, mixing until the liquids are fully absorbed.
- Sift the self-raising flour, plain flour, salt, and baking powder together, then fold gently into the mixture with a spatula.
- Hand-mix the chocolate chips into the dough to ensure even distribution.
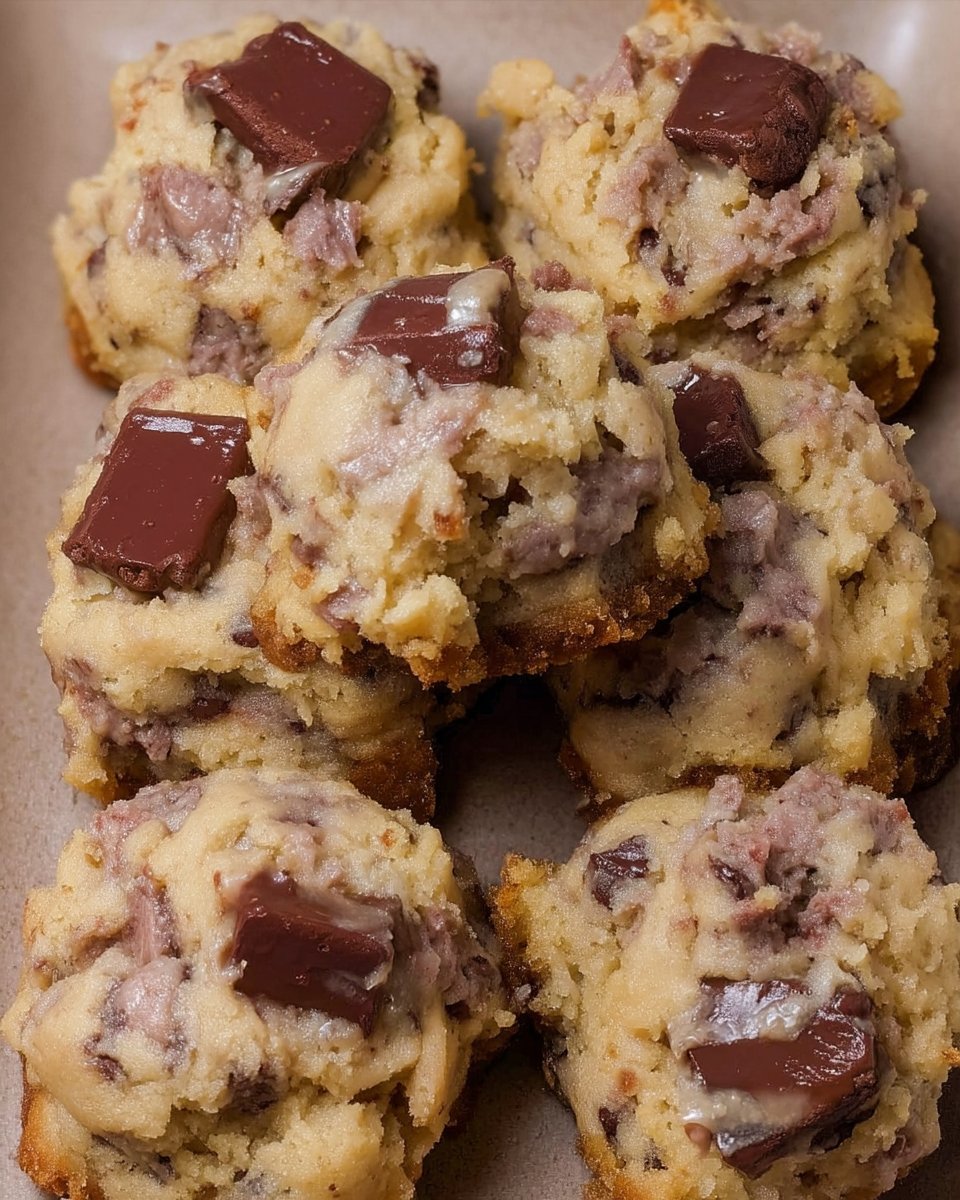
- Portion the dough into 120g rustic balls and place them on a tray lined with greaseproof paper.
- Freeze the dough balls for a minimum of 90 minutes to solidify the fats.
- Preheat the oven to 180°C (fan) and place an empty tray inside to heat up; bake the frozen dough balls on the hot tray for 15 minutes.
Notes
To ensure the best structural integrity, do not over-mix the dough once the flour is added, as this can develop too much gluten and result in a tough texture. Always use a kitchen scale to measure the 120g portions for uniform baking results across the entire batch.
- Prep Time: 1 hour 50 mins
- Cook Time: 15 mins
- Category: Dessert
- Method: Baking
- Cuisine: British
Historical Ingredients and Proper Components
To achieve the specific density of Thick Chocolate Chip Cookies, we must select components that provide both lift and weight. This recipe uses a precise ratio of flours to manage gluten development and moisture absorption.
- Cold Unsalted Butter: This must be slightly malleable but still firm. We avoid the creaming stage to prevent incorporating too much air, which would cause the cookies to rise and then collapse.
- Light Brown and Caster Sugars: The brown sugar provides the hygroscopic properties needed for chewiness, while caster sugar aids in the crisping of the exterior shell.
- Self-Raising and Plain Flour Blend: This combination is a classic British technique. The self-raising flour provides a controlled lift, while the plain flour adds the protein necessary for a sturdy structure.
- Large Eggs: Used at room temperature to verify they emulsify correctly with the fats without causing the butter to seize.
- High-Quality Chocolate Chips: A mixture of milk, white, and dark chocolate provides a complex flavor profile that balances the sweetness of the dough.
The Proper Method for Technical Bakes
Step 1: Preparing the Fat
Chop the cold butter into uniform chunks and place them in a large mixing bowl. Use an electric mixer or a sturdy wooden spoon to beat the butter for exactly one minute. The goal is to break the butter down into a workable state while keeping it cold enough to resist melting.
Step 2: Integrating the Sugars
Add the light brown sugar and white caster sugar to the bowl. Beat the mixture until the sugars are just combined with the butter. It is vital to stop as soon as they are incorporated; over-mixing at this stage will warm the butter and lead to unwanted spreading during the bake.
Step 3: Emulsifying the Liquids
Add both eggs and the vanilla extract to the butter and sugar mixture. Continue to mix until the liquids are absorbed. The mixture may appear slightly separated or unappealing at this point, but this is a normal result of the high fat-to-liquid ratio before the flour is introduced.
Step 4: Sifting and Folding the Flour
In a separate vessel, whisk together the self-raising flour, plain flour, salt, and baking powder. Sifting these together guarantees even distribution of the leavening agents. Tip the dry ingredients into the butter mixture and fold gently using a spatula until a thick, heavy dough forms.
Step 5: Incorporating the Chocolate
Add the 300g of chocolate chips to the dough. Use your hands to distribute the chocolate evenly. The warmth from your hands should be minimal, but using your fingers allows you to feel the distribution better than a spoon would.
Step 6: Hand-Shaping for Texture
Line a freezing tray with greaseproof paper. Weigh out 120g portions of dough and shape them into rough, rustic balls. Do not smooth the surface; the irregular ridges will create the best texture once baked. Place the balls on the tray, ensuring they are not touching.
Step 7: The Mandatory Freezing Phase
Cover the tray with clingfilm and place it in the freezer for at least 90 minutes. This step is non-negotiable for Thick Chocolate Chip Cookies. Freezing solidifies the fats, which significantly slows the spread once the dough hits the hot oven.
Step 8: The High-Heat Flash Bake
Preheat your oven to 180°C (fan). Five minutes before baking, place your empty baking tray in the oven to heat up. Once hot, place 3 to 4 frozen dough balls onto the tray and bake for 15 minutes. The cookies are finished when the edges are golden but the centers remain pale and soft.
Jordan’s Technique Notes and Precision Methods
The secret to the interior texture of these cookies is the preheated baking tray. By placing the frozen dough onto a hot surface, you create an immediate sear on the bottom of the cookie, which helps maintain the height of the dough ball as it expands. This is a technique often used in professional bakeries to manage heat distribution more effectively.
Always verify your oven temperature with a standalone thermometer. Even a five-degree variance can change the way the sugars caramelize on the surface. For those looking to master more foundational skills, I recommend reviewing our Foundation Cookie Recipes to understand how different fats behave under heat. For more insights on thick cookie geometry, you might also find the techniques at Jessie Bakes Cakes quite useful for comparison.
Regional Differences and Tested Adaptations
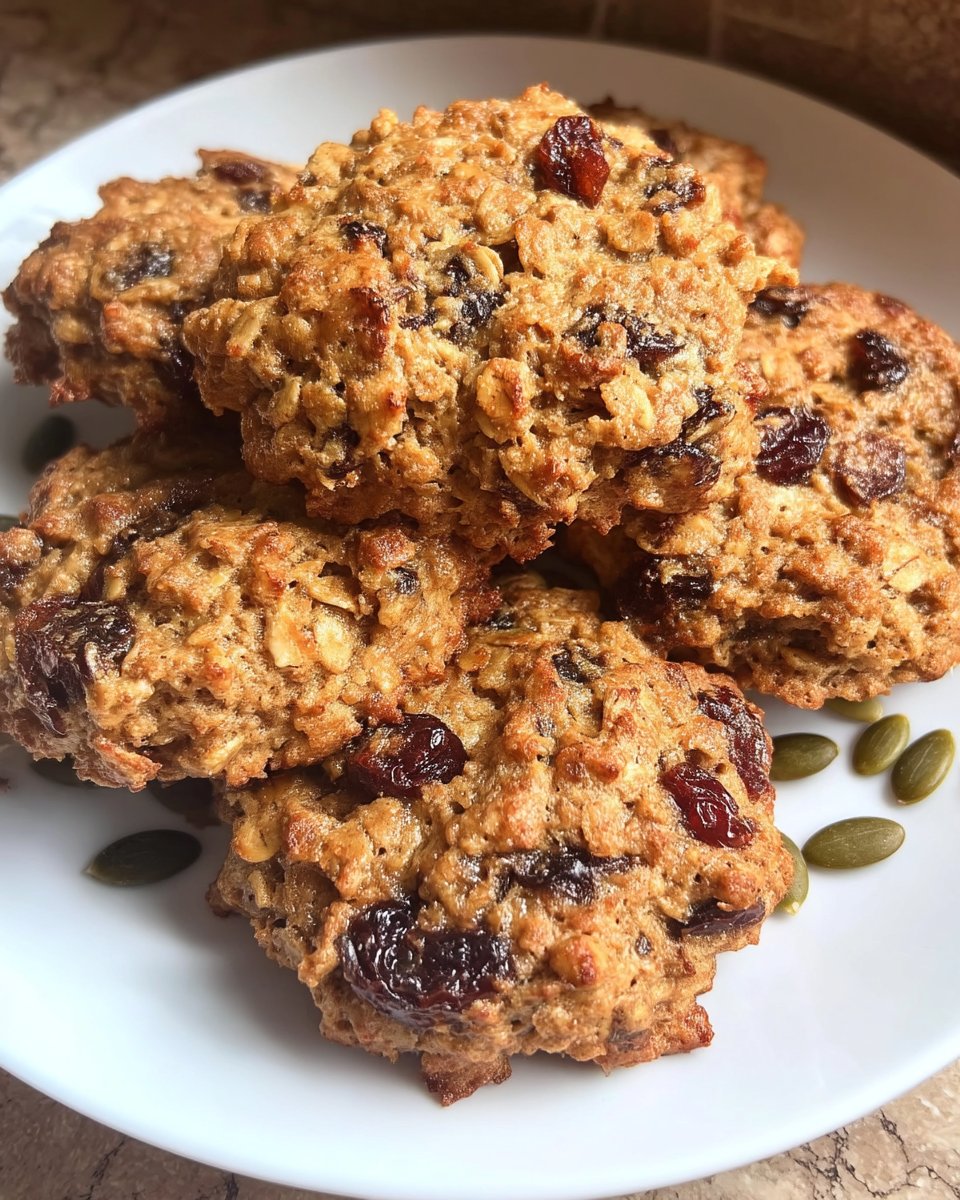
While the classic chocolate chip is a standard, you can adapt this formula to reflect different heritage flavors. For a British twist, consider replacing the chocolate chips with chopped walnuts and dried currants, reminiscent of a traditional Shrewsbury biscuit but with the modern thickness we desire.
Another successful variation involves using a darker brown sugar, such as muscovado, to introduce a deeper molasses note. This requires a slight adjustment in baking time, as the higher moisture content in muscovado can lead to a softer set. To see how these adjustments perform in different environments, consult our guide on Holiday Cookie Science for seasonal adaptation strategies.
Traditional Service and Classic Enjoyment

In the British tradition, a substantial biscuit is best served alongside a strong cup of tea, such as Earl Grey or Assam. The tannins in the tea provide a sharp contrast to the rich fats and sugars in the cookie. For a more formal presentation, serve these on a warmed ceramic plate to keep the chocolate in its melted, gooey state for as long as possible.
If you are preparing these for a gathering, they pair remarkably well with a small glass of cold milk or even a vanilla bean custard. If you are interested in the aesthetics of your final presentation, our notes on Precision Cookie Decorating offer several methods for making your rustic bakes look professional and refined.
The Technical Truth of the Perfect Bake
Achieving the perfect Thick Chocolate Chip Cookies is an exercise in patience and precision. By respecting the cold state of the butter and the necessity of the freezing phase, you produce a result that is far superior to standard, thin recipes. This methodical approach ensures that every bite is a balance of crisp exterior and tender, under-baked core. To understand how these technical bakes compare to modern trends, read our Viral Cookie Analysis.
I invite you to share your results and join our community of precision bakers. Follow us on Facebook, Instagram, Pinterest, and YouTube for more technical guides and historical baking insights.

