The snickerdoodle possesses a lineage often traced back to 19th-century New England or perhaps the German *Schneckennudeln*, but its defining characteristic—the distinctive tang and crackled surface—is purely a matter of chemical precision. In a standard wheat-based cookie, gluten provides the elastic scaffolding that holds the structure during the rise; however, when we remove that protein network, we must rely on alternative binders and the precise gelatinization of starches found in modern gluten-free blends. By respecting the historical ratios of fat to sugar and understanding the interaction between potassium bitartrate (cream of tartar) and baking soda, we can replicate the classic texture without a trace of wheat.

This formulation focuses on hydration and proper aeration, two critical factors often overlooked in gluten-free baking. We utilize a ‘one-bowl’ method that simplifies the process while maintaining the strict emulsion necessary for a soft, chewy crumb. The result is a biscuit that honors the traditional flavor profile—sweet, cinnamon-spiced, and slightly acidic—while possessing the structural integrity required to stand up to a proper dunk in tea.
The Science of the Signature Crackle
You will appreciate this recipe because it does not merely substitute ingredients; it re-engineers the classic cookie for a gluten-free environment. The success of a snickerdoodle lies in the reaction between the alkaline baking soda and the acidic cream of tartar. This reaction creates carbon dioxide bubbles rapidly, causing the cookie to rise and then collapse slightly, forming that iconic cracked surface. In this gluten-free iteration, that rapid expansion is controlled by the xantham gum present in most 1:1 blends, ensuring the cookie remains chewy rather than brittle. It is a triumph of chemistry that proves dietary restrictions need not compromise historical texture.
Print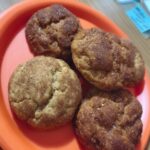
Gluten Free Snickerdoodles
- Total Time: 1 hour 27 mins
- Yield: 24 cookies
- Diet: Gluten-Free
Description
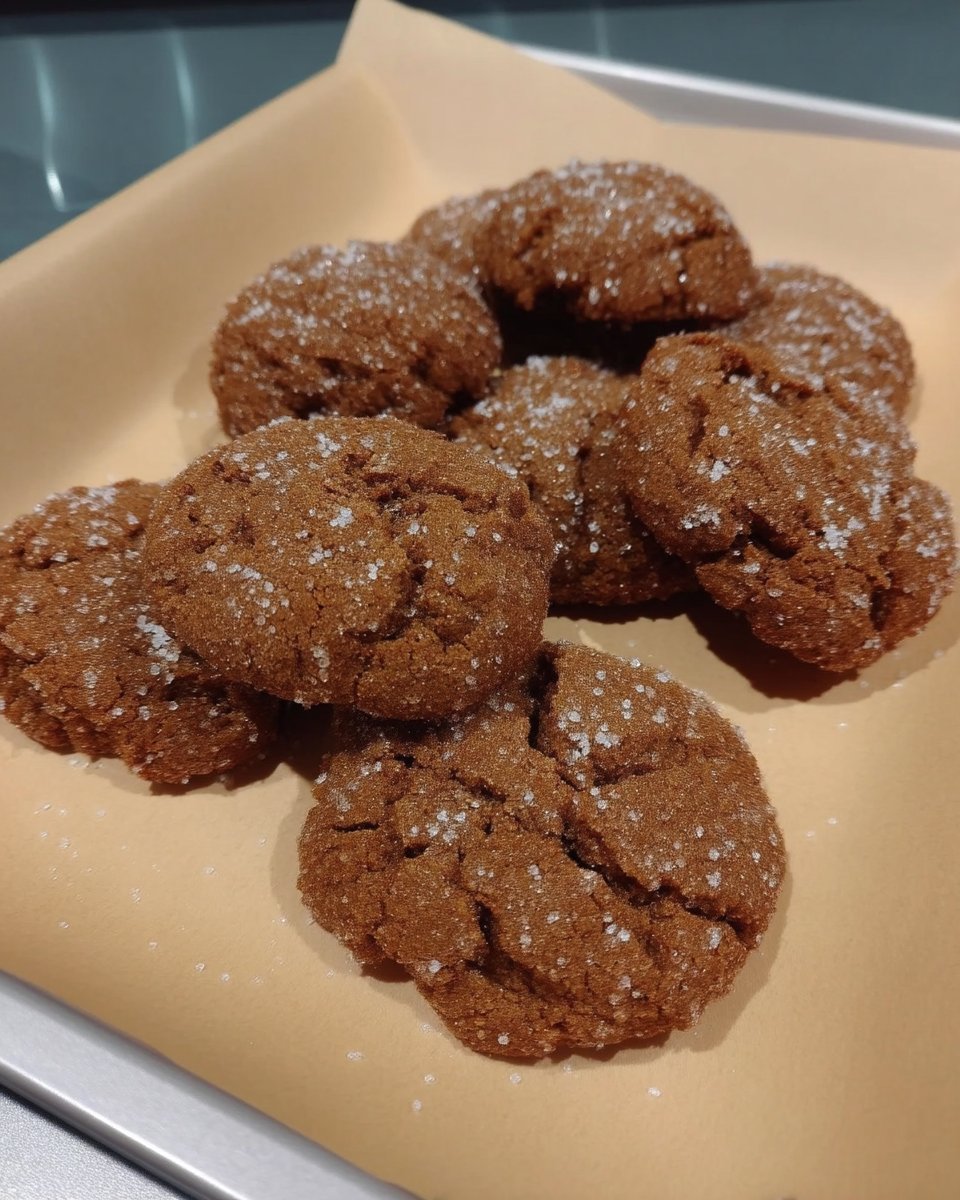
These gluten-free snickerdoodles offer the perfect balance of a soft, chewy center and a crisp, cinnamon-sugar exterior. By utilizing a specific resting period and the classic interaction of cream of tartar and baking soda, this recipe achieves the iconic crackled surface and tangy flavor of the traditional New England biscuit without any wheat.
Ingredients
- 1/2 cup unsalted butter, room temperature (or dairy-free stick alternative)
- 3/4 cup granulated white sugar
- 1/4 cup light brown sugar, packed
- 1 large egg
- 1 teaspoon vanilla extract
- 2 cups gluten-free 1:1 baking flour (with xanthan gum)
- 2 teaspoons cream of tartar
- 1 teaspoon baking soda
- 1/4 teaspoon salt
- 1 teaspoon ground cinnamon (for dough)
- 2 tablespoons sanding sugar (for coating)
- 1 tablespoon ground cinnamon (for coating)
Instructions
- Cream the room-temperature butter with the white and light brown sugars in a mixing bowl for exactly one minute until light and aerated.
- Add the egg and vanilla extract, beating until the mixture is fully emulsified and smooth.
- Spoon and level the gluten-free flour, then add it to the bowl along with the cream of tartar, baking soda, salt, and cinnamon; mix until just combined.
- In a small dish, whisk together the sanding sugar and cinnamon for the coating.
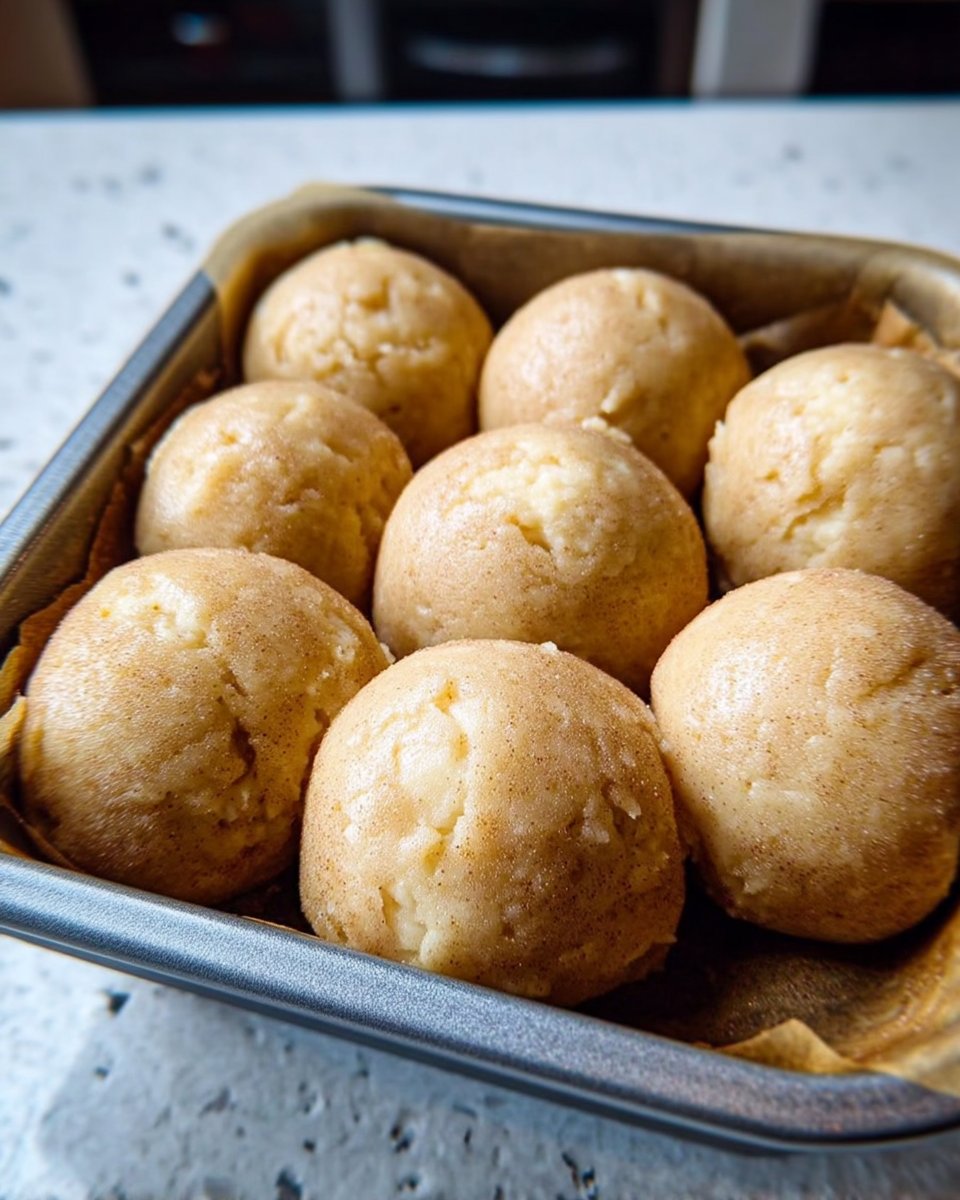
- Using a cookie scoop, form the dough into 1.5 to 2 tablespoon spheres and roll each generously in the cinnamon-sugar mixture.
- Place the spheres on a parchment-lined baking sheet and refrigerate for at least 30 to 60 minutes to allow the flour to fully hydrate.
- Preheat your oven to 350°F (175°C) during the final stages of the chilling period.
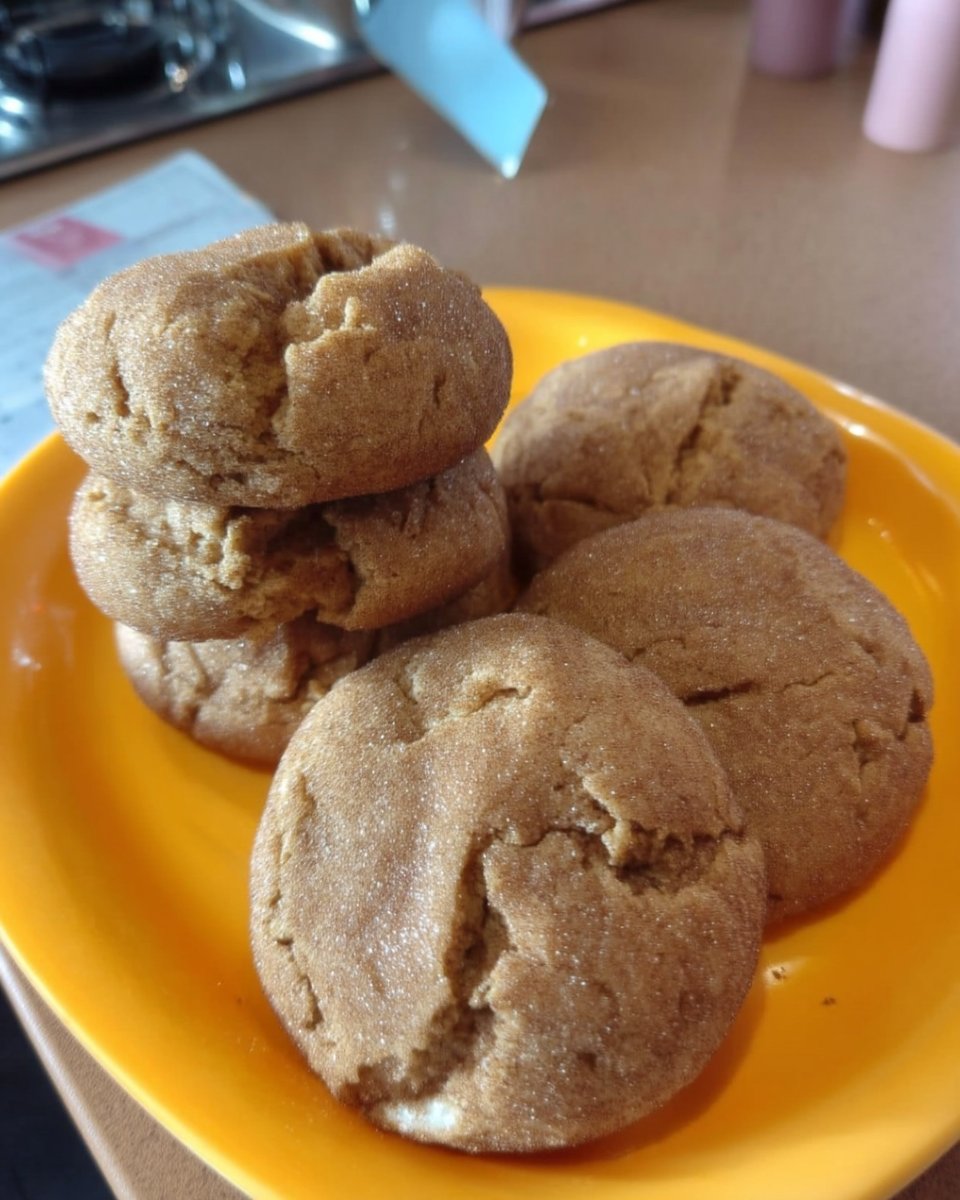
- Arrange the chilled dough balls on the baking sheet with ample space between them and bake for 10–14 minutes until the edges are set but the centers remain soft.
- Allow the cookies to rest on the hot tray for 5 minutes to set before transferring them to a wire cooling rack.
Notes
For the best results, ensure your butter is truly at room temperature but not melting, as this affects the initial mechanical aeration process. If you are using a different brand of gluten-free flour that does not include xanthan gum, you will need to add half a teaspoon of it to the dry ingredients to maintain the cookie’s structural integrity. Storing these in an airtight container can help maintain their soft texture for several days.
- Prep Time: 15 mins
- Cook Time: 12 mins
- Category: Dessert
- Method: Baking
- Cuisine: American
Essential Components for Structural Integrity

To achieve the correct rheology in our dough, we must select our ingredients with care. Precision here ensures the final biscuit mirrors its wheat-based ancestors.
- Butter (Dairy or Non-Dairy): This fat serves as the vehicle for flavor and aeration. If using a dairy-free alternative, ensure it is a stick variety rather than a tub spread to maintain the correct water content.
- Sugars (White and Light Brown): We employ a blend. White sugar encourages crisp edges and the characteristic spread, while light brown sugar introduces hygroscopic properties (attracting moisture) and acidity, contributing to a chewier center.
- Gluten-Free 1:1 Flour Blend: This recipe relies on a blend containing a binder like xanthan gum. The rice flour typically found in these blends requires adequate hydration time to avoid a gritty texture.
- Cream of Tartar: Non-negotiable. This acidic salt (potassium bitartrate) not only activates the baking soda but also inhibits sugar crystallization, resulting in a softer crumb, and provides the tang that distinguishes a snickerdoodle from a sugar cookie.
- Cinnamon and Sanding Sugar: The traditional coating. I prefer sanding sugar for its larger crystal size, which provides a pleasant textural contrast to the soft interior, much like the coarse sugars used in Victorian confectionary.
The Methodical Approach to Mixing
Step 1: Mechanical Aeration
Begin by placing your room-temperature butter and both sugars into your mixing vessel. We must cream these together for exactly one minute. This process drives air bubbles into the fat, creating a mechanical leavening system that assists the chemical leaveners later. Do not rush this; the friction warms the butter slightly, creating a stable emulsion.
Step 2: Emulsification
Introduce the egg and vanilla extract to the creamed mixture. Beat until fully incorporated. The lecithin in the egg yolk acts as an emulsifier, binding the fat and water phases of the dough together. This is critical in gluten-free baking to prevent the fat from leaking out during the bake.
Step 3: Dry Incorporation
Add the gluten-free flour, cream of tartar, baking soda, salt, and cinnamon. When measuring the flour, one must spoon it into the cup and level it off, or ideally, weigh it. Scooping directly packs the flour, leading to a dry, crumbly puck. Mix until just combined—over-mixing is less of a risk here than with wheat flour, but we still wish to avoid knocking out our incorporated air.
Step 4: Shaping and Coating
Combine the sanding sugar and cinnamon in a small dish. Using a scoop for consistency (approximately 1.5 to 2 tablespoons), portion the dough into spheres. Roll each sphere generously in the cinnamon-sugar mixture. This coating not only adds flavor but affects how the surface sets in the oven.
Step 5: The Essential Rest
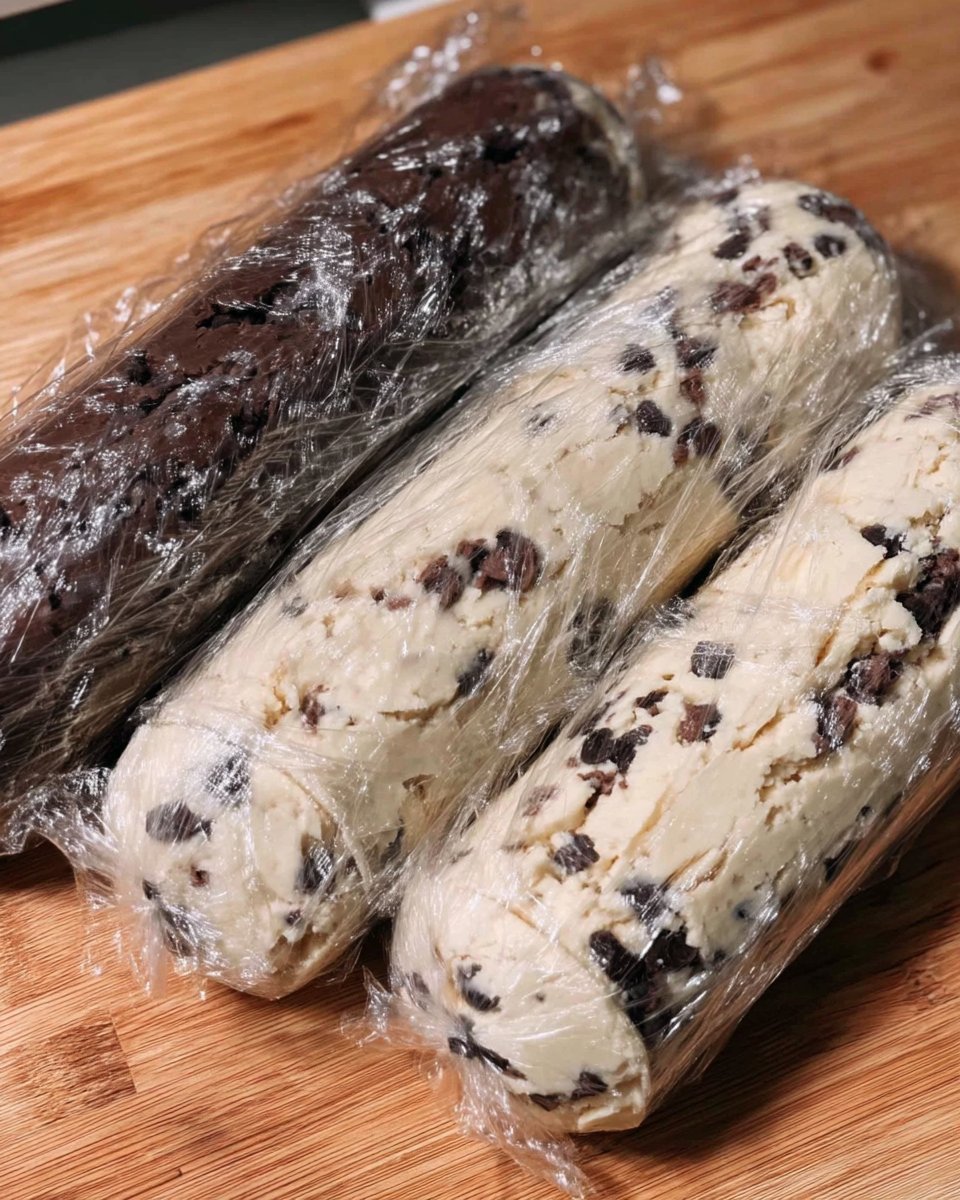
Place the coated spheres on a parchment-lined baking sheet and refrigerate for at least 30 minutes, though one hour is superior. This ‘ripening’ period allows the rice flours to fully hydrate from the moisture in the butter and eggs. In the days before refrigeration, doughs were often rested in cool cellars for similar reasons—it improves flavor and texture significantly.
Step 6: Thermal Setting
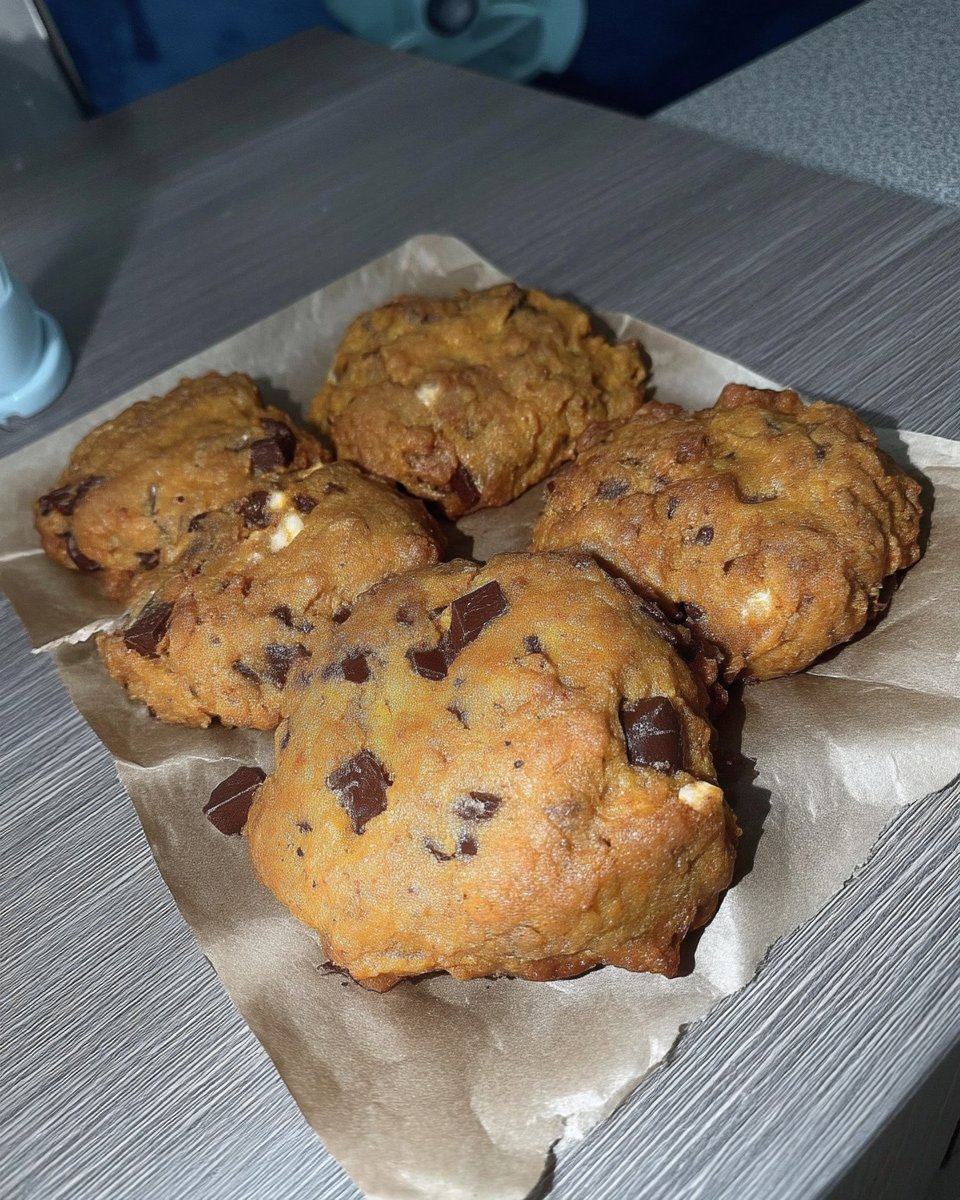
Preheat your oven to 350°F (175°C) during the final stage of chilling. Arrange the chilled dough balls on the sheet, allowing ample room for spread (limit to 6 per sheet). Bake for 10–14 minutes. The cookies will appear soft in the center; this is correct. They will solidify as the cocoa butter and sugars cool. Allow them to rest on the hot tray for a few minutes before transferring to a wire rack.
Jordan’s Technique Notes
- Respect the Chill: I cannot stress enough the importance of the resting period. Gluten-free flours, particularly those based on rice, are slower to absorb liquid than wheat flour. Baking immediately often results in a gritty mouthfeel. The rest period ensures a smooth, indistinguishable crumb.
- Oven Calibration: Ensure your oven is truly at 350°F using an internal thermometer. A temperature drift of even 10 degrees can prevent the proper reaction between the soda and tartar, leading to a flat or dense cookie. For more on how temperature affects structure, consult my notes on Holiday Cookie Science.
- Cooling Protocol: Gluten-free baked goods are notoriously fragile when hot because the structure relies on starches that must retrograde (set) as they cool. Do not attempt to move them until they have cooled on the pan for at least 5 minutes.
Historical and Dietary Adaptations
- The Dairy-Free Adjustment: This recipe transitions seamlessly to dairy-free by using a high-quality plant-based butter block. I have tested this against standard butter, and providing the water content is similar, the results are nearly identical.
- Spiced Variations: While cinnamon is the traditional choice, 19th-century bakers often employed mace or nutmeg. Replacing half the cinnamon with cardamom offers a sophisticated, Scandinavian profile.
- Leavening Swap: If you find yourself without cream of tartar, you may substitute the baking soda and cream of tartar with 1 teaspoon of baking powder. However, be aware that you will lose the distinct acidic tang that defines the true snickerdoodle profile. For other fundamental ratios, see our Foundation Cookie Recipes.
- Source Inspiration: We must credit the rigorous testing done by the gluten-free community; sources like Eat With Clarity have also explored similar ratios to achieve that perfect soft center.
Proper Service and Pairing
The snickerdoodle is a robust biscuit that pairs exceptionally well with hot beverages. The cinnamon notes complement a strong black tea, such as an Assam or a Breakfast blend, which cuts through the sweetness. For a more dessert-focused presentation, serve slightly warm with a scoop of vanilla bean ice cream. The contrast between the warm, spiced sugar and the cold cream is a classic application of thermal contrast in plating. For more ideas on presenting your bakes, explore my guide on Precision Cookie Decorating.
The Result of Precision
By adhering to these specific ratios and allowing for proper hydration time, we achieve a gluten-free snickerdoodle that requires no apologies or qualifiers. It is simply a superior biscuit—soft, tangy, and structurally sound. It serves as a reminder that baking is indeed a science, and with the right formula, we can replicate the comforts of history for modern dietary needs. If you are looking to refine your technique further, I suggest reading about Efficient Cookie Methods next.
Connect with us for more experiments in the test kitchen:
