In the Cookies Yum test kitchen, we have found that the secret to the perfect spritz isn’t just the dough composition—it is the surface friction. We tested multiple baking surfaces and discovered that while parchment paper is a baker’s best friend for drop cookies, it is the enemy of the spritz. The dough requires a specific coefficient of friction to adhere to the baking sheet and pull away from the press cleanly, which is why understanding the physics of adhesion is just as important as the ingredients.

These Butter Spritz Cookies rely on a precise ratio of fat to flour to ensure they remain tender without spreading into unrecognizable blobs. By maintaining the butter at a strict 65°F (18°C) and using ungreased silicone or aluminum sheets, we achieve intricate designs with a classic, melt-in-your-mouth texture that is scientifically reproducible every time.
The Science of Texture and Adhesion
Unlike standard drop cookies, spritz cookies rely on a “short” dough—a high ratio of fat to flour with minimal hydration. This structure ensures that the cookie keeps its sharp, intricate shape during the bake. You will love this recipe because we have calculated the exact hydration levels needed to allow the dough to pass through the press smoothly without spreading in the oven.
Furthermore, this recipe eliminates the guesswork of chilling time. Because we rely on the mechanical aeration of room-temperature butter rather than chemical leavening alone, the dough is ready to press immediately. It is a study in efficiency and structural integrity, resulting in a buttery, tender bite that snaps perfectly.
Print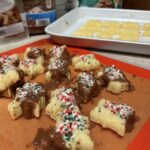
Butter Spritz Cookies
- Total Time: 23 mins
- Yield: 60 cookies
- Diet: Vegetarian
Description
These classic butter spritz cookies are engineered for the perfect balance of tender crumb and intricate detail. By focusing on temperature control and surface friction, this recipe ensures a melt-in-your-mouth texture that holds its shape beautifully through the baking process.
Ingredients
- 224g unsalted butter, cool room temperature (65-68°F)
- 155g granulated sugar
- 1 large egg
- 1 tsp vanilla extract
- 1 tsp almond extract
- 293g all-purpose flour
- 1/2 tsp salt
- Gel icing colors (optional)
Instructions
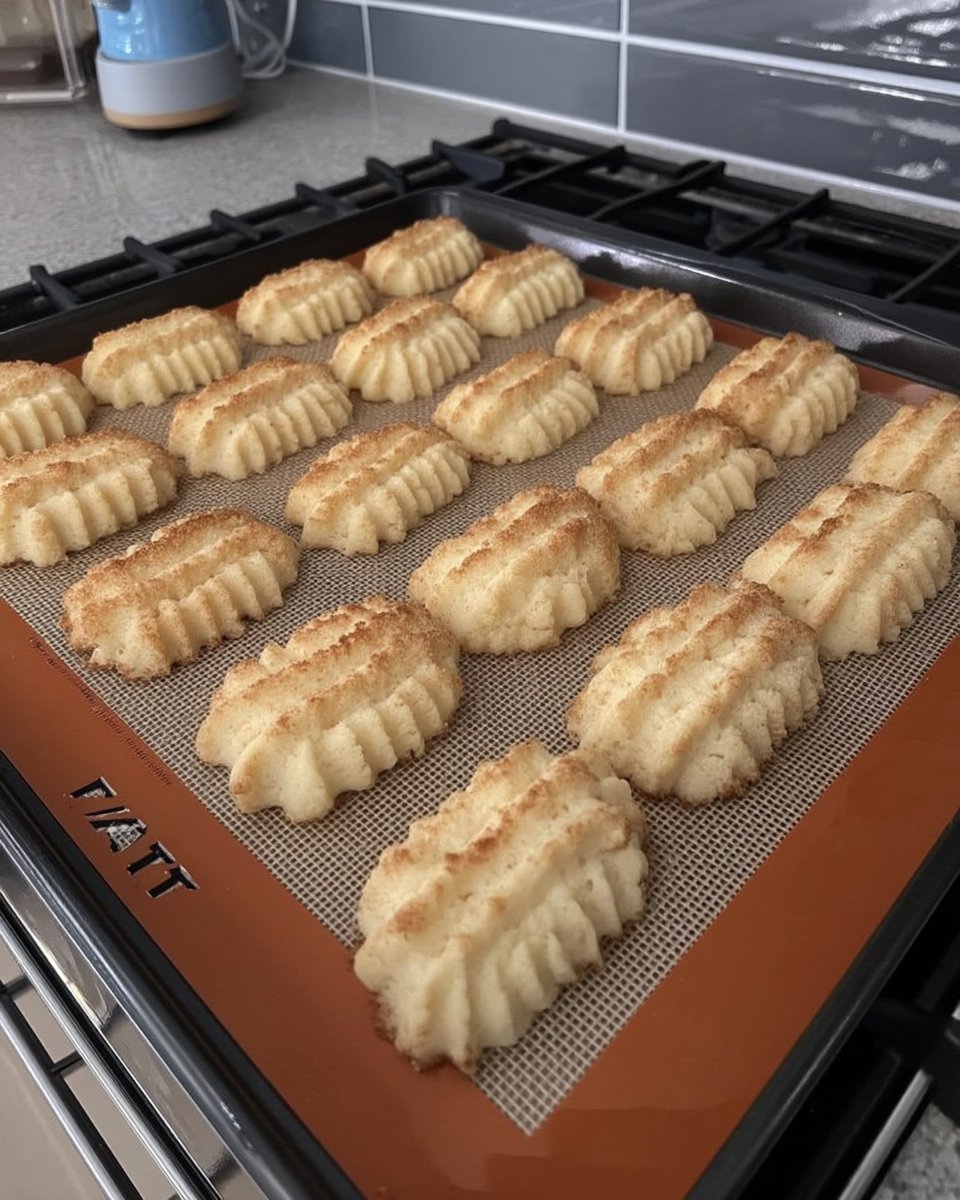
- Preheat oven to 350°F (180°C) and prepare ungreased aluminum or silicone baking sheets; avoid parchment paper to ensure proper dough adhesion.
- Cream the butter and granulated sugar in a large mixer bowl on medium speed for 3-4 minutes until the mixture is light, fluffy, and increased in volume.
- Add the egg and mix until fully incorporated, then stir in the vanilla and almond extracts until the emulsion is smooth and glossy.
- Gently mix in the flour and salt on low speed just until the dry ingredients disappear into a cohesive dough.
- If desired, divide the dough and mix in small amounts of gel icing color until uniform.
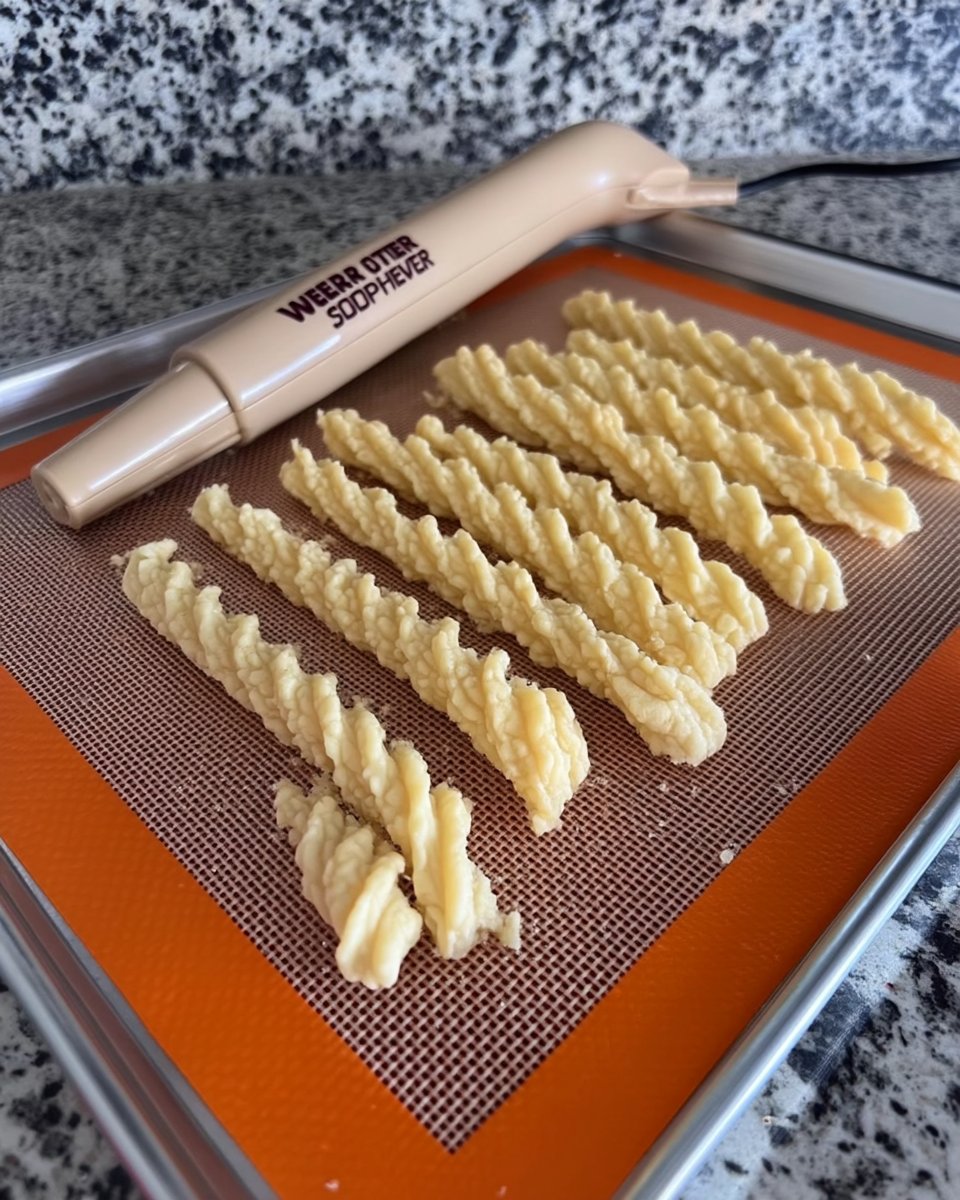
- Load the dough into a cookie press and extrude shapes directly onto the prepared baking sheets, holding the press perpendicular to the surface.
- Bake for 5 to 8 minutes until set but not browned; cool on the sheet for 4-5 minutes before transferring to a wire rack.
Notes
For the best results, ensure your baking sheets are completely cool before pressing a new batch of cookies, as residual heat will melt the butter and cause the dough to slide. If you find the dough becoming too soft to handle, simply let it rest in a cool spot for a few minutes rather than refrigerating, which can make it too stiff for the press mechanism.
- Prep Time: 15 mins
- Cook Time: 8 mins
- Category: Dessert
- Method: Baking
- Cuisine: American
Precision Ingredients
For consistent, foolproof results, we highly recommend weighing your ingredients in grams. Small variances in flour volume can disrupt the flow of the dough through the press.
- Unsalted Butter (224g): The butter must be at cool room temperature (ideally 65–68°F). If the butter is too warm, the emulsion will break, and the cookies will spread. We use unsalted to control the sodium content precisely.
- Granulated Sugar (155g): We use granulated sugar rather than powdered because the jagged crystals help aerate the butter during the creaming process, creating tiny air pockets for a lighter texture.
- Large Egg (1): This acts as the emulsifier, binding the fat and water phases together to create a cohesive dough.
- Flavor Extracts: We use 1 tsp Vanilla and 1 tsp Almond extract. The alcohol in the extracts evaporates during baking, leaving behind pure aromatic compounds.
- All-Purpose Flour (293g): The protein content in standard AP flour provides just enough gluten structure to hold the shape without making the cookie tough. Do not swap for bread flour, or you will lose the “melt-in-your-mouth” quality.
- Salt (1/2 tsp): Essential for flavor balance.
The Method
Step 1: Surface Preparation
Preheat your oven to 350°F (180°C). Prepare your baking sheets by lining them with silicone baking mats or leaving them bare (ungreased). Crucial Science: Do not use parchment paper. The dough needs to adhere to the baking surface to pull away from the press mechanism. Parchment is too non-stick for this application.
Step 2: Creaming for Aeration
In a large mixer bowl, cream the 224g unsalted butter and 155g granulated sugar on medium speed for 3–4 minutes. You are looking for a visual cue: the mixture should lighten significantly in color and increase in volume. This process mechanically traps air, which is vital since we aren’t using baking powder.
Step 3: Emulsification
Add the egg and mix until fully incorporated. Follow with the vanilla and almond extracts. The mixture may look slightly curdled initially; keep mixing until it smooths out into a glossy emulsion.
Step 4: Incorporating Dry Ingredients
Add the 293g flour and 1/2 tsp salt. Mix on low speed just until the flour disappears and the dough creates a cohesive mass. Stop immediately to prevent gluten development, which would make the cookies tough and hard to press.
Step 5: Coloring (Optional)
If using colors, divide the dough. Add gel icing colors sparingly. We use gel because liquid dyes can throw off the hydration ratio of the dough, causing it to spread. Mix until the color is uniform.
Step 6: Pressing the Dough
Load the dough into your cookie press. Hold the press perpendicular (90-degree angle) to the baking sheet. Click the lever to press the dough, then lift straight up. The dough should stick to the sheet. If it doesn’t, ensure your sheet is cool and clean.
Step 7: Baking
Bake for 5–8 minutes. In our testing, 5 minutes yielded a soft texture, while 8 minutes provided a crisper snap. The cookies should be set but not browned. Let them cool on the sheet for 4–5 minutes to allow the structure to solidify before transferring to a wire rack.
Lauren’s Lab Notes
- The “Play-Doh” Texture: The dough should feel pliable and soft, similar to fresh Play-Doh. If it is crumbly, your flour measurement was likely too heavy. If it is sticky, the butter was too warm.
- Temperature Control: If your kitchen is warm and the designs aren’t holding, chill the baking sheet (not the dough) for 5 minutes before pressing. This helps the butter set immediately upon contact.
- Troubleshooting Adhesion: If the dough refuses to stick to the pan, wipe the pan with a little vinegar to remove any residual grease film. Friction is key here. For more insights on dough behavior, check out our Foundation Cookie Recipes.
- Storage Chemistry: These cookies have low moisture content, meaning they store exceptionally well. In an airtight container, they stay fresh for a week as there is little water available for microbial growth.
Tested Modifications
- Citrus Variation: Swap the almond extract for 1/2 tsp of lemon or orange oil. We prefer oil over juice to maintain the hydration balance preventing spread.
- Chocolate Spritz: Replace 40g of the flour with 40g of Dutch-process cocoa powder. You must weigh this substitution; cocoa absorbs more moisture than flour, so the 1:1 gram swap is essential.
- Spiced Spritz: Whisk 1 tsp of cinnamon and 1/4 tsp of nutmeg into the flour before mixing.
- Learn More: For deeper dives into seasonal flavor compounds, explore our Holiday Cookie Science section.
Optimal Enjoyment
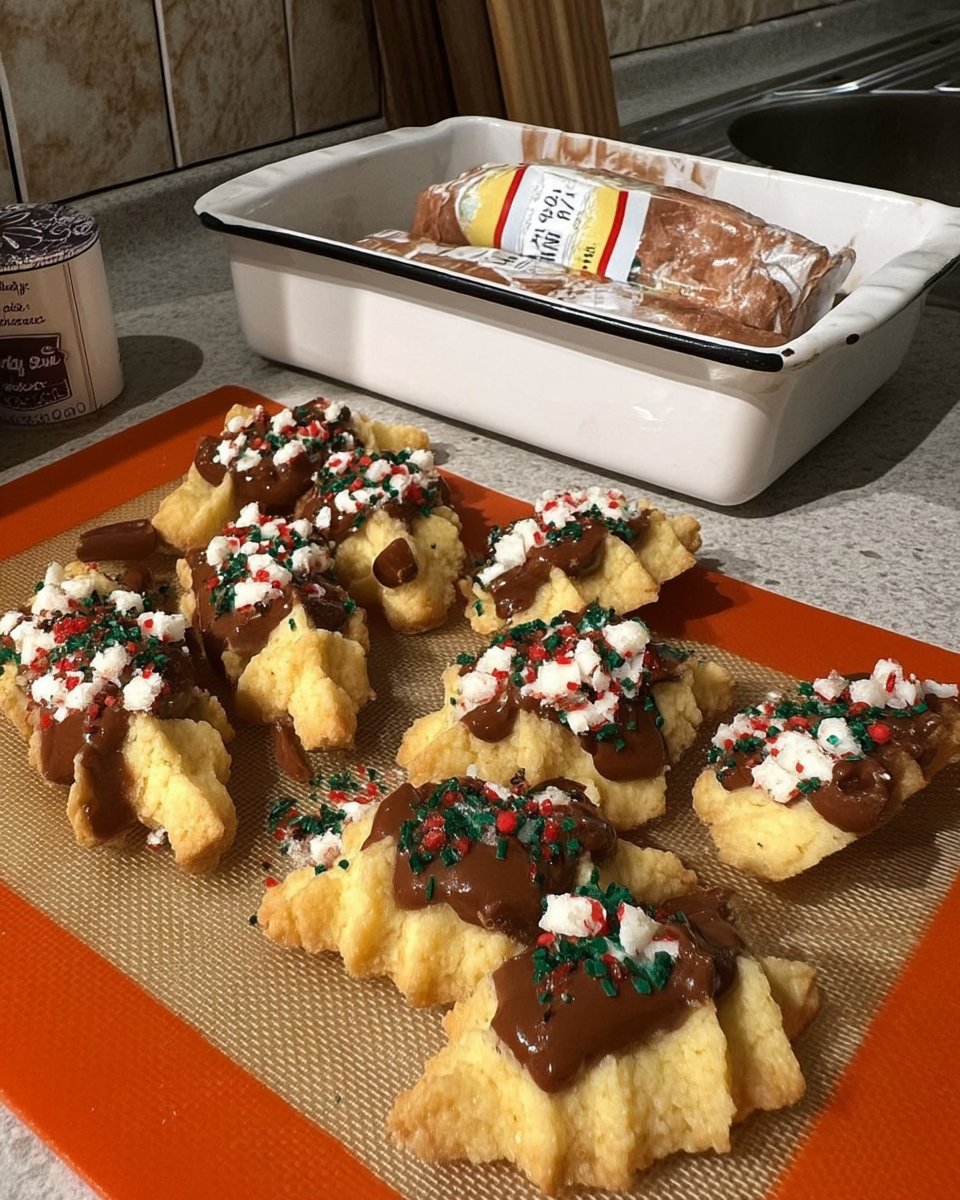
Texture perception changes with temperature. We recommend serving these cookies completely cooled to room temperature, where the butter has fully recrystallized, providing that characteristic “snap” followed by a rapid melt. If you want to add a glaze, wait until the cookies are fully cool to prevent the fat from migrating into the icing.
For advanced decoration techniques that don’t compromise the cookie’s structure, see our guide on Precision Cookie Decorating.
The Scientific Truth
Mastering Butter Spritz Cookies is less about luck and more about respecting the physics of friction and temperature. Once you understand that the dough needs to adhere to the pan to release from the press, the process becomes foolproof. Precision in weighing your flour ensures the dough maintains the correct viscosity for extrusion every time.
For more analysis on popular baking trends, read our Viral Cookie Analysis. We also recommend comparing our method with the classic approach from Life Love and Sugar to see how ratio tweaks affect the final crumb.
Join the Lab:
