In the test kitchen, we often encounter a specific structural issue with traditional Italian cookies: they can turn out disappointingly dry and rock-hard. We ran extensive tests to isolate the variable responsible for this texture and found that the fat source is the key determinant. While butter provides flavor, it solidifies at room temperature; by switching to a precise ratio of vegetable oil, which remains liquid, we achieved a crumb that stays pillowy and moist for days.

This recipe is an exercise in controlled hydration and limited Maillard reaction. Unlike crispy cookies where we encourage browning, these are baked strictly until the proteins set but before caramelization begins. The result is a tender, cake-like cookie with a dense, tight crumb, finished with a double-dip of almond glaze that locks in moisture.
The Science of Soft Texture
- Liquid Fat Chemistry: By utilizing vegetable oil instead of butter, we prevent the fat from re-crystallizing once the cookies cool. This ensures the crumb remains soft and tender rather than turning crumbly.
- Controlled Spread: The ratio of 4 cups of flour to 3/4 cup of oil creates a dough that holds its shape without spreading thin, resulting in that classic, domed bakery aesthetic.
- Flavor Solvency: The almond extract binds effectively with the lipids in the oil and eggs, distributing the aromatic compounds evenly throughout the dough for a consistent flavor profile in every bite.

Italian Christmas Cookies
- Total Time: 30 mins
- Yield: 36 cookies
- Diet: Vegetarian
Description
These tender, cake-like Italian cookies swap traditional butter for vegetable oil to achieve a signature soft crumb that remains moist for days. Finished with a double-dip of almond glaze and festive sprinkles, they offer a professional bakery-style treat perfect for holiday celebrations.
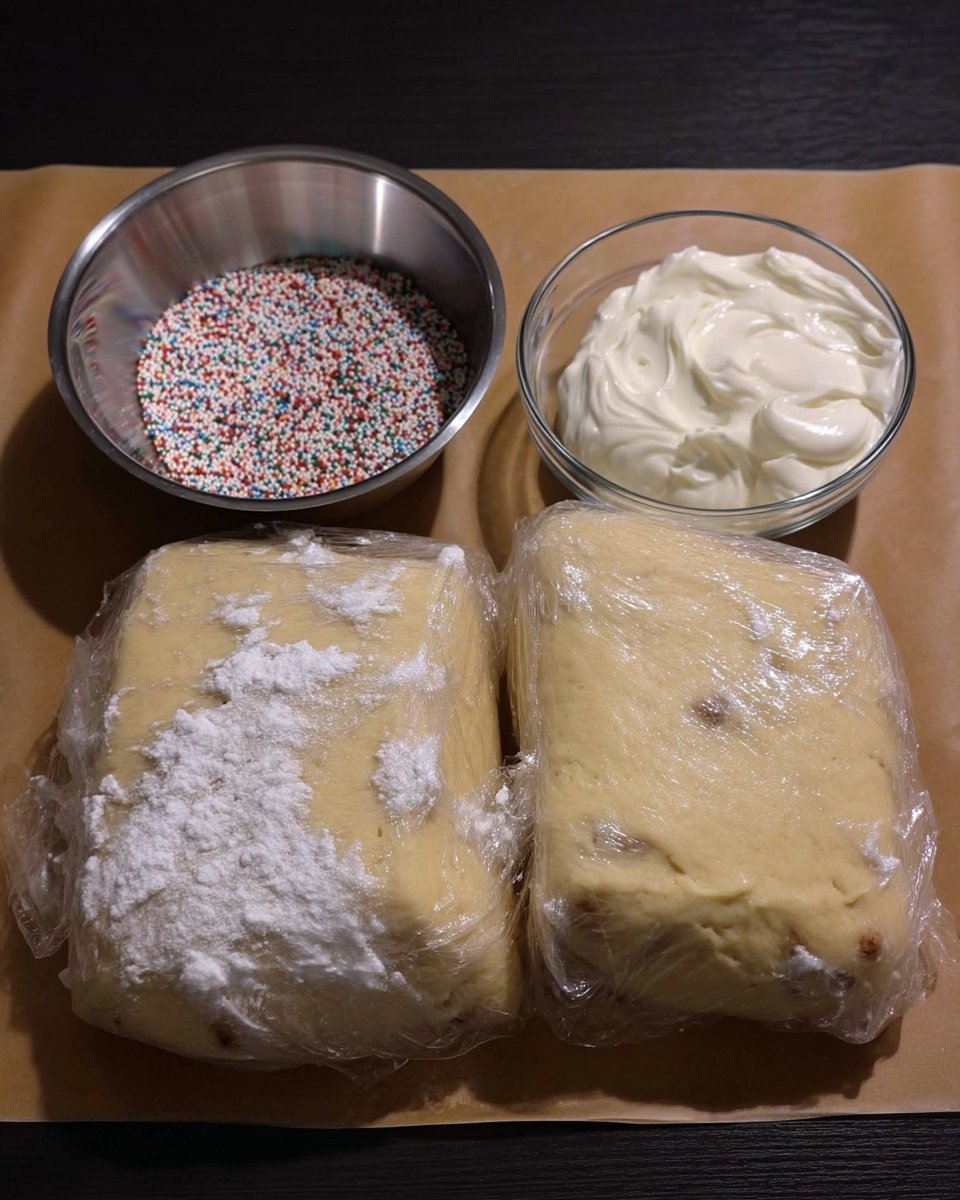
Ingredients
- 480g (4 cups) all-purpose flour
- 3/4 cup vegetable oil
- 1 cup granulated sugar
- 3 large eggs, room temperature
- 1/2 cup milk
- 1 tablespoon baking powder
- 2 teaspoons almond extract
- 2 cups powdered sugar
- 3 tablespoons water
- 1 teaspoon almond extract (for glaze)
- Rainbow sprinkles
Instructions
- Preheat your oven to 375ºF (190ºC) and line baking sheets with silicone mats or parchment.
- In a large bowl, whisk together vegetable oil, milk, eggs, and almond extract until uniform and emulsified.
- In a separate bowl, whisk together the flour, sugar, and baking powder.
- Gradually add the dry mixture to the wet emulsion, mixing only until the flour streaks disappear.
- Using a small cookie scoop, portion the dough into 1-inch balls and place them 1 inch apart on the baking sheets.
- Gently flatten the tops with your fingertips and bake for 8-10 minutes until the cookies are set but not browned.
- While baking, whisk together powdered sugar, water, and almond extract for the glaze until it reaches a molasses-like viscosity.
- Dip the warm cookies into the glaze, let them cool, then dip a second time and add sprinkles immediately.
Notes
For the best results, avoid over-baking these cookies; they should remain pale on top and barely golden on the bottom to preserve their signature cakey texture. If you find the glaze is too thin, simply whisk in additional powdered sugar one tablespoon at a time until it reaches a thick, opaque consistency.
- Prep Time: 20 mins
- Cook Time: 10 mins
- Category: Dessert
- Method: Baking
- Cuisine: Italian
Precision Ingredients

- All-Purpose Flour (480g): We use standard AP flour here (approx 10-12% protein). We need enough protein for structure, but not so much that the cookie becomes tough. Note: Measure precisely; excess flour is the #1 cause of dryness.
- Vegetable Oil: A neutral oil is essential here. It acts as a shortening agent, coating the flour proteins to limit gluten formation, which guarantees a tender bite.
- Sugar (Granulated): Provides sweetness and contributes to the spread mechanics. It also holds onto moisture (hygroscopy) to extend shelf life.
- Large Eggs: Use room temperature eggs to ensure they emulsify smoothly with the oil without seizing.
- Baking Powder: The primary leavening agent. It reacts with the heat and moisture to create carbon dioxide gas, giving the cookies their lift.
- Almond Extract: The signature flavor profile. We use it in both the dough and the glaze for a layered sensory experience.
The Method
Step 1: Create the Emulsion
Preheat your oven to 375ºF (190ºC) and line baking sheets with silicone mats or parchment. In a large bowl or stand mixer, whisk together the wet ingredients: vegetable oil, milk, eggs, and almond extract. Whisk vigorously until the mixture is uniform and emulsified. This ensures the fat is evenly dispersed.
Step 2: Incorporate Dry Ingredients
In a separate bowl, whisk together the flour, sugar, and baking powder. Gradually add this dry mixture to the wet emulsion. Switch to a sturdy wooden spoon or low-speed mixer. Mix only until the flour streaks disappear. Science Note: Do not overmix. Overmixing develops gluten, which will turn these soft cookies into tough pucks.
Step 3: Precise Shaping
The dough will be sticky—this is a sign of proper hydration. Using a small cookie scoop (about 1 tablespoon), portion the dough into 1-inch balls. Place them 1 inch apart on the baking sheet. Gently flatten the tops with your fingertips to ensure even heat distribution.
Step 4: Controlled Baking
Bake for 8-10 minutes. This is the critical control point. You are looking for the cookies to set (lose their raw sheen) but not brown. If the bottoms start turning golden, they are slightly overdone. In our test oven, 9 minutes was the optimal time for the perfect texture.
Step 5: The Double Glaze Technique
While cookies bake, whisk together powdered sugar, water, and almond extract for the glaze. It should have the viscosity of molasses. Dip the cookies while they are still warm to seal the exterior. Let them cool, then dip a second time for a stark white, opaque finish. Add sprinkles immediately before the second layer sets.
Lauren’s Lab Notes
- Temperature Cues: Do not rely on color change for doneness. These cookies are meant to remain pale. If you wait for them to brown, the internal moisture has already evaporated, and the texture is compromised.
- Glaze Viscosity: If your glaze is too translucent, the sugar-to-water ratio is too low. Add more powdered sugar, one tablespoon at a time, until it coats the back of a spoon without running off instantly.
- Sticky Dough Management: If the dough feels unmanageable, chill it for 15 minutes. Do not add extra flour to the board, as this alters the final hydration ratio. For more on managing dough consistency, see our guide on Holiday Cookie Science.
- External Reference: If you are comparing traditional methods, you might notice some recipes use butter. For example, Italian Christmas Cookies often vary in fat source, but our testing confirms oil yields the superior soft texture.
Tested Modifications
- Flavor Profiles: While almond is traditional, the neutral base allows for customization. Anise extract provides a classic licorice note, while vanilla bean paste offers a warmer, more universal flavor.
- Citrus Infusion: Rub lemon or orange zest into the sugar before mixing. The friction releases essential oils, amplifying the citrus notes without adding acidity that could alter the baking powder’s reaction.
- Shape Changes: Traditional Anginetti are sometimes knotted. If you wish to roll ropes, you may need to increase the flour by 20g to handle the dough, but be aware this will result in a firmer cookie. This is a common technique in our Foundation Cookie Recipes.
Optimal Enjoyment

These cookies actually improve after resting. The moisture from the glaze migrates slightly into the cookie crust, softening it further over 12-24 hours. Store them in an airtight container at room temperature for up to 5 days. Do not refrigerate, as the cold environment accelerates starch retrogradation, making the cookies taste stale faster. For more on proper storage to maintain texture, check our notes on Efficient Cookie Methods.
The Scientific Truth
Achieving the perfect Italian Christmas Cookie is less about luck and more about respecting the chemistry of oil-based batters. By controlling the flour hydration and stopping the baking process before Maillard reactions occur, you guarantee a soft, melt-in-your-mouth result every time. Keep testing and observing your oven’s specific behavior to dial in that 8-10 minute window.
For more deep dives into texture analysis, explore our Viral Cookie Analysis.
Share your results with us on social media:

